How I Styled My Small Living Area to Look Bigger

The key to successfully styling small areas is easier than you think. It comes down to tricking the eye into perceiving more space.
Armed with a handful of property styling and decorating tips and tricks this is how I styled my small living area to look bigger. I optimised the available space and did not skimp on style.
The Challenge
- This is a relatively small apartment with a thoroughfare taking up quite a bit of the available floor space to accommodate traffic flow to other areas in the apartment.
- The open plan area comprises the living, dining and kitchen area which meant these areas where to be taken into consideration when decorating.
The Walls and Flooring
Fortunately, I had the perfect canvas to work from. The walls were freshly painted in a warm, very light grey (akin to RGB: 208, 205, 201 HEX #D0CDC9) colour and the flooring was of dark brown timber. A striking combination.
How I Made My Small Living Area Look Bigger in 6 Easy Steps
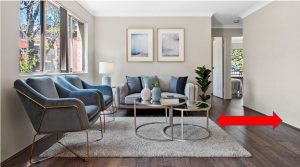
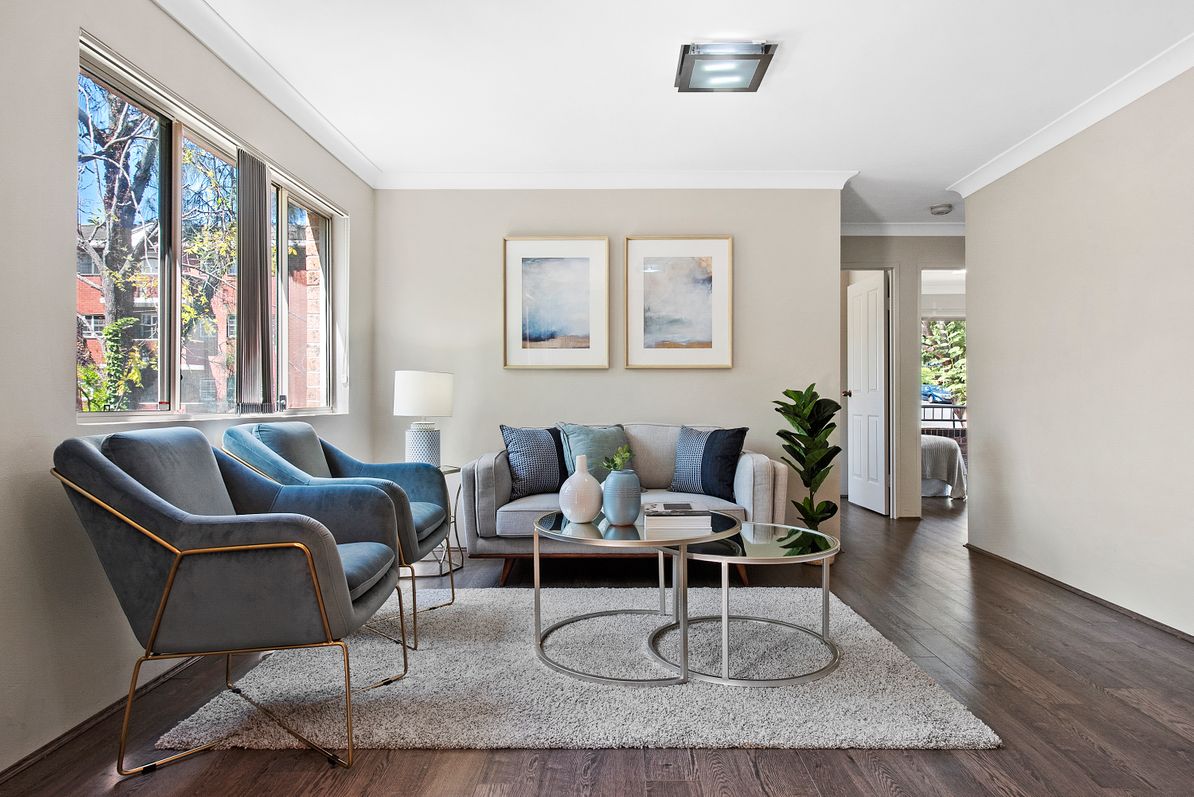
Because of the thoroughfare, the living area was styled to the left of the room.
1. The Rug Defines the Area
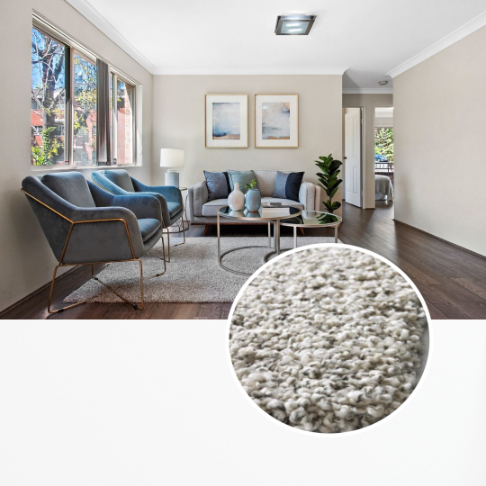
- A salt and pepper rug of thick dense pile was used to define the area.
- Thick pile dampens sound and presents a luxurious softness and warmth.
- Rugs pull furniture together and create a focal point.
- The colour of the rug blended well with walls and added contrast and texture to the floor.
2. Nesting Coffee Table
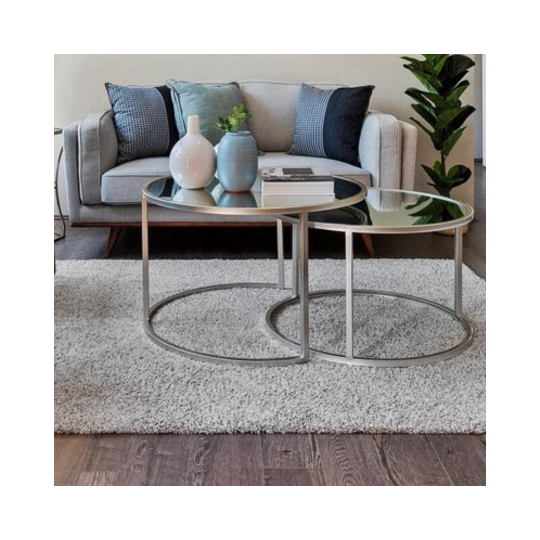
- Nesting tables are the ultimate and most versatile space savers. They can be left “nested” together or “pulled” apart for a different look or purpose.
- The smaller tables can be used for side tables.
- I opt for a round mirror top iron round coffee table set. Mirrors reflect light, make spaces seem larger and more open. They also create an ambience of airiness.
- To create an illusion of more space the table was placed further from the chairs more to the right, off-centre.
3. The Sofa
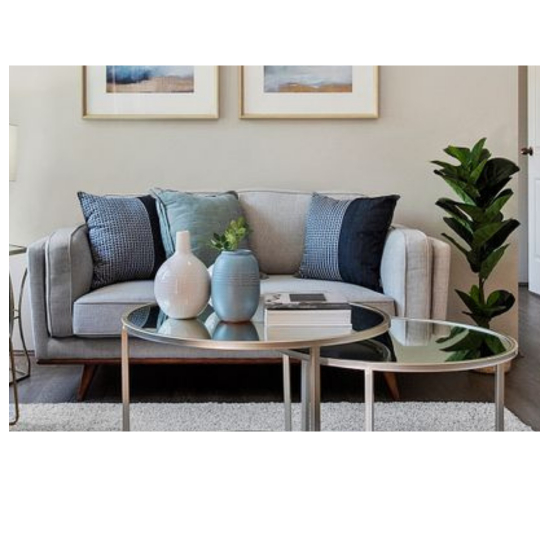
- The light grey, low profile two-seater sofa was the perfect fit for this small area.
- The wooden walnut-coloured legs of the sofa blended perfectly with the timber floor colouring.
4. The Milan Armchairs
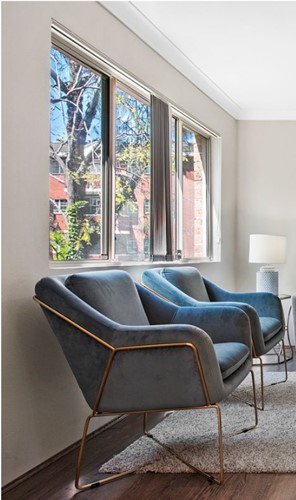
- No matter how small your space it can still look stylish.
- These two impressive Milan armchairs in Steel Blue velvet fabric and gold metal highlights certain did justice.
- When styling a small area opt for “leggy” furniture that does not have visual weight. This makes the room appear larger and less full and allowing the eye to see a continuation of the floor under the furniture.
The chairs and sofa were placed about a fist-width and a half from the wall. If placed against the wall it will make the area look “quashed up” – if placed far from the wall, will make the area look smaller.
5. The Finishing Touches
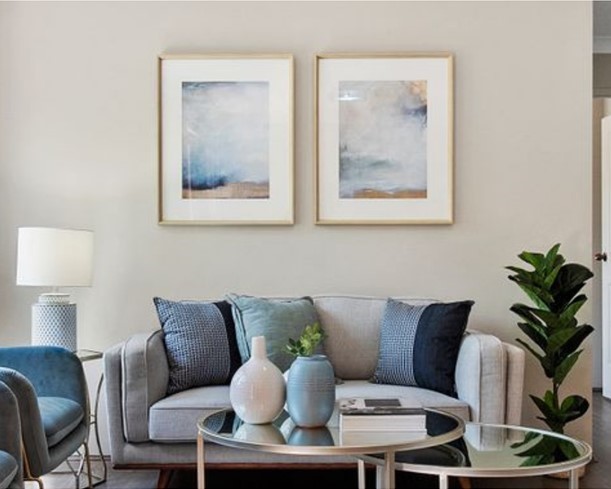
- Even the smallest of areas can and must be accessorised.
- Adding a few accessories creates a warm, inviting, and welcoming atmosphere.
- Accessories bring interest, texture, and diversity into the area.
- Create a focal point with accessories.
- How to Hang Artwork in Your Living Room – Tips, Tricks and Guidelines – please click here – or enrol for DIY Home Improvement Training Course, please click here
- Add a plant real or faux. Plants add visual impact to the area and create a calming effect.
6. Side Table and Lamp
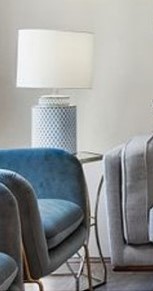
- Instead of a floor lamp, I chose to use a side table and lamp. In doing so I created a “cosy” reading corner and an additional surface to place items; e.g a book or magazine.
THE END RESULT
Chiripa said “To be informed is to be empowered,”
For more information on how you too can style your living room and our online courses please go to
https://homeimprovementtraining.com/ or email us at
info@homeimprovementtraining.com or call us on (+61) 2 9659 2556.
Without compromising on available space and skimping on style, this is how I made my small living area look bigger.