How to Hang Artwork in Your Living Room – Tips, Tricks and Guidelines
Step 1: Preparation and Planning
It is important to invest time beforehand to arrange
and plan the layout of the artwork. If not, you will be
left with a nail hole scarred wall that will require some
serious fixing up.
i. Supplies and Tools you will need
- Kraft paper/wrapping paper – to trace the outline of the artwork.
- Hang & Level Picture Hanging Tool (or Water leveller)- to make sure the artwork is hanging level.
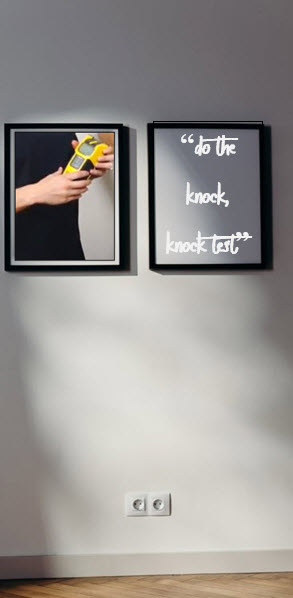
- Stud Finder Sensor Wall Scanner – this nifty handheld device will “scan” behind the wall surface to detect and indicate areas where there are beams, studs, and electrical wires.
- Whiteboard marker – small dots indicating nail placements can easily be wiped off.
- 3M multipurpose painters’ tape – easily removable from surfaces after being used as place markers.
- Hooks/nails/picture hangers specific to the type of brick/gyprock walls.
- Assistance especially when hanging large artwork
- Scissors
- Hammer
- Drill
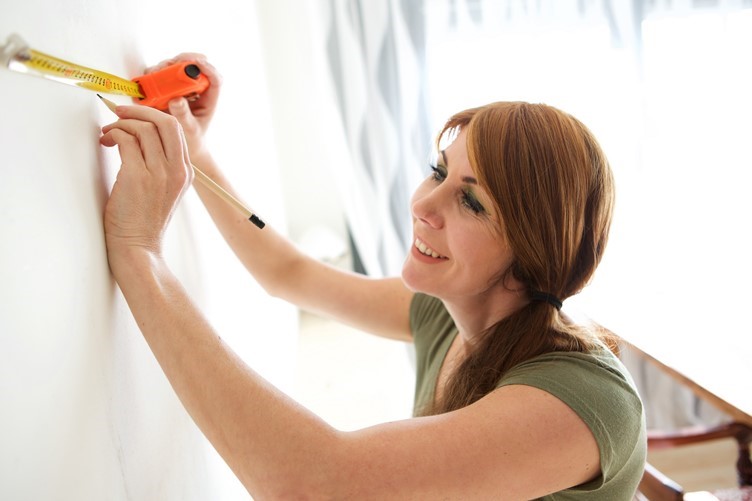
- Retractable metal measuring tape
- Artwork
ii. Do the “Knock-Knock” Test
On Gyproc walls do the “knock, knock test” to identify where beams and nails are located behind the wall. You will hear a hollow sound where there are no beams or a “thud” sound where there are. Use a Stud Finder Sensor Wall Scanner to locate the beams and studs.
- Before drilling into a brick wall make sure it is safe to do so.
- Make sure the Stud Finder Sensor Wall Scanner is one that will also detect electrical cables. You can also enlist the services from a reputable electrician.
iii. Pre-arrange the Layout
This step could be fun, and you will be glad you did follow through with it. Pre-arranging the layout of artwork will save you a lot of time, frustration and a wall full of holes.
At this point, I would strongly recommend you read our blog “How Does Natural Light Influence Your Perception of Colour”.
Natural light will and does play a significant role in the placement of art. For example, you may have found the ideal spot to hang a beautiful piece of artwork only to find in the late afternoon a shadow is cast over the artwork making it appear dark and uninteresting.
Here are a few suggestions as to how to pre-arrange artwork before hanging them onto the wall.
• On a table – use a table approximately the size of the wall area where the artwork is to be hung. Place the artwork on the table and move the artwork pieces around until you have the layout you like. Take a few steps back and review the arrangement.

- On the floor – you can easily replicate the wall size on the floor with 3M multipurpose painters’ tape. Within the marked area, you can move the artwork around until you have a layout you like. Take a few steps back and review.

- On the Wall – First trace the artwork – with the artwork lying face down on a surface, trace the outline of each artwork on a piece of paper. Cut out the template and using 3M multipurpose painters’ tape stick it to the wall. Move the templates around until you have the combination you like. This is especially useful when the artwork pieces are of varying sizes.
-
HINT: Once you have traced the outline of the artwork, place the template on the back of the artwork and mark the positions of the hanging points. When you are satisfied with the art arrangement/templates, using a nail, gently tap it through the marked point of the template into the wall. This will then leave an indentation or tiny guide hole where the nail is to be hammered into the wall.
Step 2. How High or How Low to Hang Artwork? – and other Guidelines
There are no hard and fast rules for hanging your artwork. The “rules” are merely guidelines to help you exhibit your artwork and to be visually pleasing.
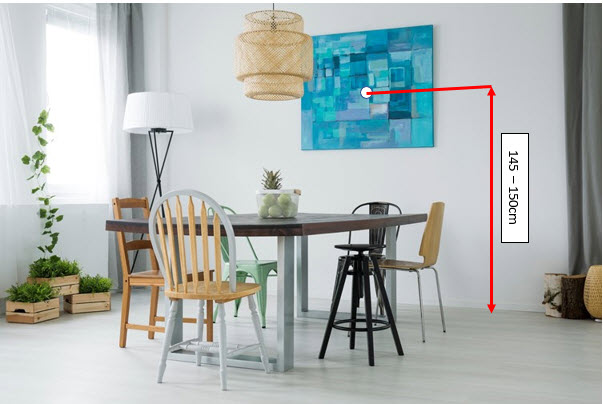
- Generally, artwork is hung at what is known as “eye-level” – the midpoint of the artwork should be between 145-150cm from the floor.
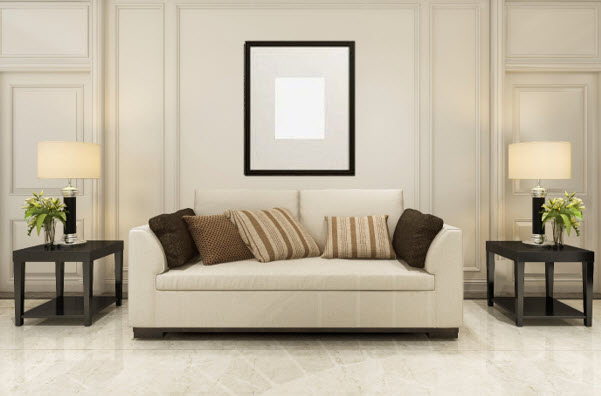
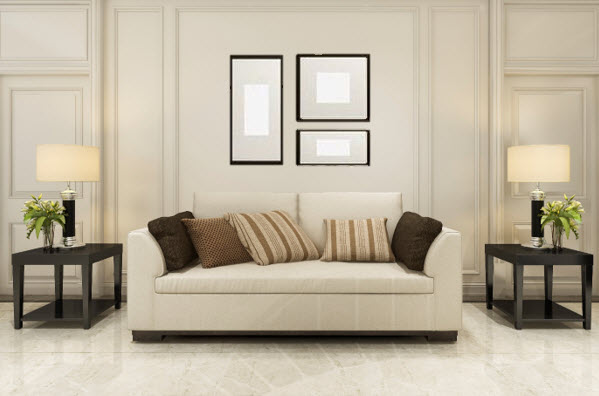
- There is an exception to this rule when art is hung directly above furniture – for example, a sofa or console table.
- When hanging artwork above a sofa or other furniture e.g. console table, leave a space of about 10-15cm (about a hand width) between the top of the furniture and the bottom of the artwork piece.
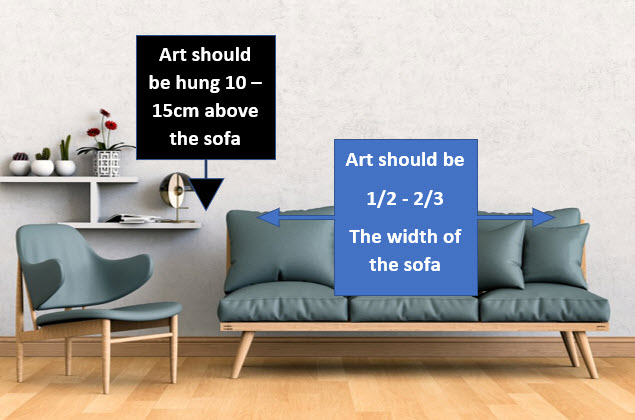
- When artwork is above a sofa or console, to keep it proportionate with other items in the room, the artwork should not exceed two-thirds of the width of the sofa or console.
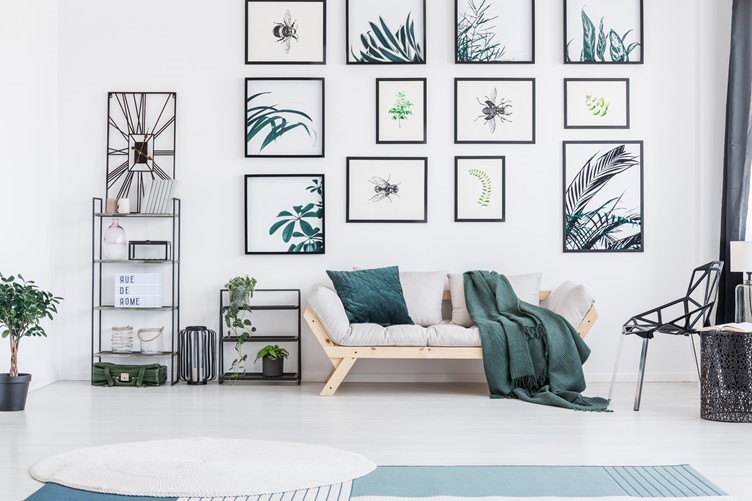
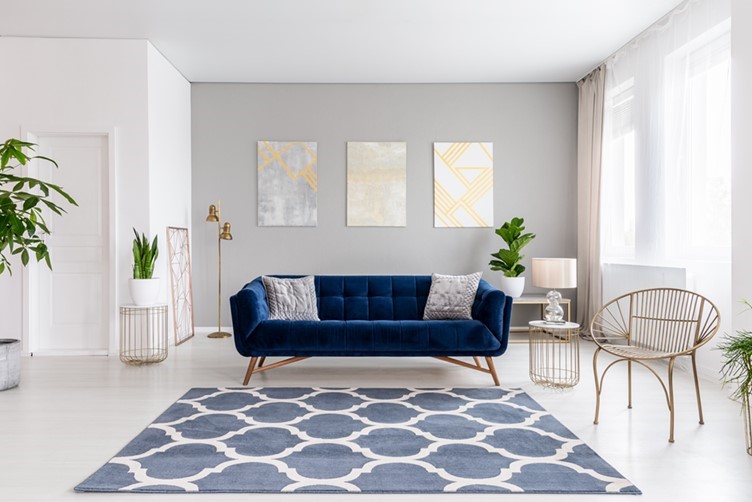
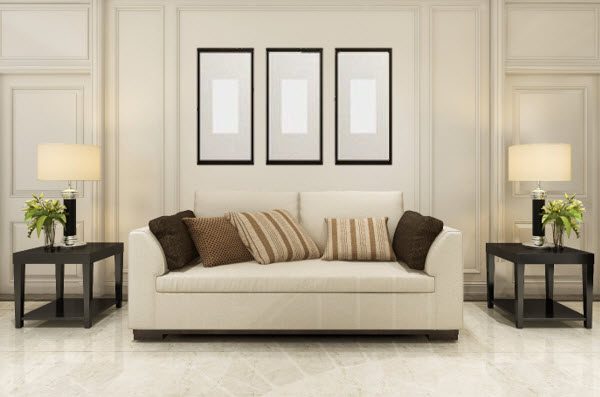
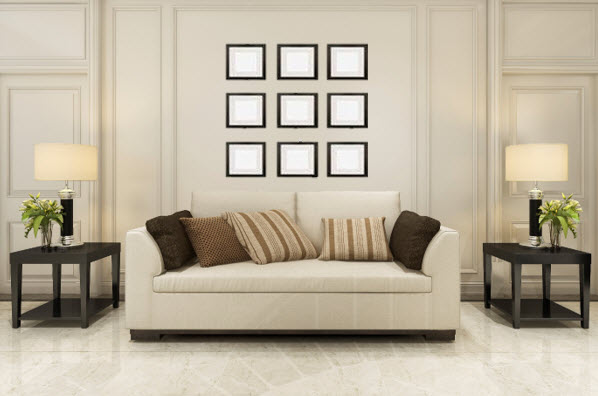
- Always consider a collection of art pieces as one art piece – and yes, and you can have an odd number of pieces as one piece.
- When you are hanging a collection of artwork on a wall with nothing in the foreground i.e. sofa or console table, the “eye-level” rule applies – i.e. find the centre of the piece, about 145 – 150cm up from the floor.
- It is, therefore, a recommended to first establish how you want the arrangement to appear as explained above.
- In a collection hang large and medium pieces 5-7cm apart; smaller pieces 4-6cm apart.
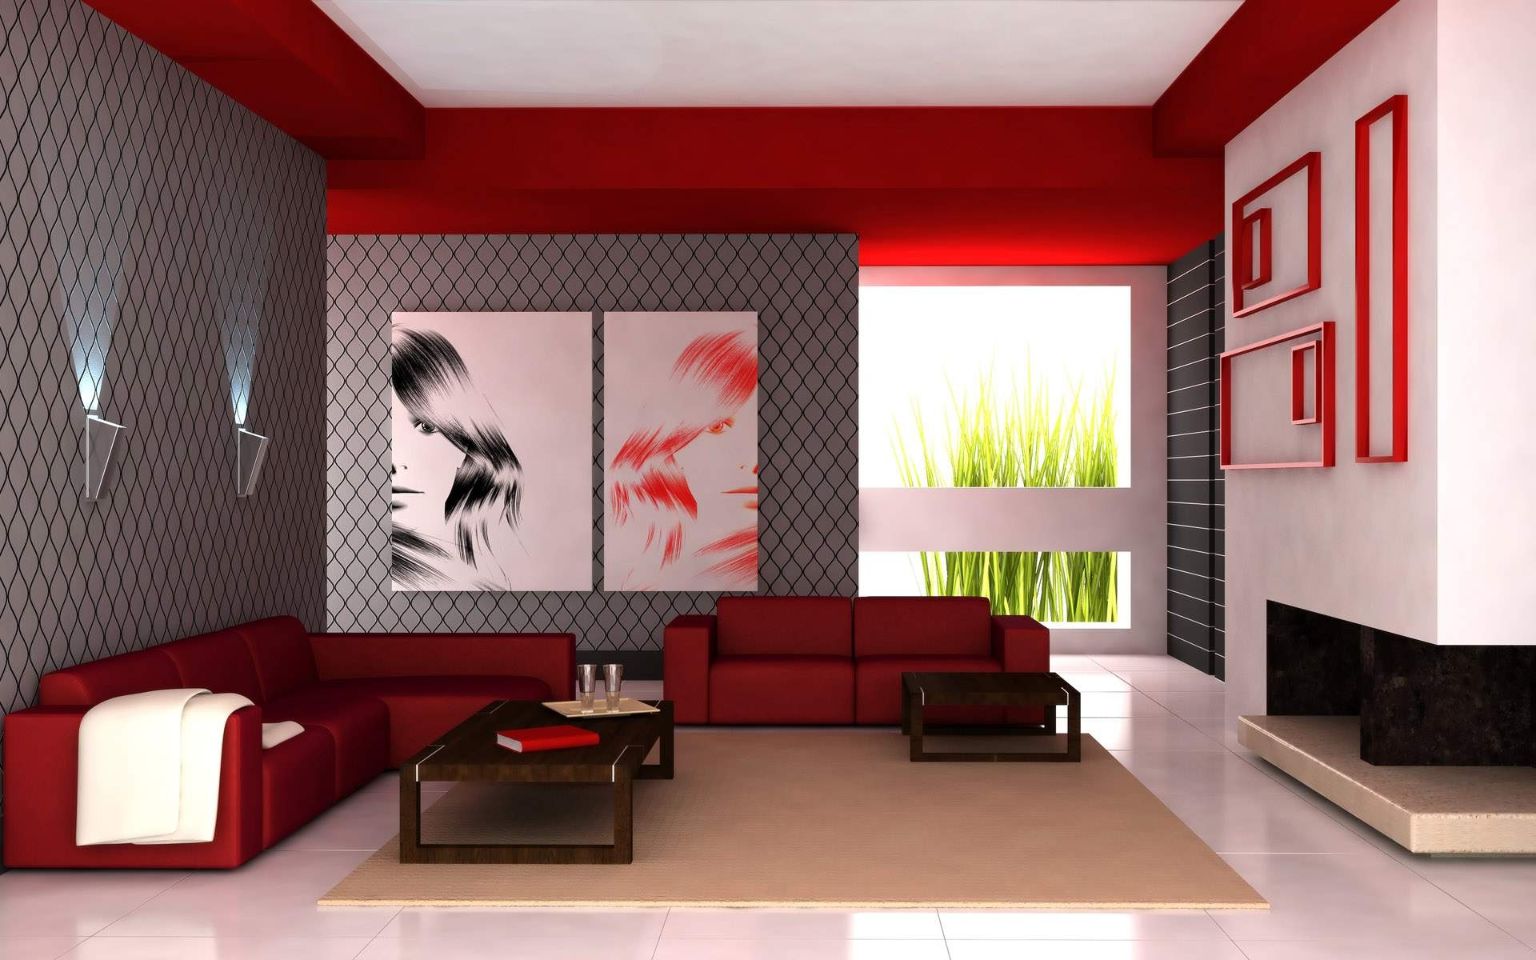
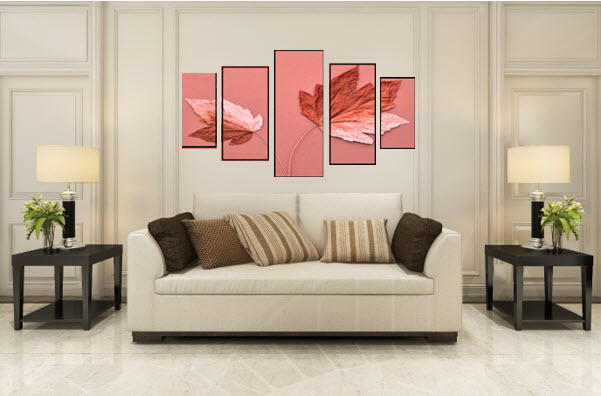
- Identify your showpiece and give it the top spot; then work outwards from there adding more pieces.
- When hanging a group of four or more pieces of varying sizes in a non-symmetrical pattern, use the imaginary vertical line method. Art is visually balanced on both sides of the imaginary vertical line. Art on both sides of the line should be similar in colour scheme, frame style and subject matter.
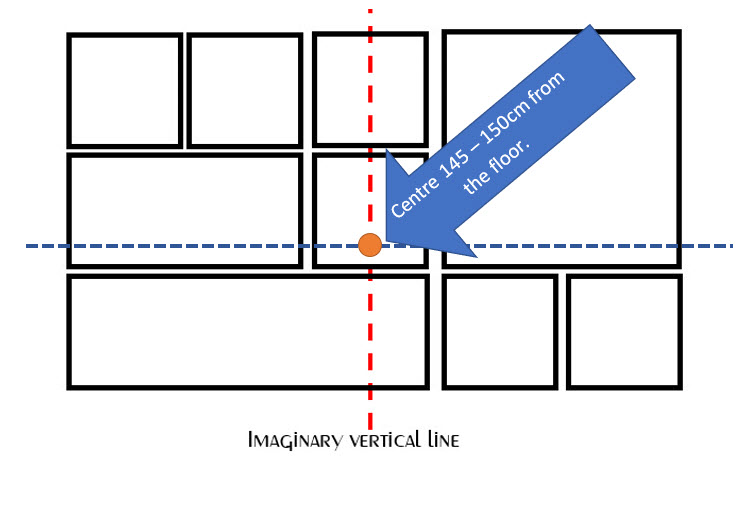
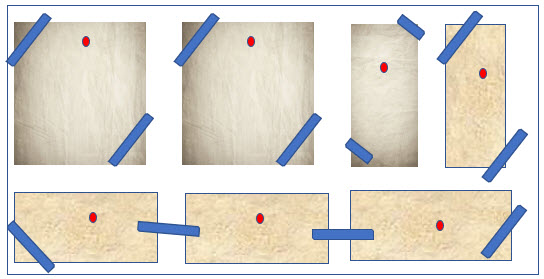
Step 3. Example Guideline Format for Hanging a Collection of Artwork
….and few more pointers
-
Not all the artwork hung on the wall need to be von Goch or Picasso.
-
Mixing artwork of various medium creates a more interesting picture. Be careful not to overdo it though. Choose two to three mediums. For example, an oil painting, charcoal drawing, a print, or a watercolour.
- Artwork does not always have to be framed. Unframed artwork is more casual.
- Use larger artwork and frames rather than many smaller ones to fill a space. It just makes the hanging processes simpler.
- Ensure artwork is level using a Hang & Level Picture Hanging Tool or a Water leveller.
Armed with a tape measure, hammer, nails, and beautiful artwork you can creatively bring to life the blank wall in your living room. Our property stylists and interior decorators are only a phone call (or email) away to lend a helping hand. They can assist you virtually too.

