Step #1
A Little Prepping Goes a Long Way
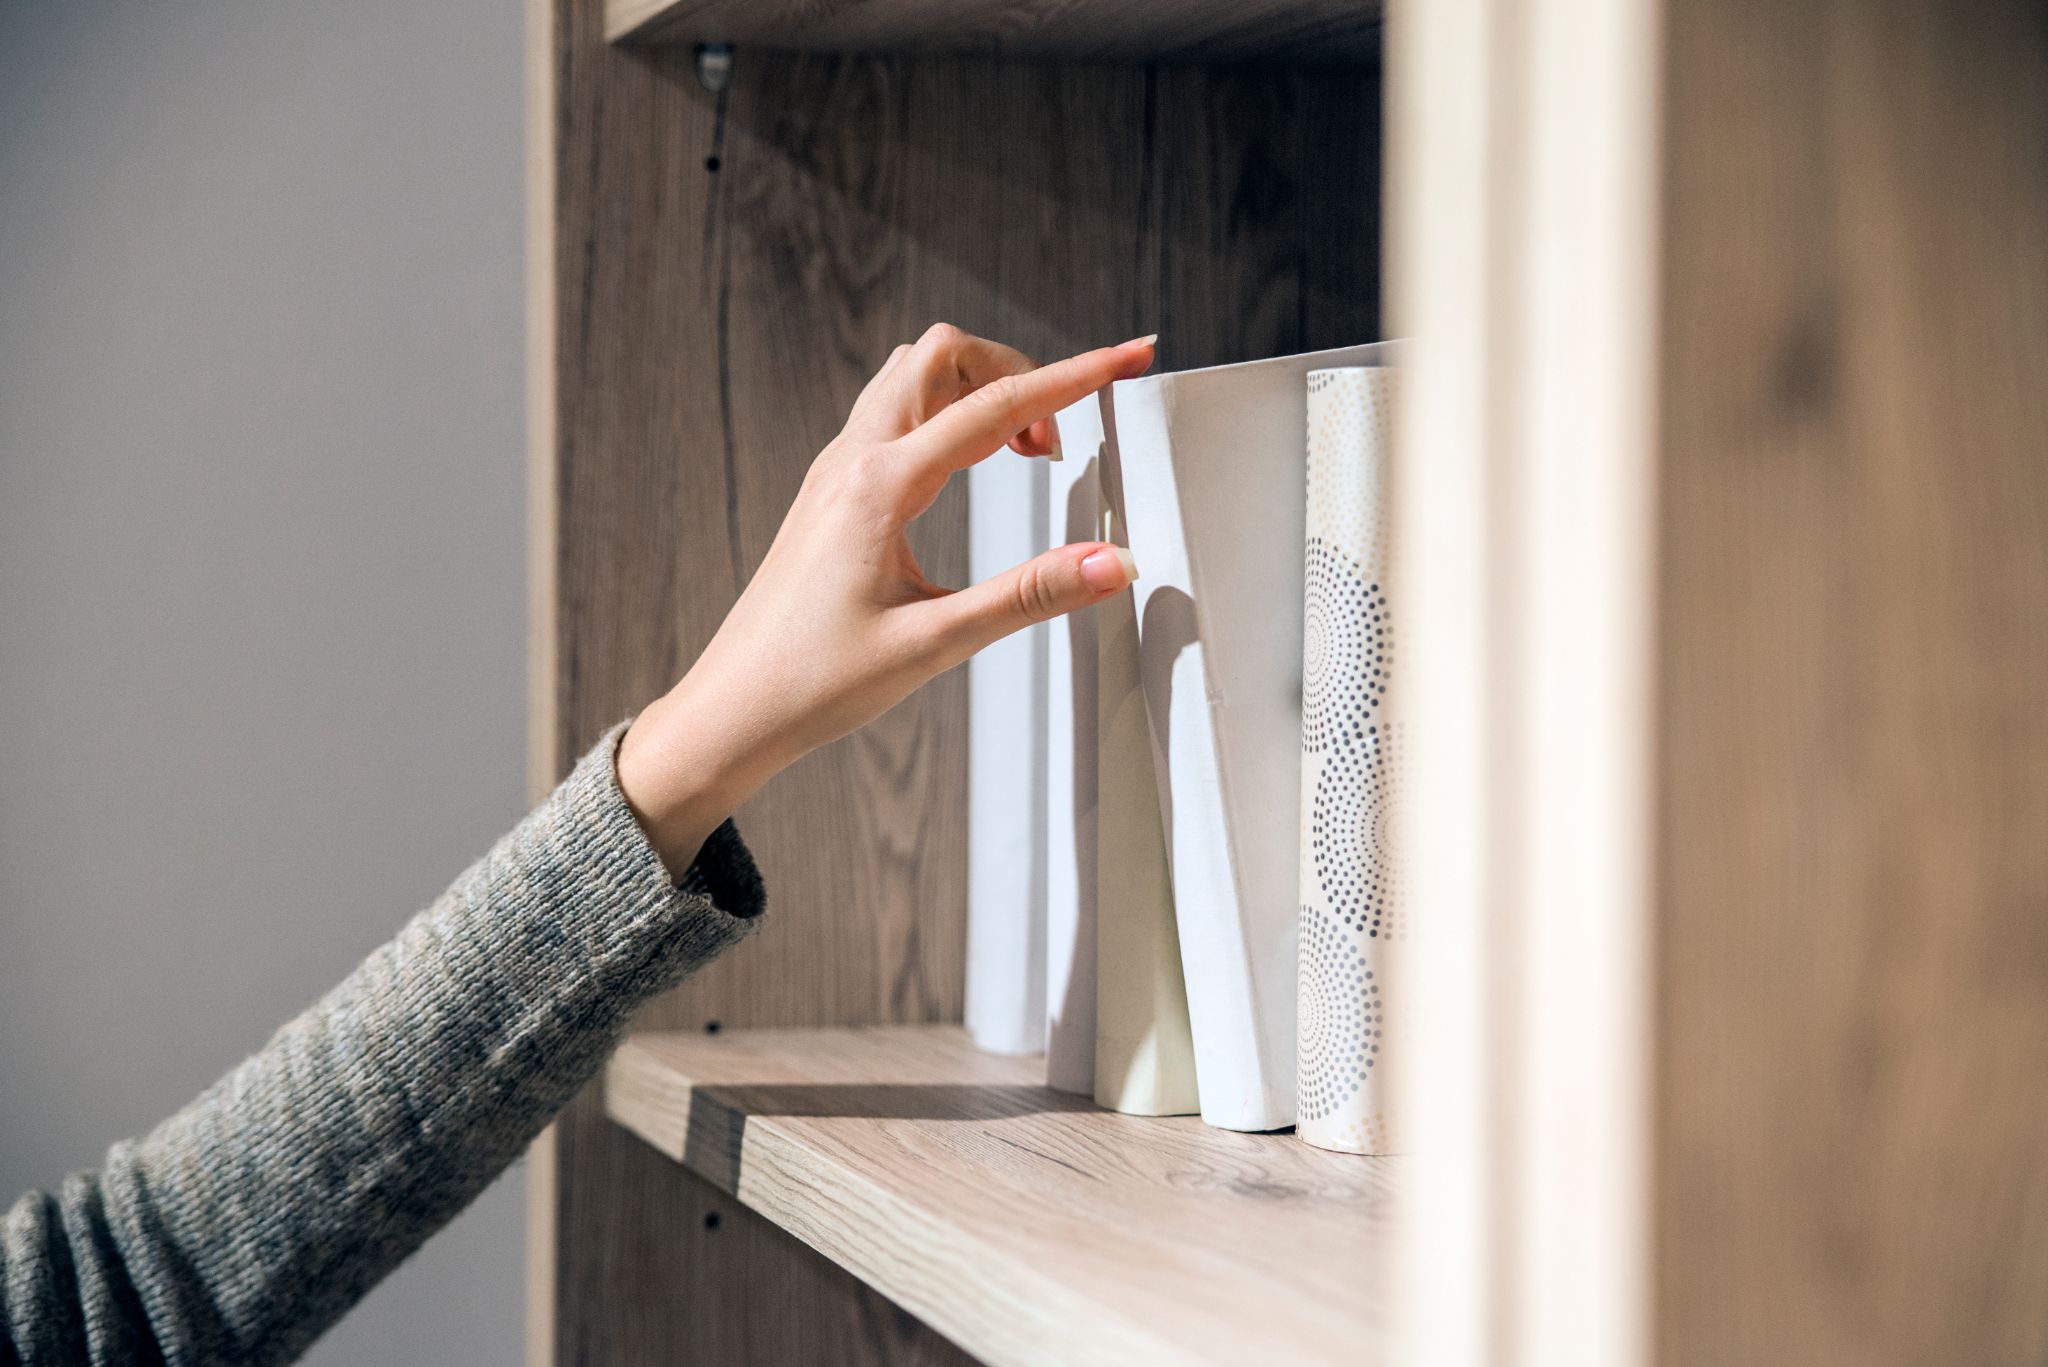
In our blog “How to Declutter my Bookshelf in 5 easy steps”there are steps how to prepare your books before placing them back onto the shelves.
- You will have in the work area of your bookshelf books that have been sorted and are to go back onto the shelves.
- Some books will have their original covers, others won’t and some you have covered with interesting new covers.
- You will also have some decorative items, photo frames and accessories set to one side that you would like to be included on the shelves.
- Important to note – less is best. This is where people run into trouble – not all the books and decorative items you have decided to keep can be put back on the shelves. Store those in a box. They can easily be swapped back onto the shelf whenever you want to make some styling changes.
- Remember to decorate in uneven numbers: 1,3,5,7. As strange as it may sound – odd numbers create a more balanced look.
- Before starting to style your bookshelf, take a step back and try to visualize how you would like it to look. You can even make rough sketches to help you or have an image from a magazine that you like and try to replicate according to your style.
Step #2
Decorate with Decorative Items.
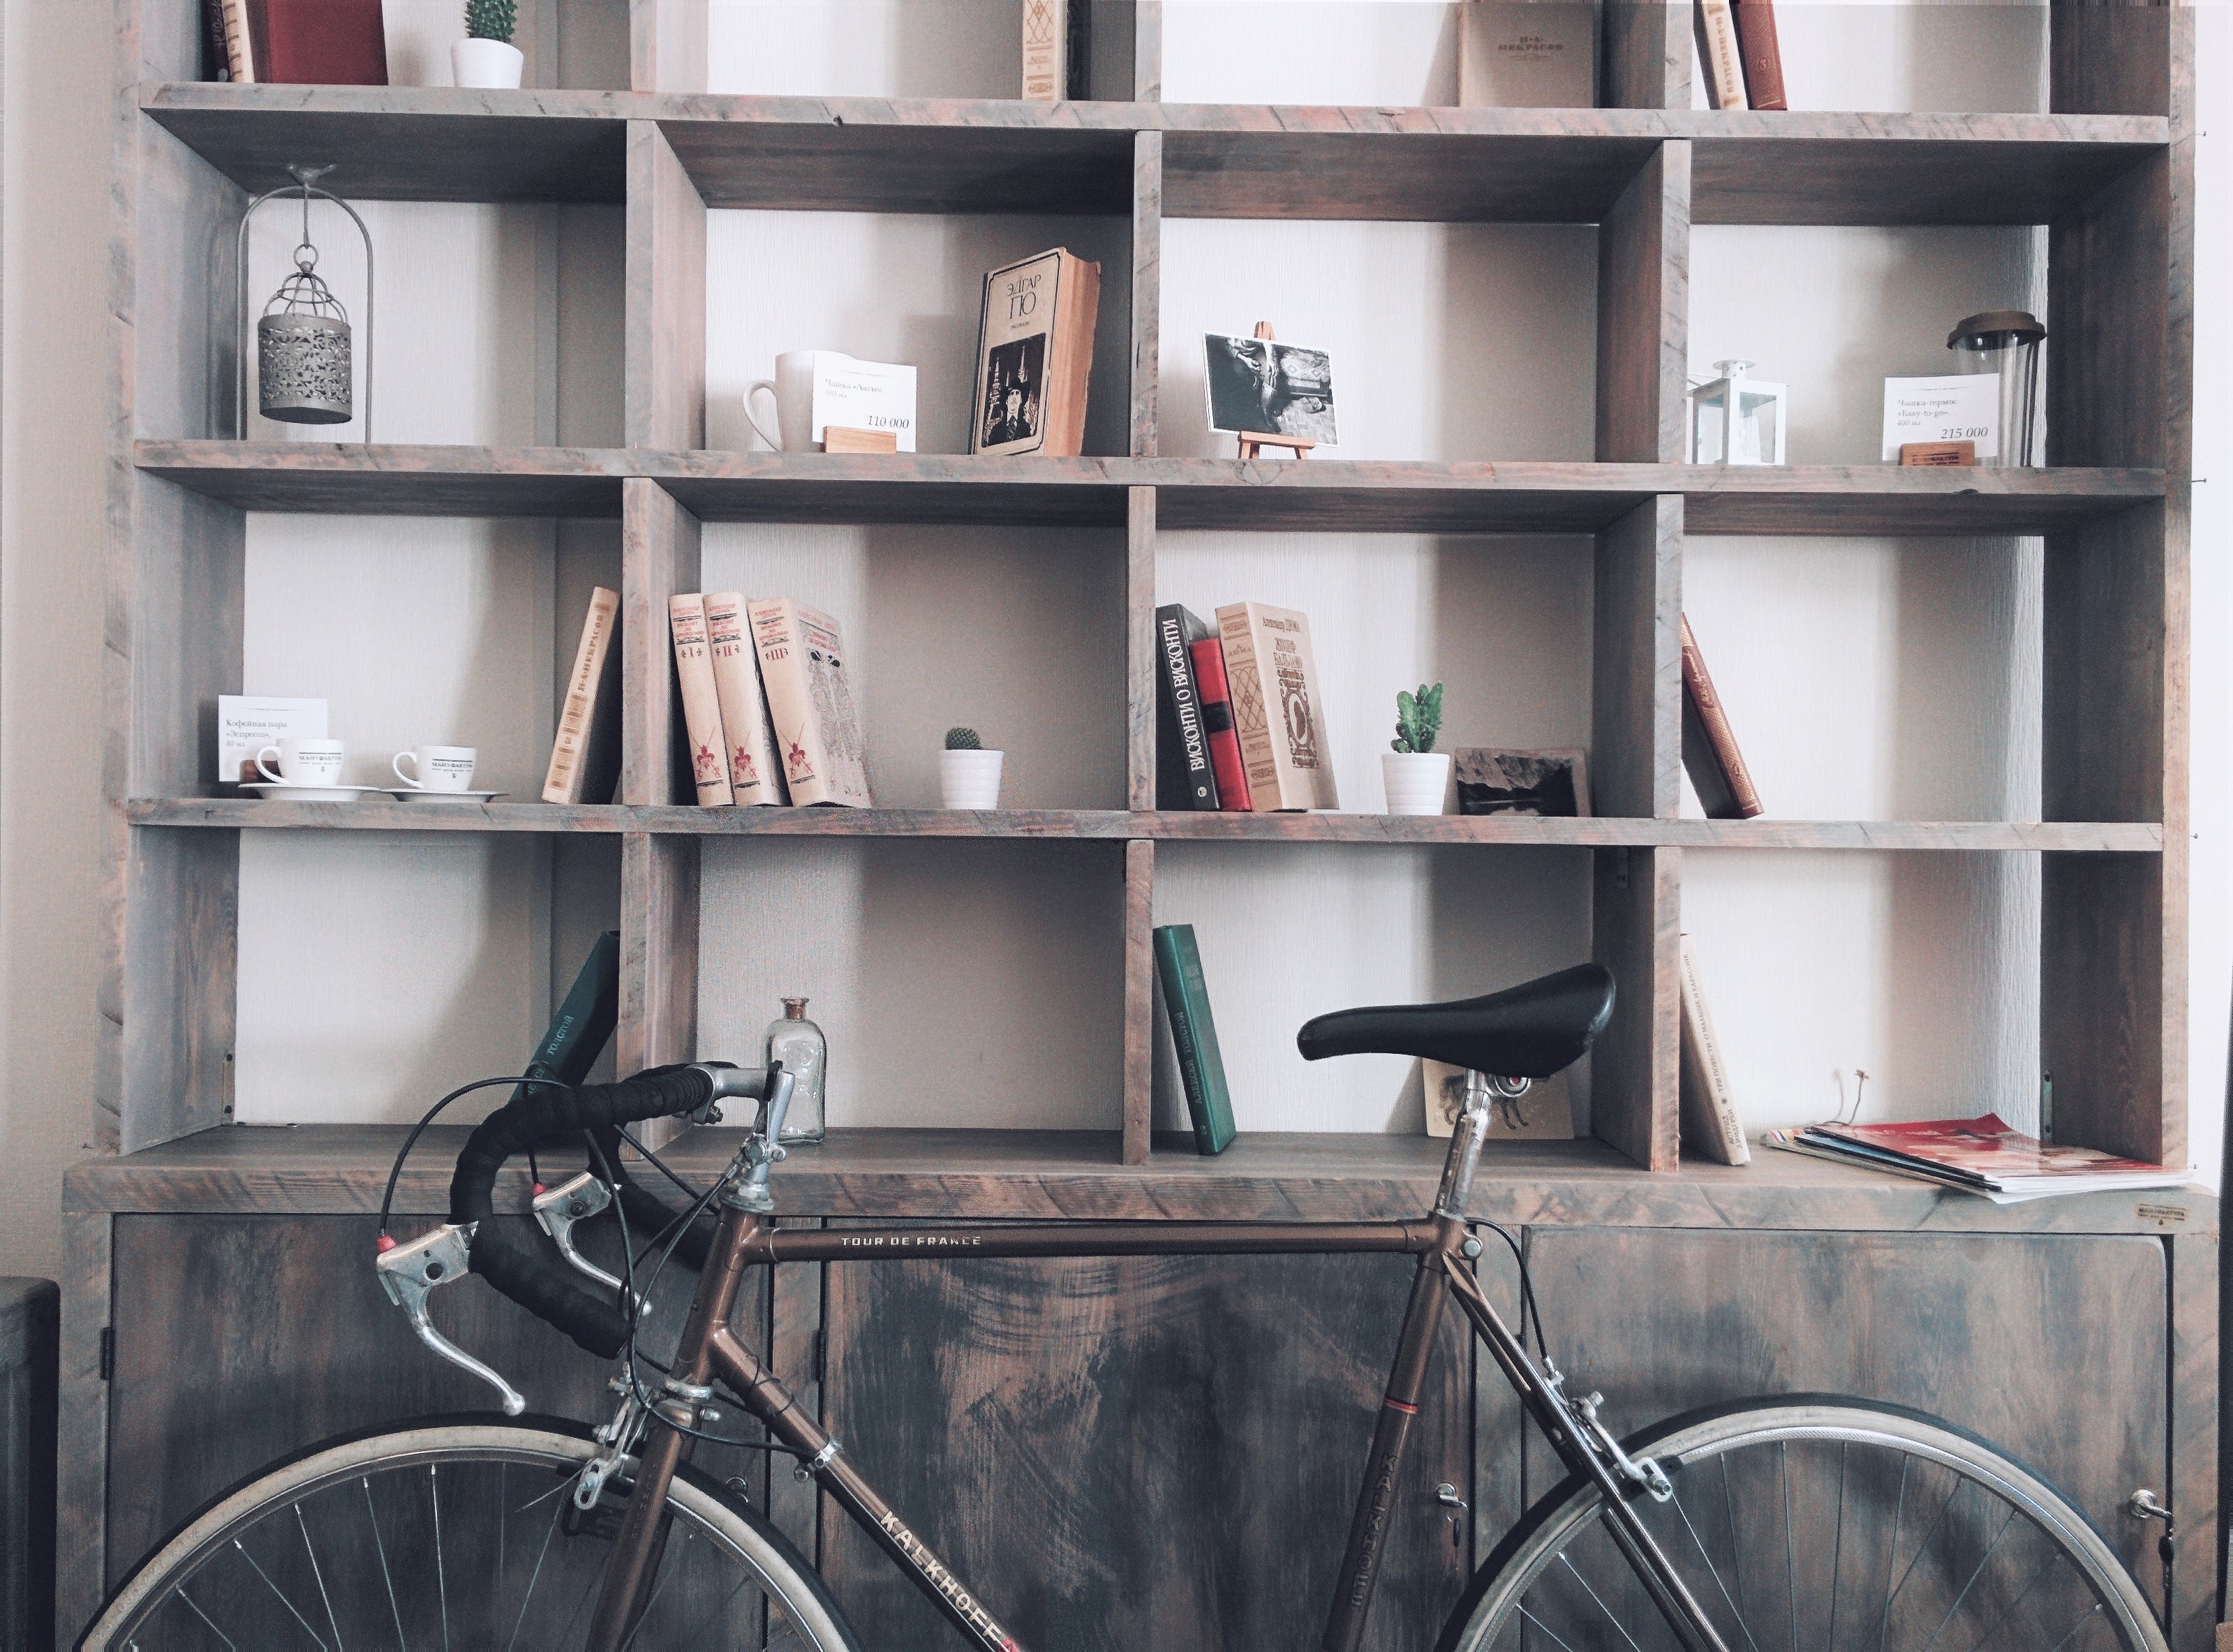
- Place larger items towards the back of the shelf – this will create depth and interest.
- Layer smaller decorative items to the front. For special effects place a small item on top of a stack of few books
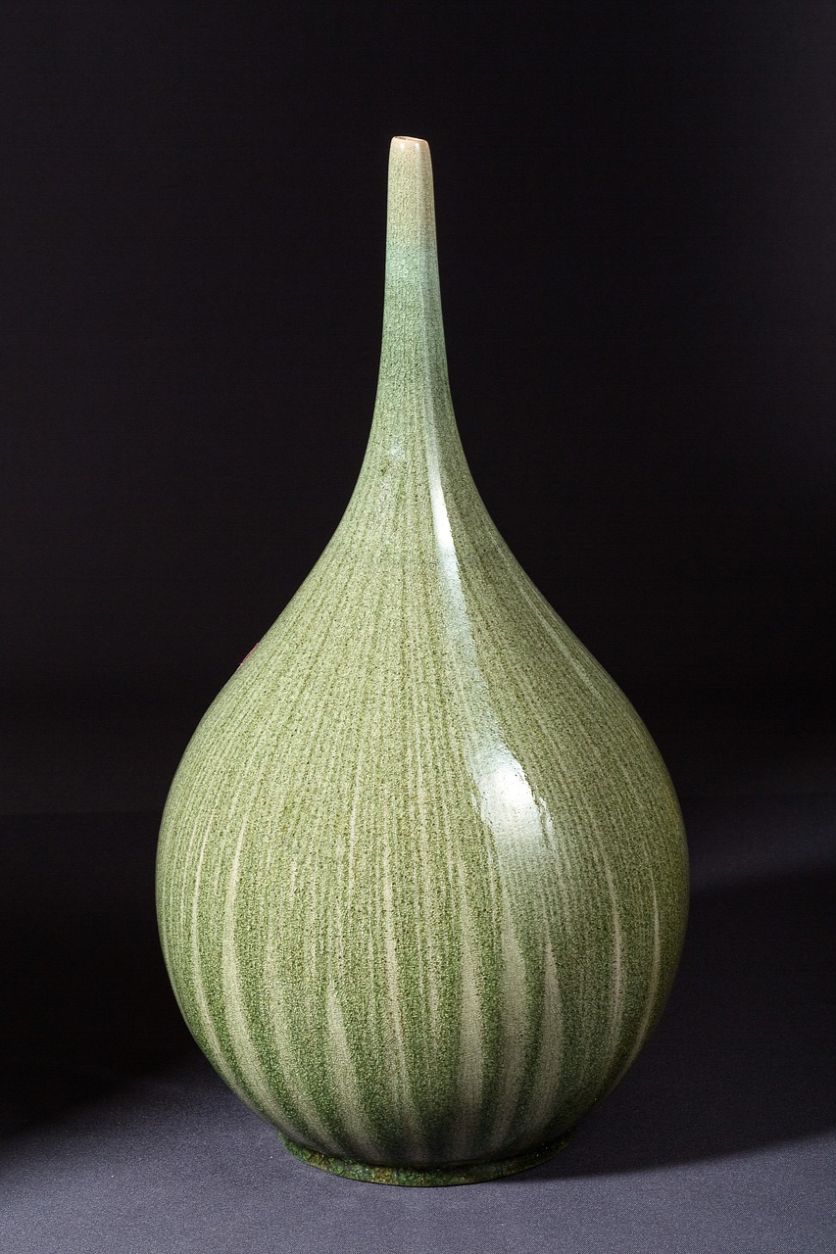
- Be creative and use items of different texture – woven baskets, a beautiful bowl or plate, shells, a basket of pebbles.
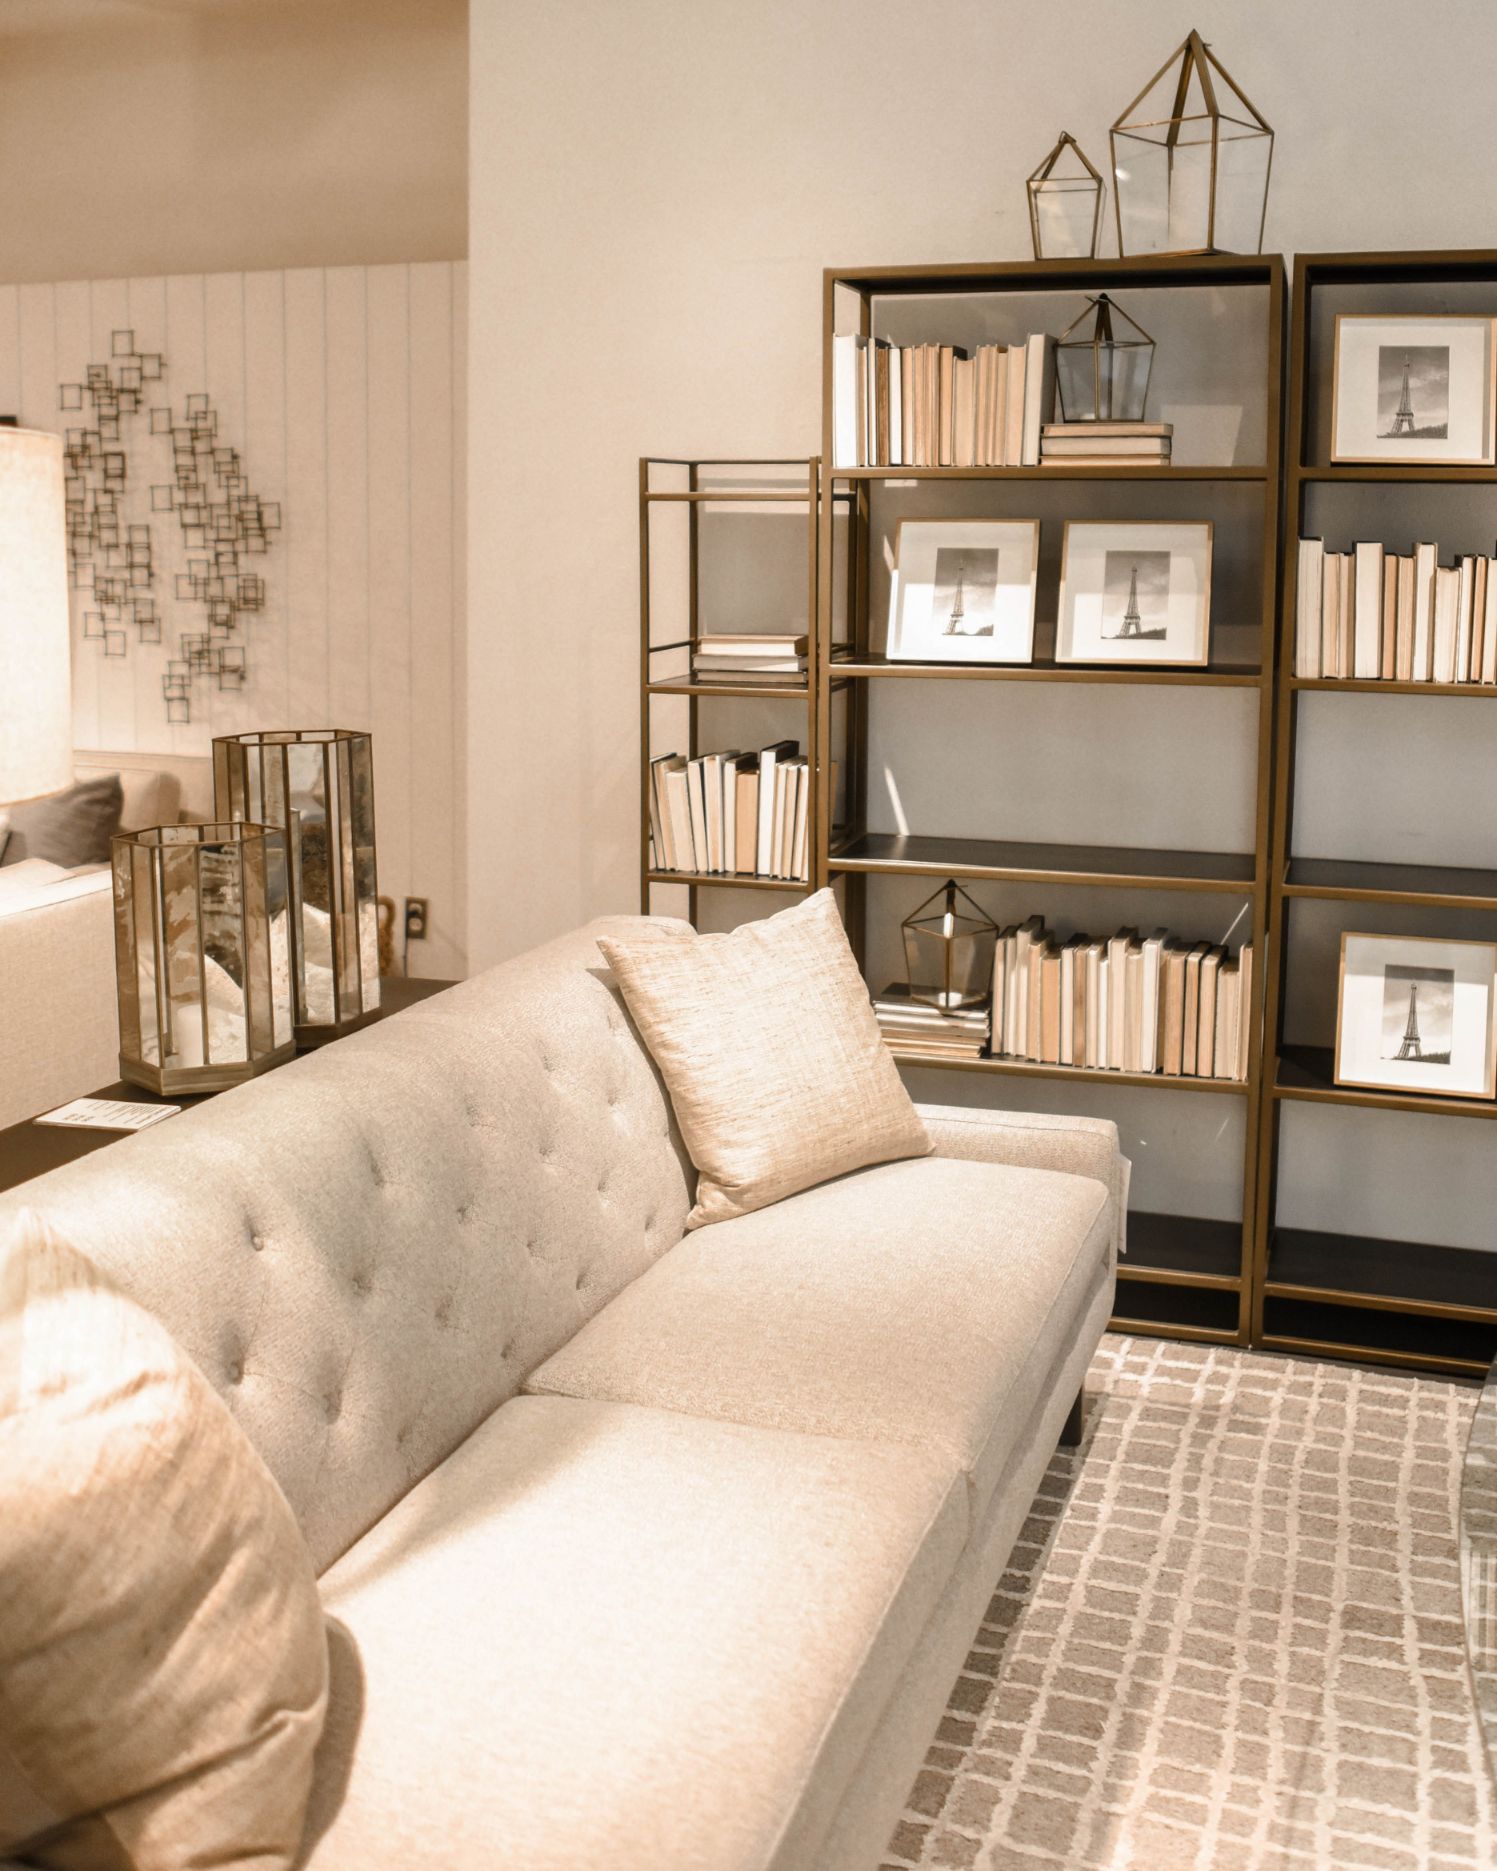
- Metallic objects can be used for decorative accents too.A word of warning though – you can use different metals but stay within the theme.
If you decide to use warm metals e.g. copper and brass – stay with the theme ‘warmth” – gold can be added to this.
Cold theme would be items of silver, aluminium and nickel.
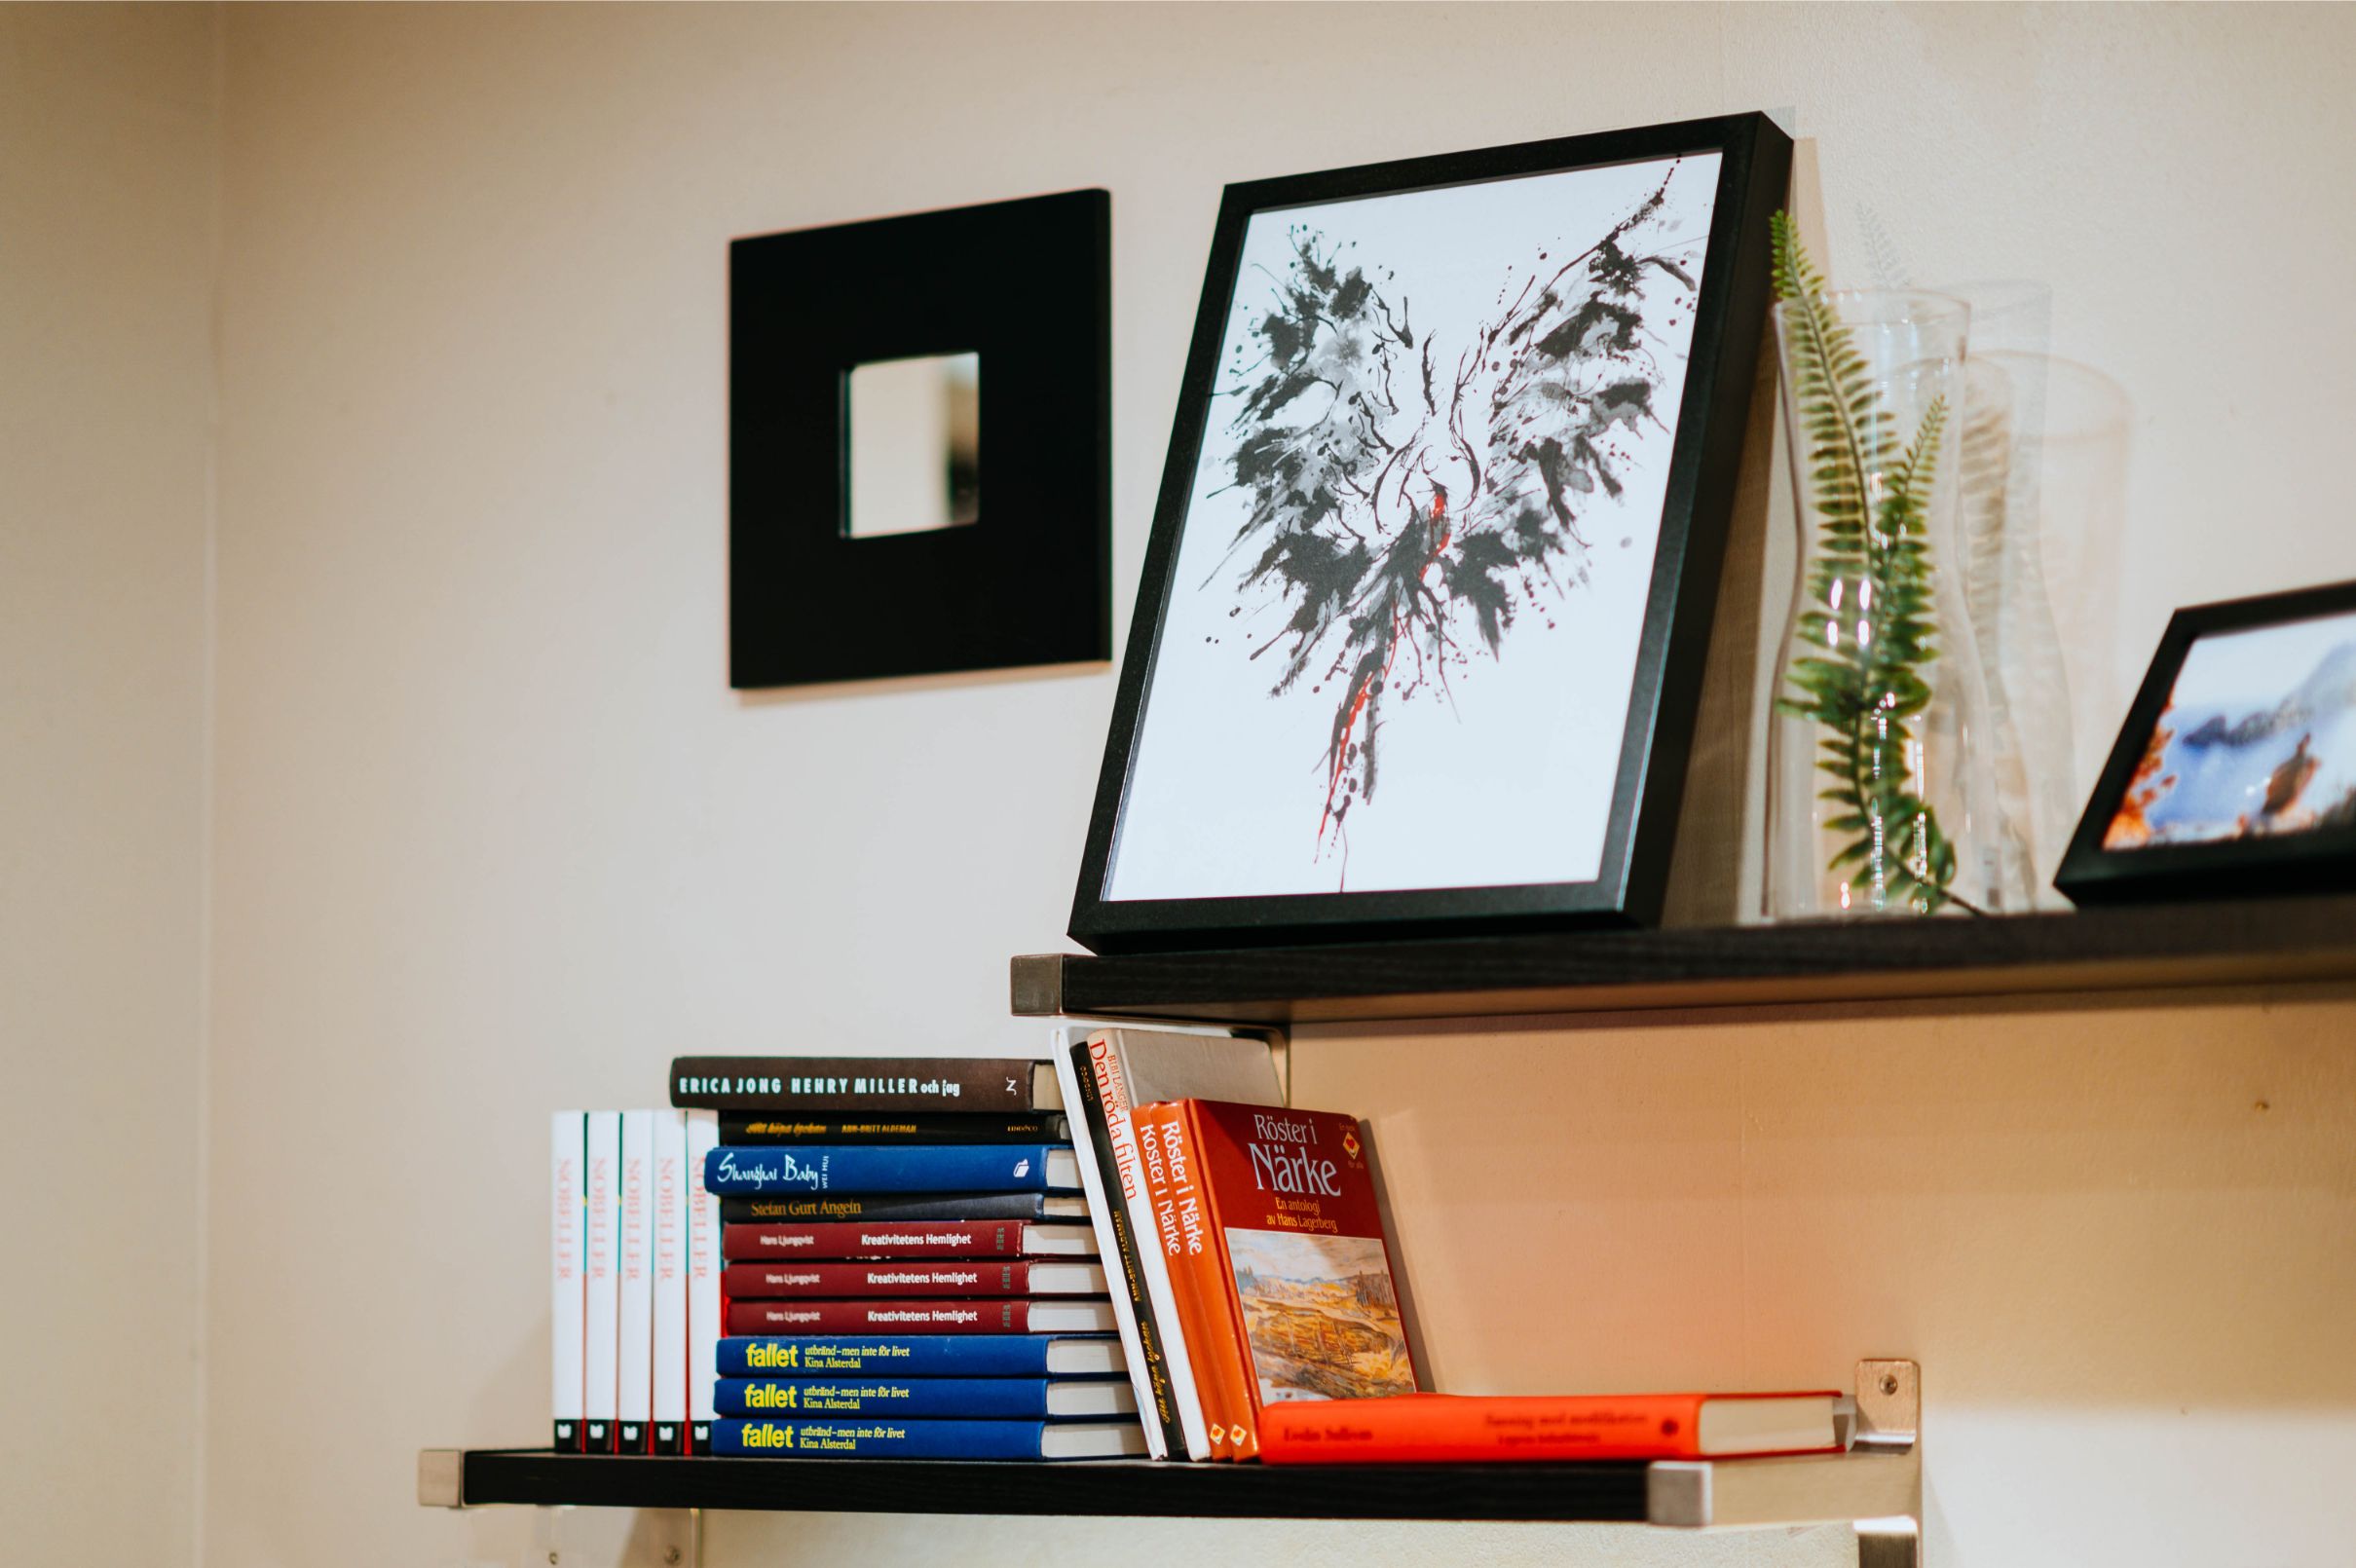
- Add framed pieces of art or images towards the back of the shelf.You’ve guessed it! The image in the frame is interchangeable. Want a new look without going through the hassle of major bookshelf overhaul – just change the image in the frame.On that thought may I suggest the use of non-reflective glass in the frame – the image appears more clearly.
Step #3
Styling the Books
No more uninteresting uniformly vertical stashed books.
Did you know?
– you can stack your books horizontally and vertically
– you can place books at angles that appeal and are eye-catching
– books can go anywhere on the shelf to create balance and “shelfie” styling appeal.
– Use books within the same colour scheme.
– Use books of different sizes in a group.
Step #4
Let Nature In
-
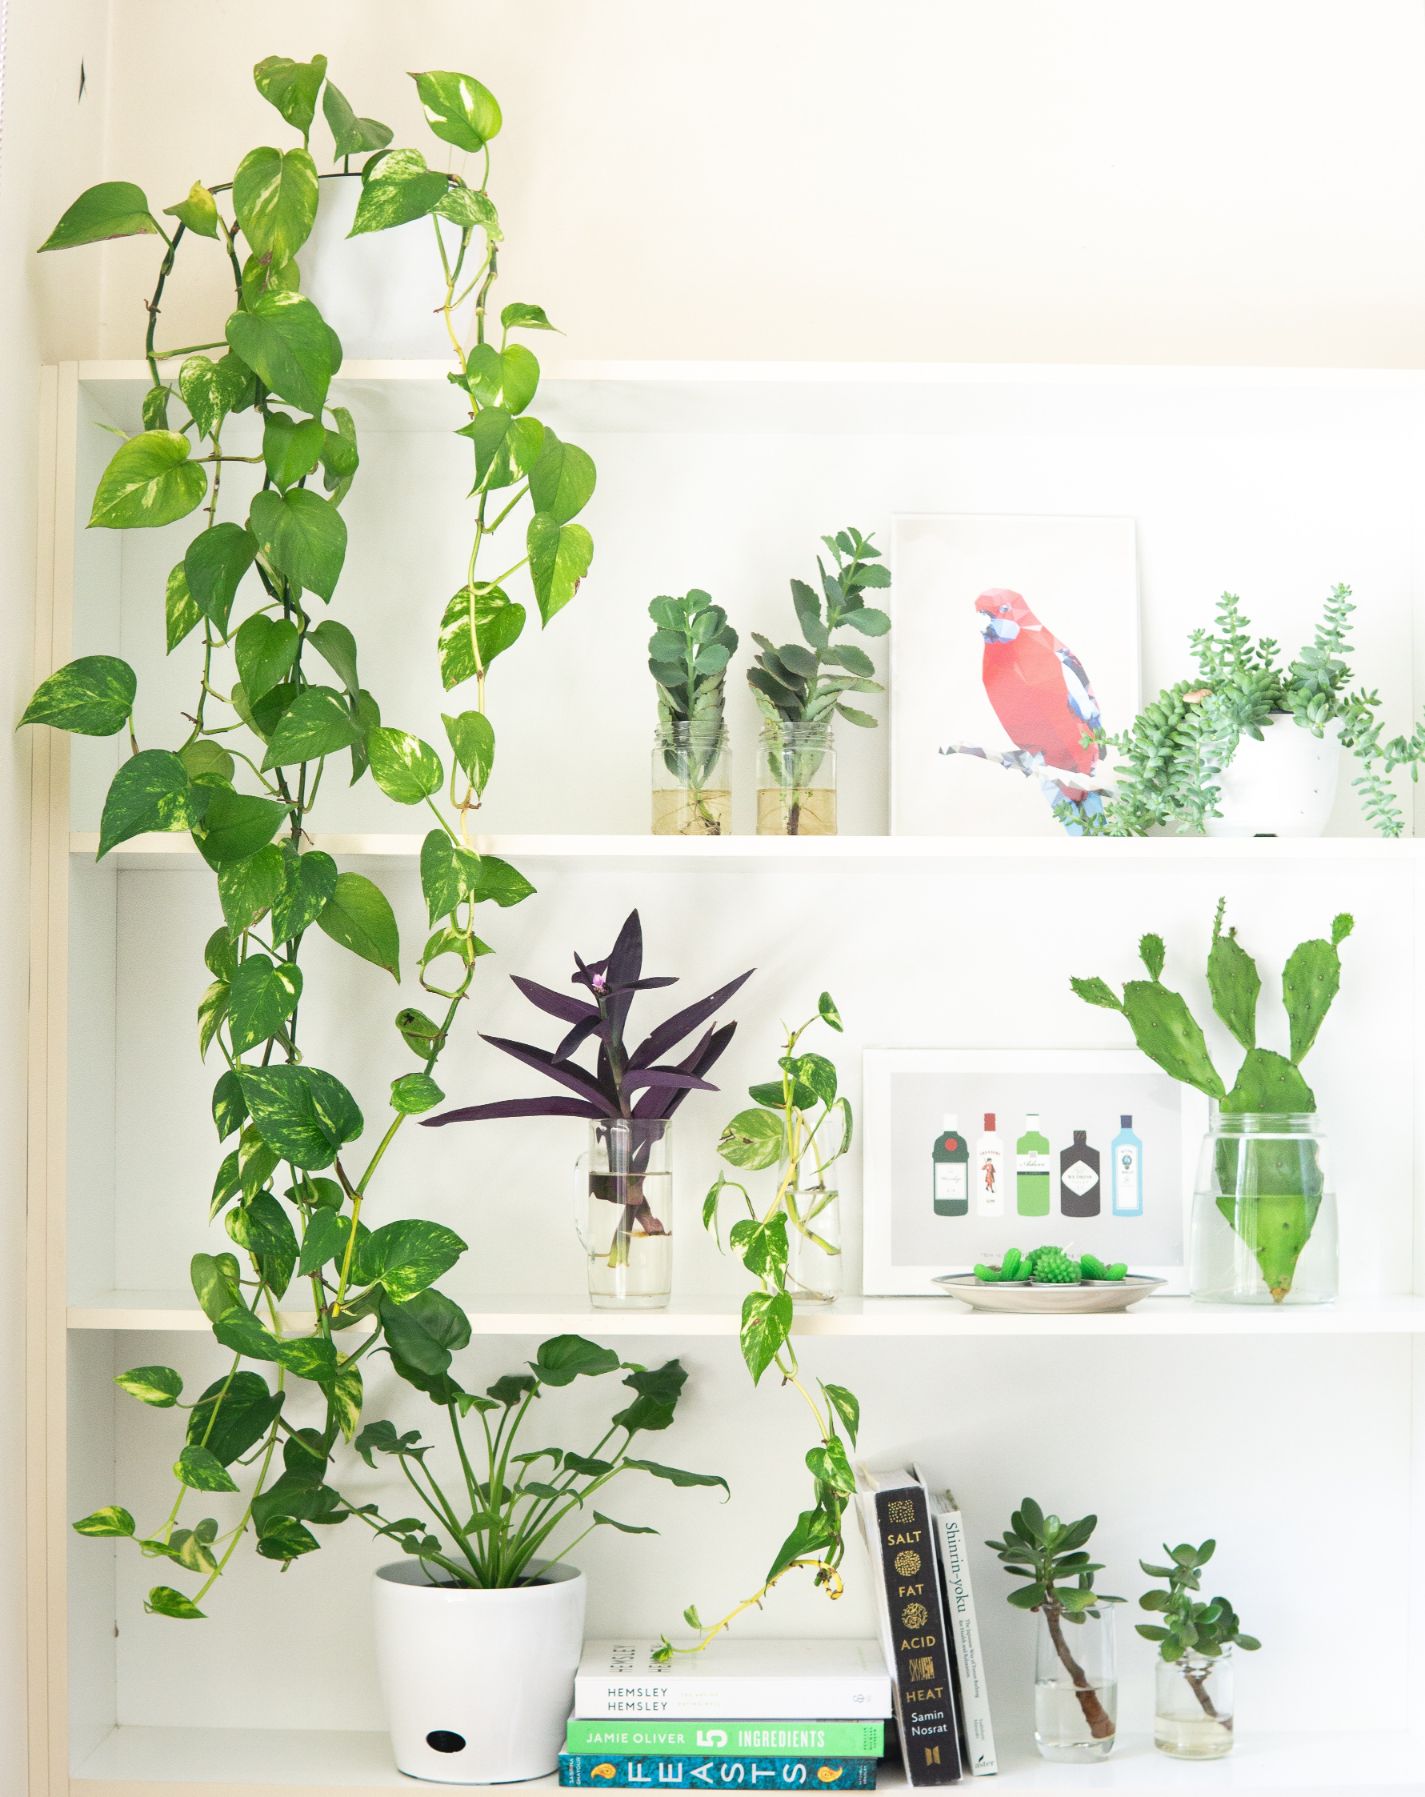
Adding plants to your home adds so much more than just greenery. Plants inhabit and accents the ambiance of an area.
-
Adding a few plants to the bookshelf will add more texture and dimension to your bookshelf.
-
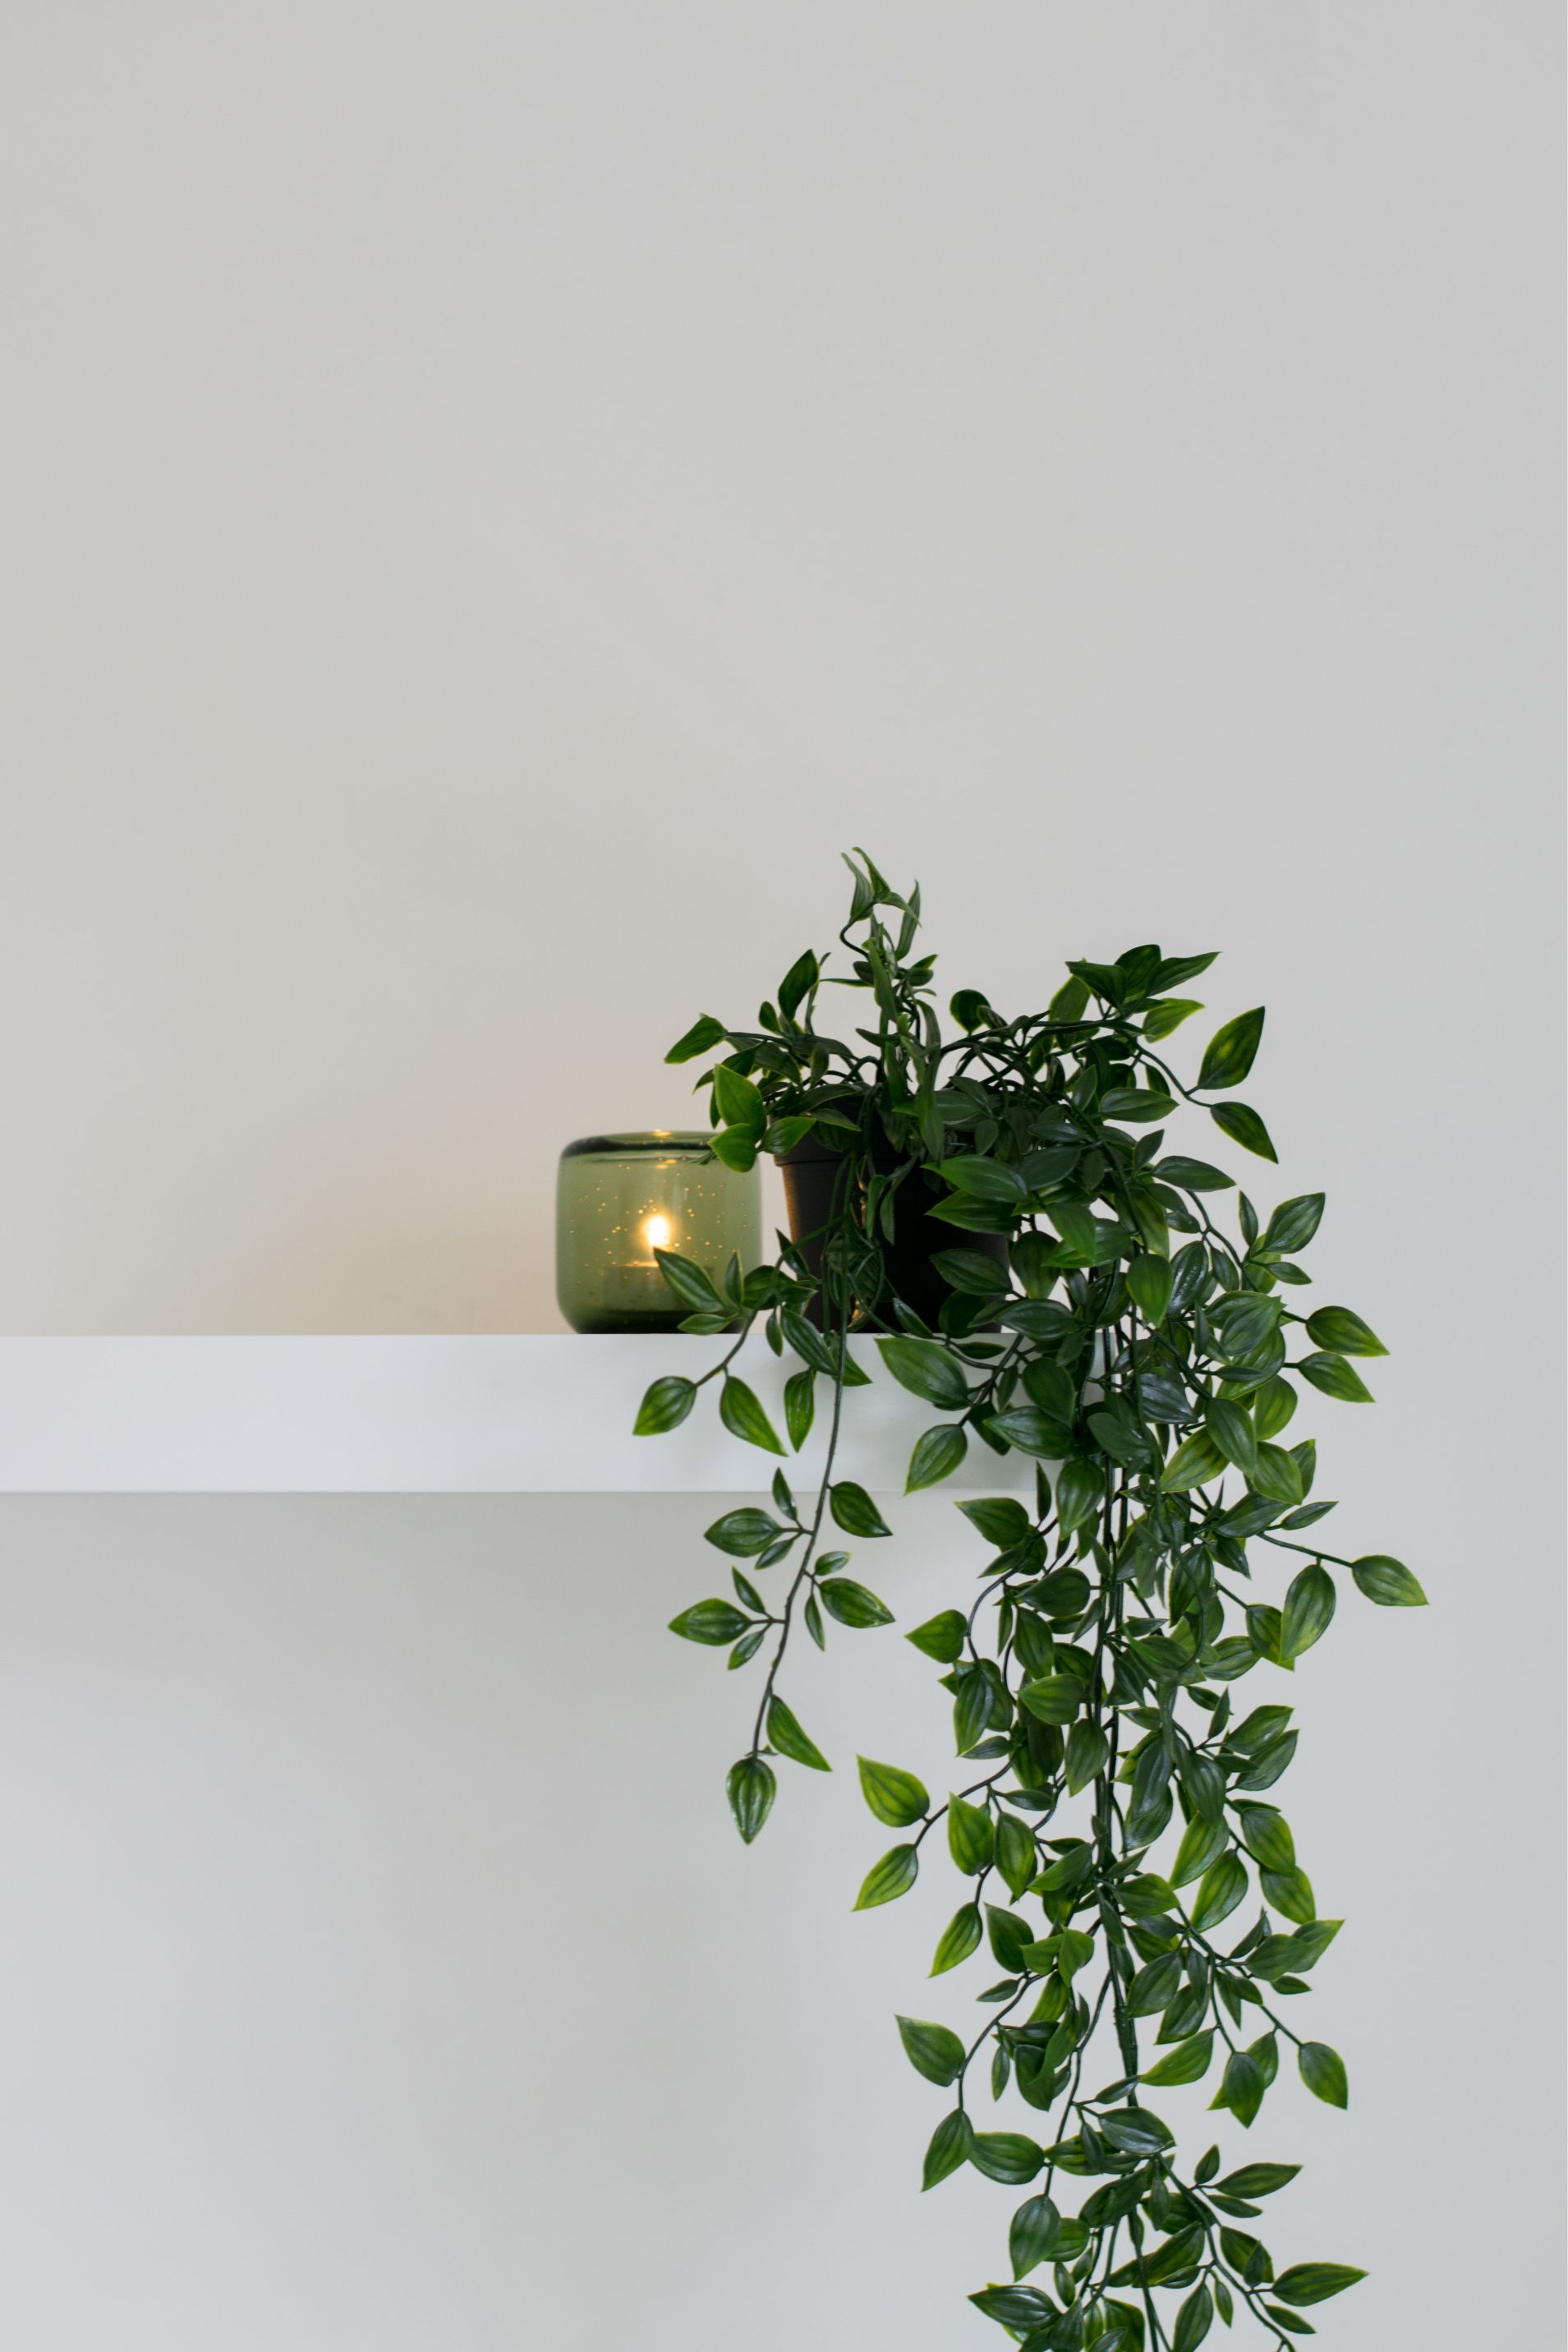
Good quality artificial plants create the same visual impact as natural plants.
Step #5
Enjoy Styling Your Bookshelf
These steps are intended as guidelines.
Once you have finished styling your bookshelf and you take a step back and do not like what you see, make some changes.
If it feels too busy, remove some items. Empty space is positive.
Do not try to style it all at once. If you have decorative items that do not fit the style, leave the space empty till you find something that will.
After styling take a shelfie! Compare your before and after photos. You will be amazed at the transformation.
For inspirational styling tips and more information please click on our logo to visit our website. You will be glad you did …………….
