5 Really Easy Steps to Refurbish Your Kitchen and Add Value to Your Property
5 Really Easy Steps to Refurbish Your Kitchen and Add Value to Your Property
An old tired looking kitchen will put potential buyers off when selling your property. It is, therefore, a good idea to refurbish your kitchen to add value to your property.
Without spending a lot of time or money to update your kitchen here are 5 Really Easy steps to refurbish your kitchen and add value to your property
1. Bench Top
- Using Sugar Soap, scrub all areas to remove dirt, oil and grease. Yes, even under the overhanging benchtop edges.
- Give the benchtop a fresh coat of paint – Dulux Renovation range has a range of renovation benchtop products.
- In one weekend you can transform the benchtop from mediocre to modern with Rust-Oleum Countertop.
- Let’s Revamp Property Stylists and Decorators can advise you on the best path to follow when refurbishing your kitchen benchtop.
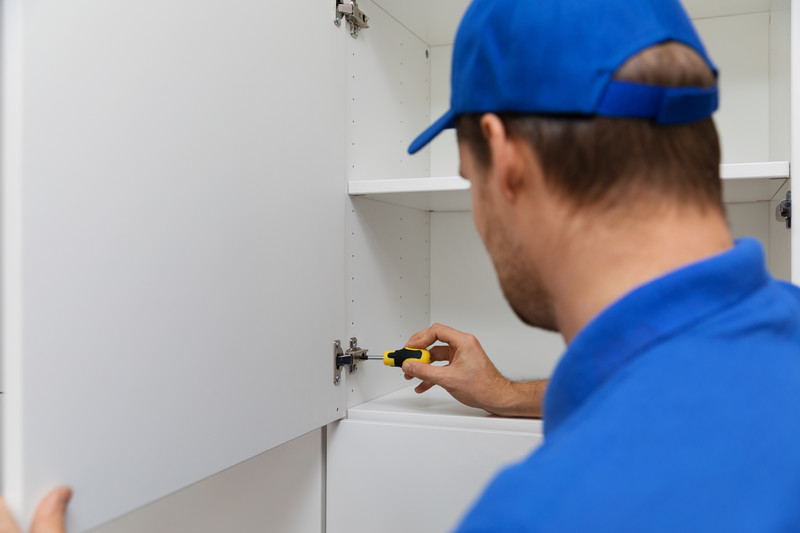
2. Cabinets, Shelves and Hinges
- Repaint cabinets, preferably in neutral colours. Neutral colours lighten up areas and make them look more spacious.
- If the cabinet doors are in poor condition they can be replaced with new ones.
- Replace broken hinges.
- If the wood is damaged and cannot hold the new hinge screws use an epoxy repair systems such as “Selleys Knead It”. The epoxy adheres to the surface, hardens and retains the new screws in newly drilled holes.
- Damaged and stained shelves can easily be replaced.
3. Handles, Lights and Taps
- Fix dripping taps.
- Replace tapware with modern stainless steel ones.
- Replace drawer and cupboard handles with new modern ones that will both complement and accent the refurbished cupboards.
- Repaint the ceiling if need be.
- Swap out old fashioned kitchen ceiling lights with new modern LCD downlights or pendant lights.
- Install under-cabinet lighting. This will enhance kitchen features.
4. Flooring
- Sand and polish worn out floorboards.
- Update the floor space with ceramic tile or light laminated floorboards in a timber look.
5. Curtains
- Replace the curtains with neutral colour horizontal blinds.
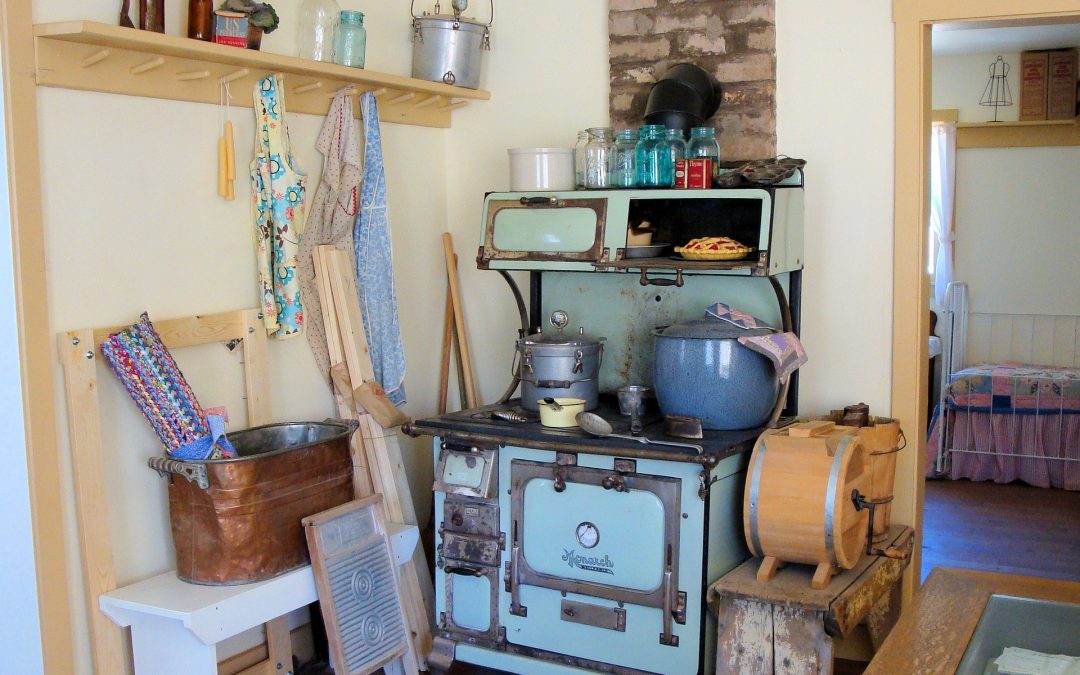
Kitchen Refurbished
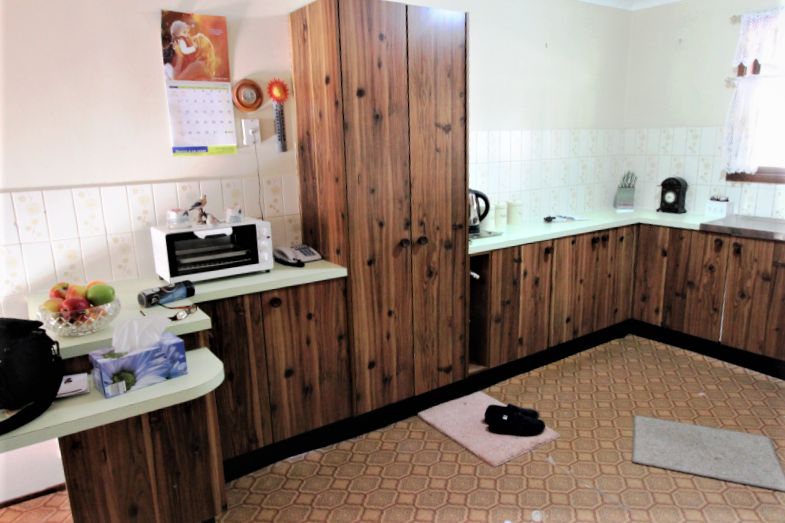
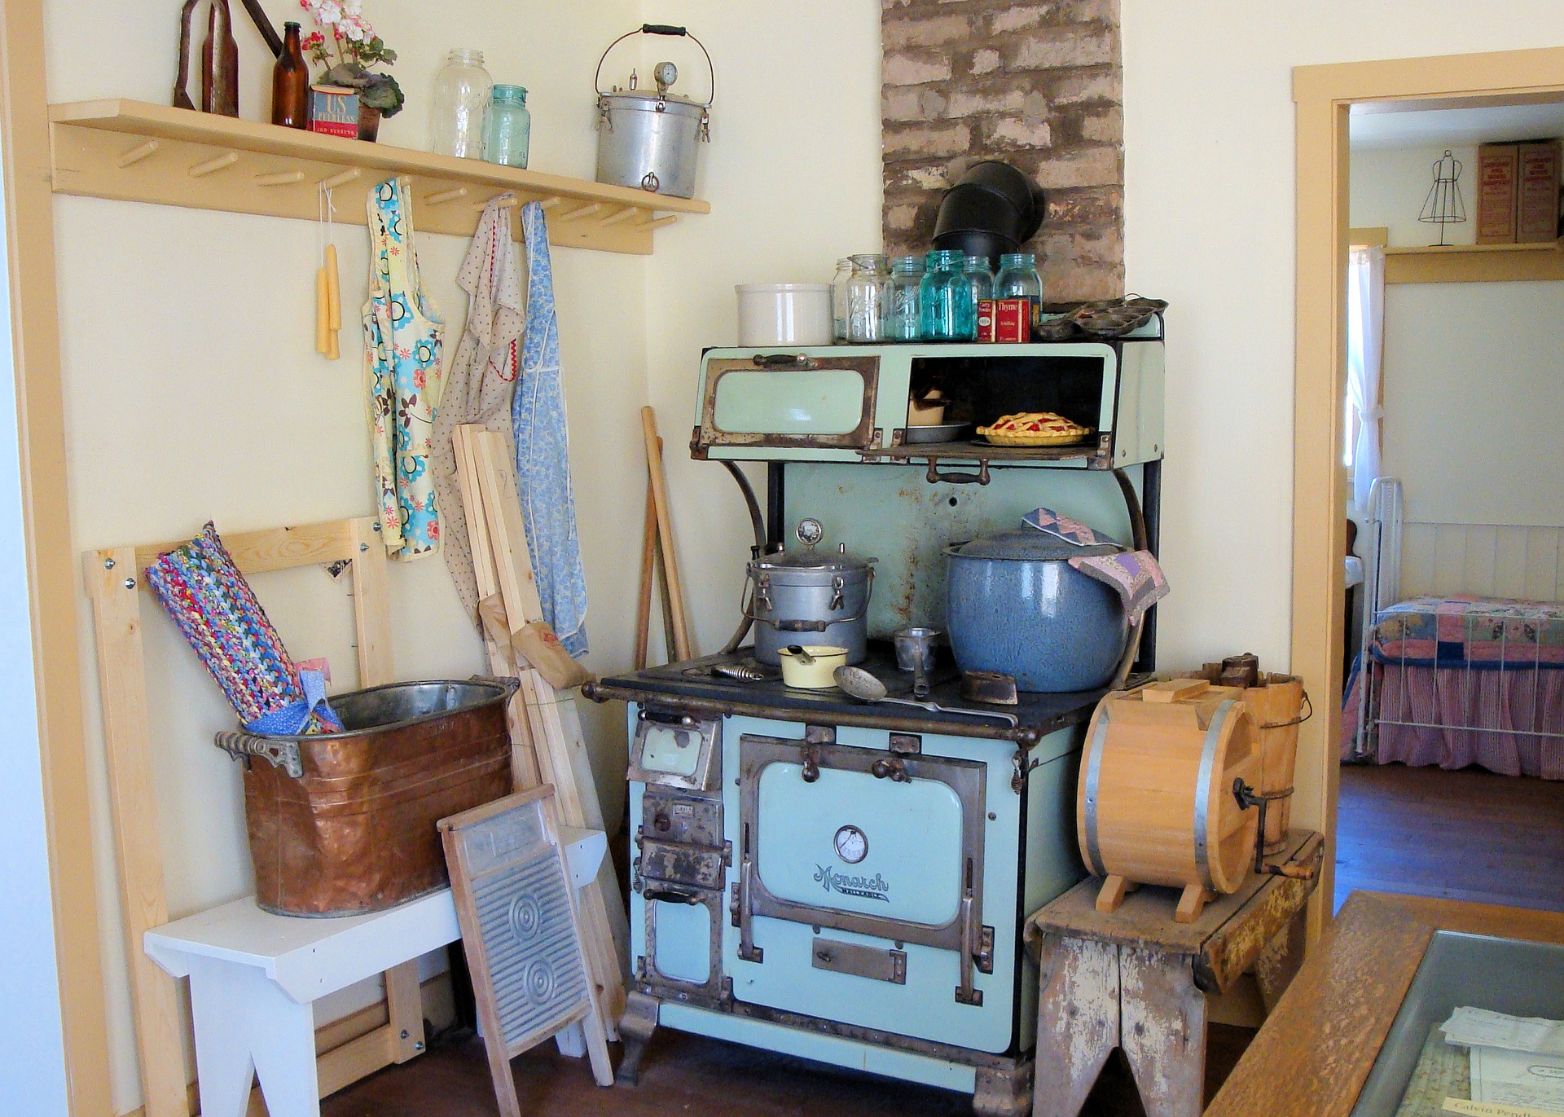
BEFORE
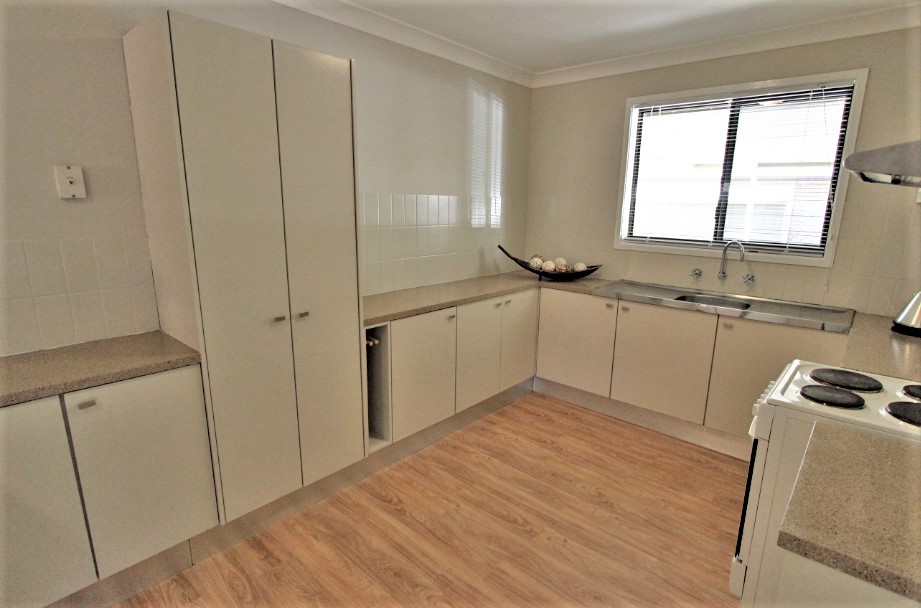
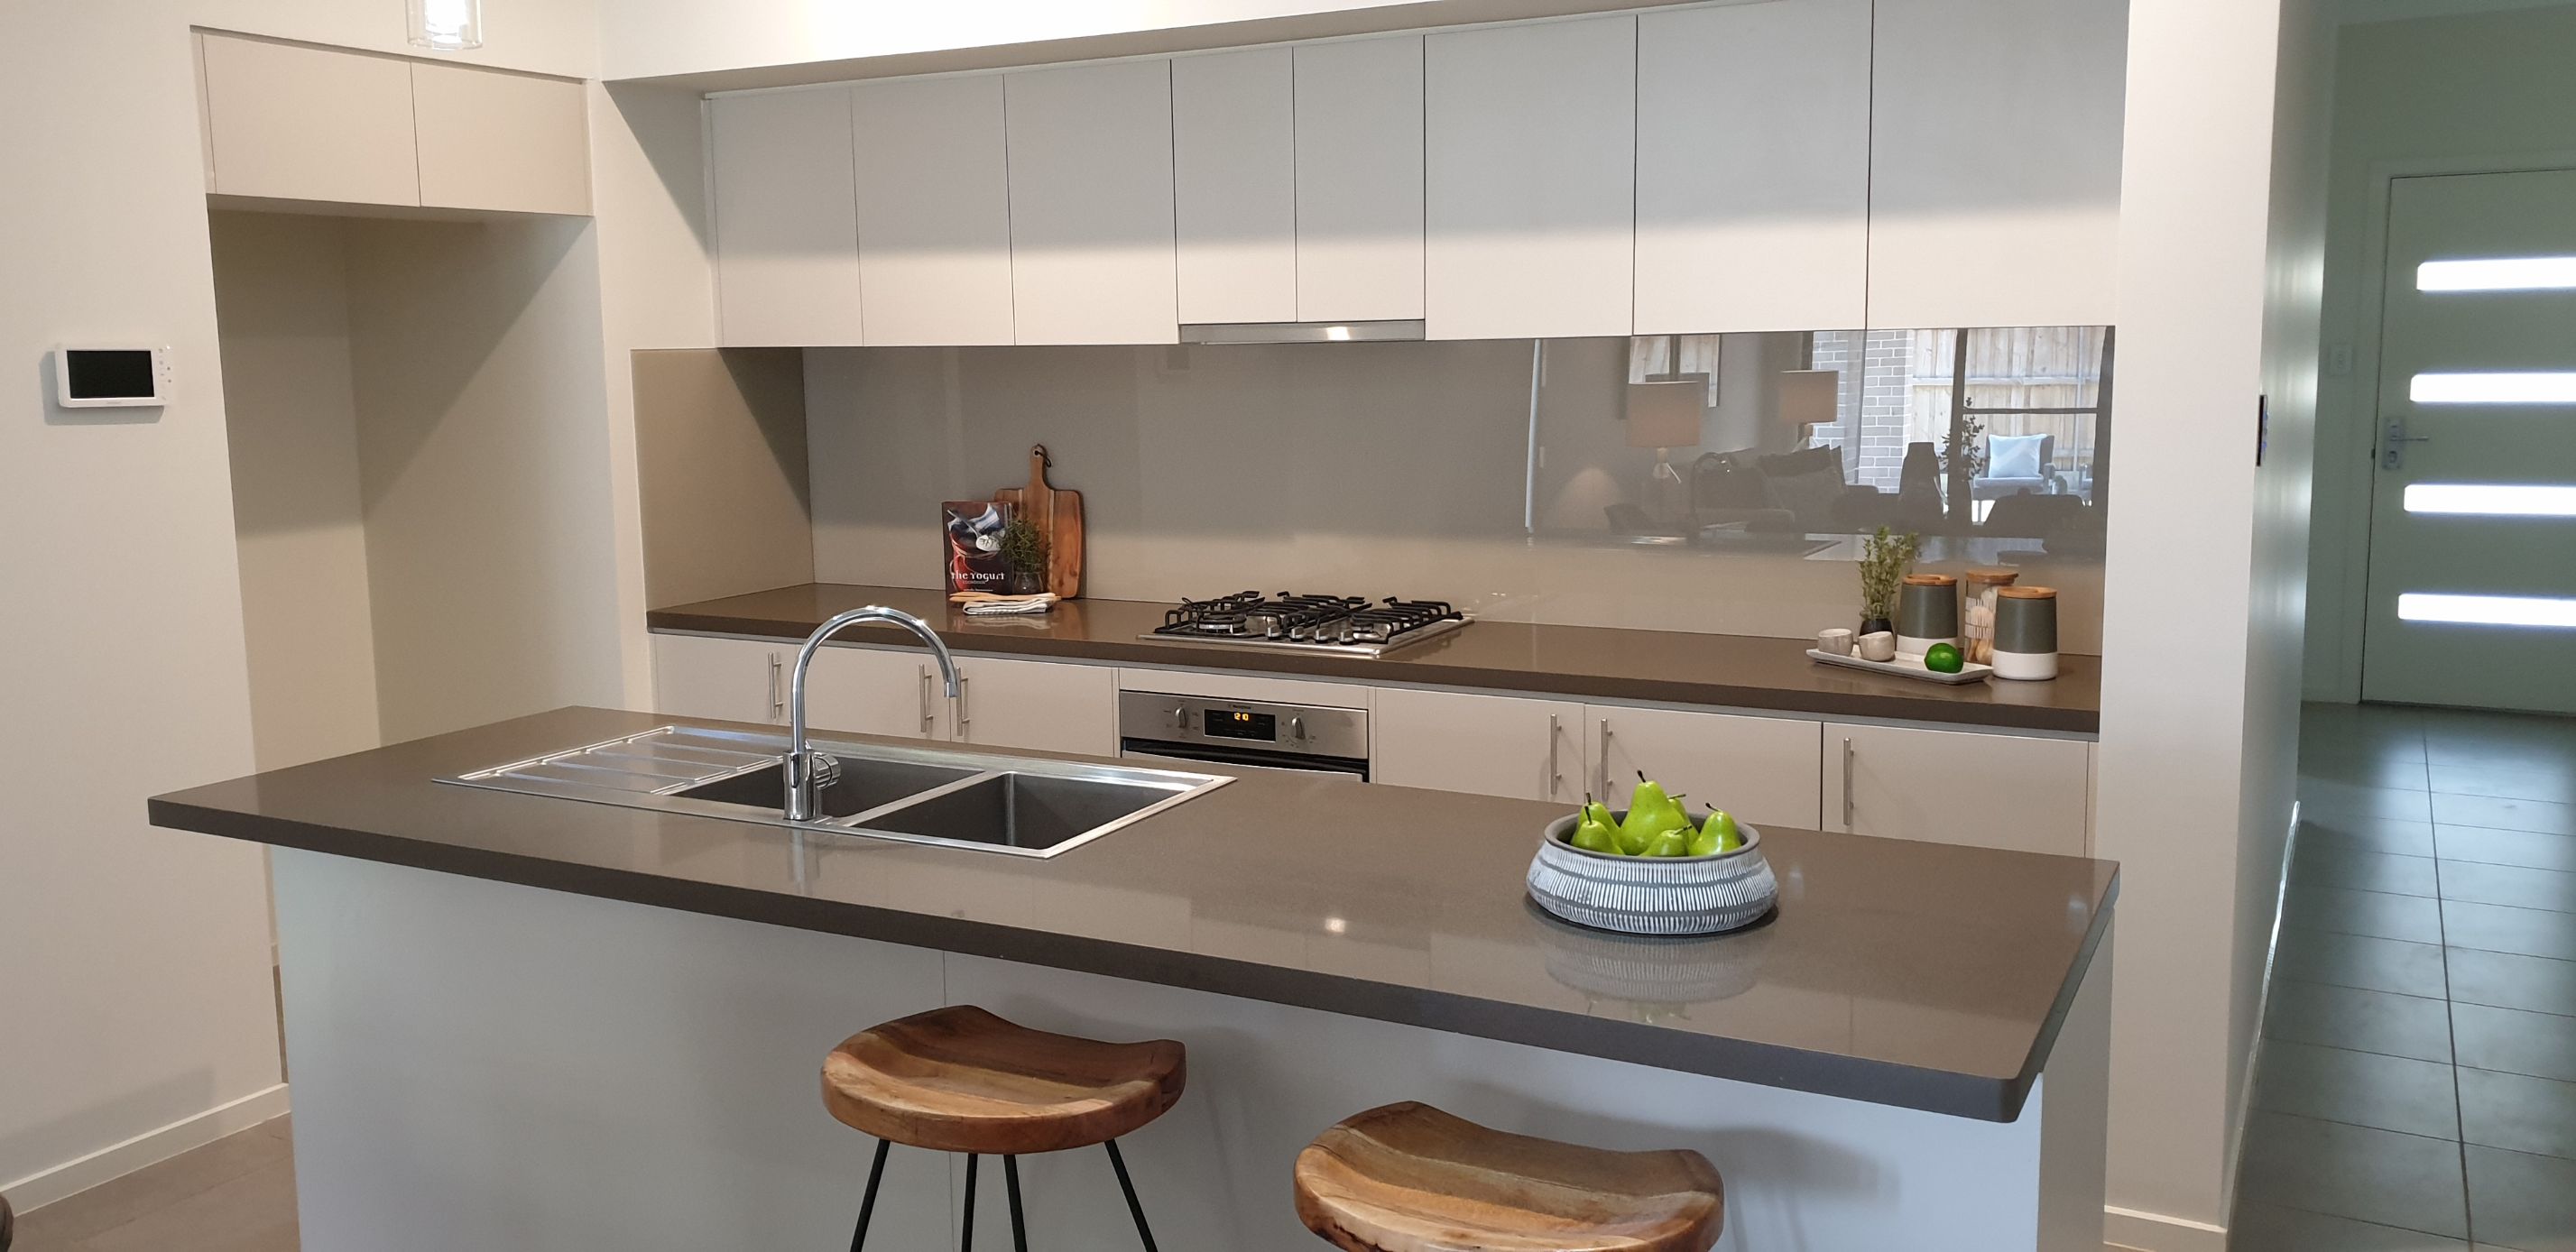
AFTER


 The Bunk Bed