How To Incorporate Bold Colours Into Your Home

How To Incorporate Bold Colours Into Your Home

How To Incorporate Bold Colours Into Your Home.

Incorporate bold colours into your home

The question often asked (by clients) is how to incorporate bold colours to your home. The best way to answer this is to define bold colours and to know which colours are considered as bold colours and then how to apply these colours to your home.

Defining Bold Colours

Defining BOLD Colours

• Bold colours are verbal – they convey messages. A good example is the colour red. Red is associated with warnings and danger and is used in many traffic signages. 

• Bold colours exhibit personality – they are not “wallflowers” but attention grabbers. They are bright, bold, and energetic. They are influencers.

• Bold colours are mood setters – they have a powerful effect on emotions. Certain colours can make you feel positive, energetic, or irritable.

• Bold colours juxtapose – they are contrasting enhancers and supportive to other colours around them – they make other colours stand out and look more dramatic –

Defining Bold Colours

The Following Six Colours are Considered BOLD Colours

We highlight the following colours, though other colours fall within this category too.

a) Lime Green – is young, vibrant, and energising.
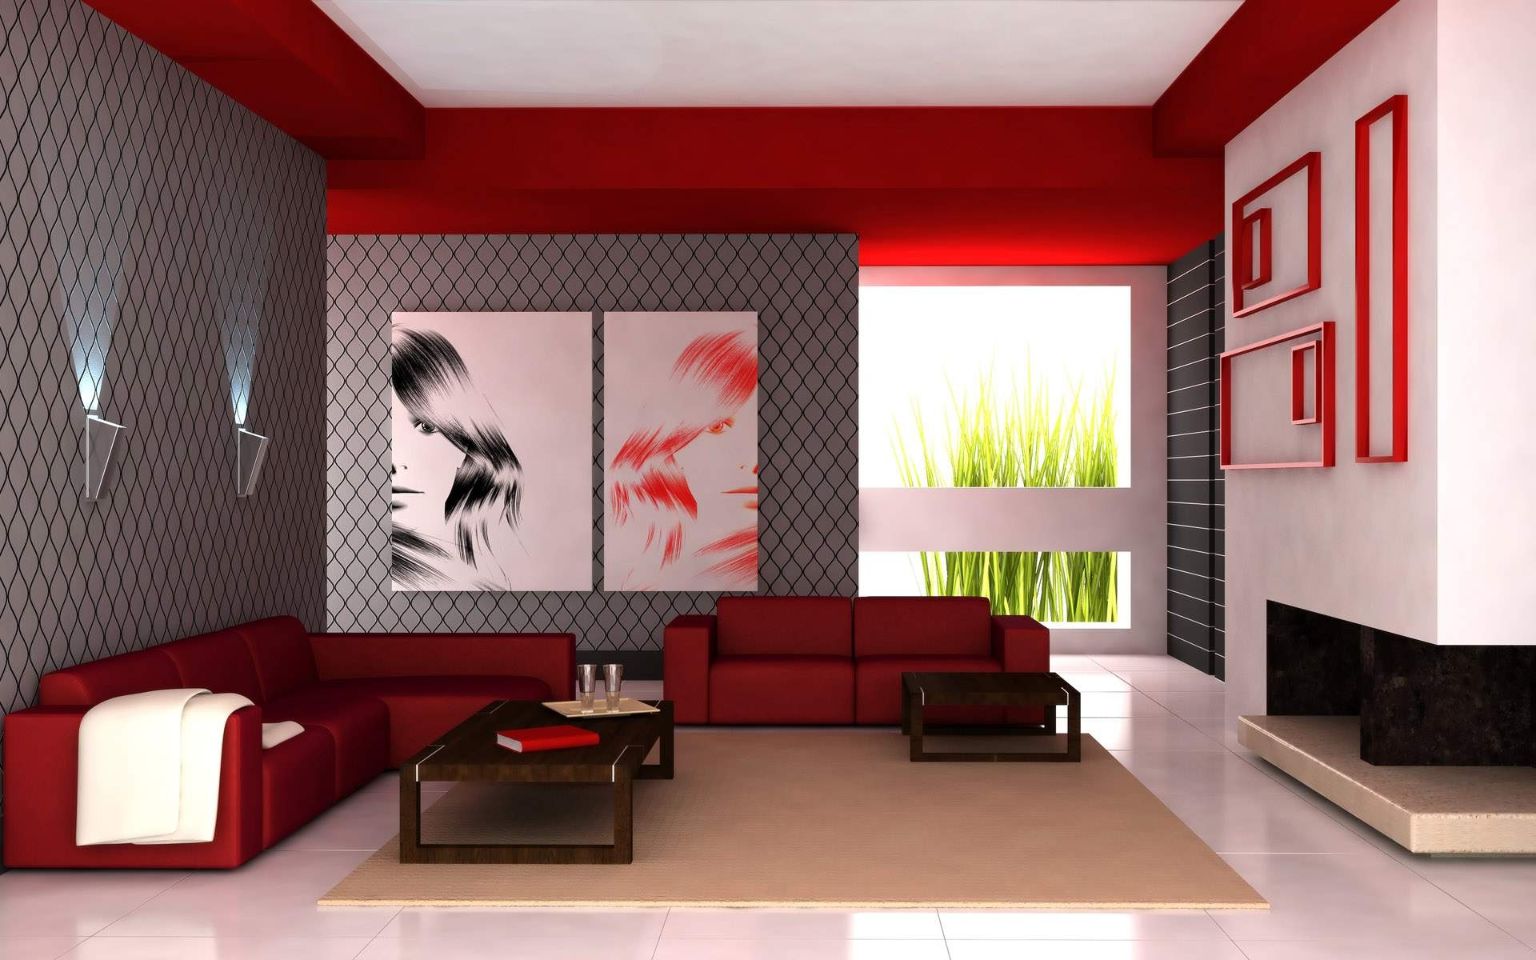
b) Red – inspires feelings of enthusiasm and energy.
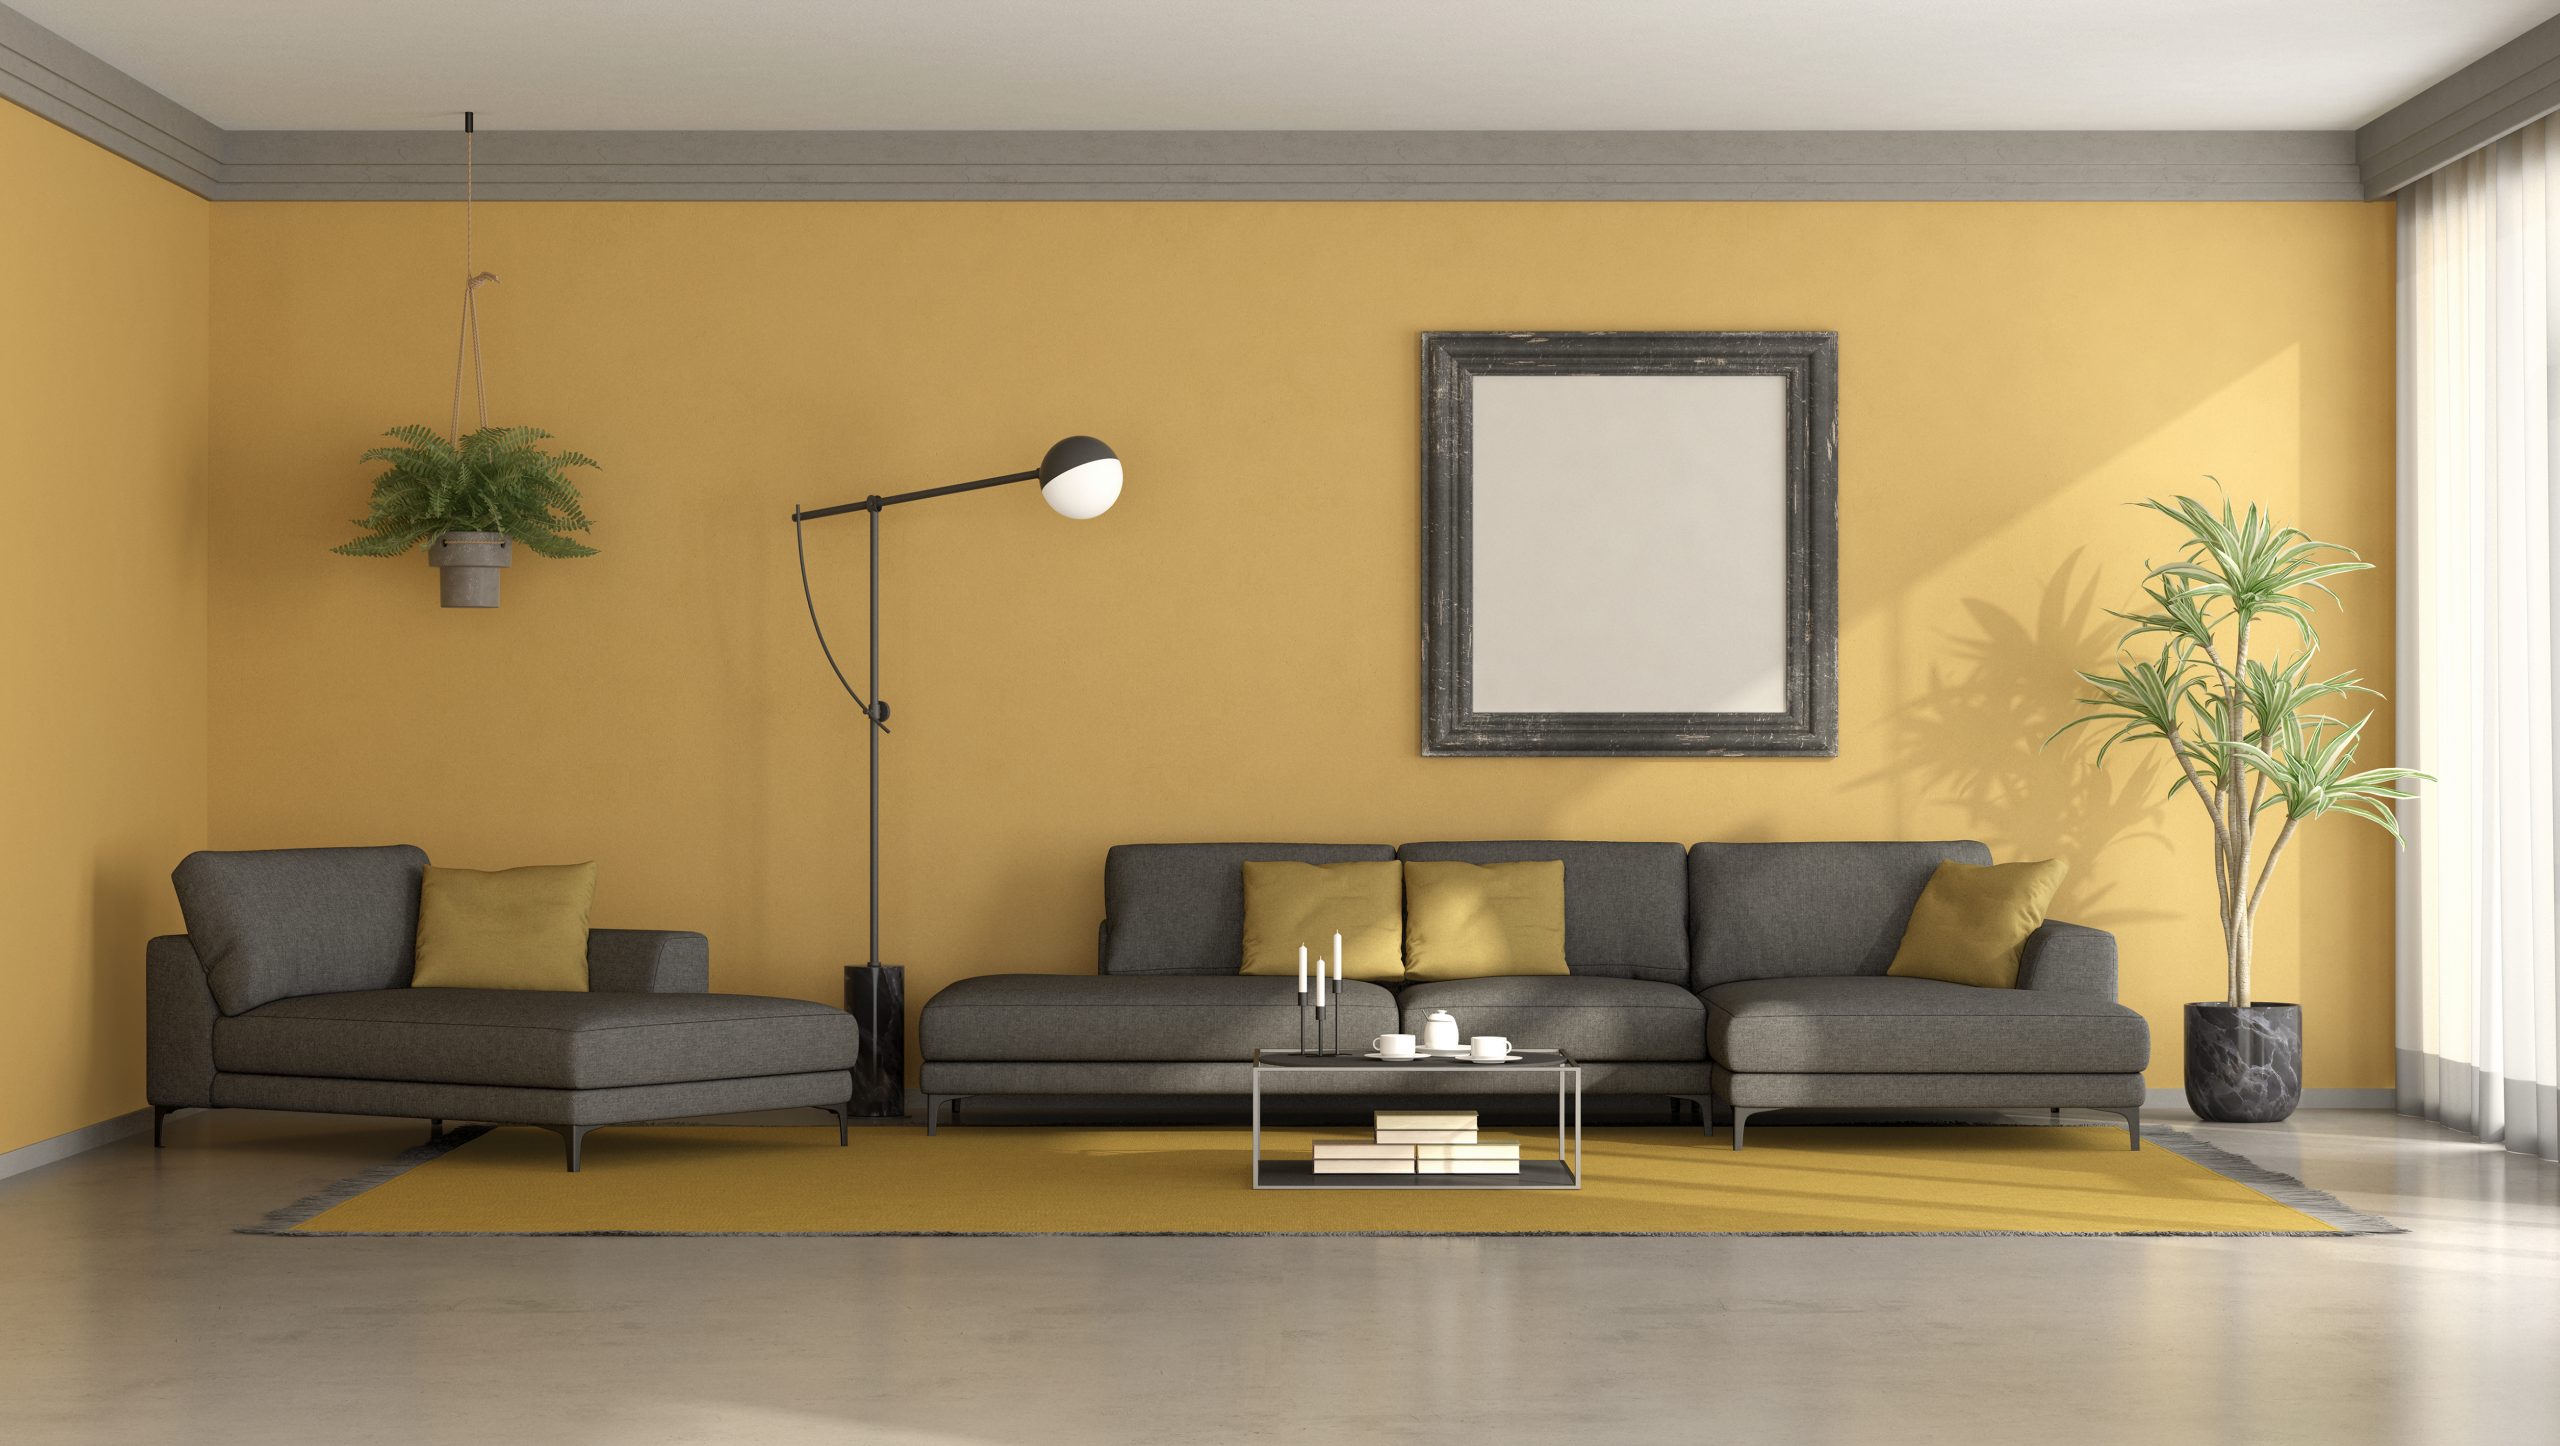
c) Yellow – especially canary yellow. A positive sunny colour.
d) Black – can make a dramatic and effective statement.
e) Teal – adds calm and soulfulness.
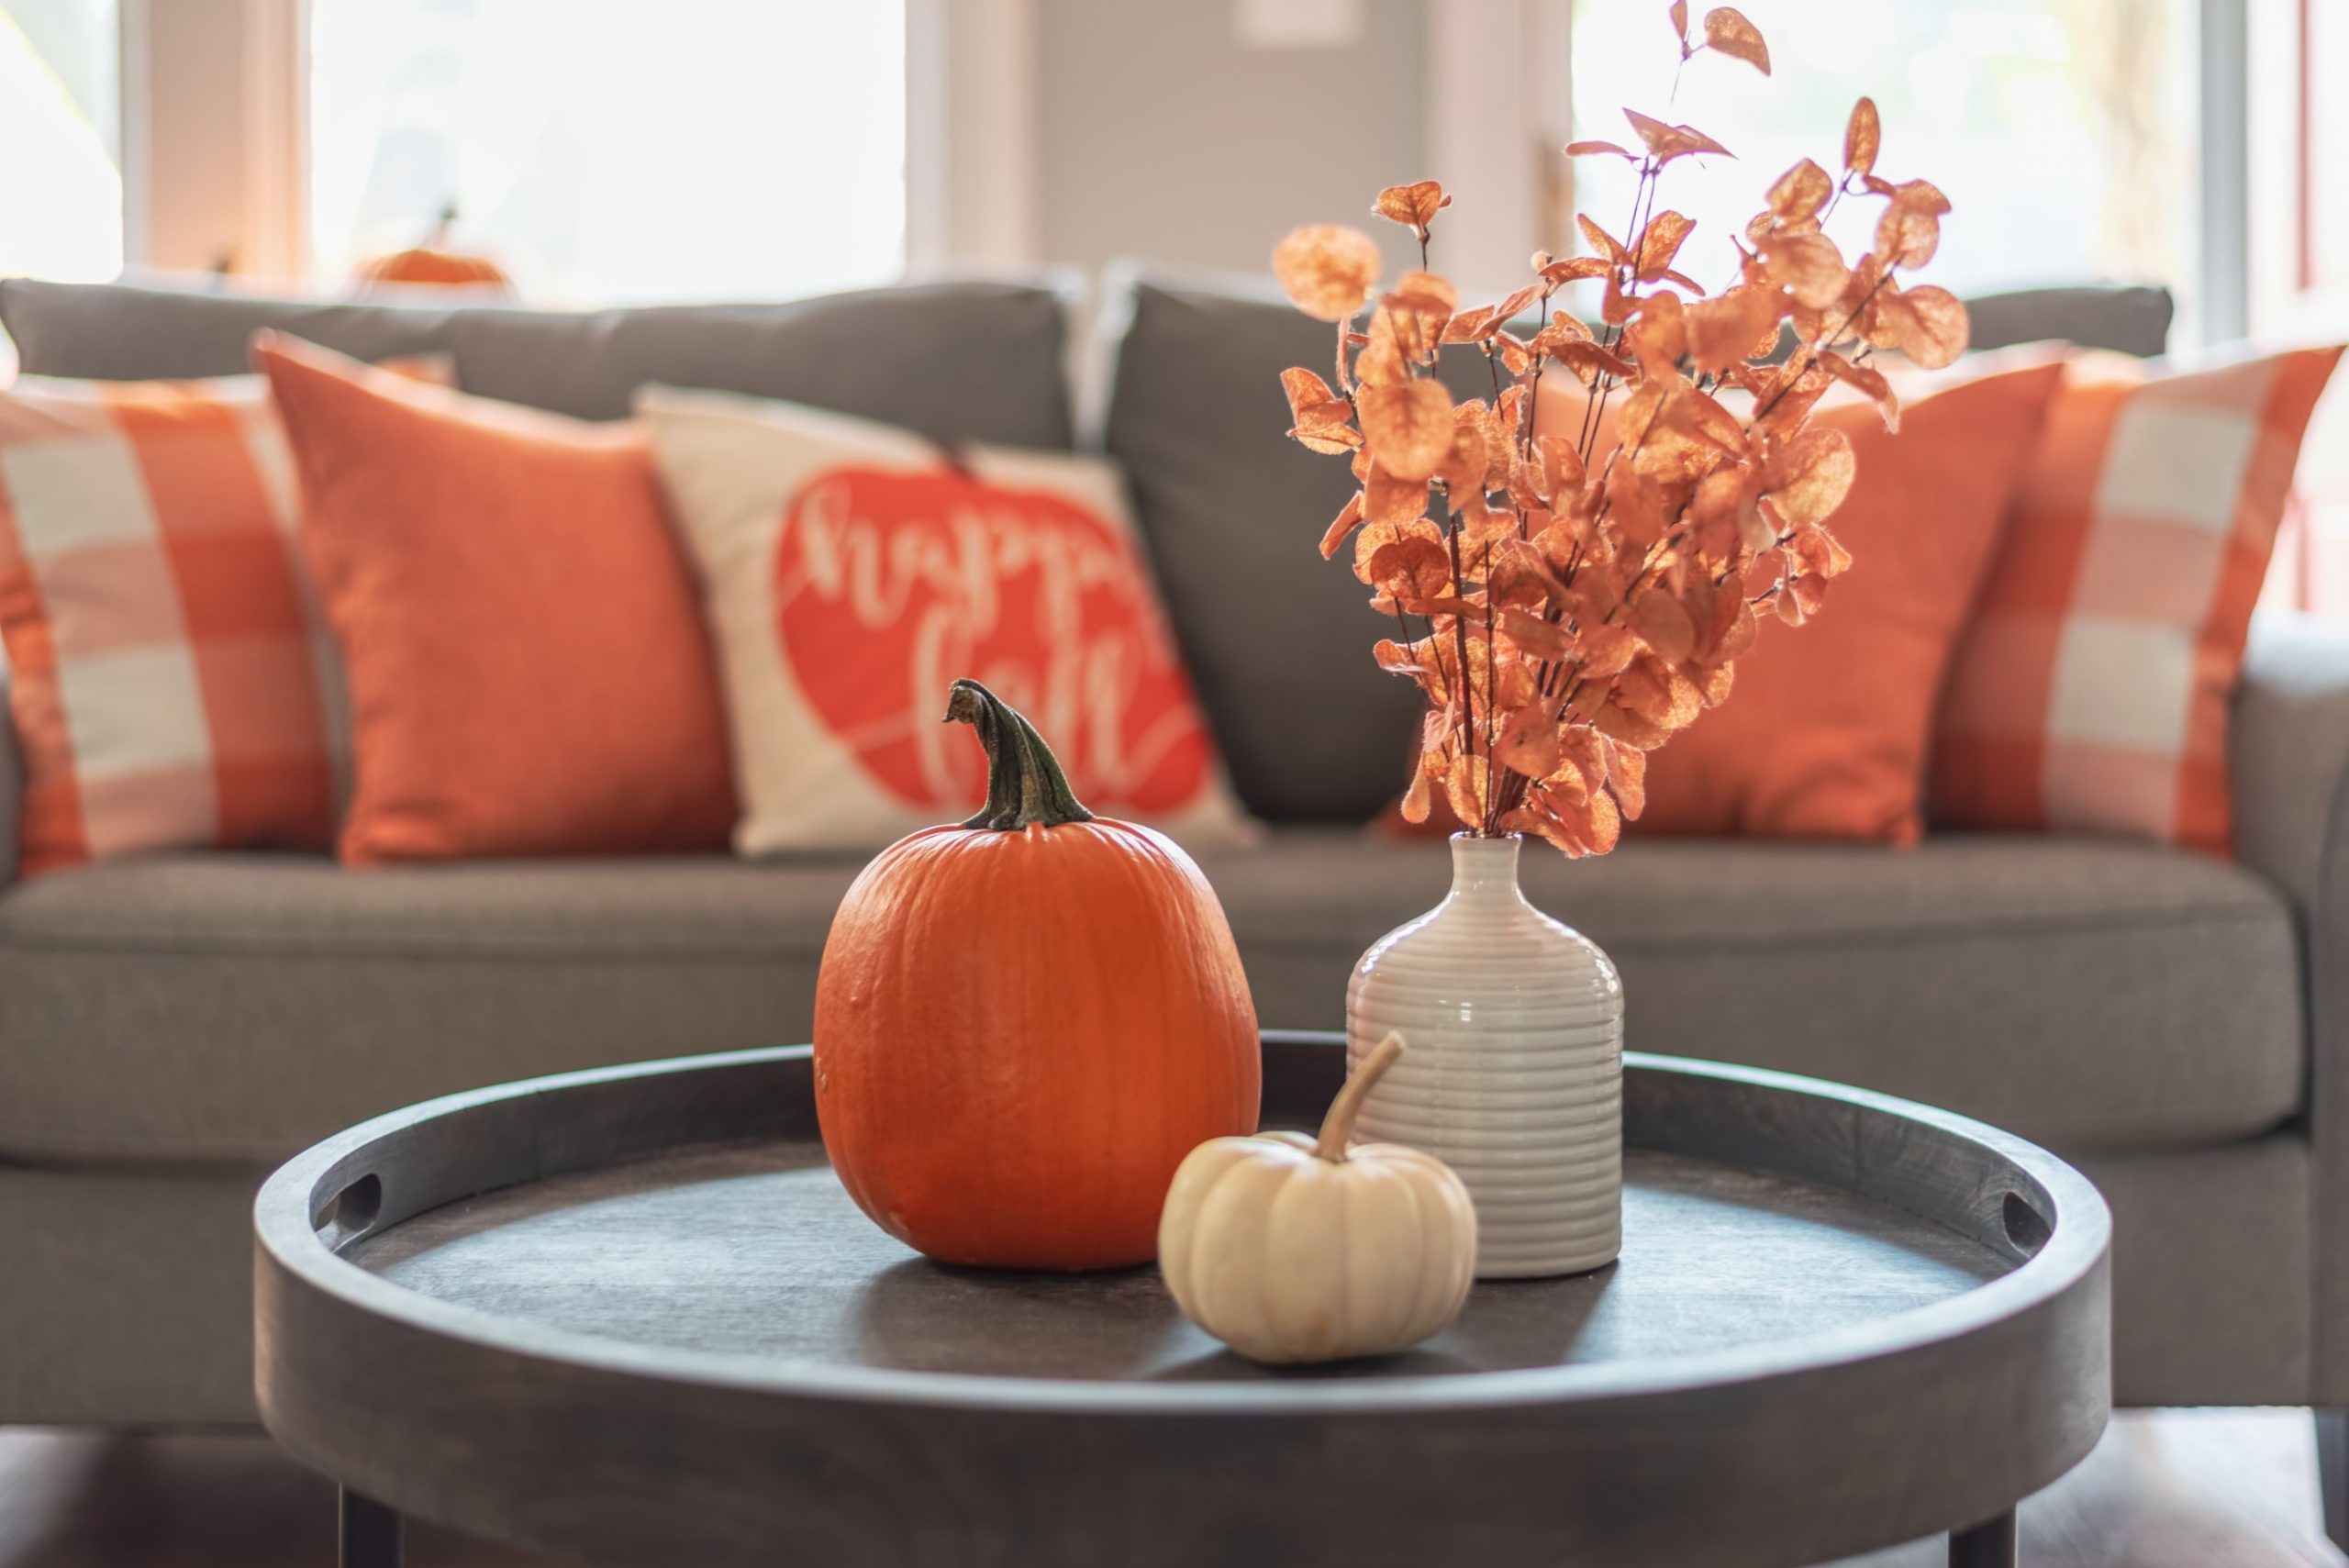
f) Orange – energising though not commanding.

How to Incorporate BOLD Colours into Your Home

Incorporate Bold Colours into your living area

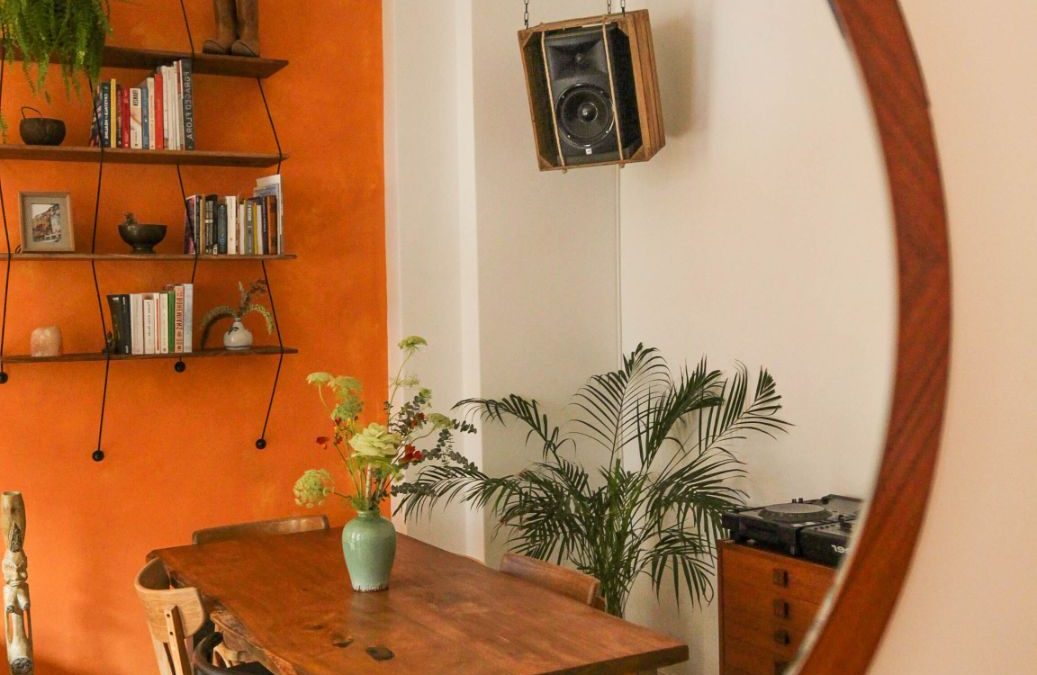
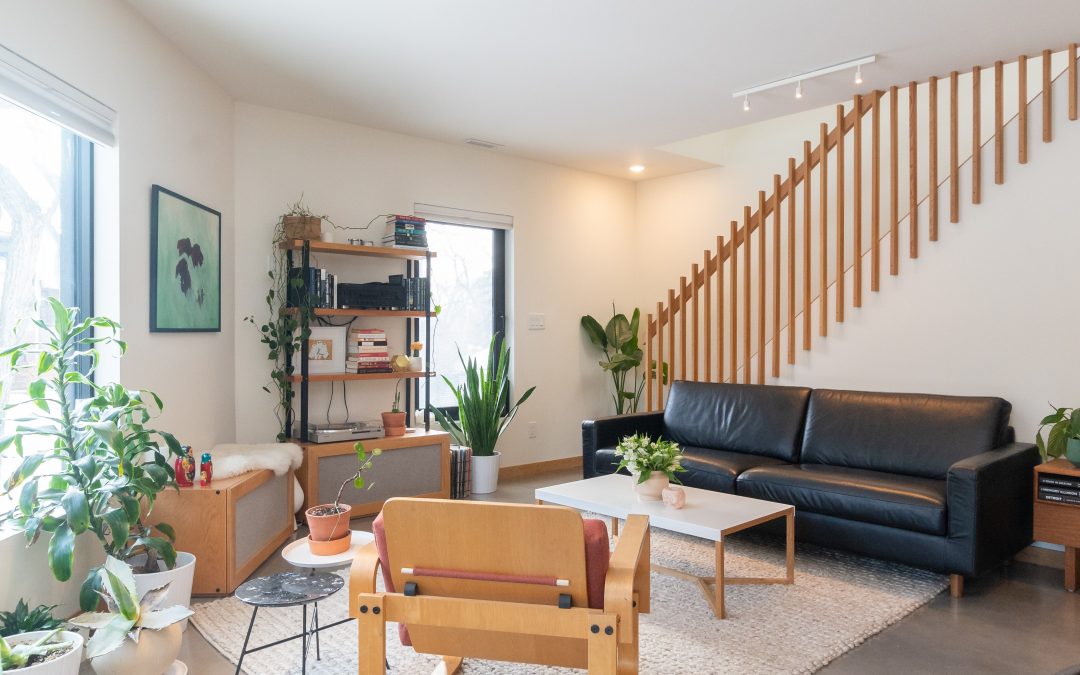
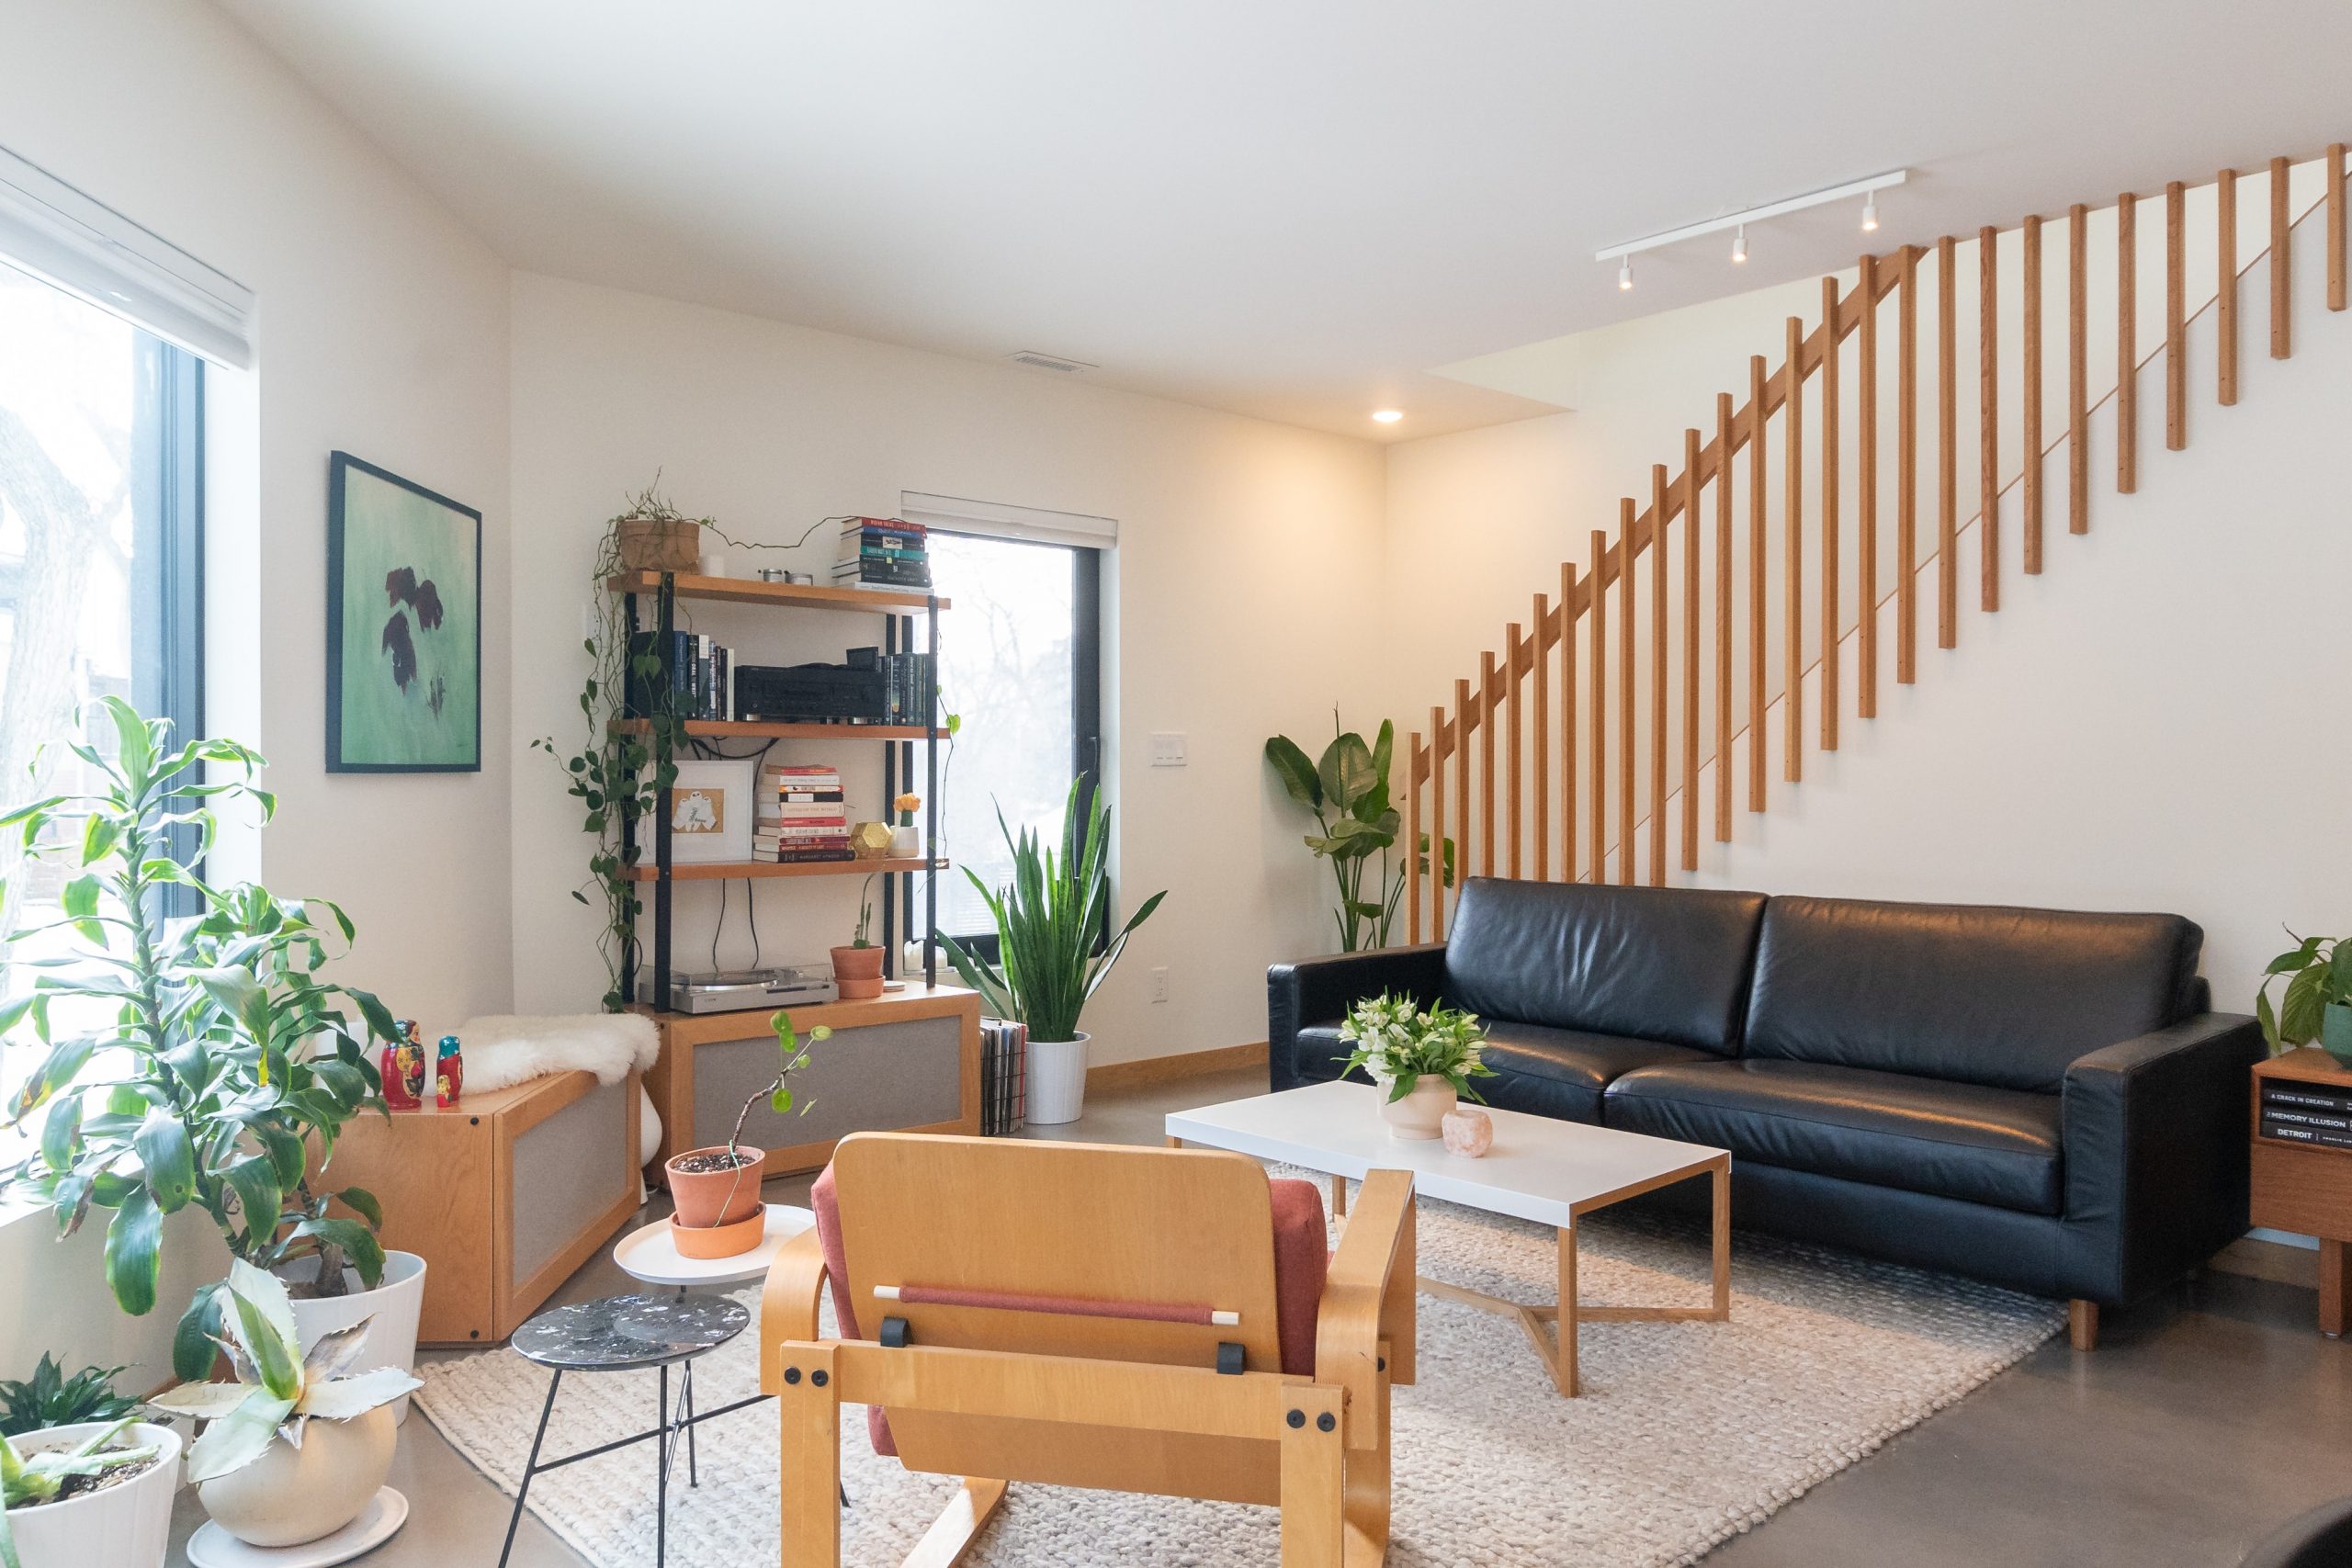
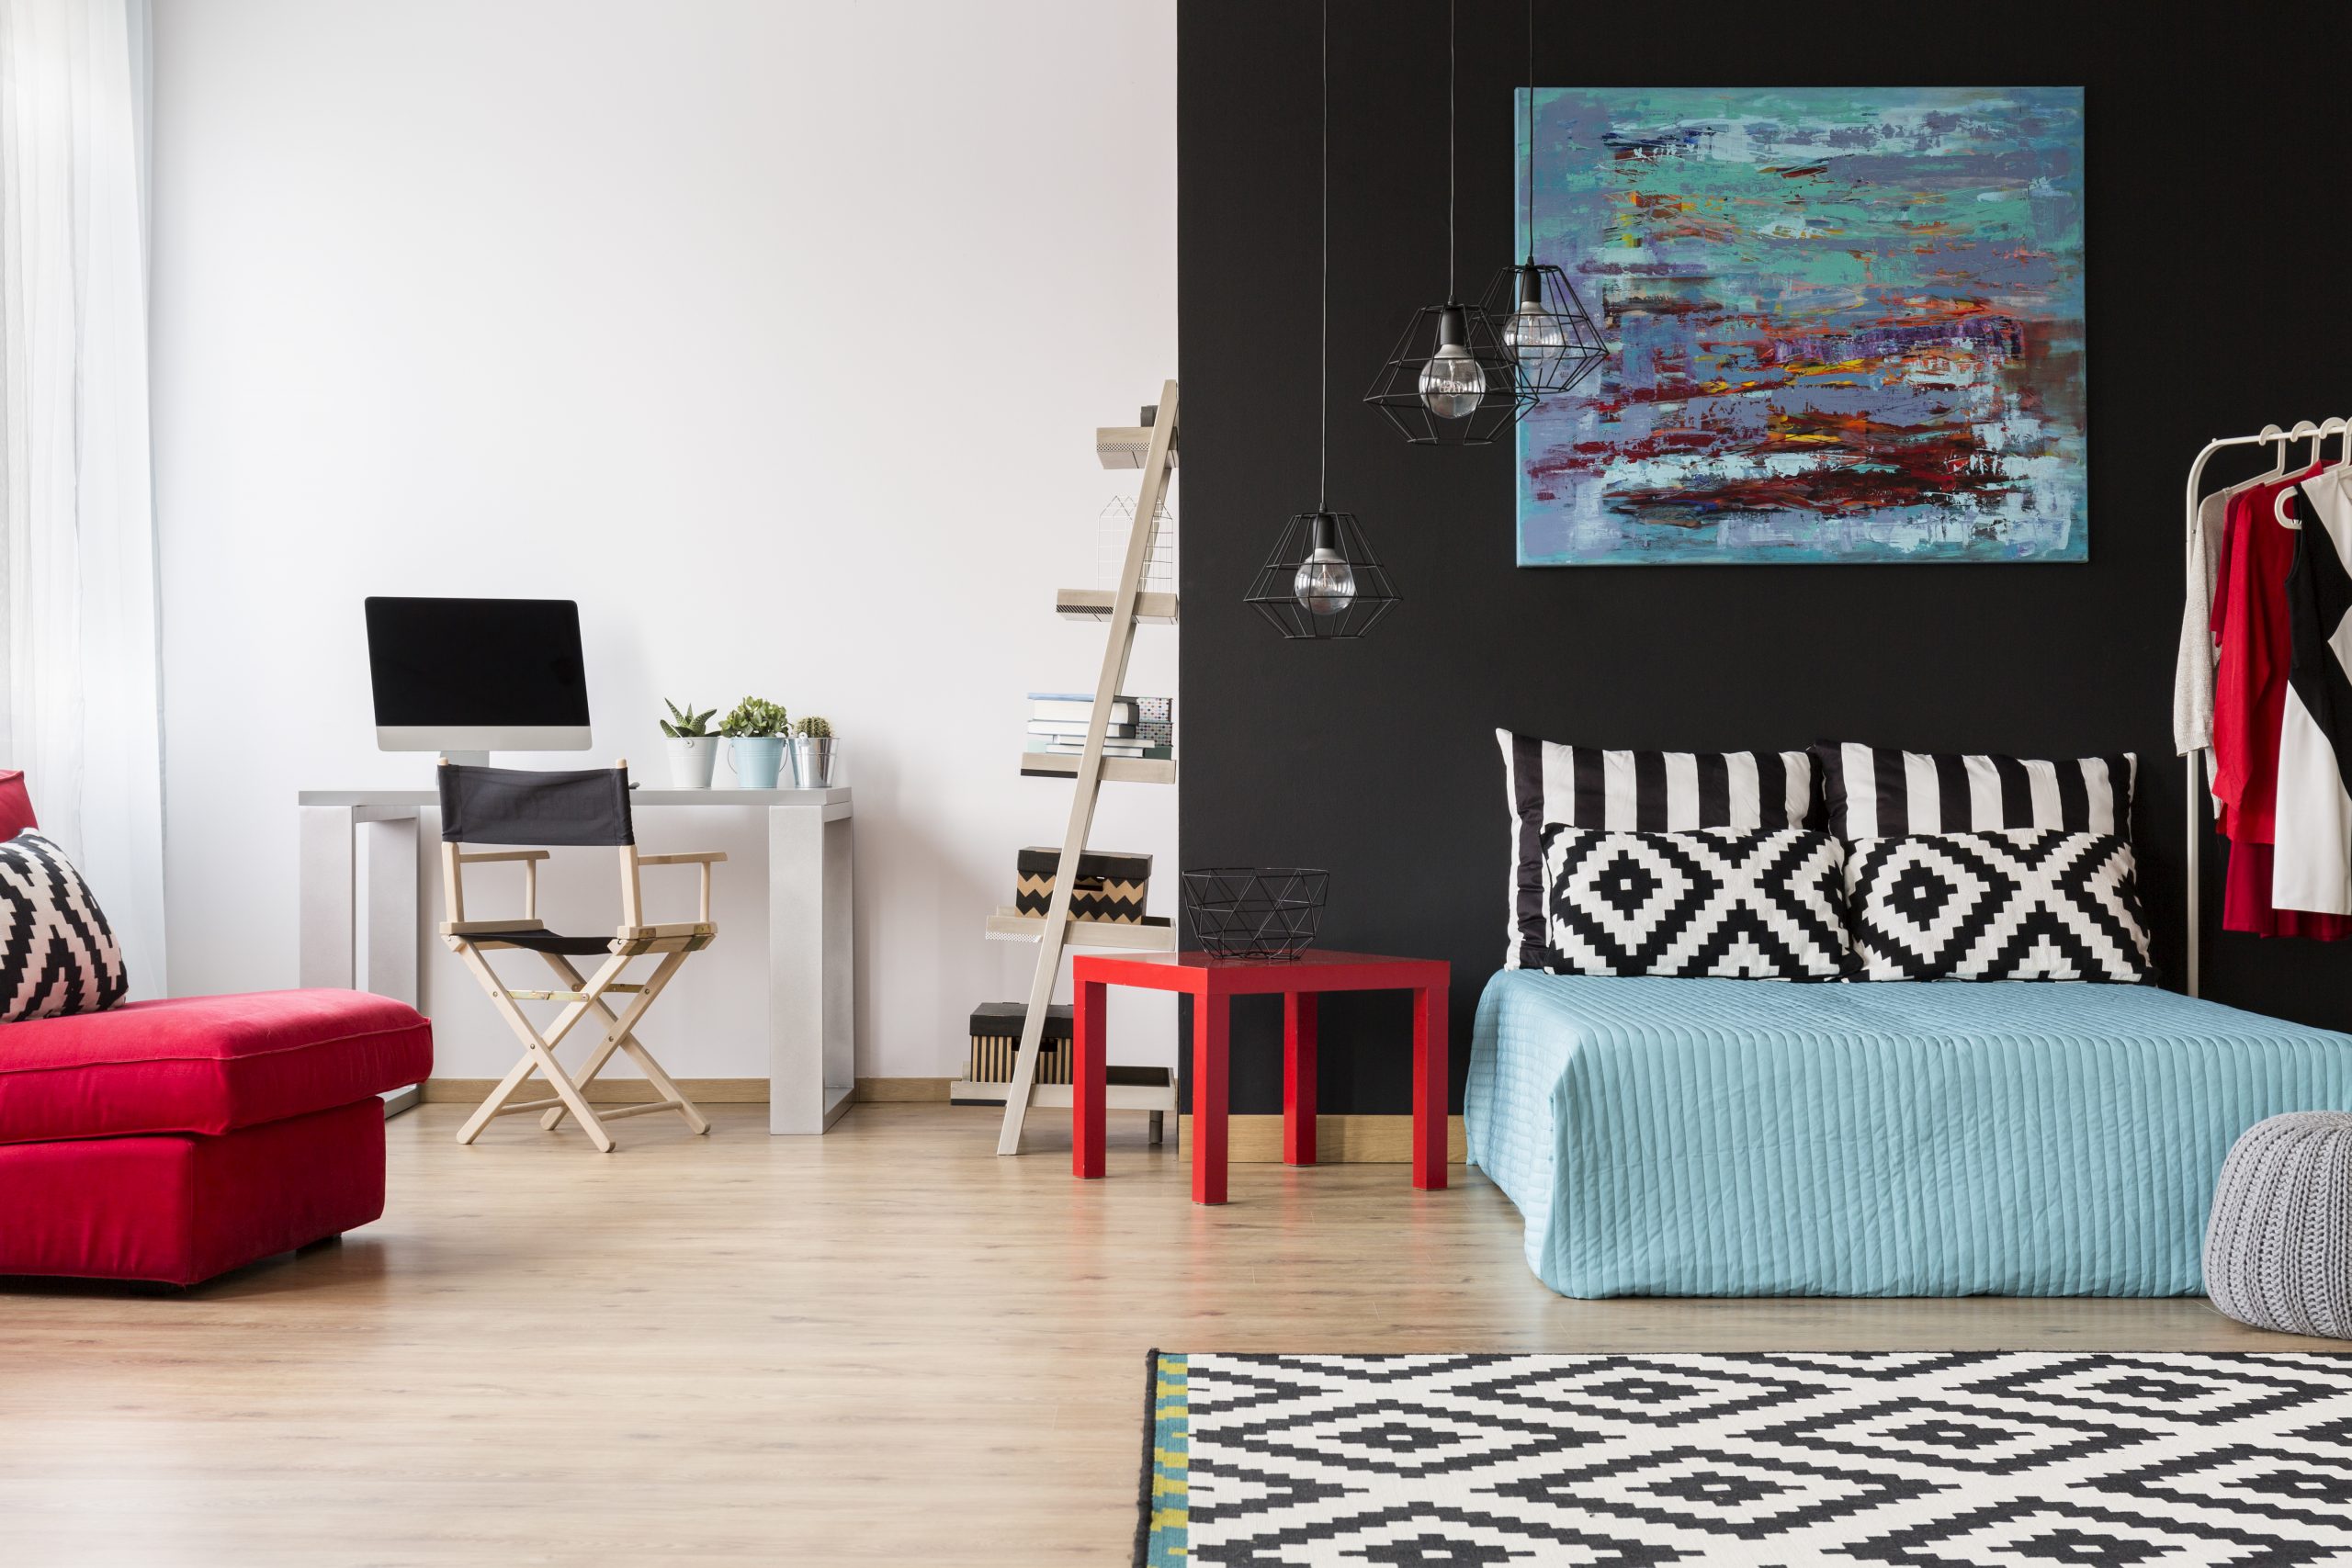
a) To accent a wall in your living room paint it in a bold contrasting colour. Be sure to test the colour first to ensure that the outcome will be what you are expecting it to be.

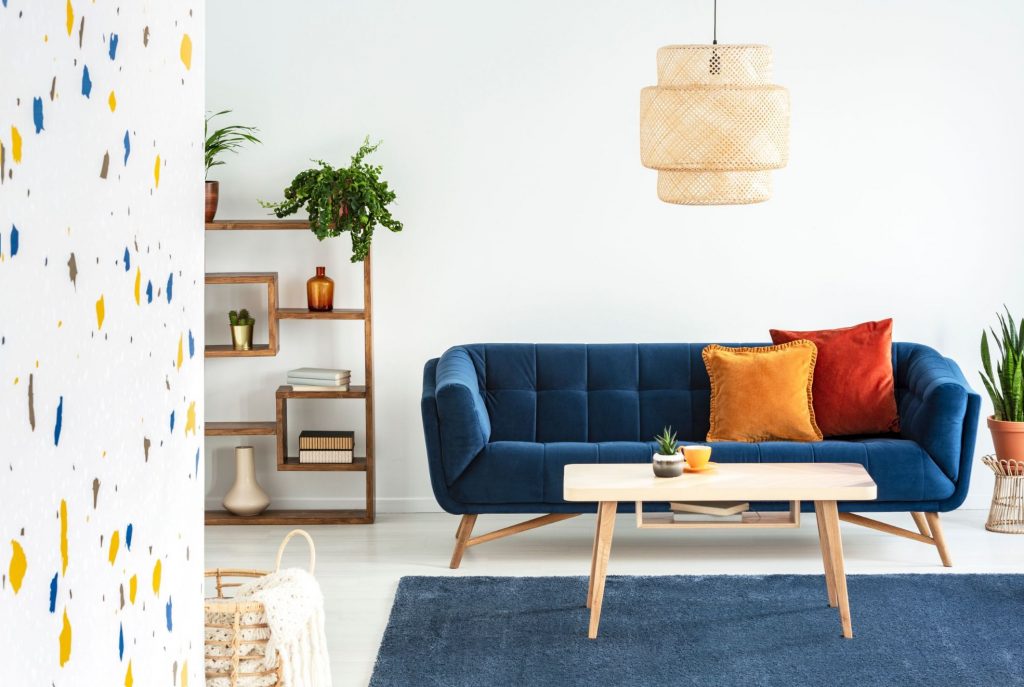
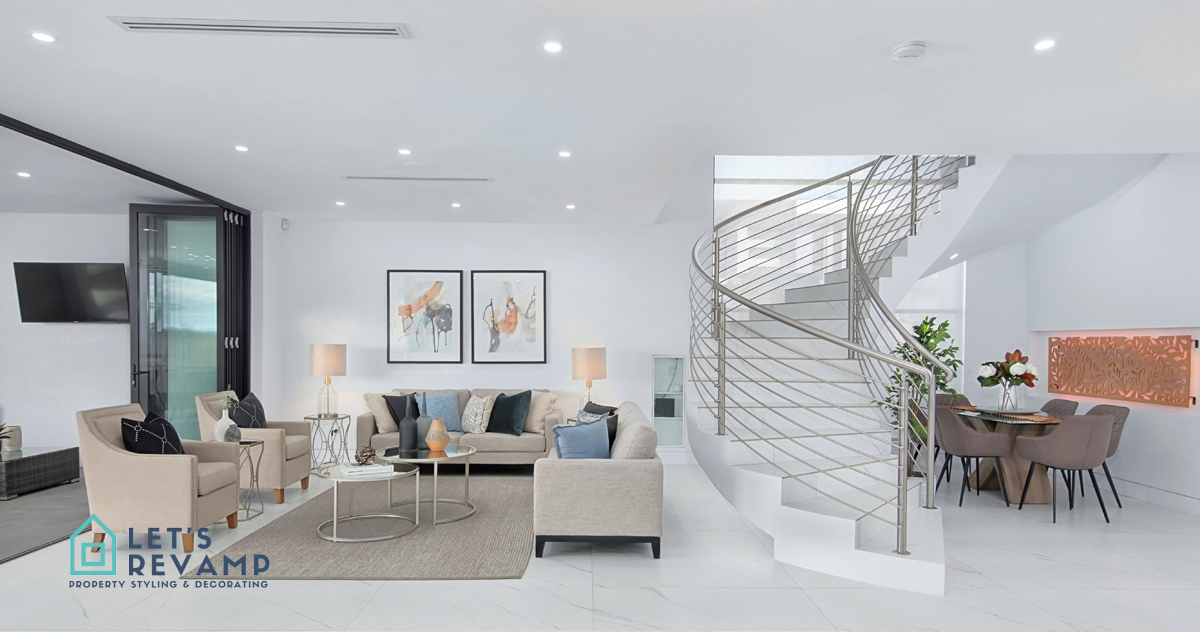
b) Decorative cushions are masters at juxtaposing. Add bursts of colour with strategically well-placed decorative cushions. For contrast add cushions with patterns and different texture.

c) Update the lampshades in bold colours to delight living areas.

Add bold colours with decorative cushions
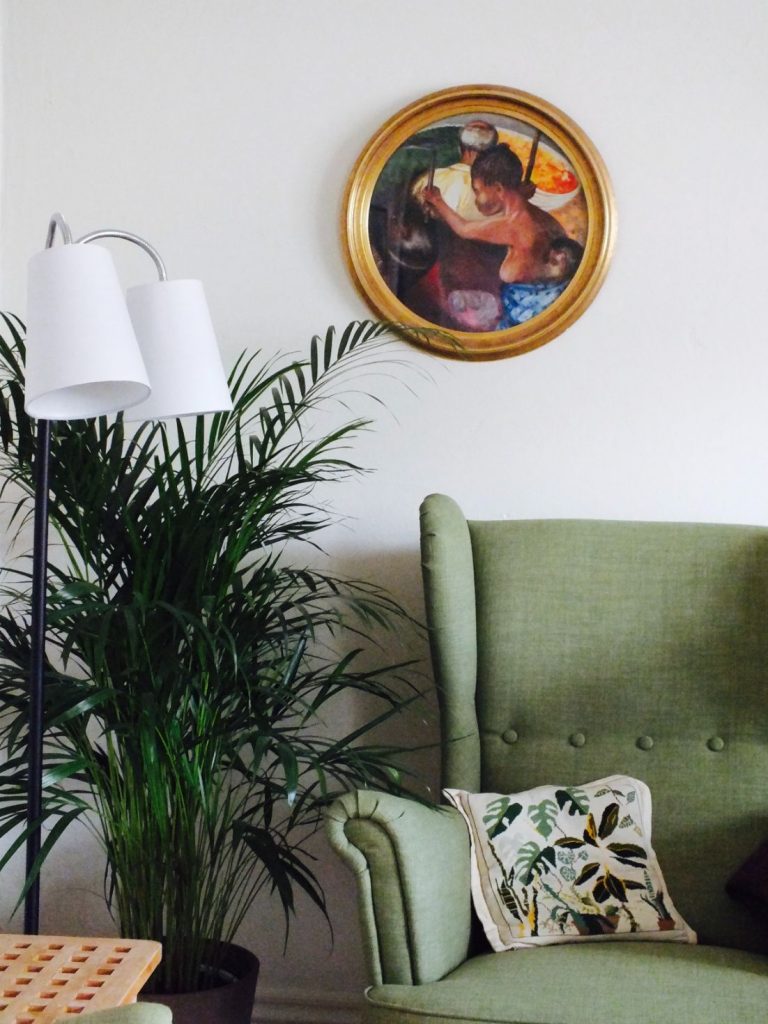
Add plants for green colour

d) If green be your choice bold colour why not add plants too?

e) Abstract artwork in a mixture of bold colours would liven up any neutrals area.

f) Paint a bookshelf or cabinet in a room with bold colours.

g) As with decorative cushions, throws of bold colours and texture can be accent pieces in a room.

h) Introduce a brightly coloured ottoman to the living area or even in the bedroom.

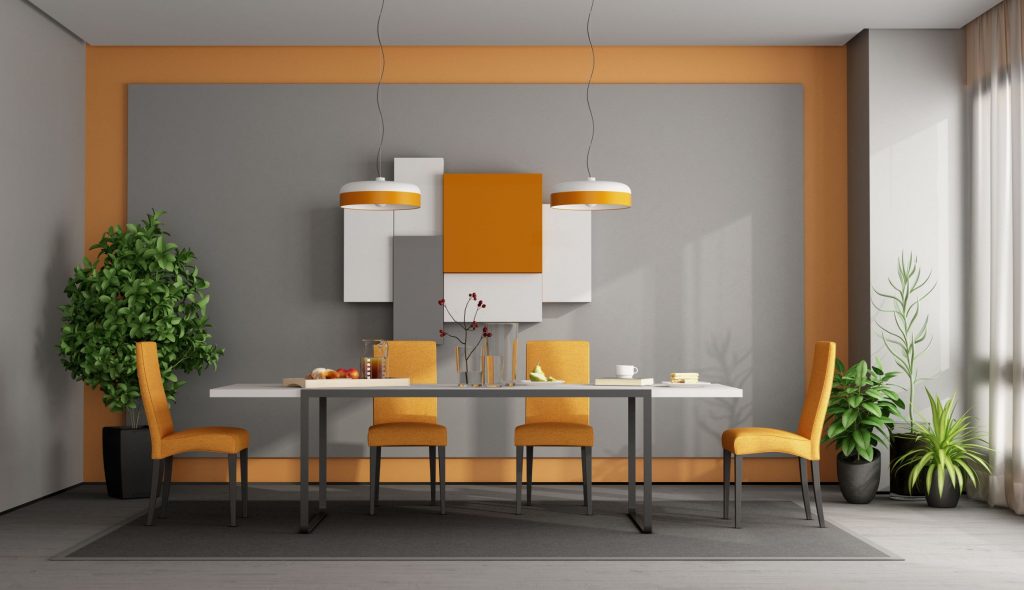
i) Accessorise in bold colours. Add a bold orange runner along the length of your dining table or a tablecloth. Swap your conventional dining chairs for ones in bold colours. The possibilities are endless.

add bold colour dining chairs
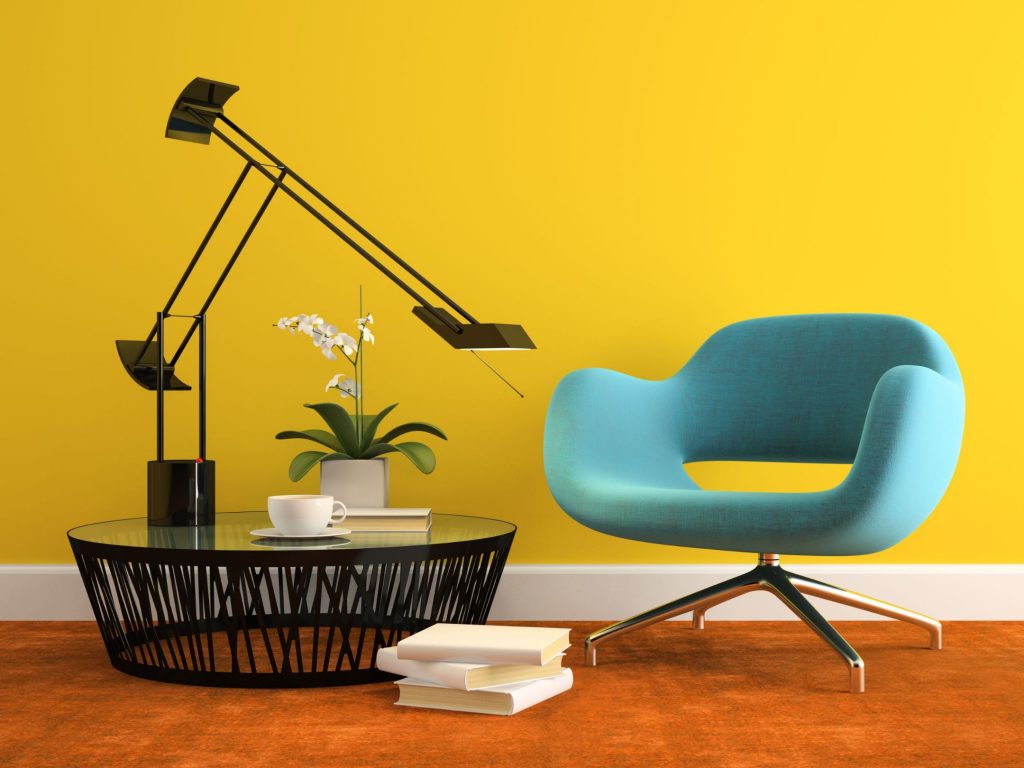
bold colours totally smashing it

Interior Decorating

A good source of inspirational ideas and know-how comes from your interior decorator. At Let’s Revamp Property Styling our interior decorators combine their expertise with your ideas to create a home that will “tell the story of who you are and be a collection of what you love.” (Nate Berkus)
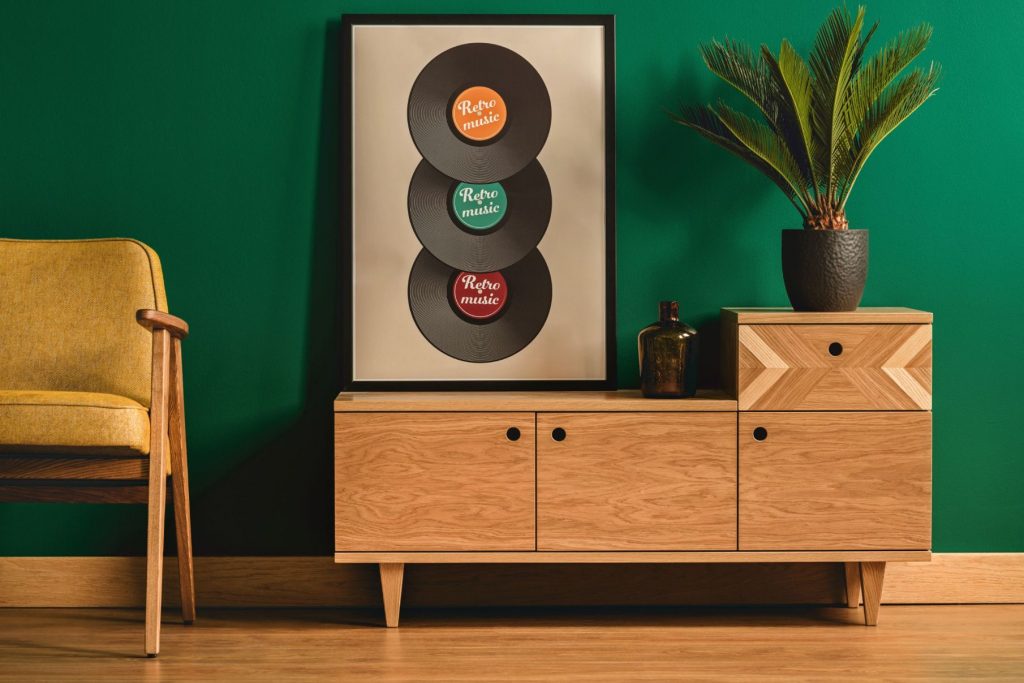
Inspired by green
How to Renovate Your Kitchen on A Tight Budget

How to Renovate Your Kitchen on A Tight Budget

How to Renovate Your Kitchen on A Tight Budget

How to renovating your kitchen on a tight budget at the onset appears to be a huge and expensive task.

However, with careful planning and assessing what can be recycled or reused, made the task simpler and more manageable.

The Scenario

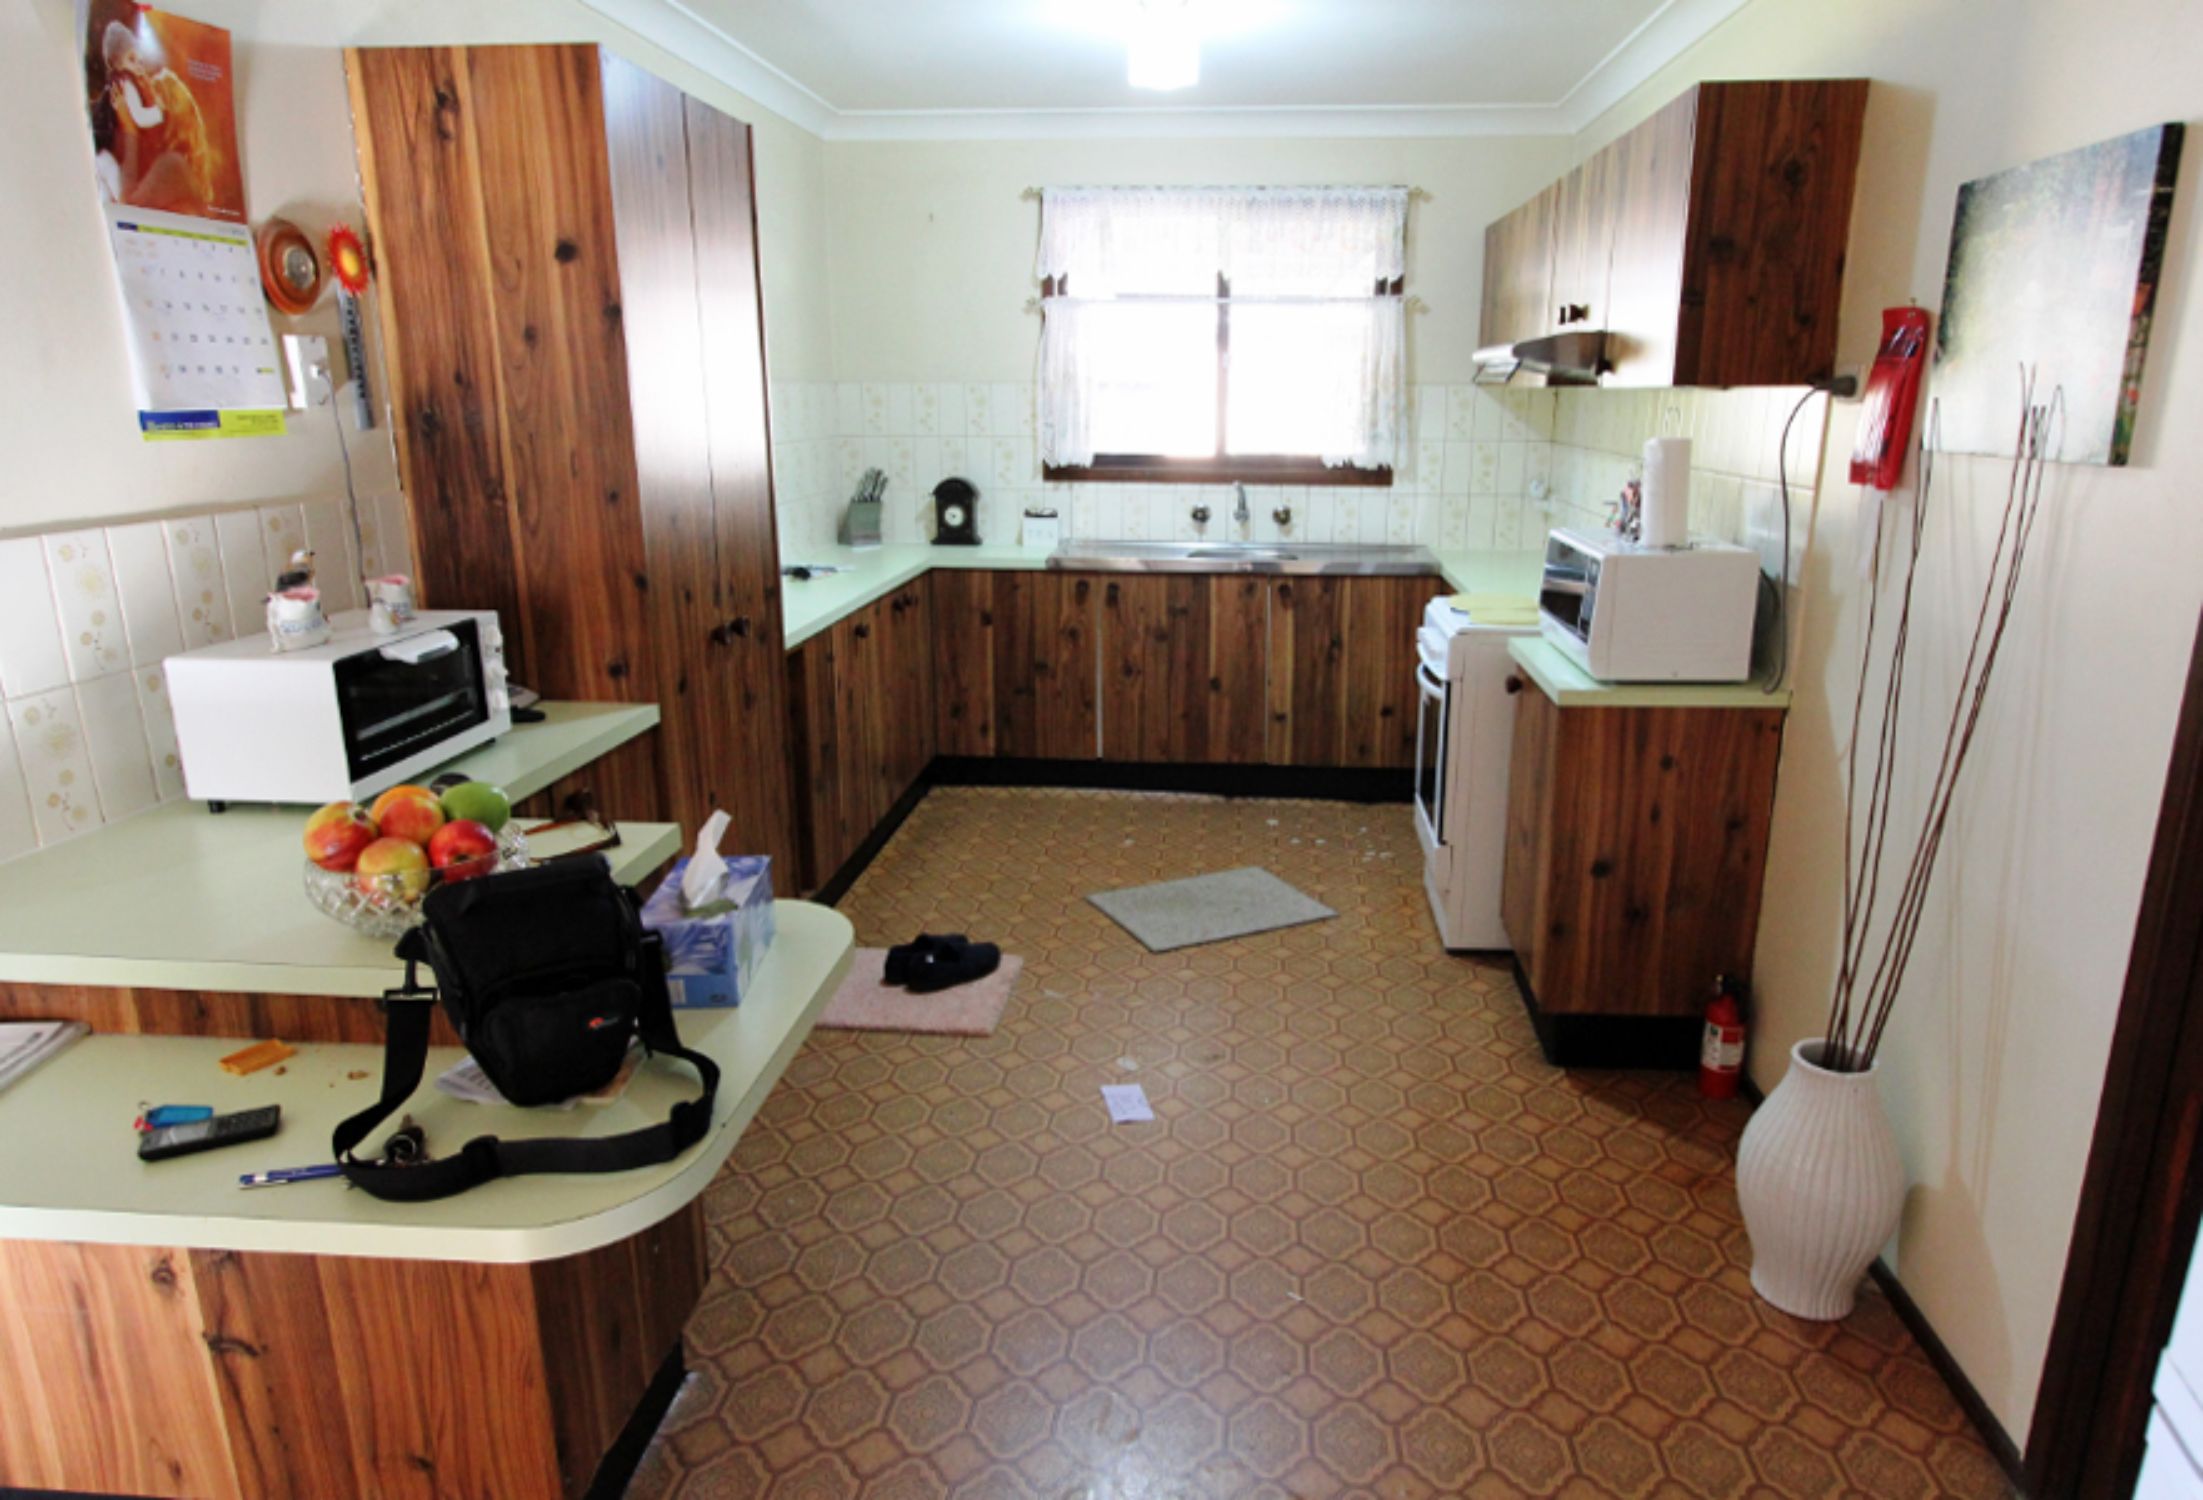
Renovating outdated kitchen
  1. An outdated kitchen.
  2. A tight budget.
  3. Time constraints.

Devising and Implementing Strategy

Renovation Project Planning

Planning and scheduling are fundamental to any renovation project. Working from a well-prepared plan will keep the project on track, within budget and avoid costly mistakes.

Scheduling will itemise the sequence of project phases and allow for timely delivery of items ordered from suppliers.


Step 2. Focus on Features That Will Have the Biggest Impact and Need to be Changed/Renovated or Kept

Decide what stays and what goes...

  • Light green countertop (had signs of wear and tear).
  • Dark wooden cabinets doors (made the kitchen seem smaller, darker, and outdated).
  • Tapware (were outworn and dull).
  • Old vinyl two-toned brown flooring (made the space feel superannuated).
  • The yellow backsplash tiles were to be replaced.
  • The wall tiles need to be refurbished.
  • Doorknobs (showed signs of wear and tear).
  • Off white flower laced curtains need replacing.

Step 3. Assess what can be Reused and Features We can Work With

Cabinets
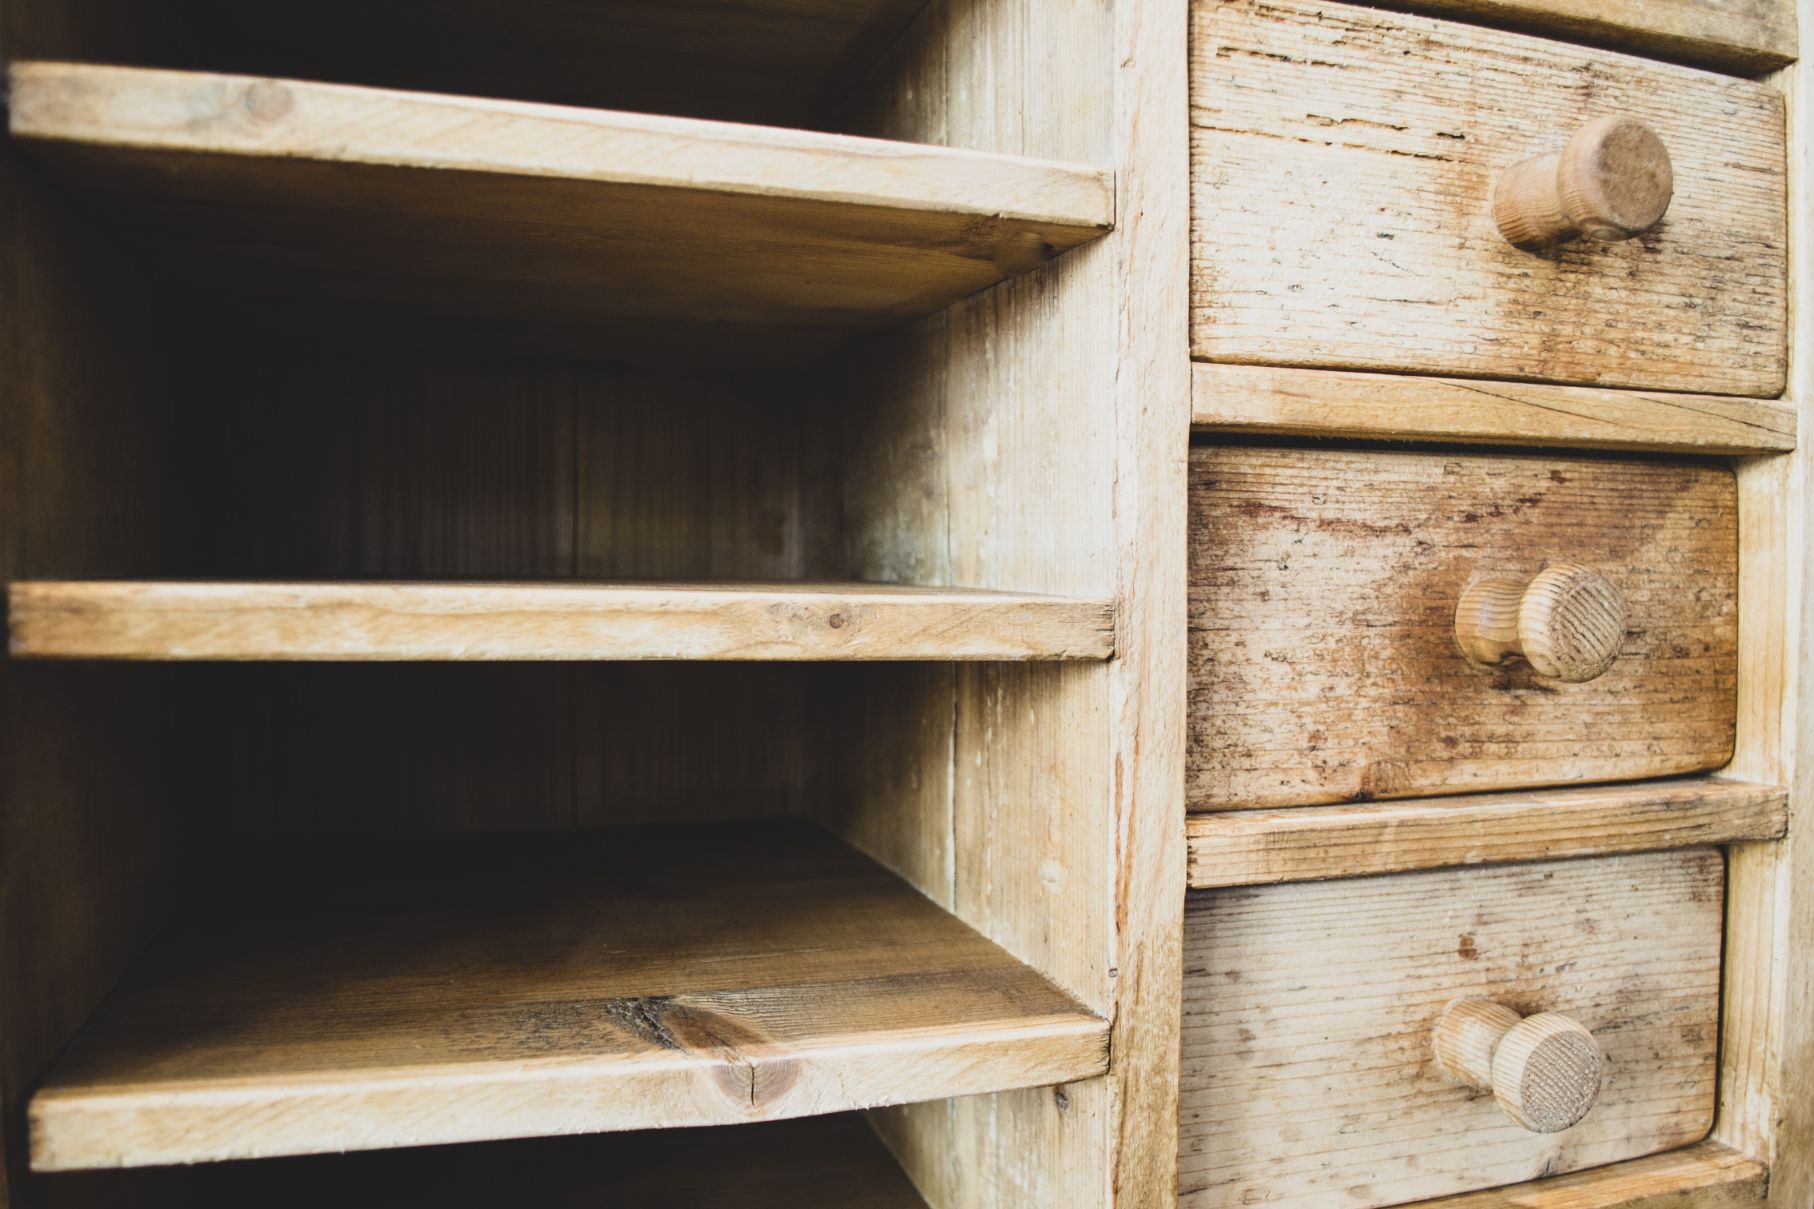
  • On inspection, the cabinet frame and structure had a few minor chips but overall was in an excellent condition and could be reused.
  • The stove could be retained. A good clean and new stove plates would suffice.
  • The sink did not need replacing.
  • The tiles do not have to be replaced.

Step 4. What we accomplished for under $2000

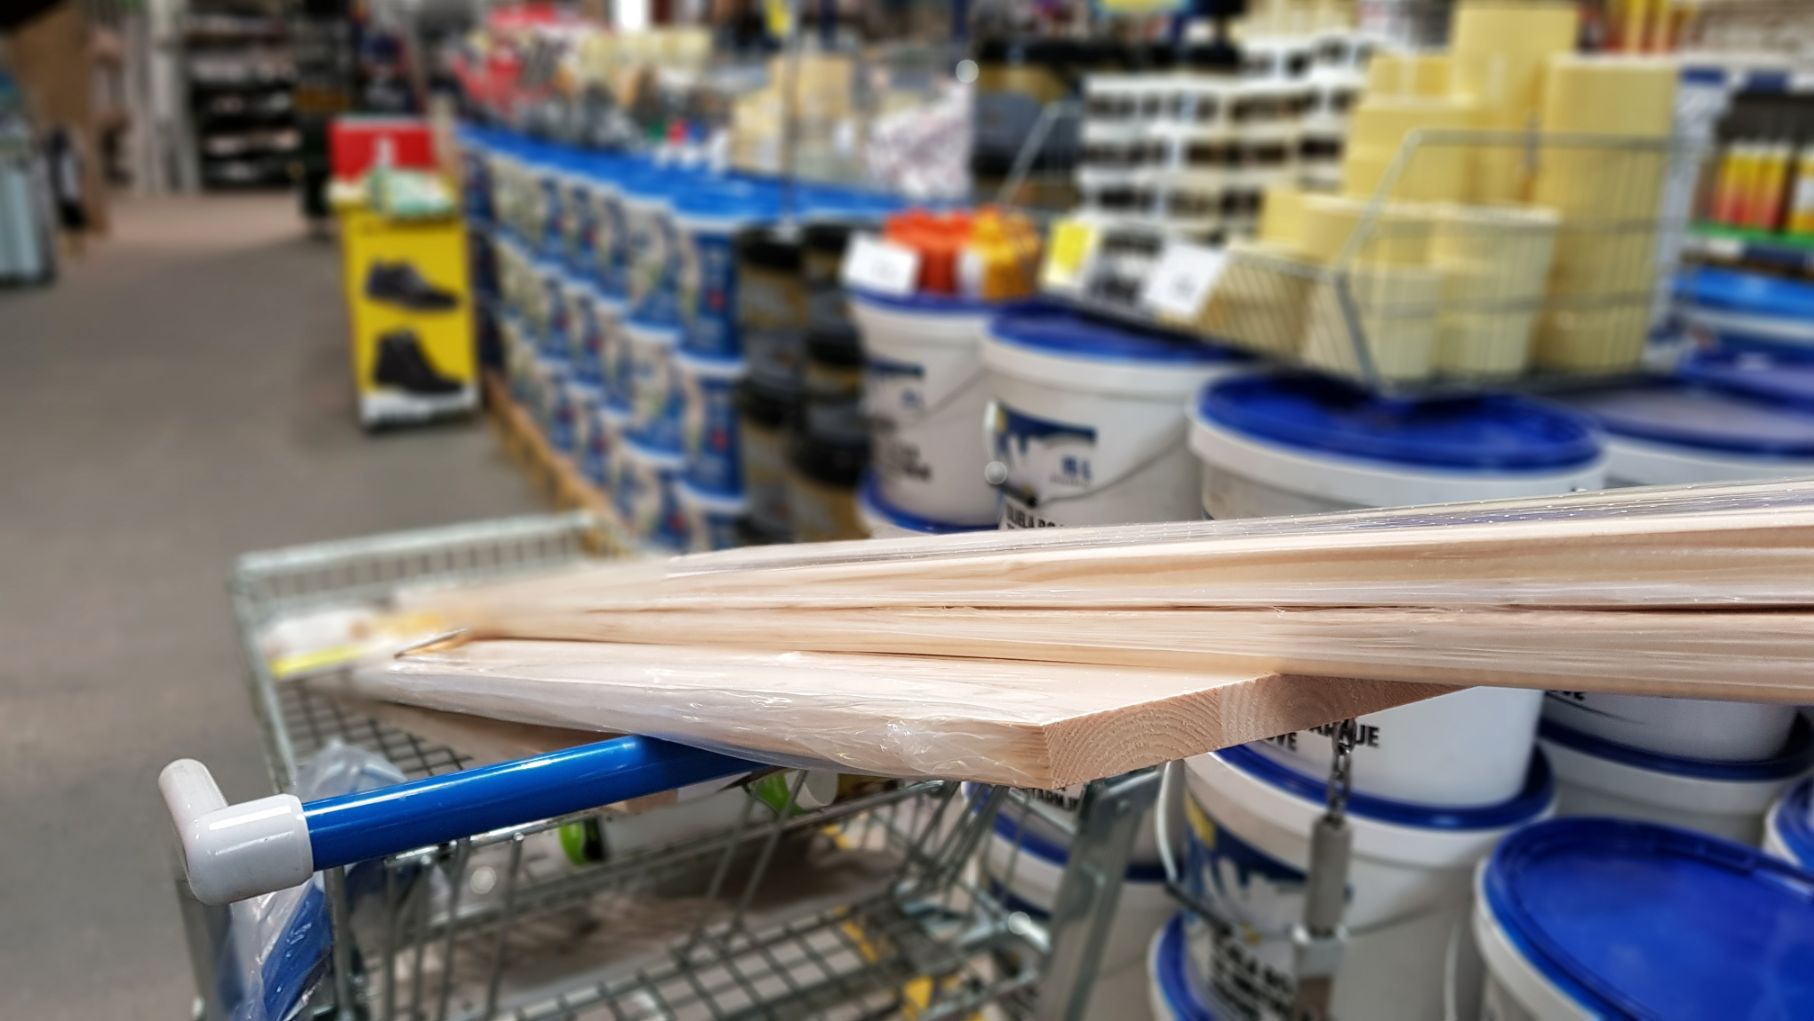
Renovation shopping
  • The Benchtop

The kitchen benchtop was refurbished with Countertop Transformation Products.

  • The Cabinets and Grocery Cupboard

The cabinet doors and grocery cupboard were prepped, and spray painted in a light neutral colour.

The doors handles were removed and replaced by modern stainless-steel handles.

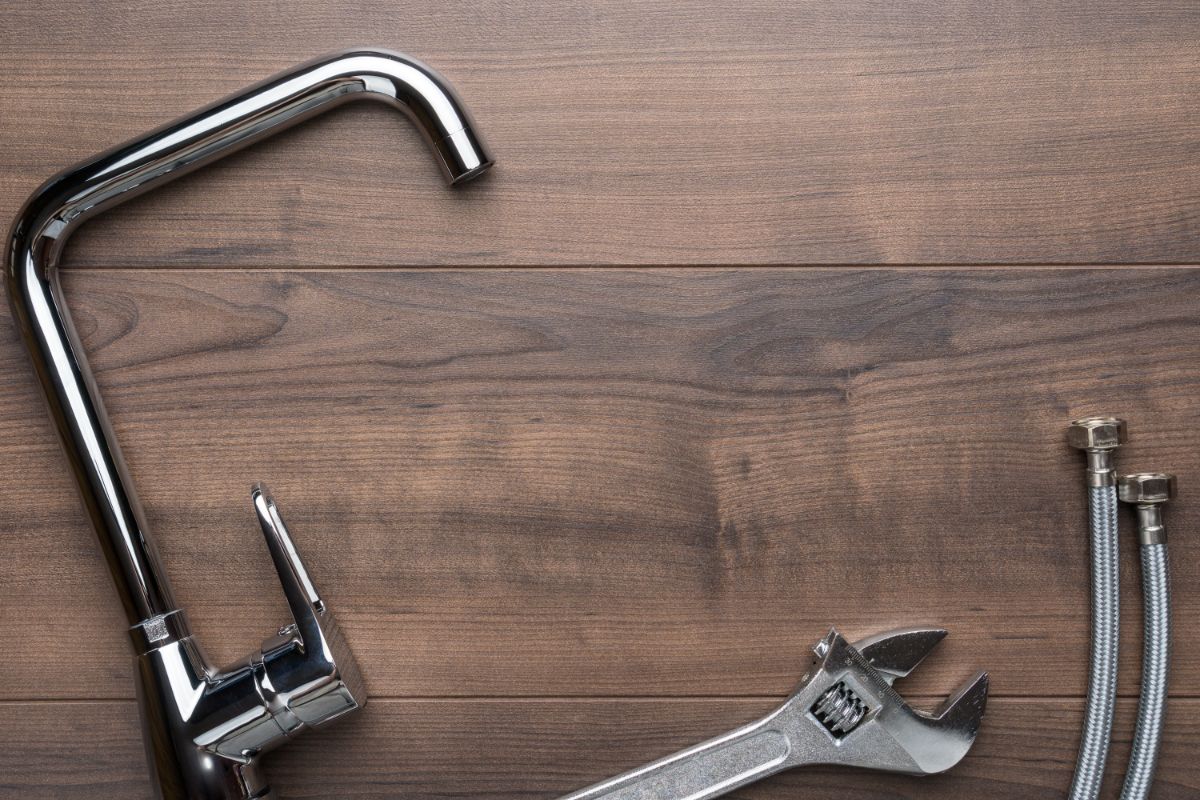
New kitchen taps
  • The Taps

The old ones were removed.
Before replacing the new taps, the tap areas were thoroughly cleaned with sugar soap then grouted with Dunlop Flexible Grout.

  • The Backsplash and Tiles

Replacing the backsplash and tiles would have had a detrimental effect on the budget. We therefore decided to refurbish the tiles instead.

The tiles were thoroughly cleaned with sugar soap, re-grouted and then painted with a neutral colour tile paint.

  • The Kitchen Walls

The walls were painted with matching neutral colour paint.

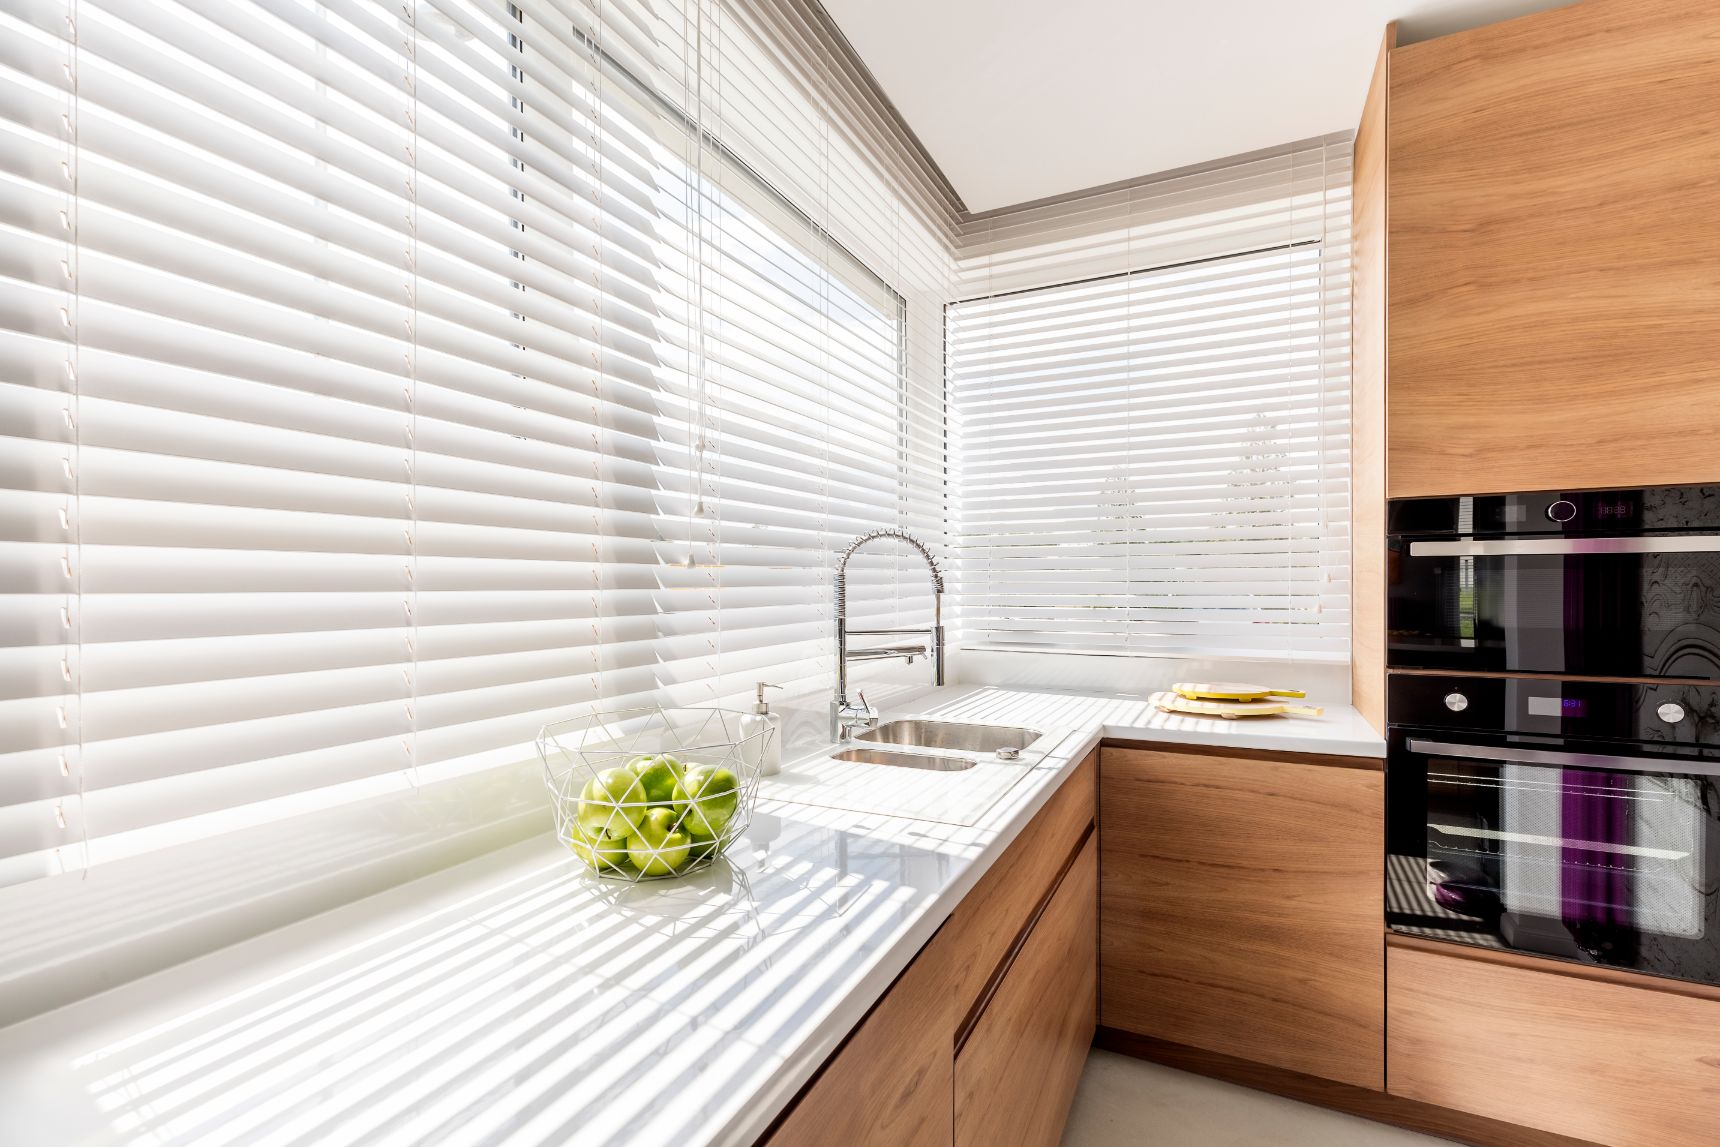
Horizontal kitchen blinds
  • The Curtains

The lace curtaining was removed and replaced with white horizontal blinds.

  • The Floor

The old vinyl was removed and replaced with a light brown timber look alike floorboard vinyl.tching neutral colour paint.

THE OUTCOME – a stunning new look kitchen.

We were able to complete the project on time. Our client was very impressed with the transformation.

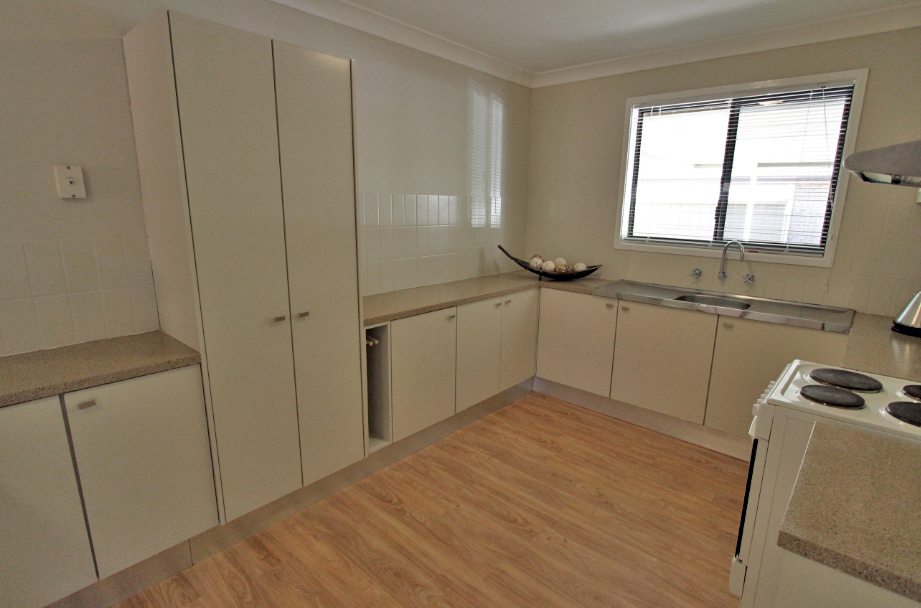
BEFORE

Renovating outdated kitchen

AFTER

Renovated Kitchen
14 Awesome Powder Room Decorating Tips and Ideas

14 Awesome Powder Room Decorating Tips and Ideas

14 Awesome Powder Room Decorating Tips

and Ideas

14 Awesome Powder Room Decorating Tips and Ideas

We are all familiar with the humble yet necessary cupboard size room in our homes – the powder room or more commonly known as the toilet. Often this space is overlooked when it comes to styling and decorating, so we have put together 14 awesome Powder Room Ideas and Decorating Tips for you.

It is interesting to note that this little room is known by a different name in other parts of the world. Names such as lavatory, bathroom, guest bathroom, loo, “WC”, ladies’ room or restroom to name a few.

What Defines a Powder Room?

The Powder Room

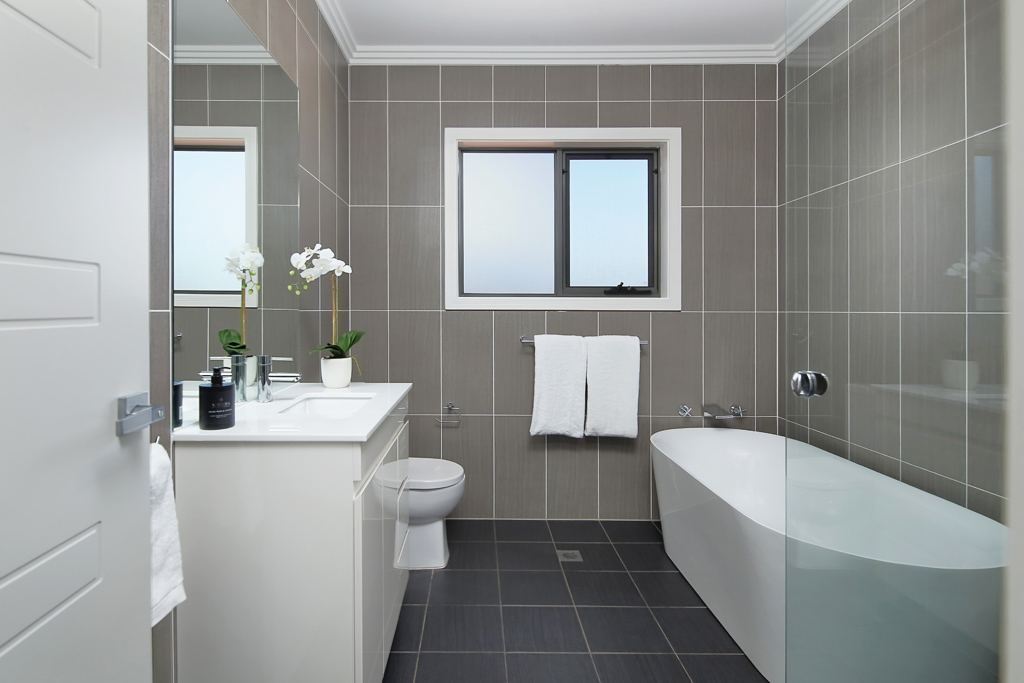
Powder rooms are generally small rooms that contain a toilet, a washbasin (with or without a vanity) and a mirror.
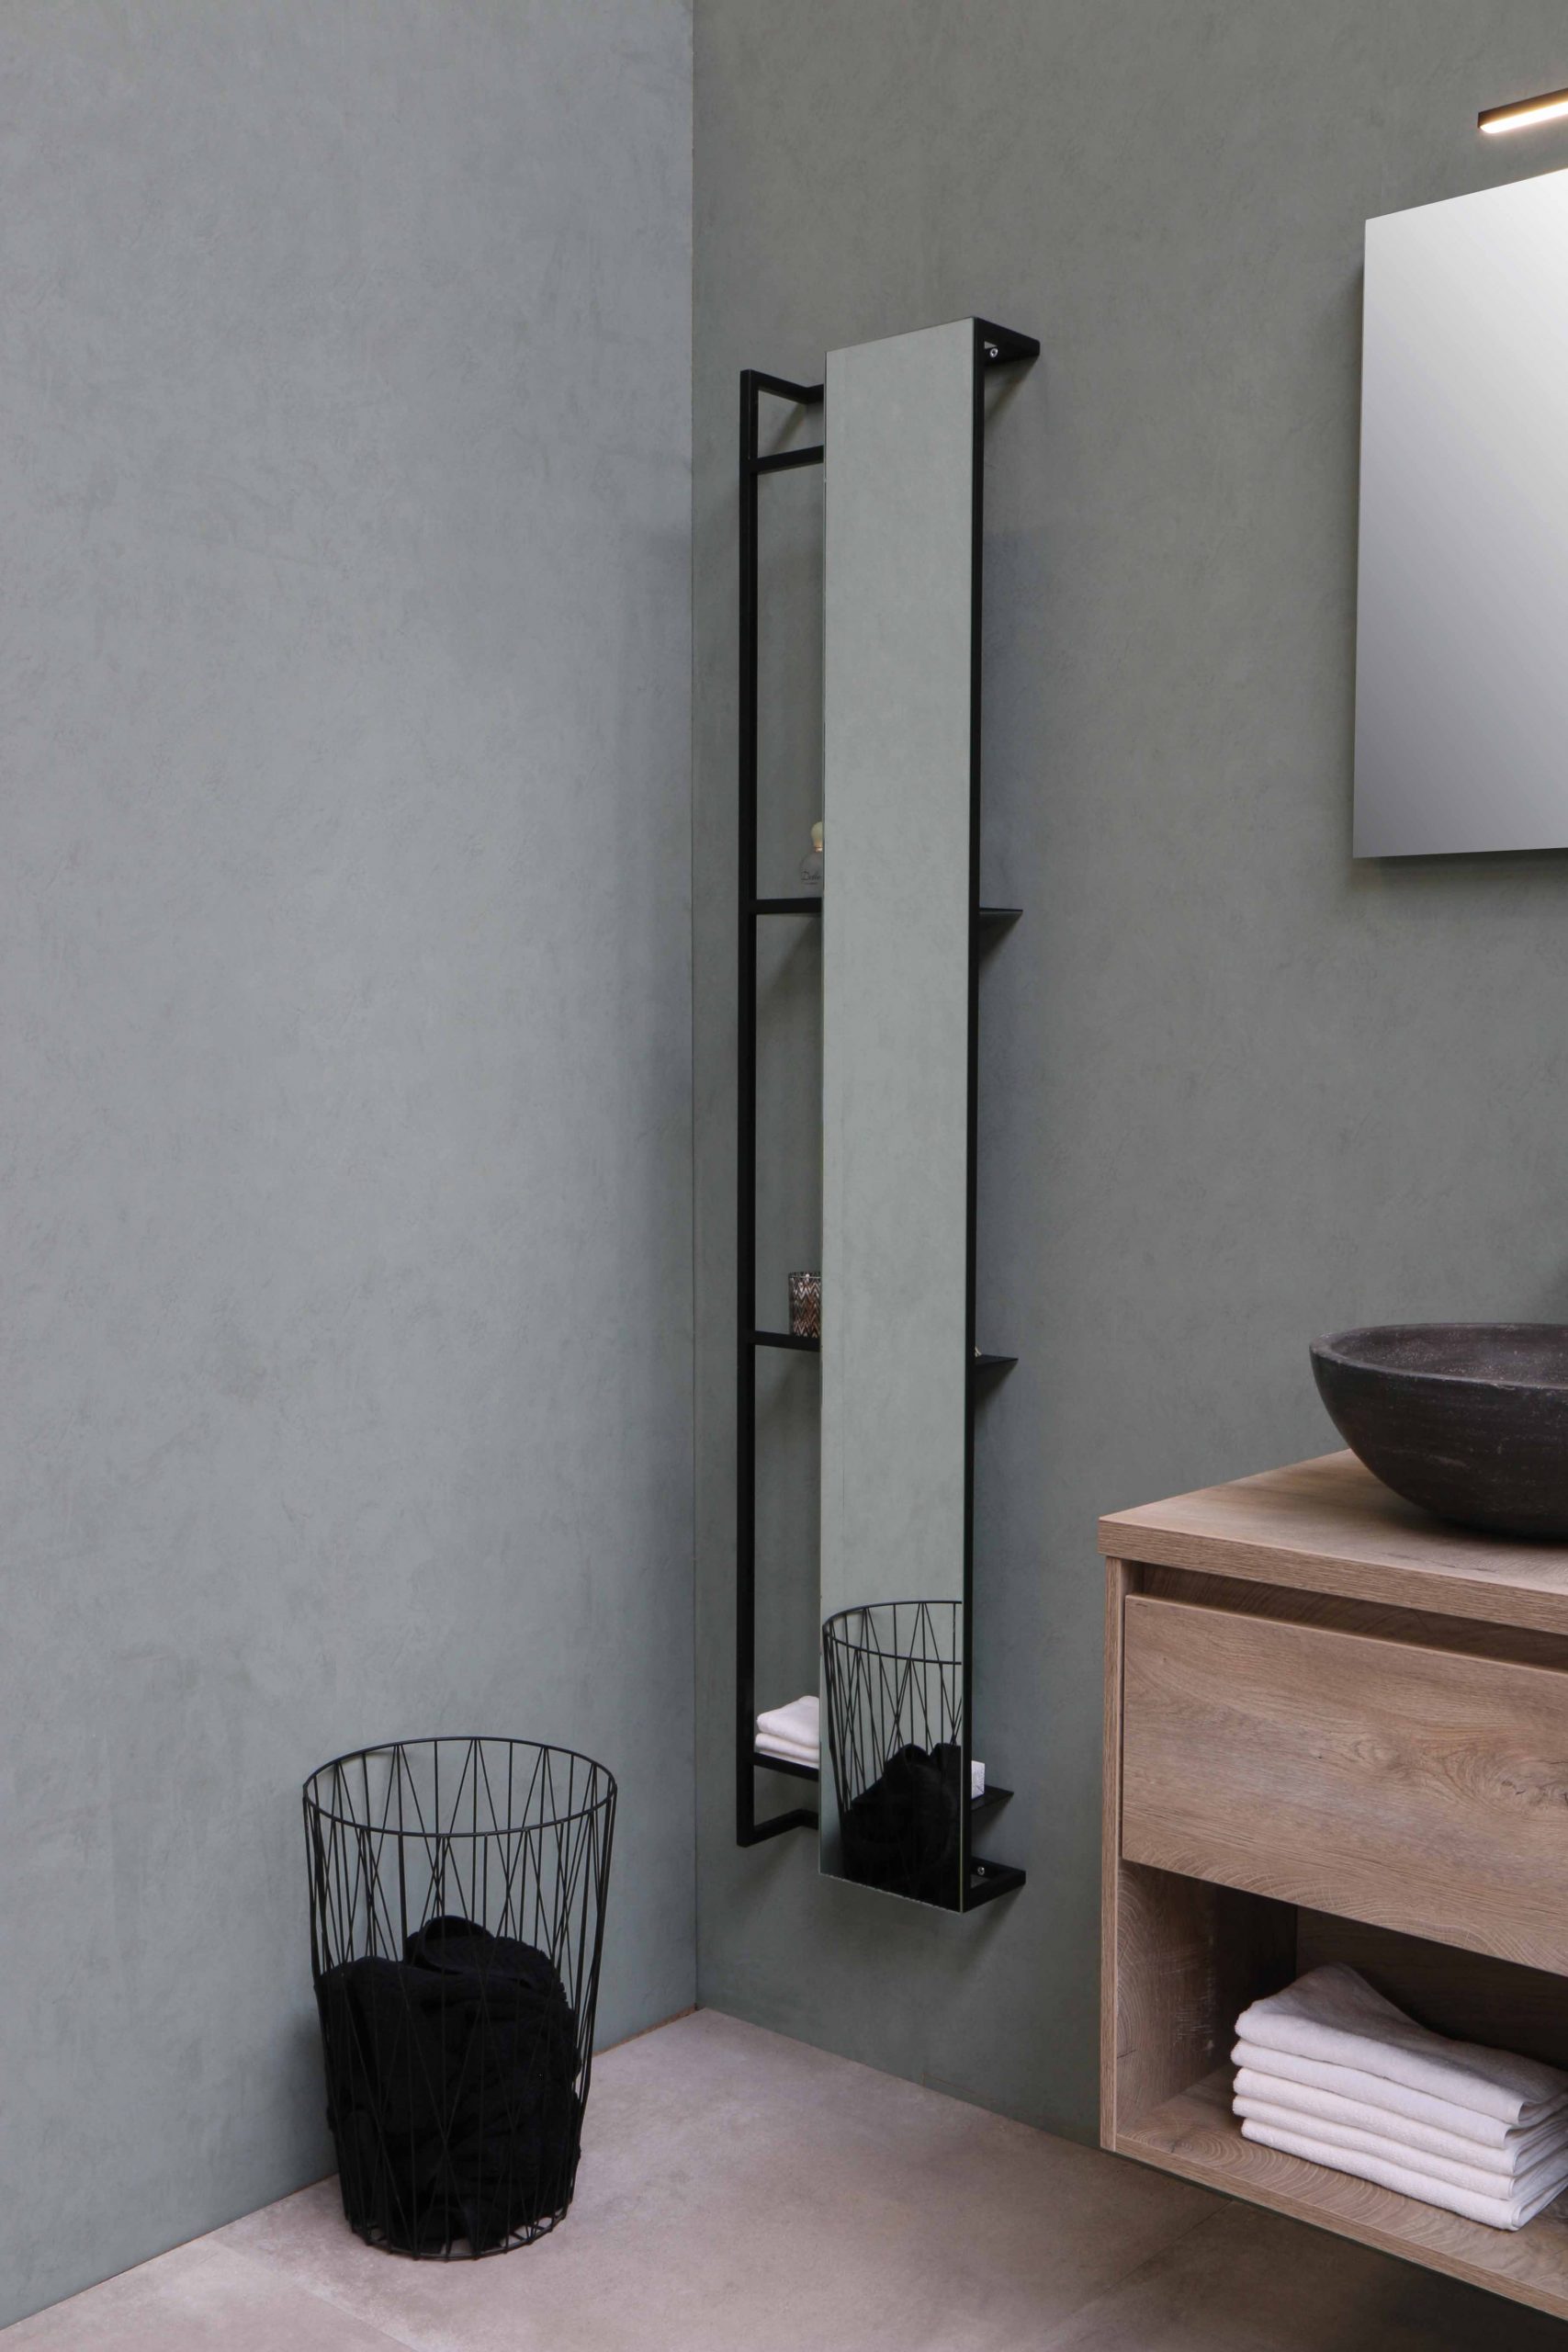
Often these rooms do not have a window but extractor fans that come on automatically when the door is opened and/or the lights are switched on. There are no showers or bathtubs in this room.

The powder room needs to be inviting and practical.

Powder Rooms – Their Origin


18th Century, people wore wigs

During the 18th Century, people wore wigs and would go into tiny closet-like rooms to re-powder their wigs. In the Victorian period, these rooms morphed into toilet rooms. When the need arose to use the toilet, ladies would excuse themselves by using the phrase “need to go and powder my nose” – though not often heard anymore the expression still exists today

Powder Rooms – Their Value

Powder Rooms add value to your property

These little privy rooms do add value to your property. If you have an empty space consider adding a powder room, however, do not do so at the expense of reducing the area of an existing room, for example, a bedroom.

Style your powder room boldly

Styling and Decorating the Powder Room

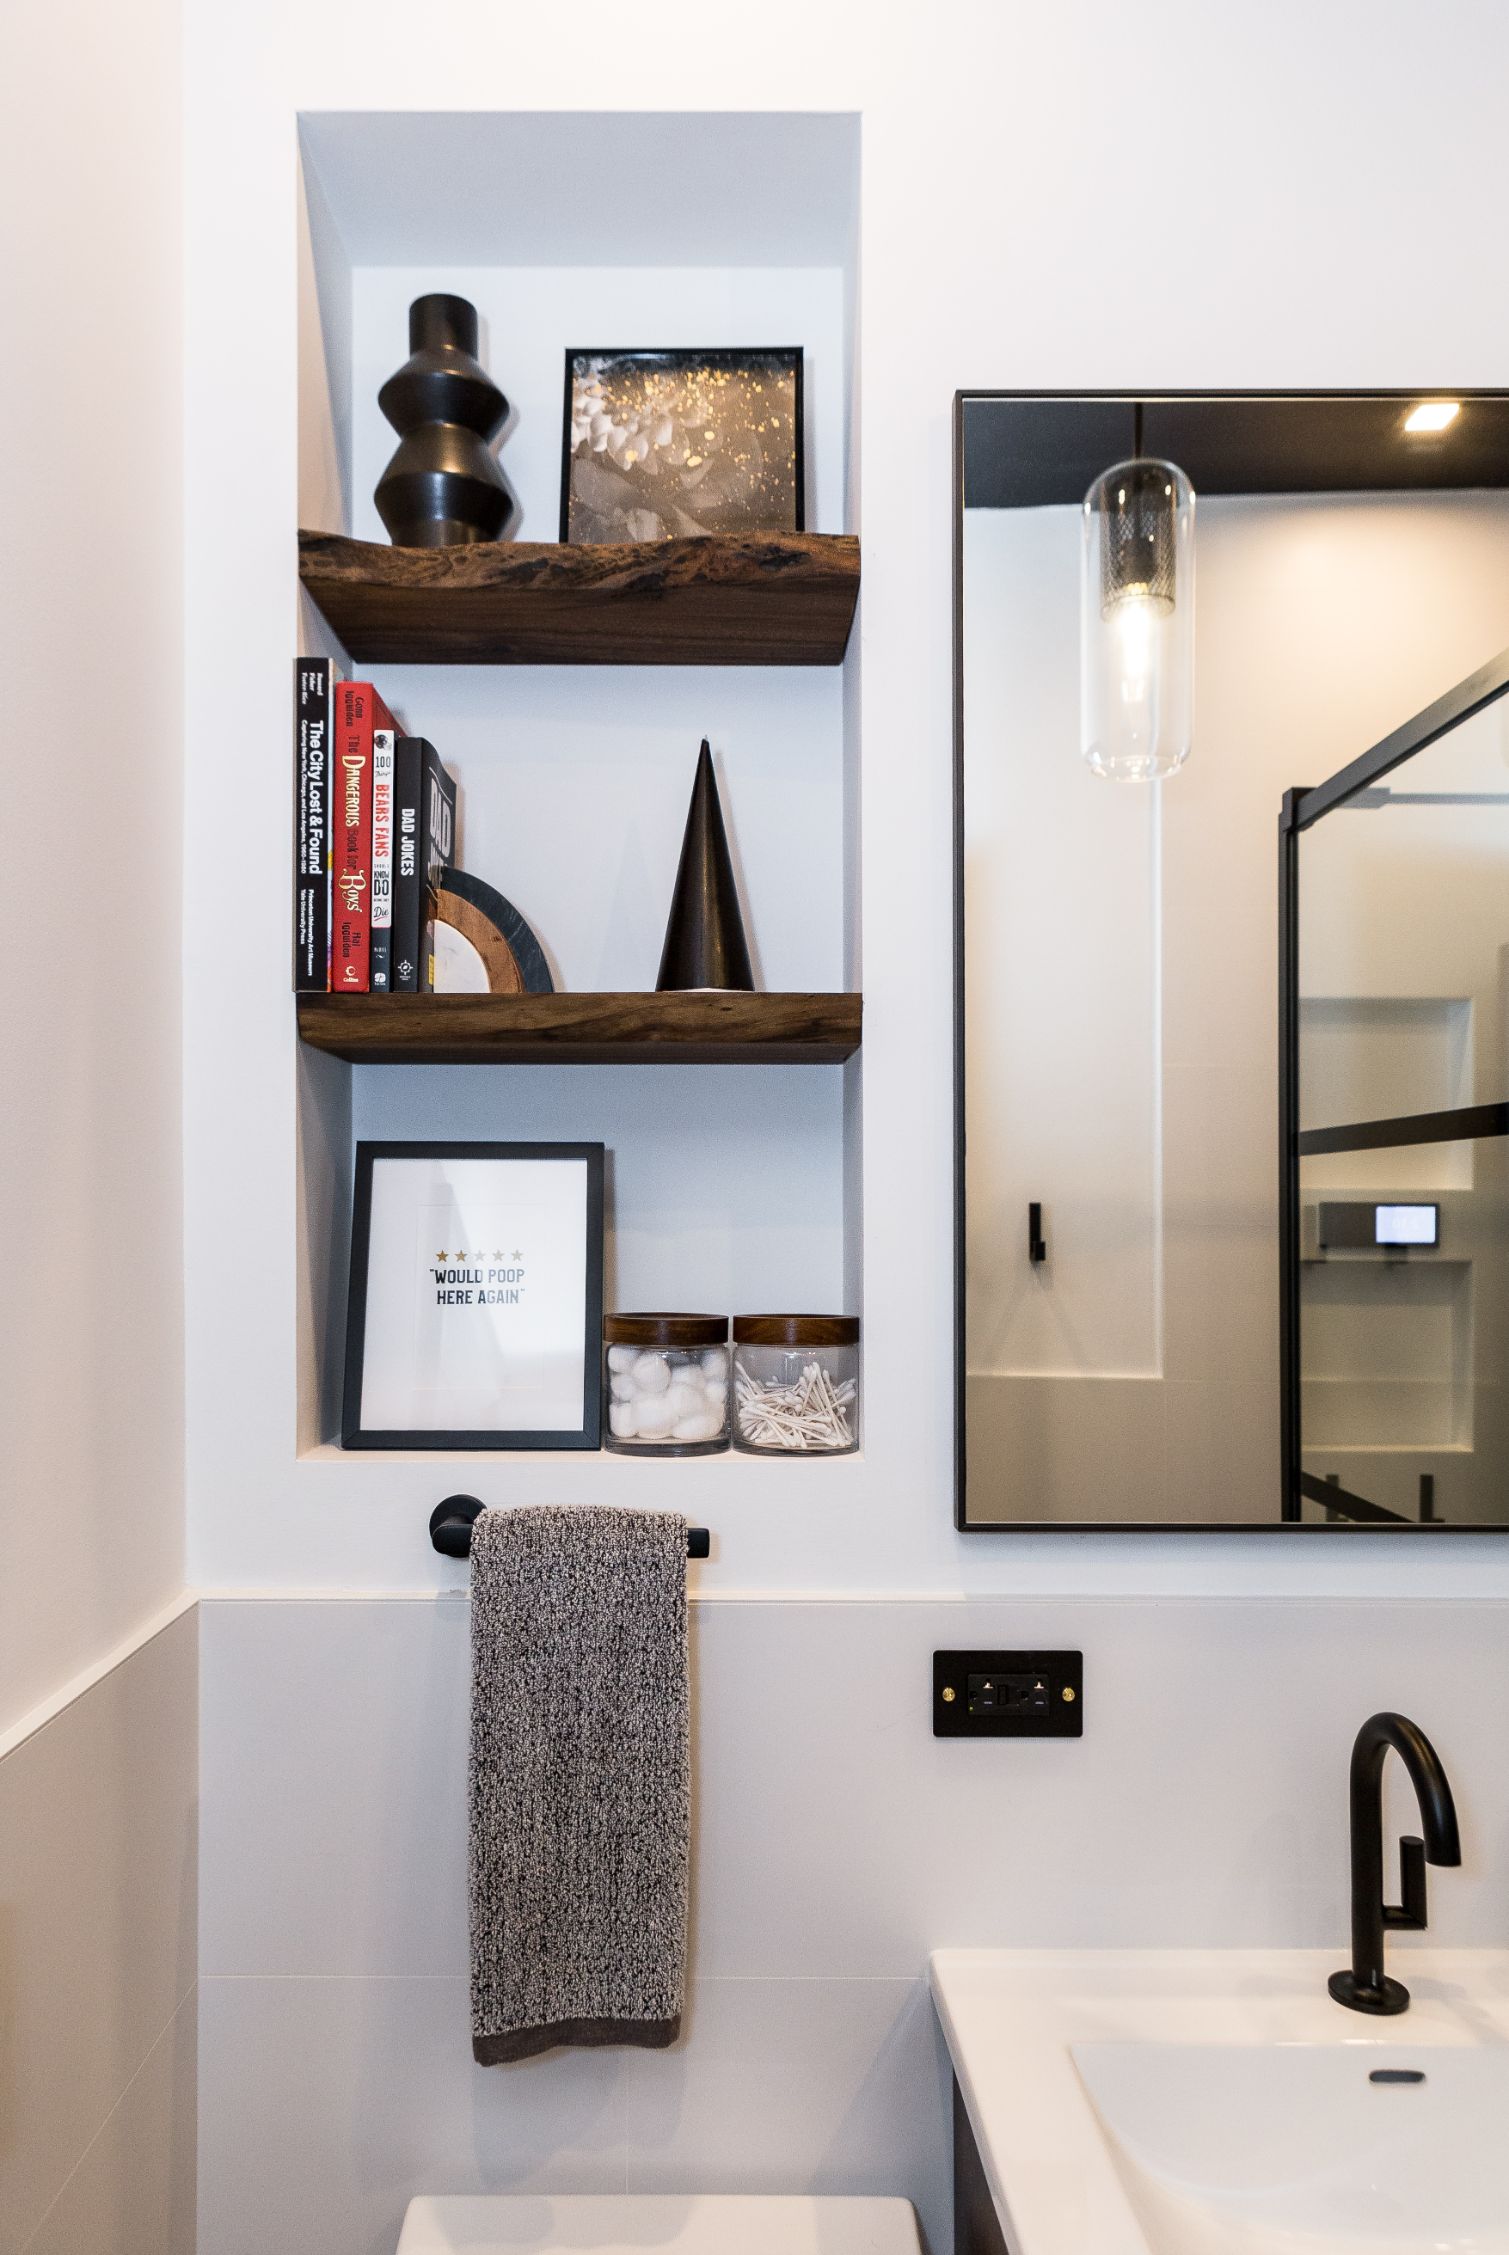
Do not let the purpose and size of these rooms deter you from styling them boldly, luxuriously, brightly, engaging, and detailed. Powder rooms are the ideal place to practice your interior decorating skills.

1. Lighting

Invest in good lighting for your powder room

Lighting in the powder room is important. You want to create a feeling of luxurious spaciousness, and calm.

Invest in light fixtures that will illuminate the room but not overpower it with light. Overpowering light will make a room feel small and cast unwanted shadows.

Flush-mounted bathroom ceiling light will distribute the light evenly throughout the room.

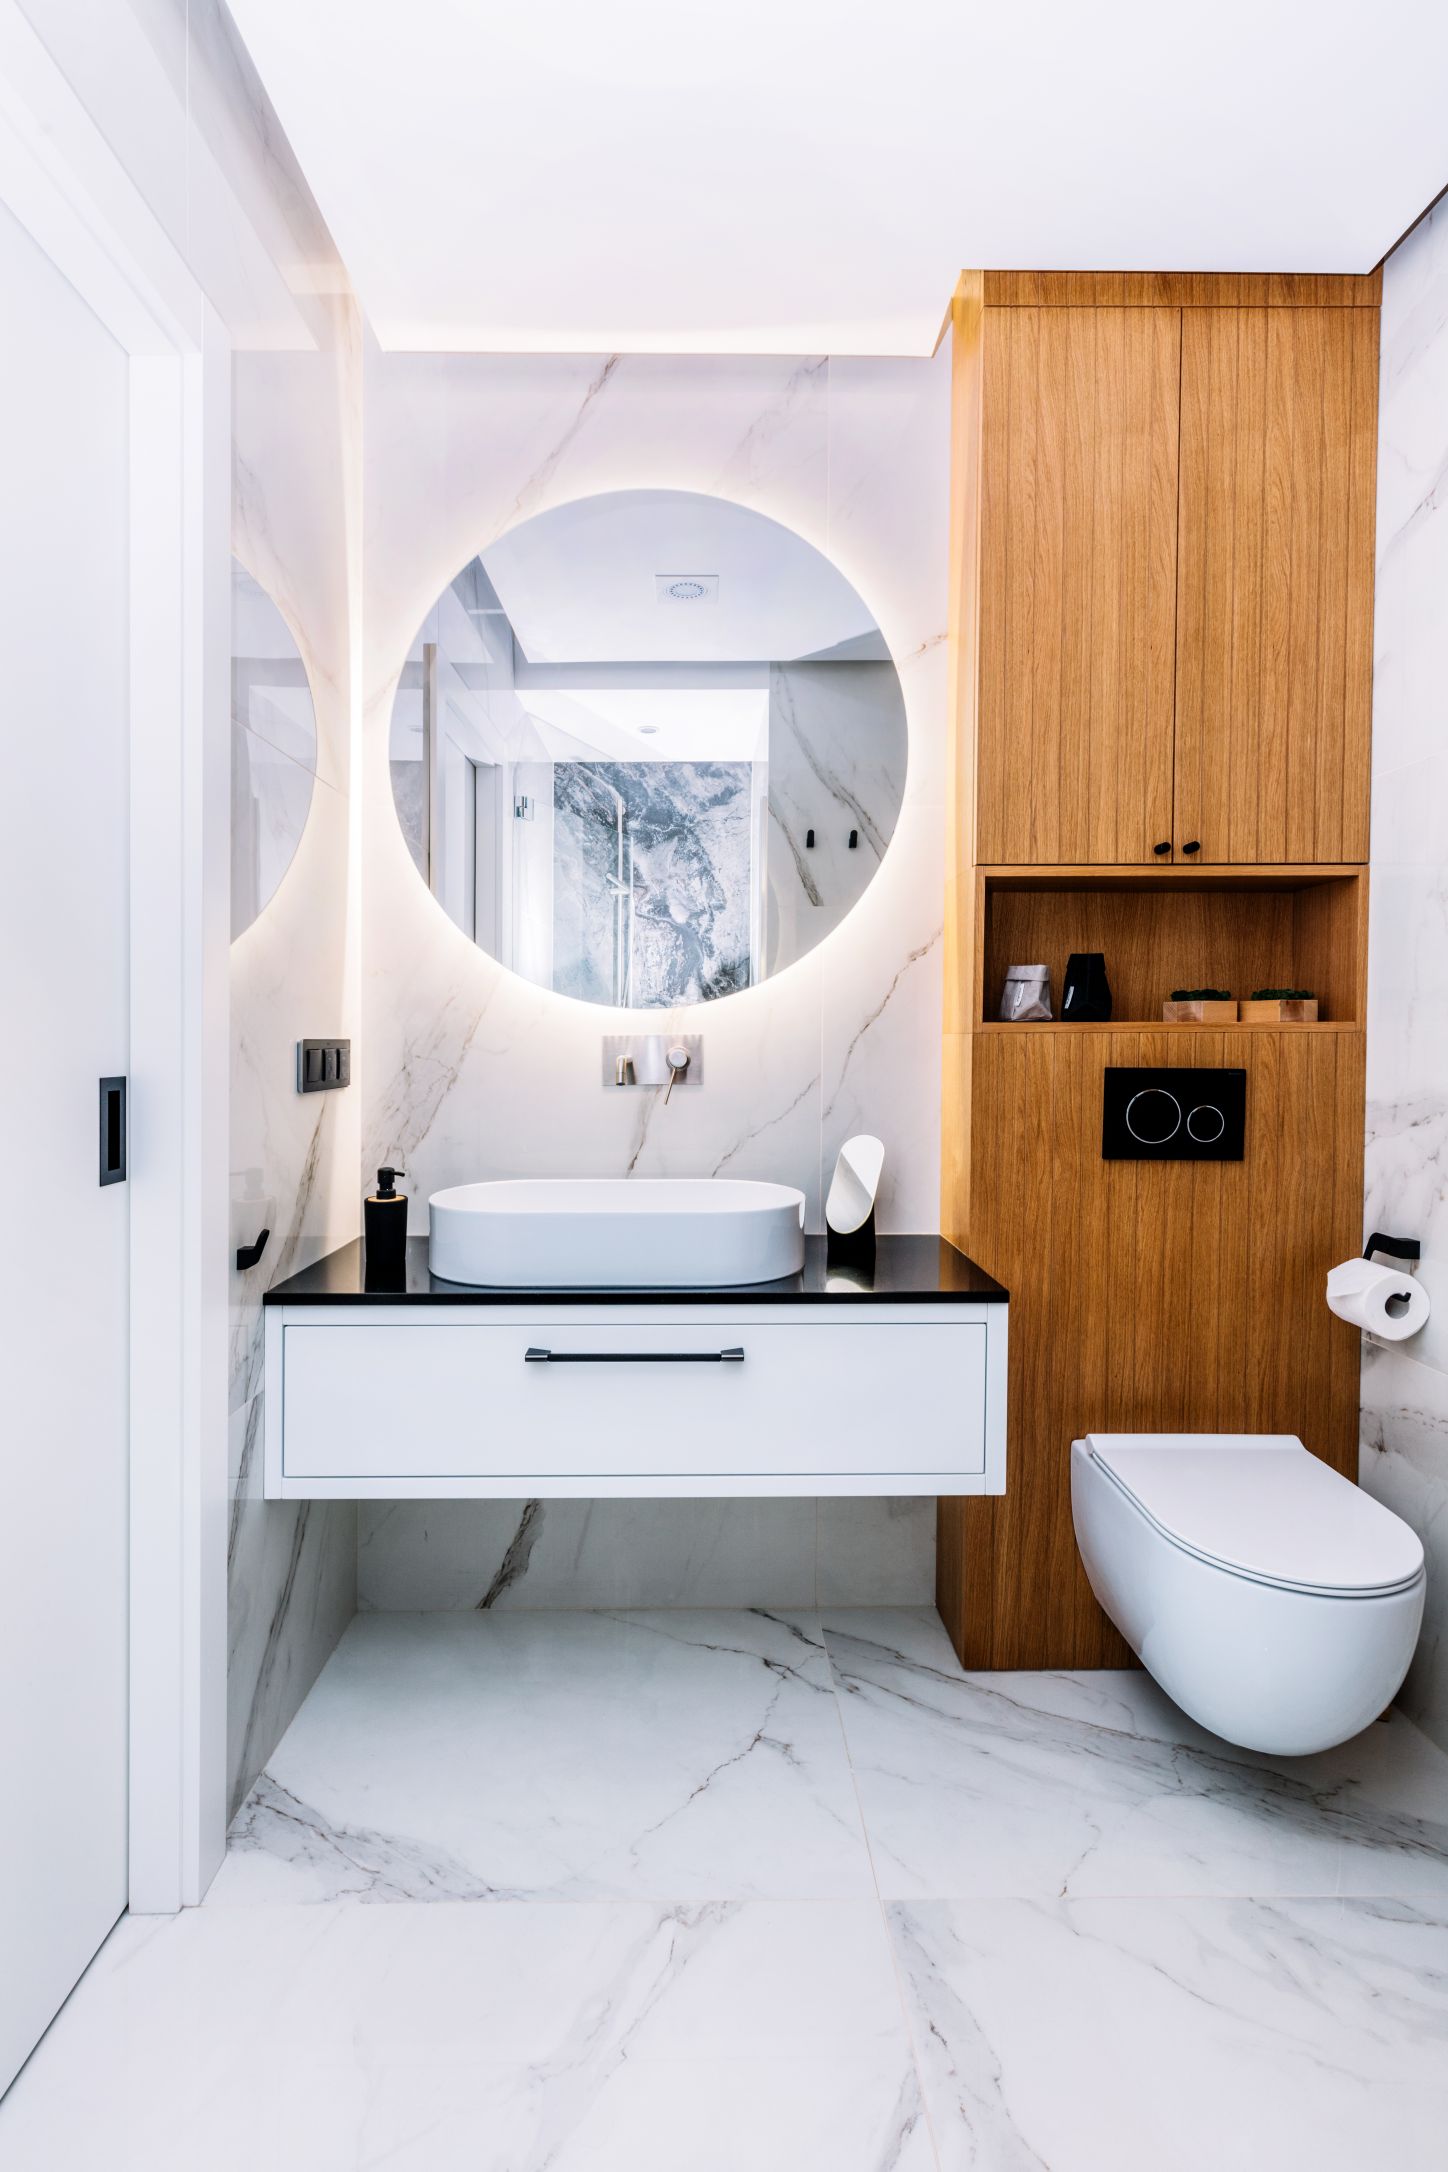
Consider adding task lighting – e.g. mirrors with a backlight or lighting under the vanity.

2. Mirrors

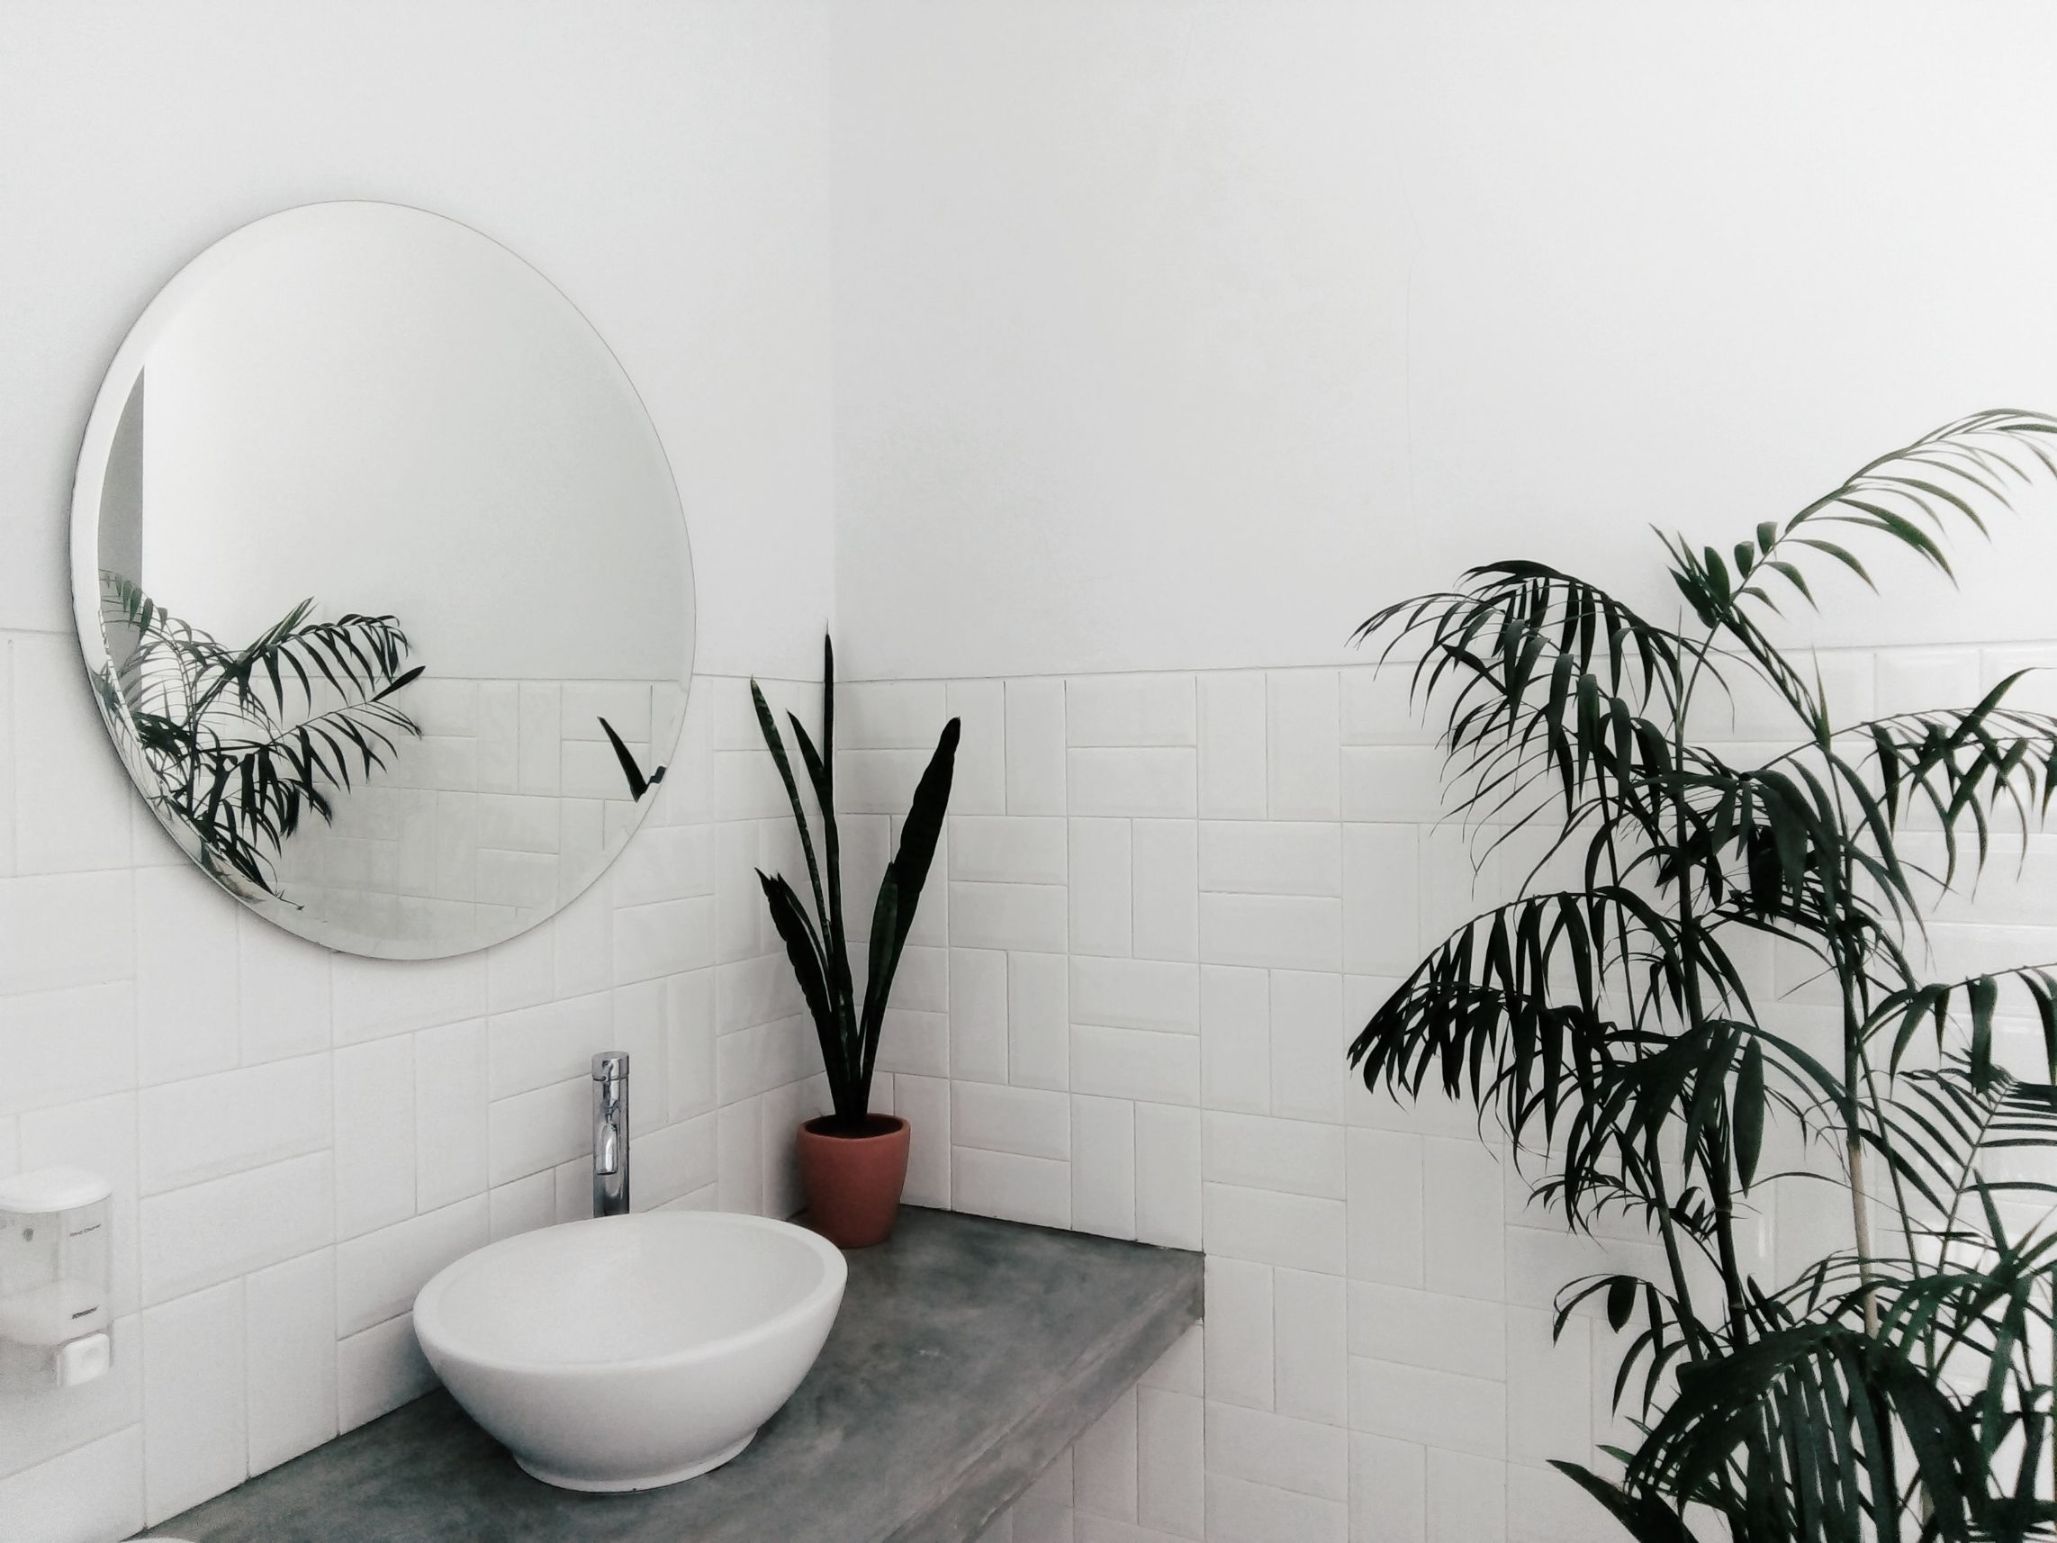
Mirrors make a room appear larger.

Mirrors are as important as the lights in the powder room. They are the focal point of the room.

They are not only there to look into, but they also reflect light and the room image, making the area appear larger.

Mirrors come in many shapes and sizes to choose from. If you are not quite sure, cut a “mirror” the shape and size you are thinking of using from a piece of paper. Position it onto the wall to see if it will look right.

There are a few rules to consider though. Mirrors should not be wider than the vanity and the centre point of the mirror should be at eye level from the floor.

3. The Walls

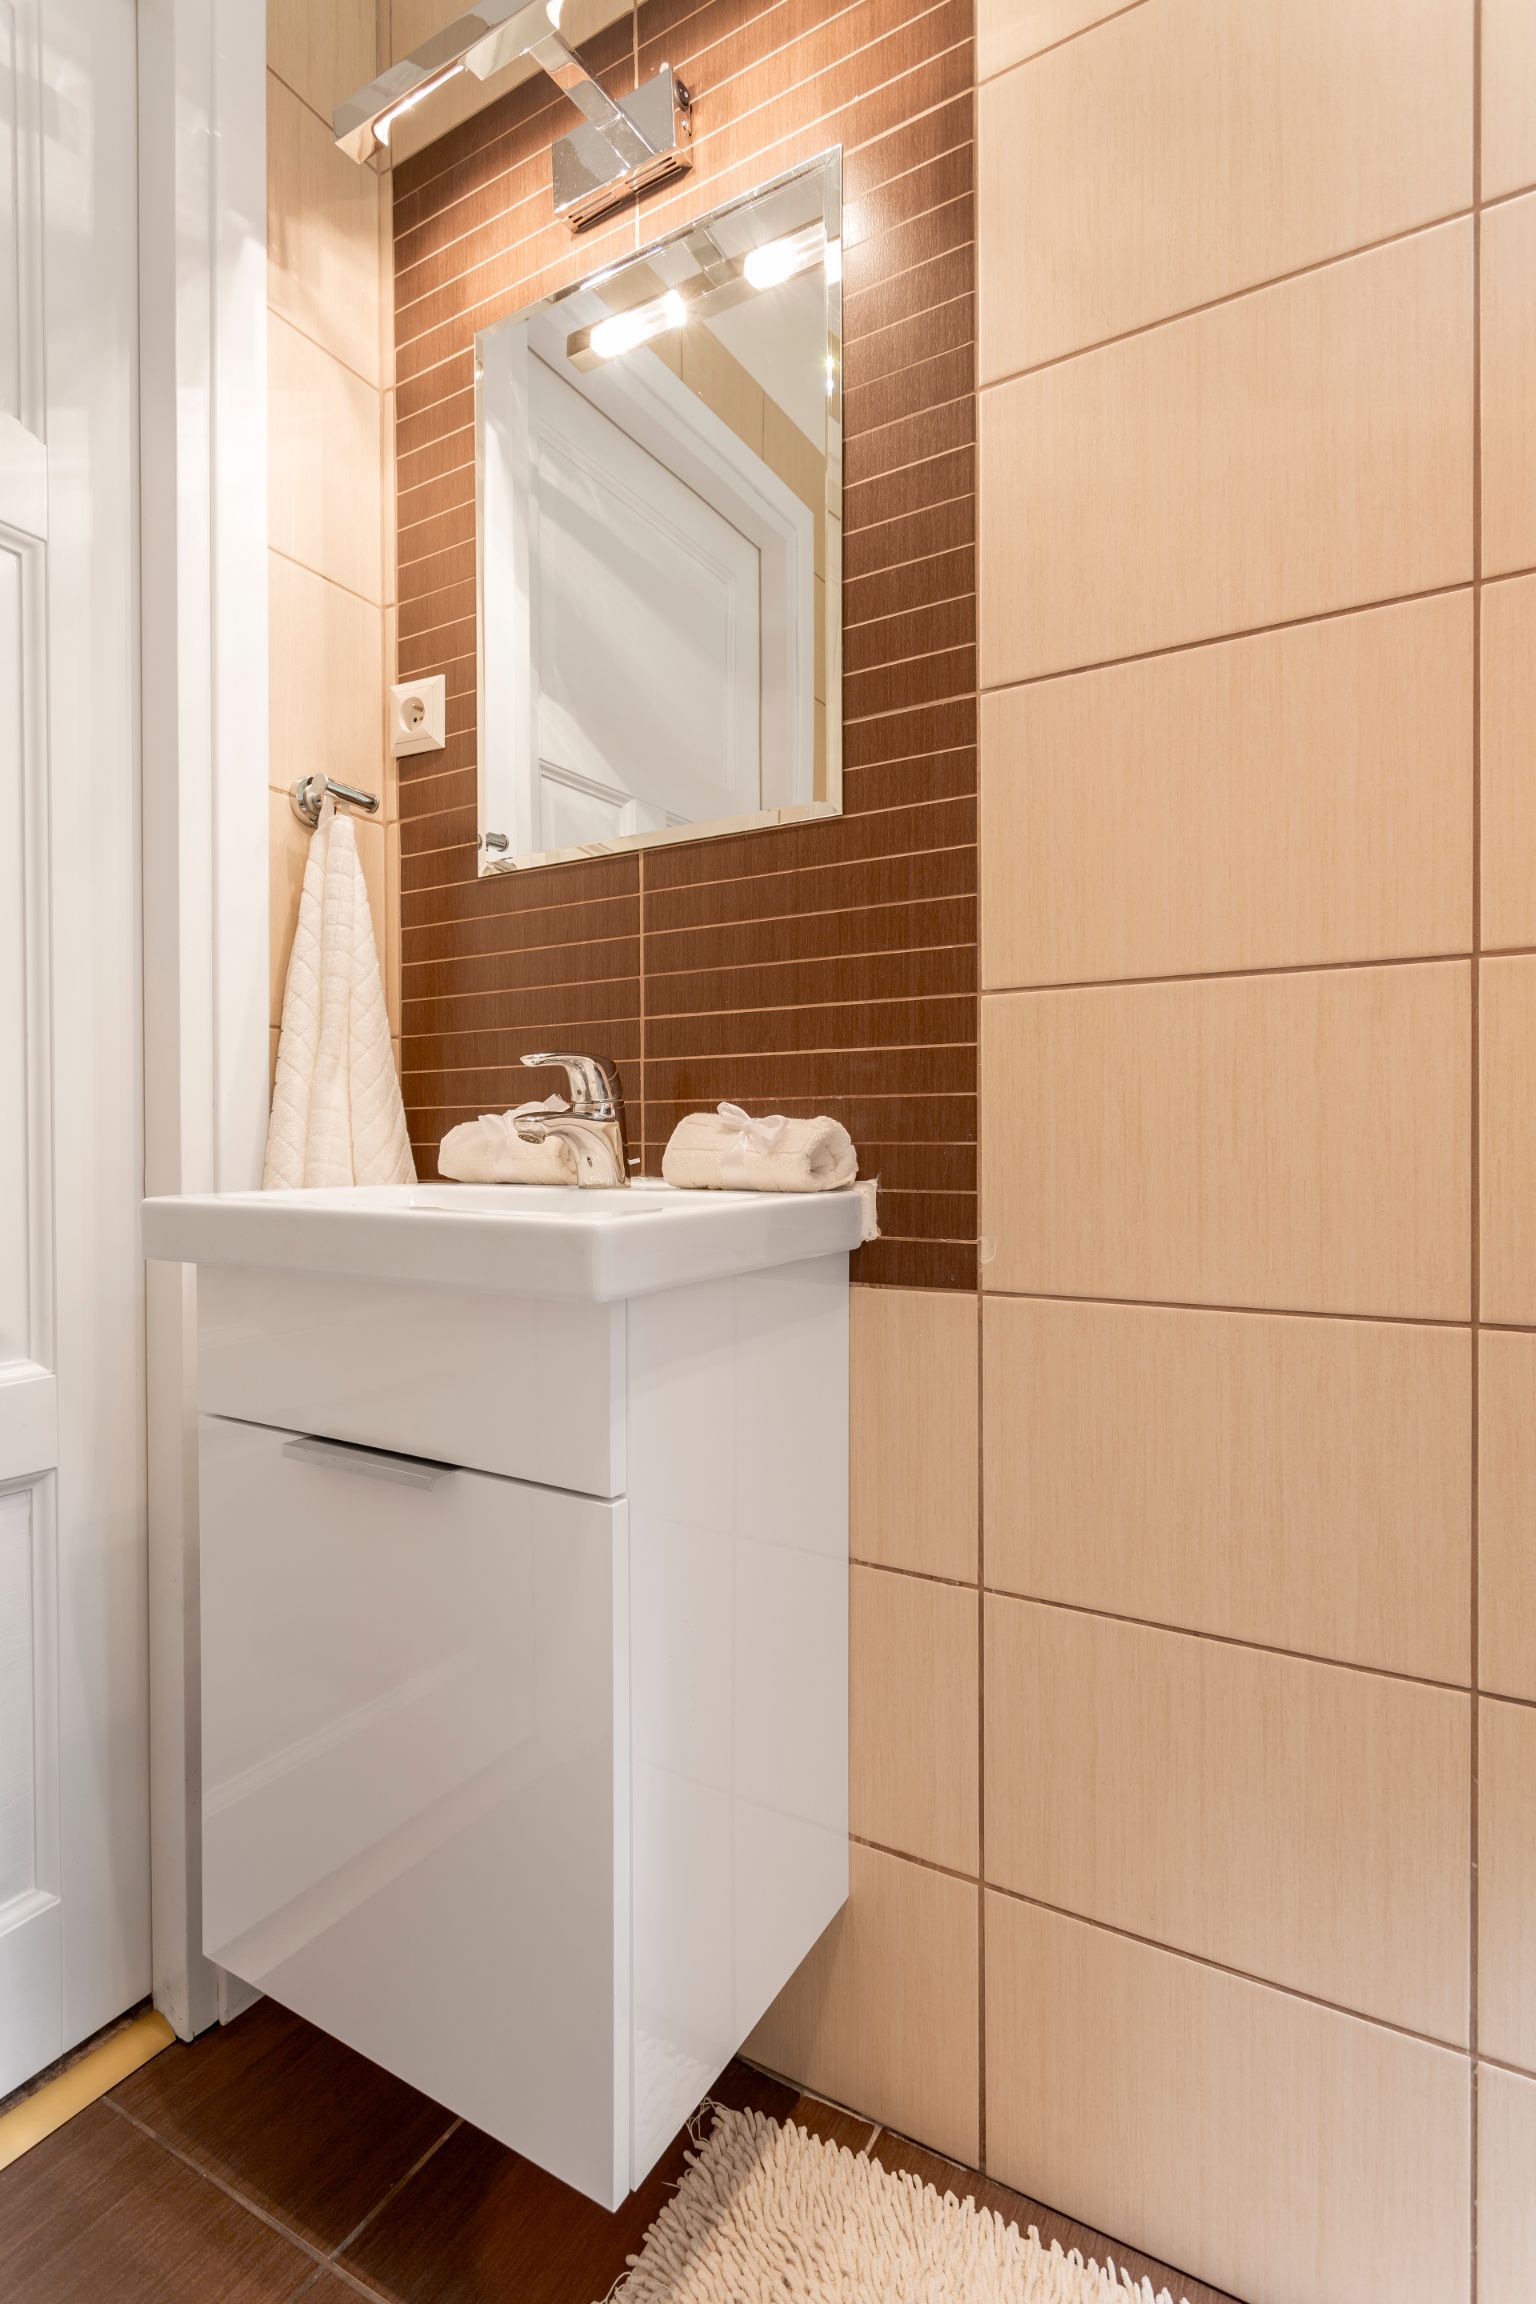
Tile the powder room with large tiles

The wall colour of the powder room need not blend in with the rest of the house.  Consider the powder room as an entity on its own.

Choose a colour that will beautify the room. Be sure you read our blog on calming and stress-reducing colours.

Experiment with different colours. Get some paint samples from your local paint store to test how the room will react to your chosen colour/s.

Instead of paint, you could opt to tile. Choose large tiles as fewer grout lines tend to open up the space.

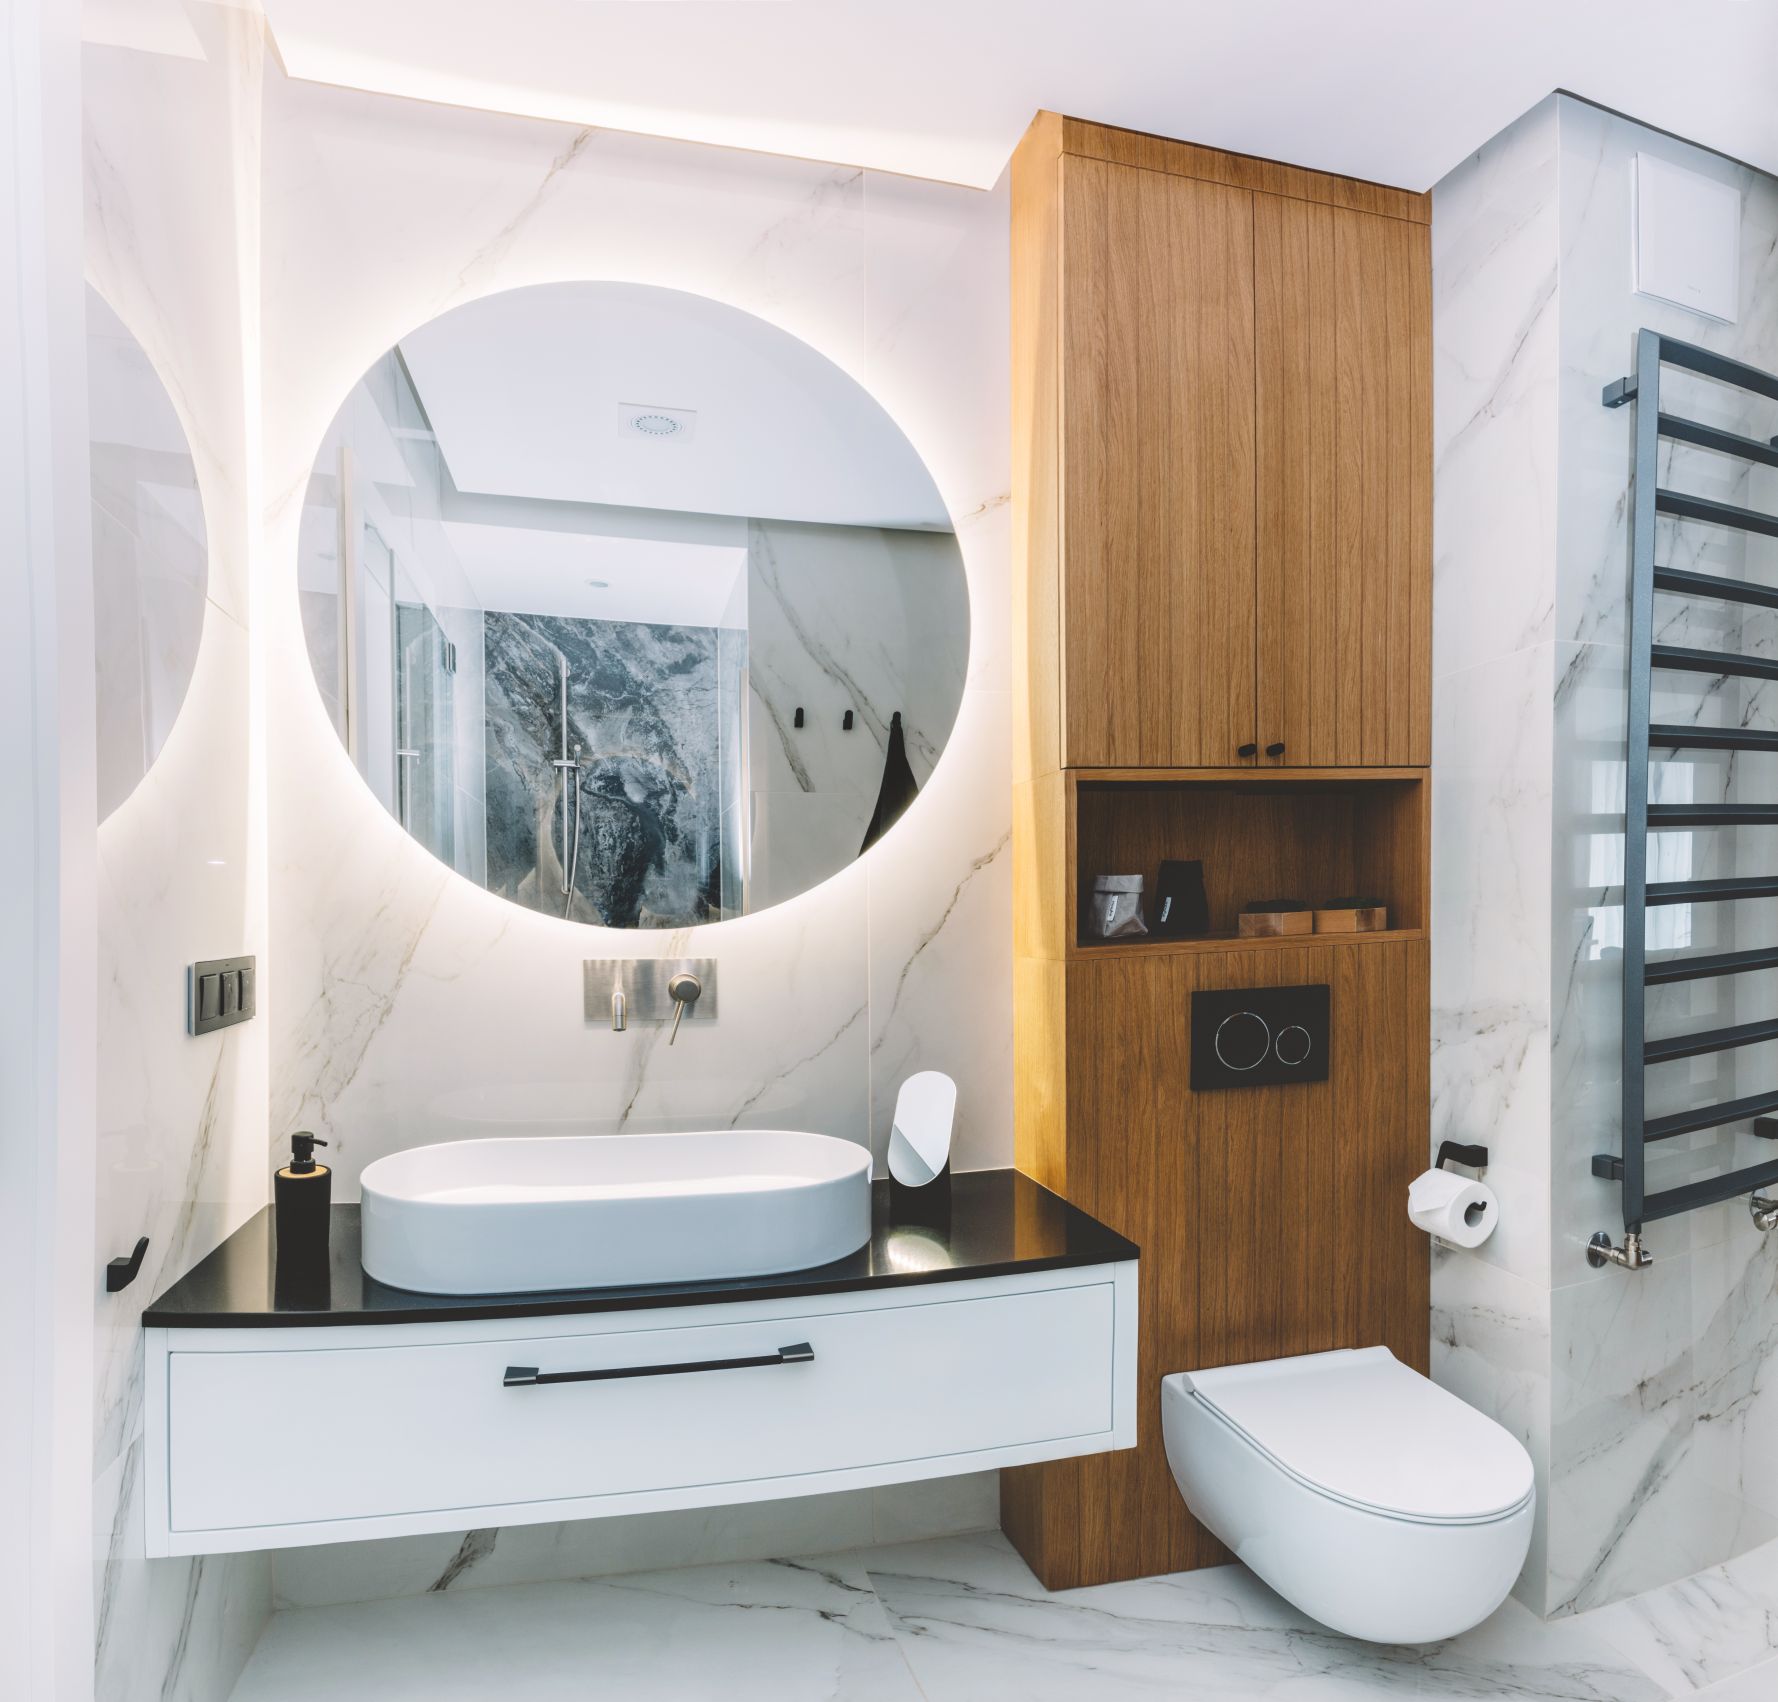
4. The Vanity

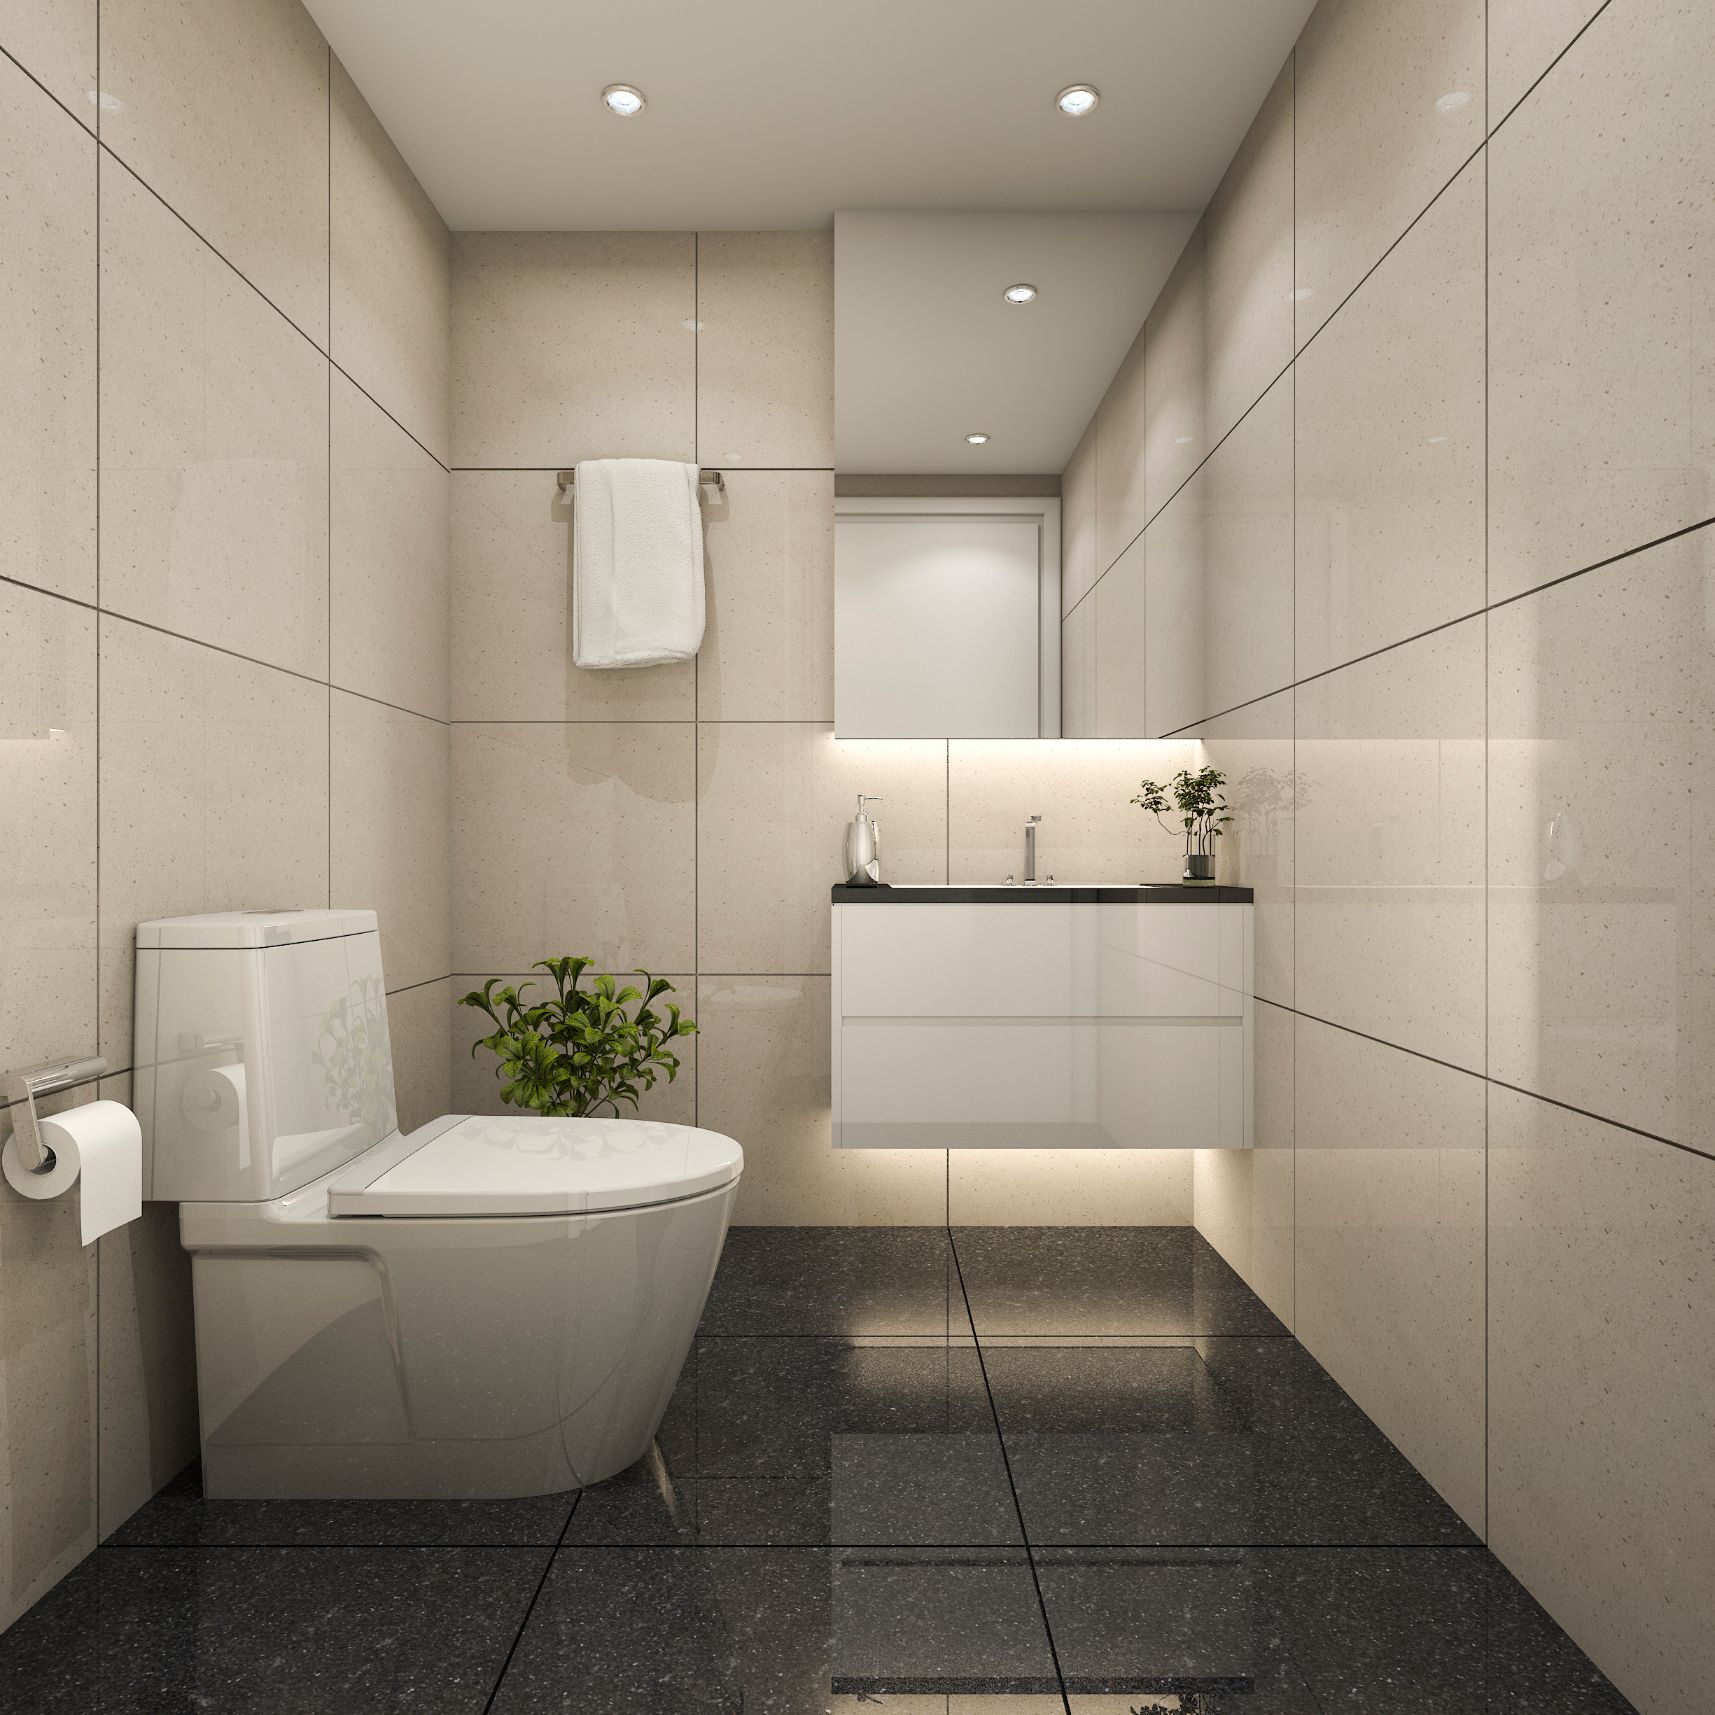
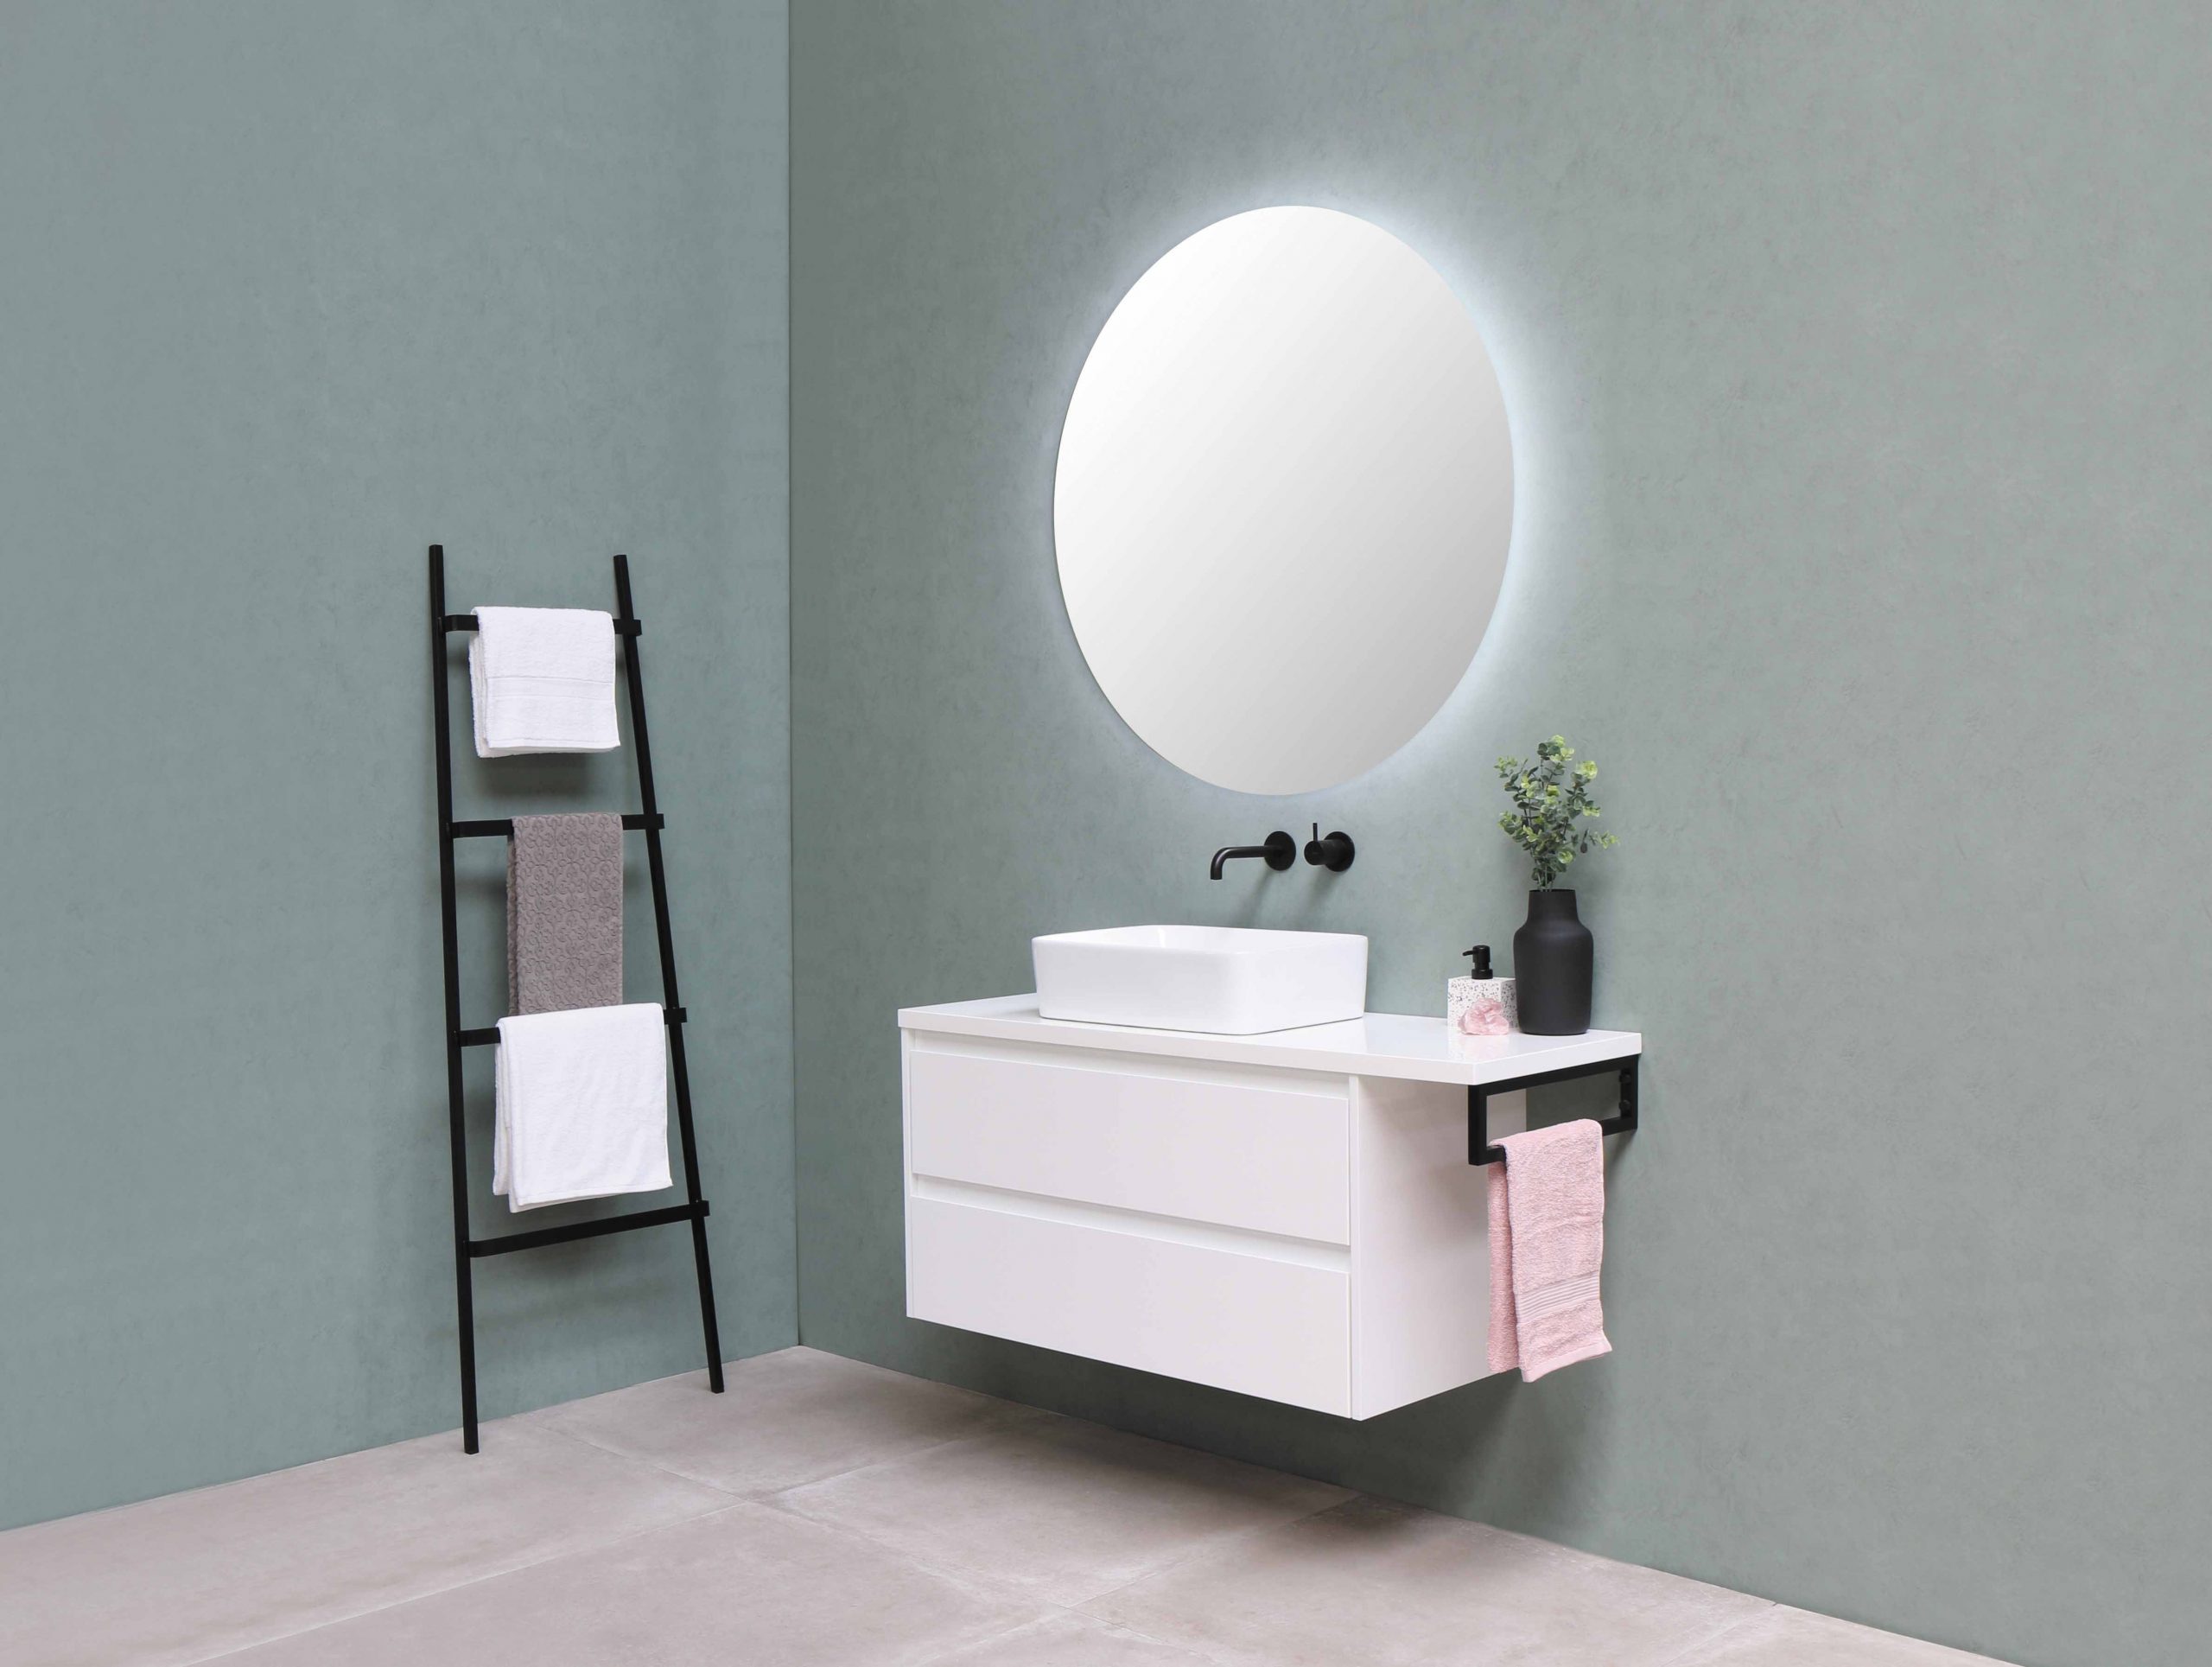
Wall hung vanity is perfect for the powder room

Create the illusion of space with a small wall hung vanity. You do not need a stack of cupboard storage space for the Powder Room, as you would for a bathroom.

5. The Basin

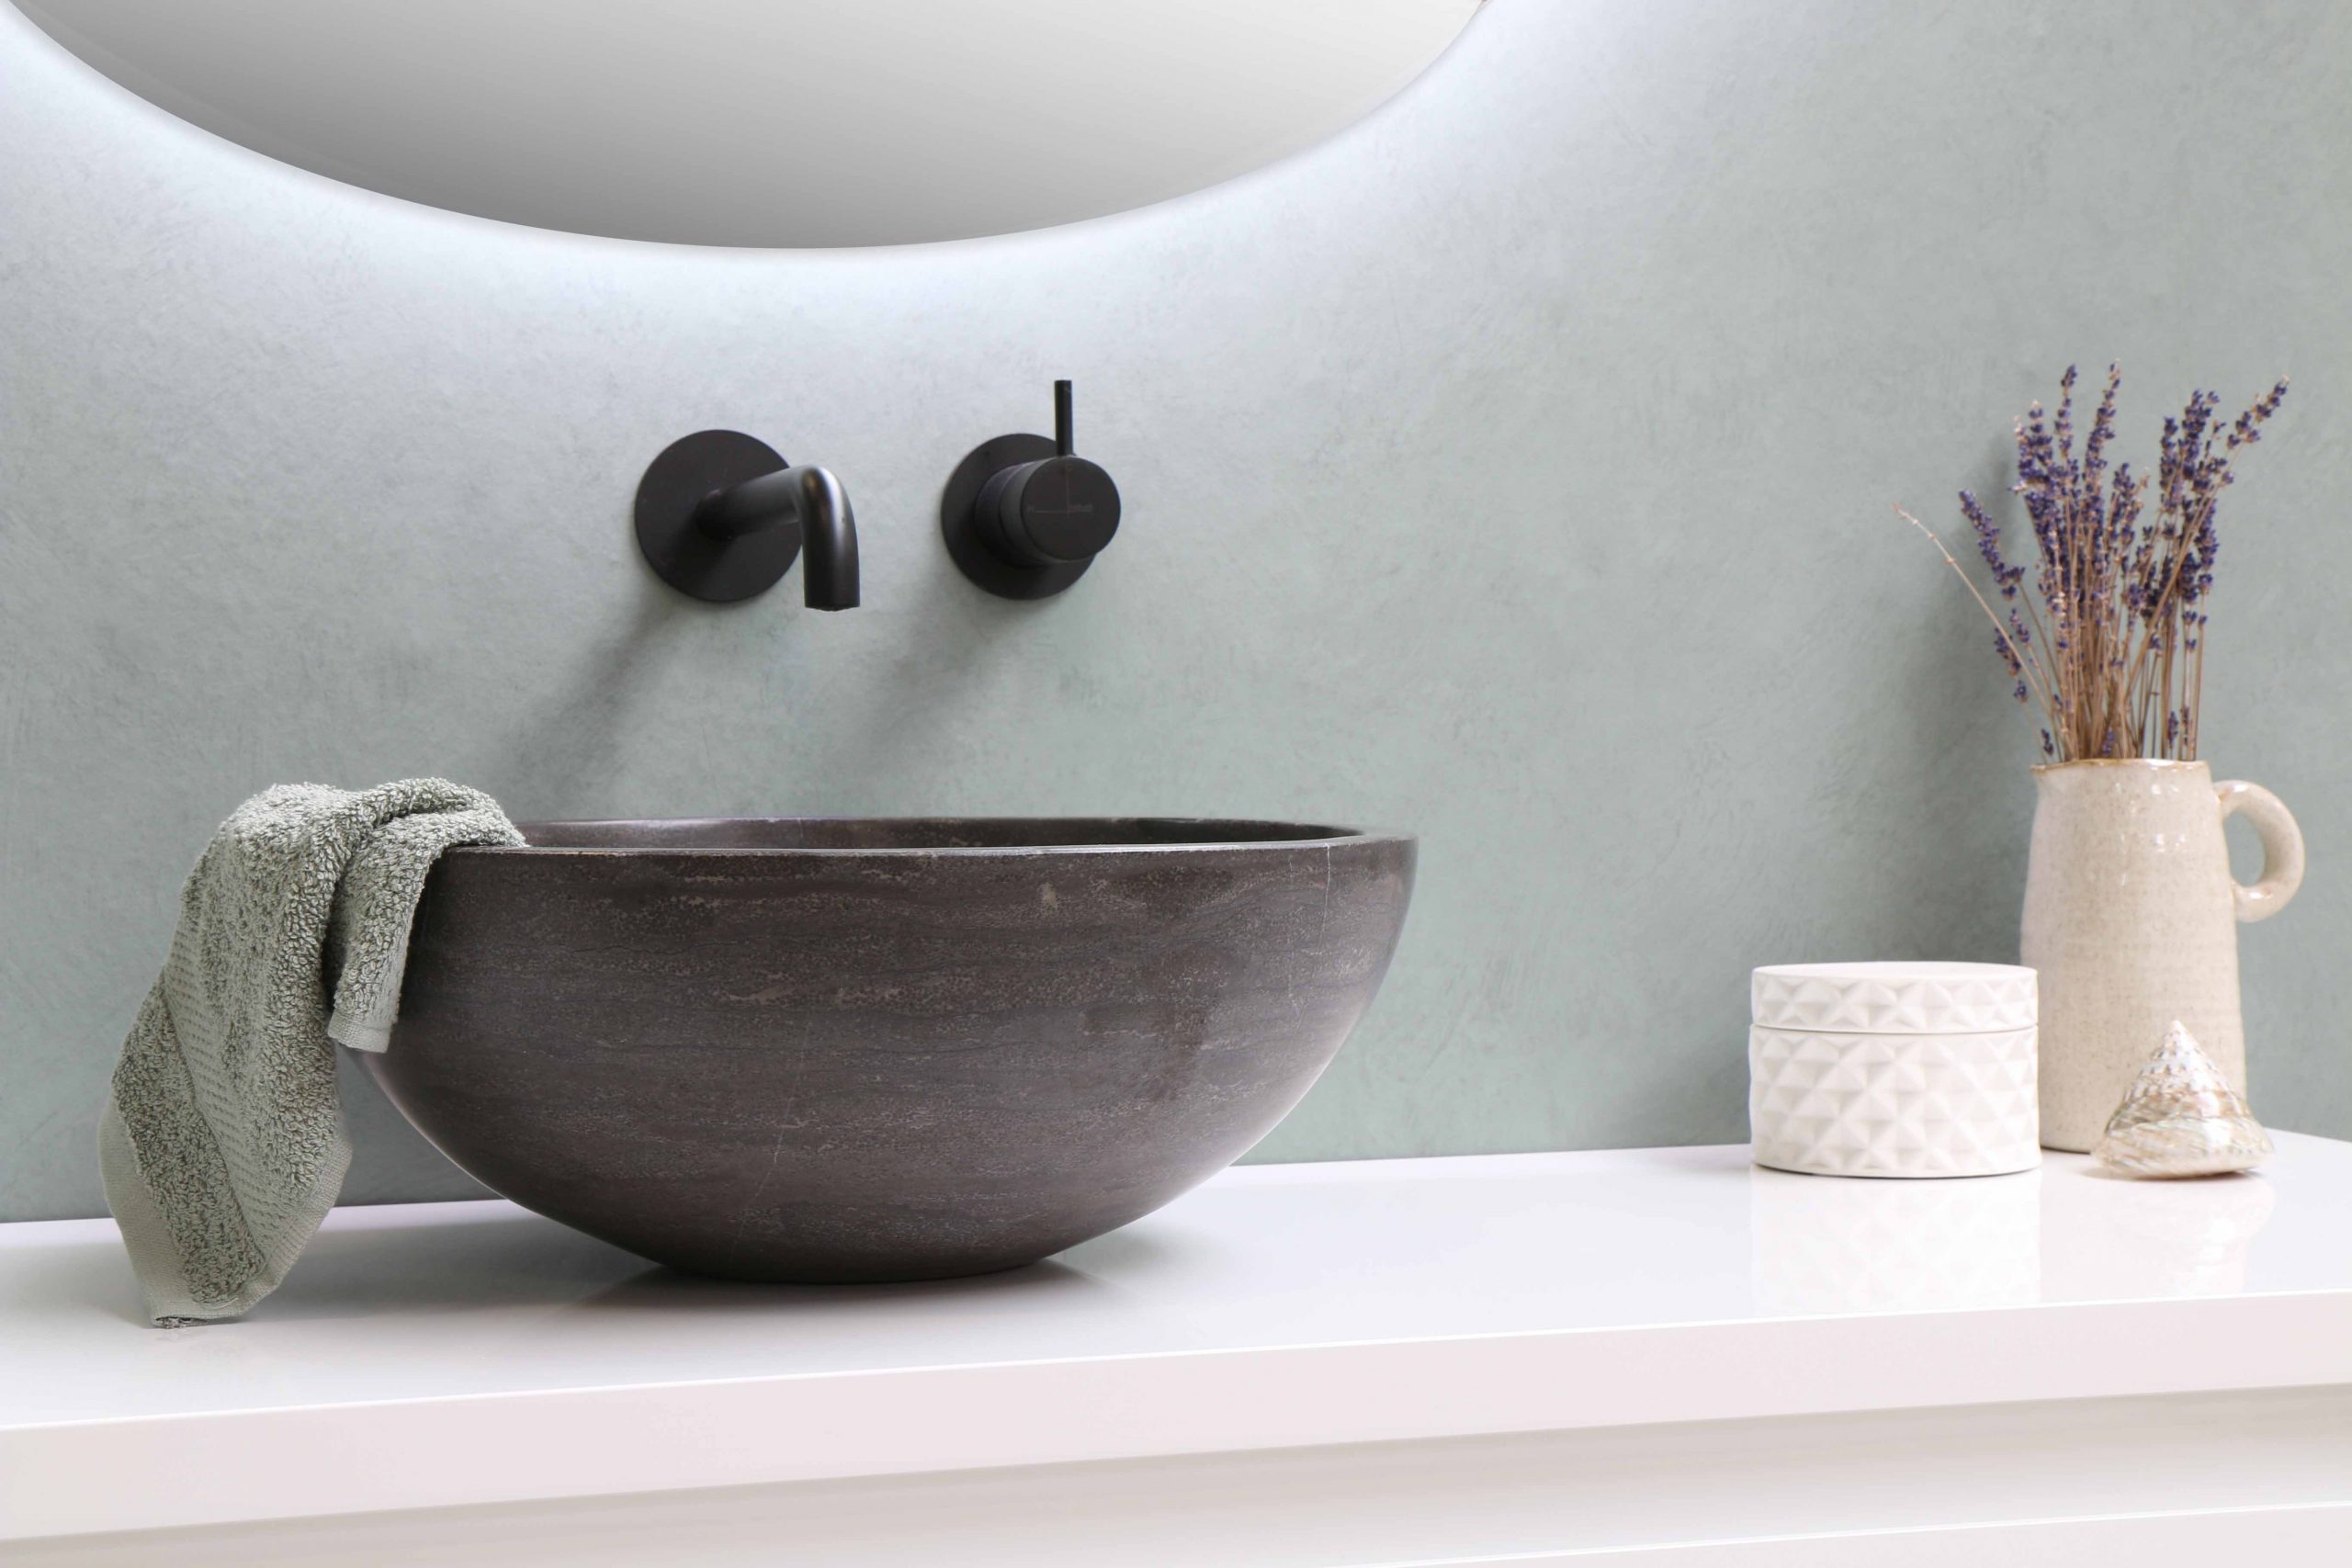
Basin for the powder room

The choice is yours. There is an array of basins to choose from. You require a basin large enough to comfortably accommodate hand washing and one that will complement the vanity.

Above the counter, under counter, wall hung basins, freestanding basins, built-in basins, and console basins, to mention a few.

6. The Toilet

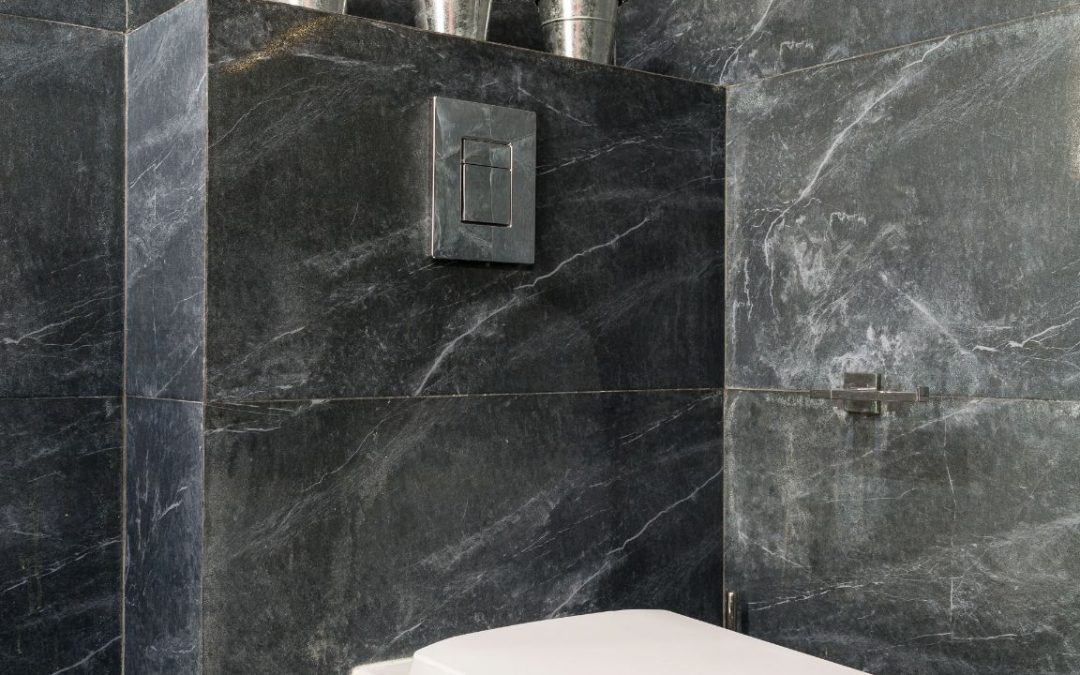
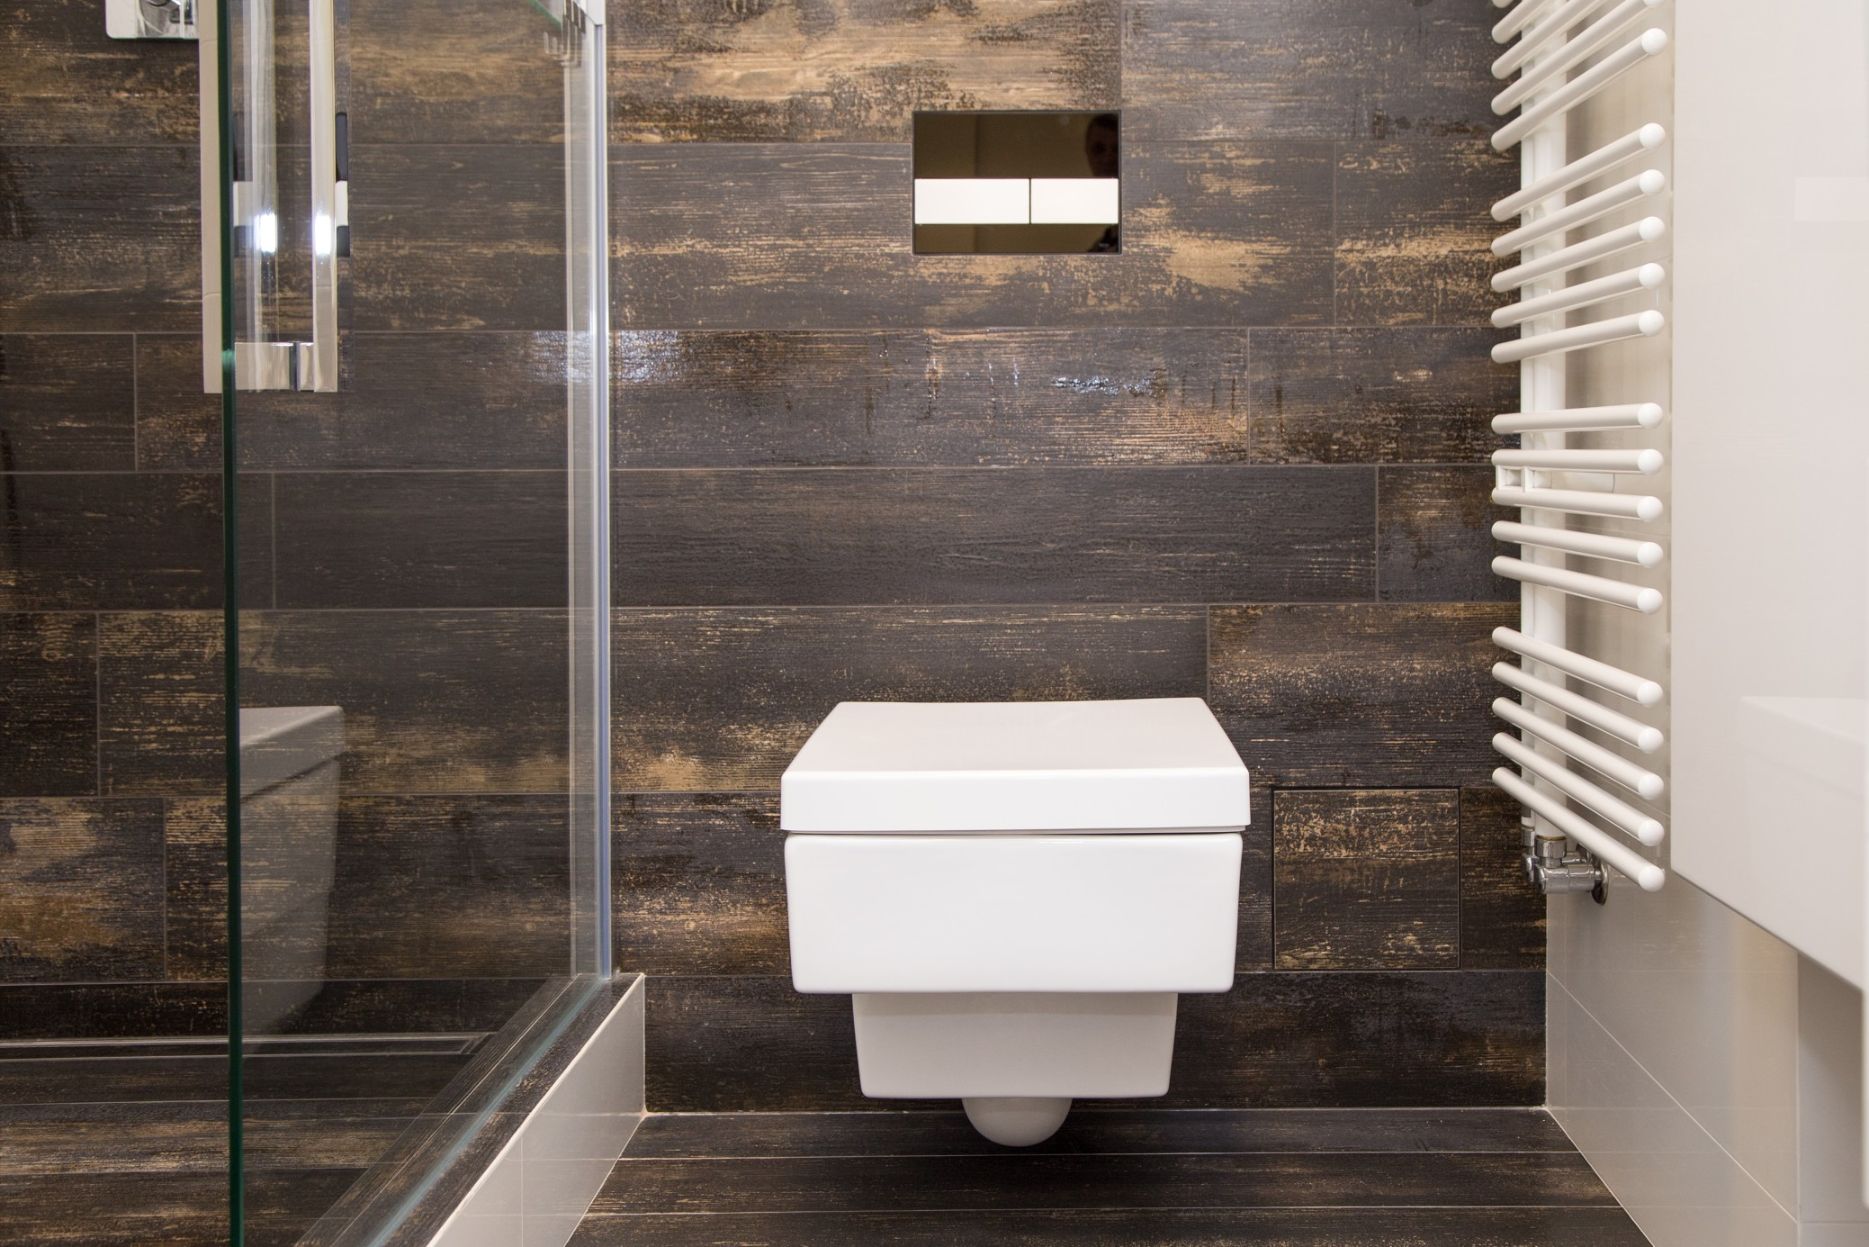
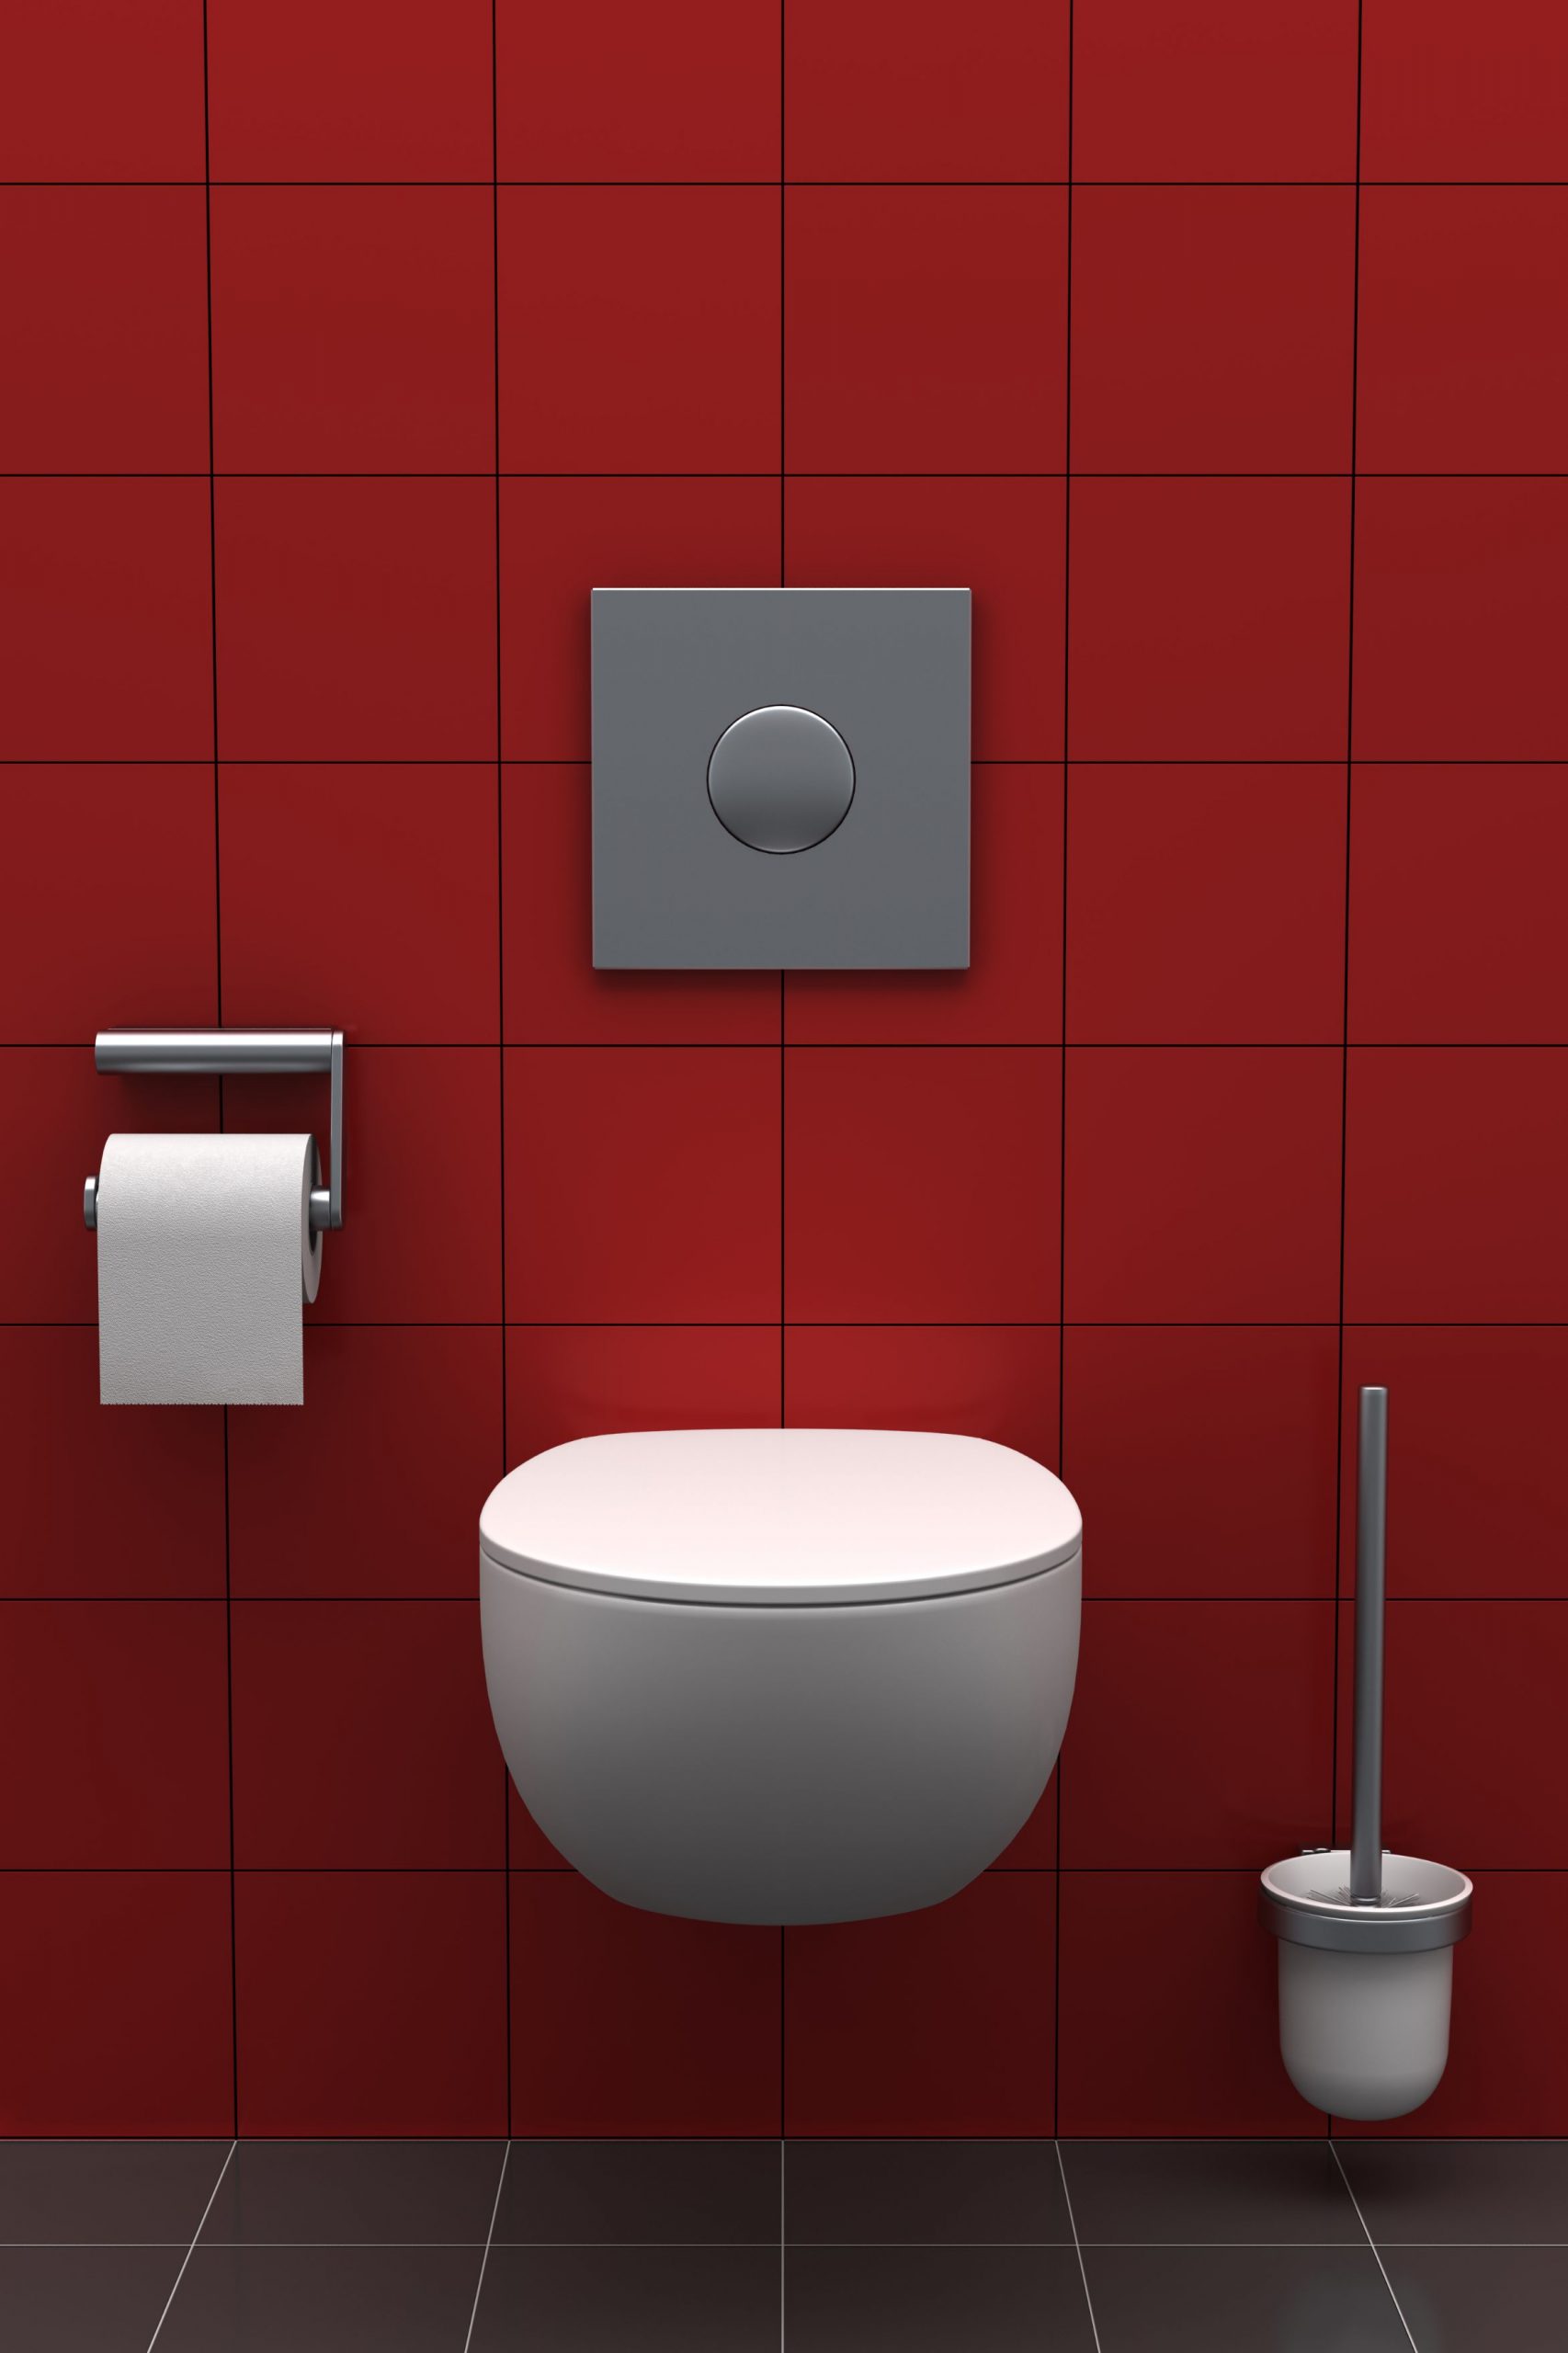
Wall hung toilet

“A great Powder Room lies in the balance of two things: form and function.”

Concealed cisterns add visual space and hide clumsy toilet parts. Wall-mounted or back to wall toilets create a modern and sophisticated look.

7. Toilet Paper Holders

Toilet Paper Holders

Just because toilet paper holders appear to have an inferior function in the powder room it is no reason not to splash out a little extra cash to invest in good quality and eye-catching toilet paper holder. On that note ensure that the toilet paper is replenished before your guests arrive and that some extra rolls are available.

8. Toilet Paper

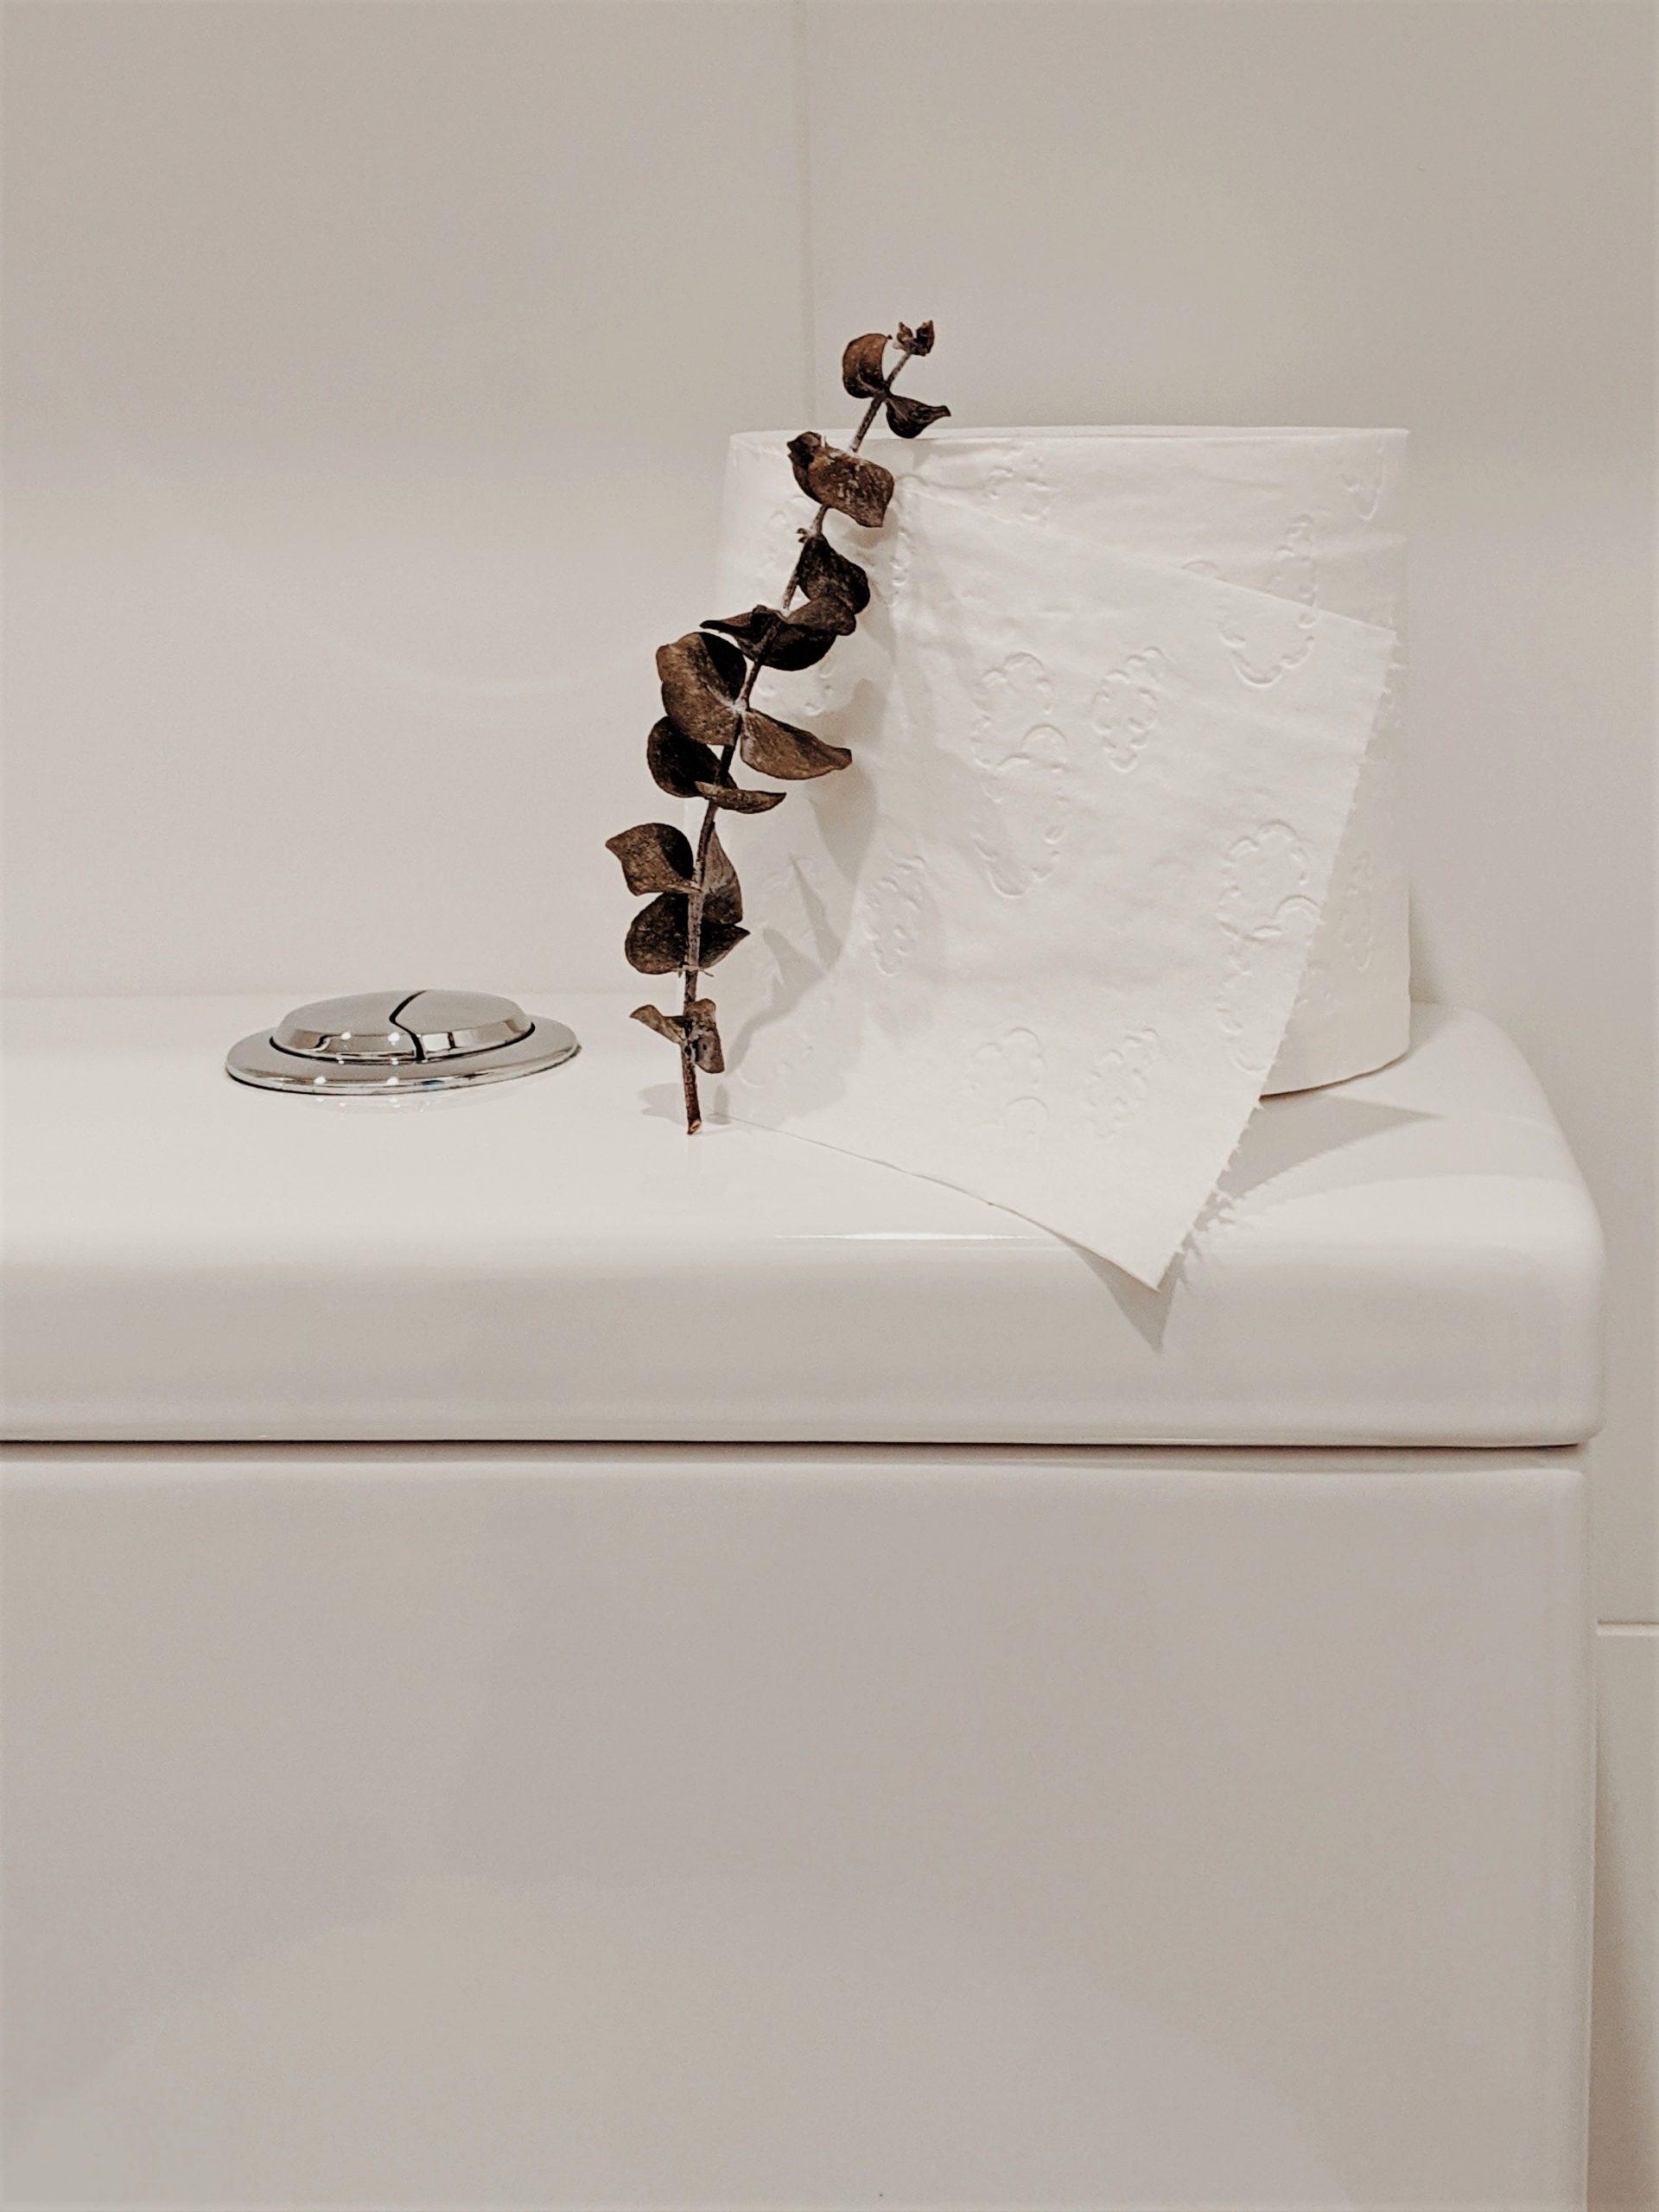
Toilet paper

Show your guest that you thought about everything. Buy a good quality soft yet strong white toilet paper. White is the epitome of hygiene and freshness. Keep a few extra rolls on hand. They can be placed inside the vanity or in a basket on top of the water tank.

9. Toilet Brushes

Floating toilet brush

Do not skimp on this item as toilet brushes and toilet brush holders are in eye’s view. Therefore, invest in a good quality toilet brush and brush holder. Choose a brush holder unique in design to add sophistication to the powder room. Keep toilet brushes in pristine condition and replace every 6 – 8 months.

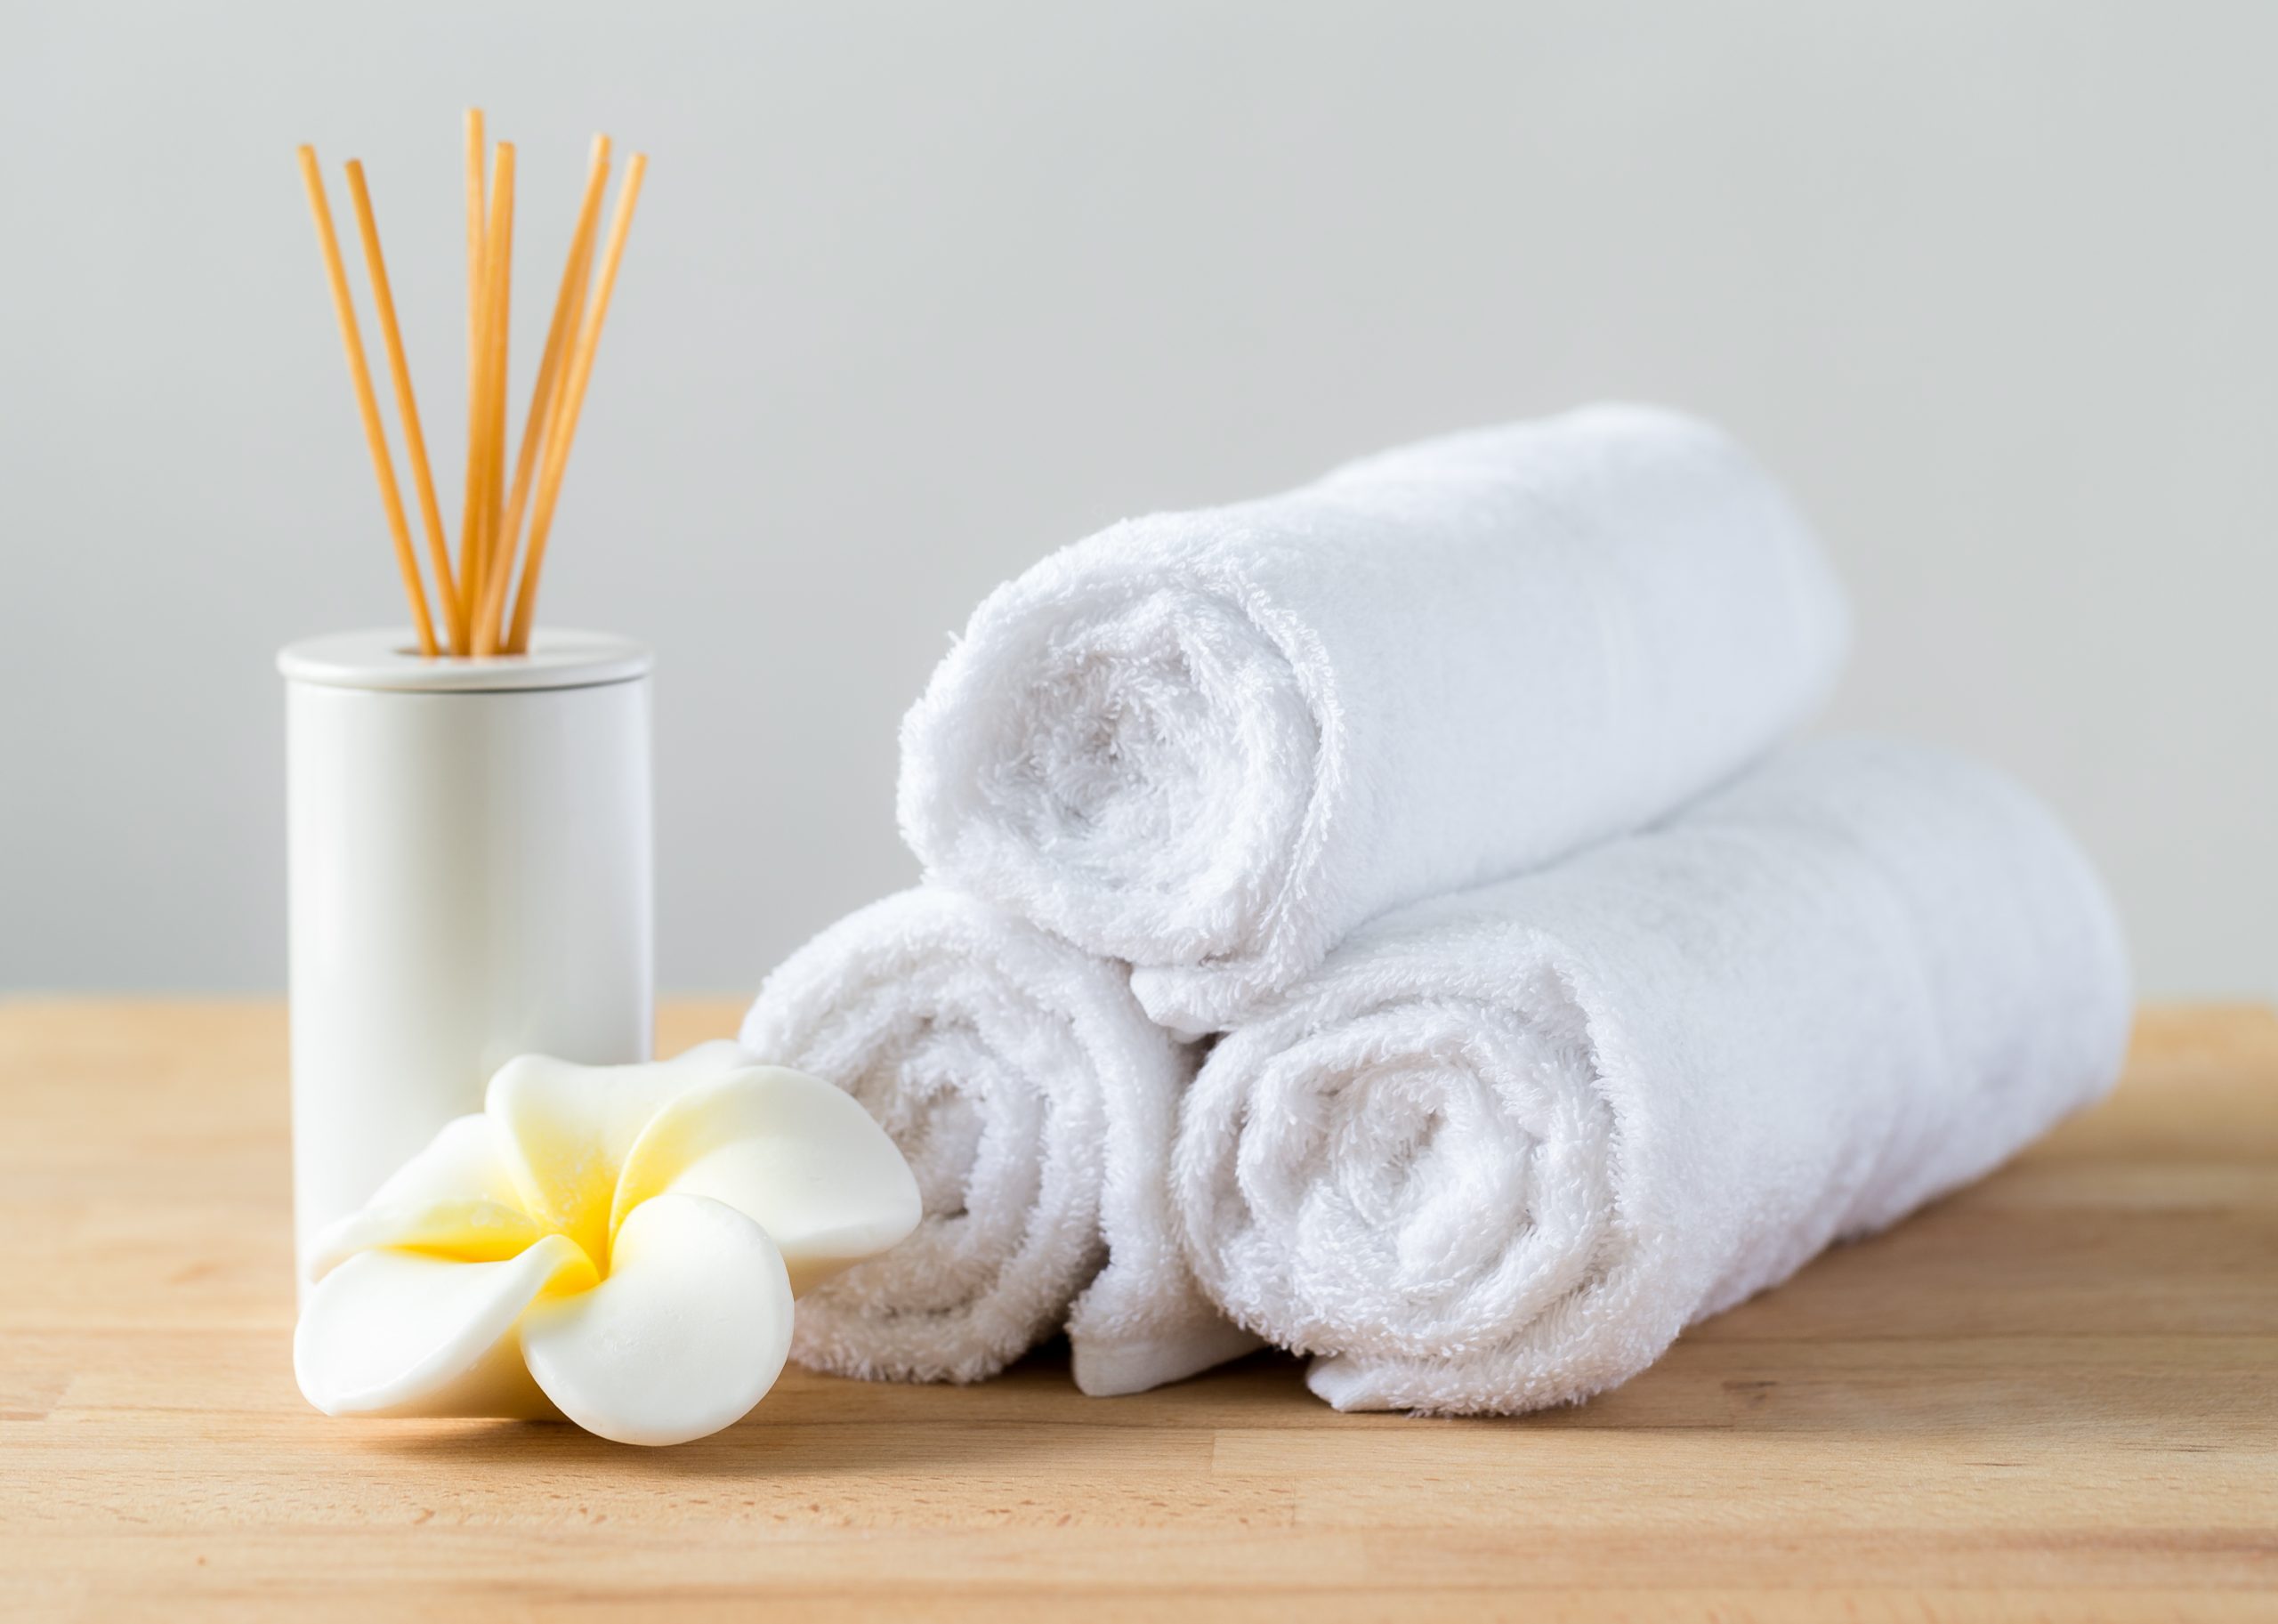
10. Guest Towels

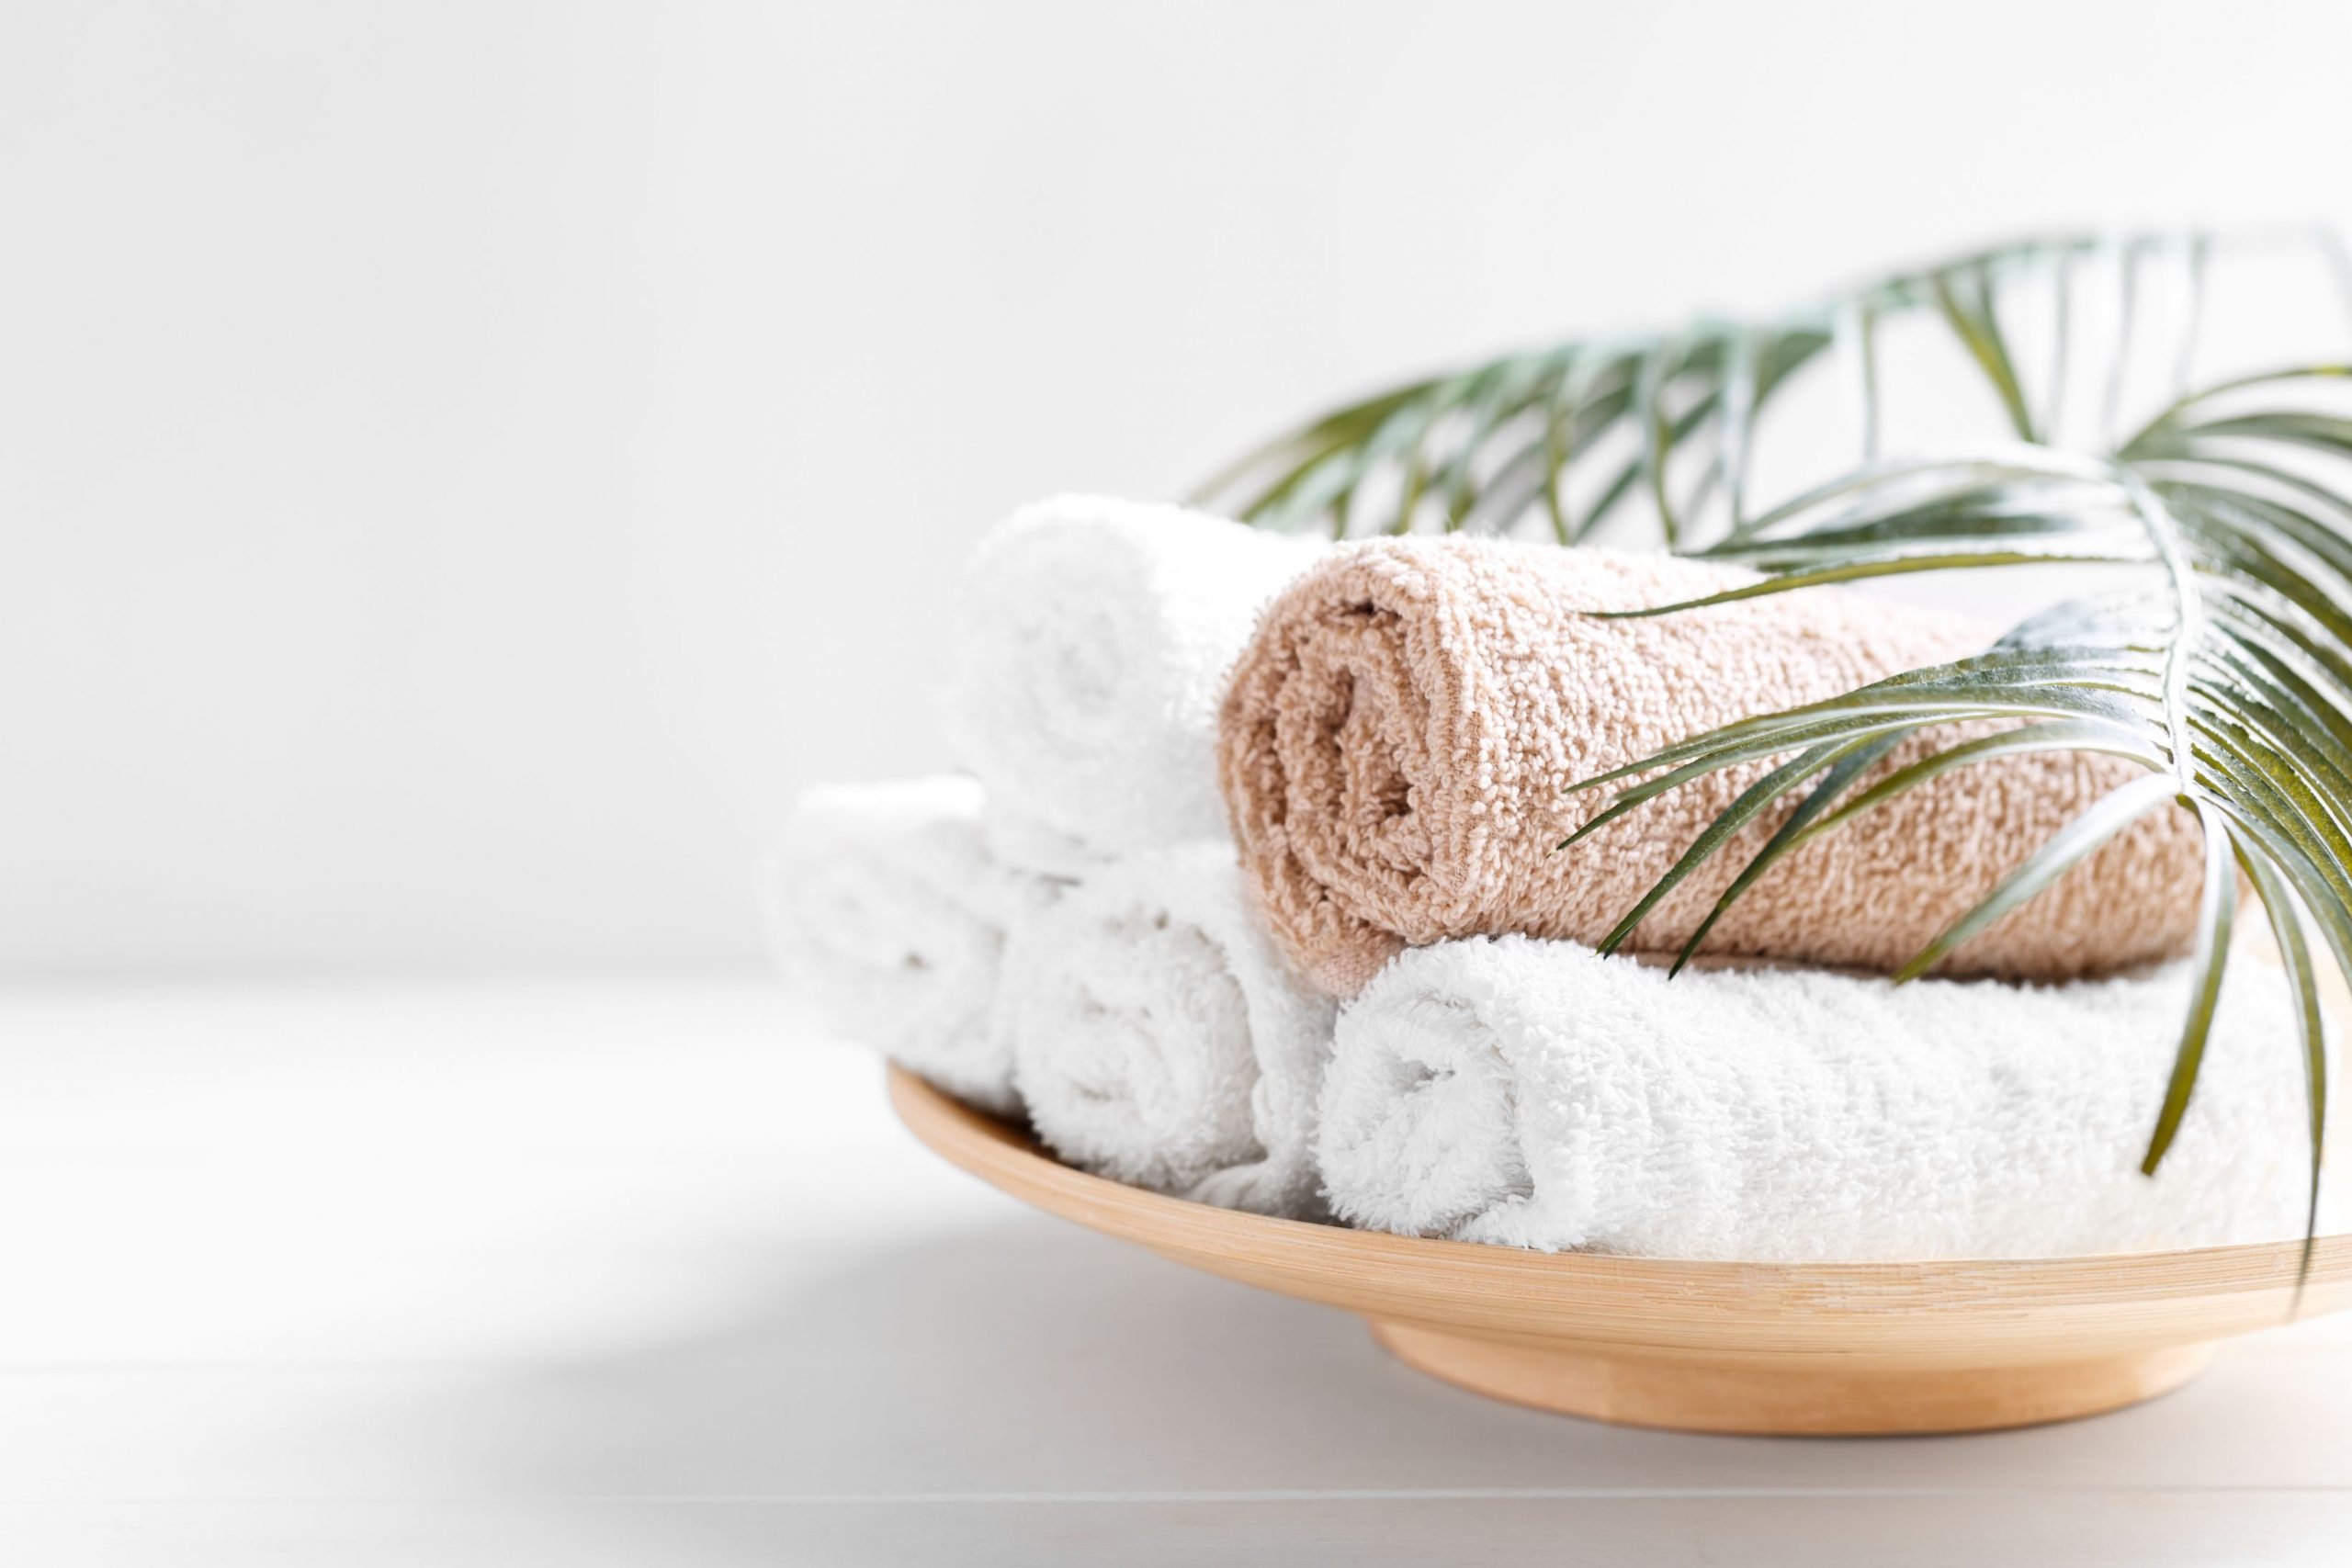
Towels for guests

Go on spoil your guest with lustrous, luxurious soft white hand towels and face cloths.

White towels simply look great in any bathroom setting and are easy to replace. Wash the towels regularly.

Face cloths are a good alternative to hand towels. They are small and can easily be rolled up. They can be placed in a decorative container on the vanity and serve as a decorative item too.

Once used to dry hands the face cloths are then placed in a container for used towels to be washed.

11. Soap and Hand Lotion Dispenser

Soap and Hand Lotion Dispenser

It goes without saying. These items are a must for any bathroom. Step away from the norm and invest in appealing dispensers that will add glamour and diversity to the room. 

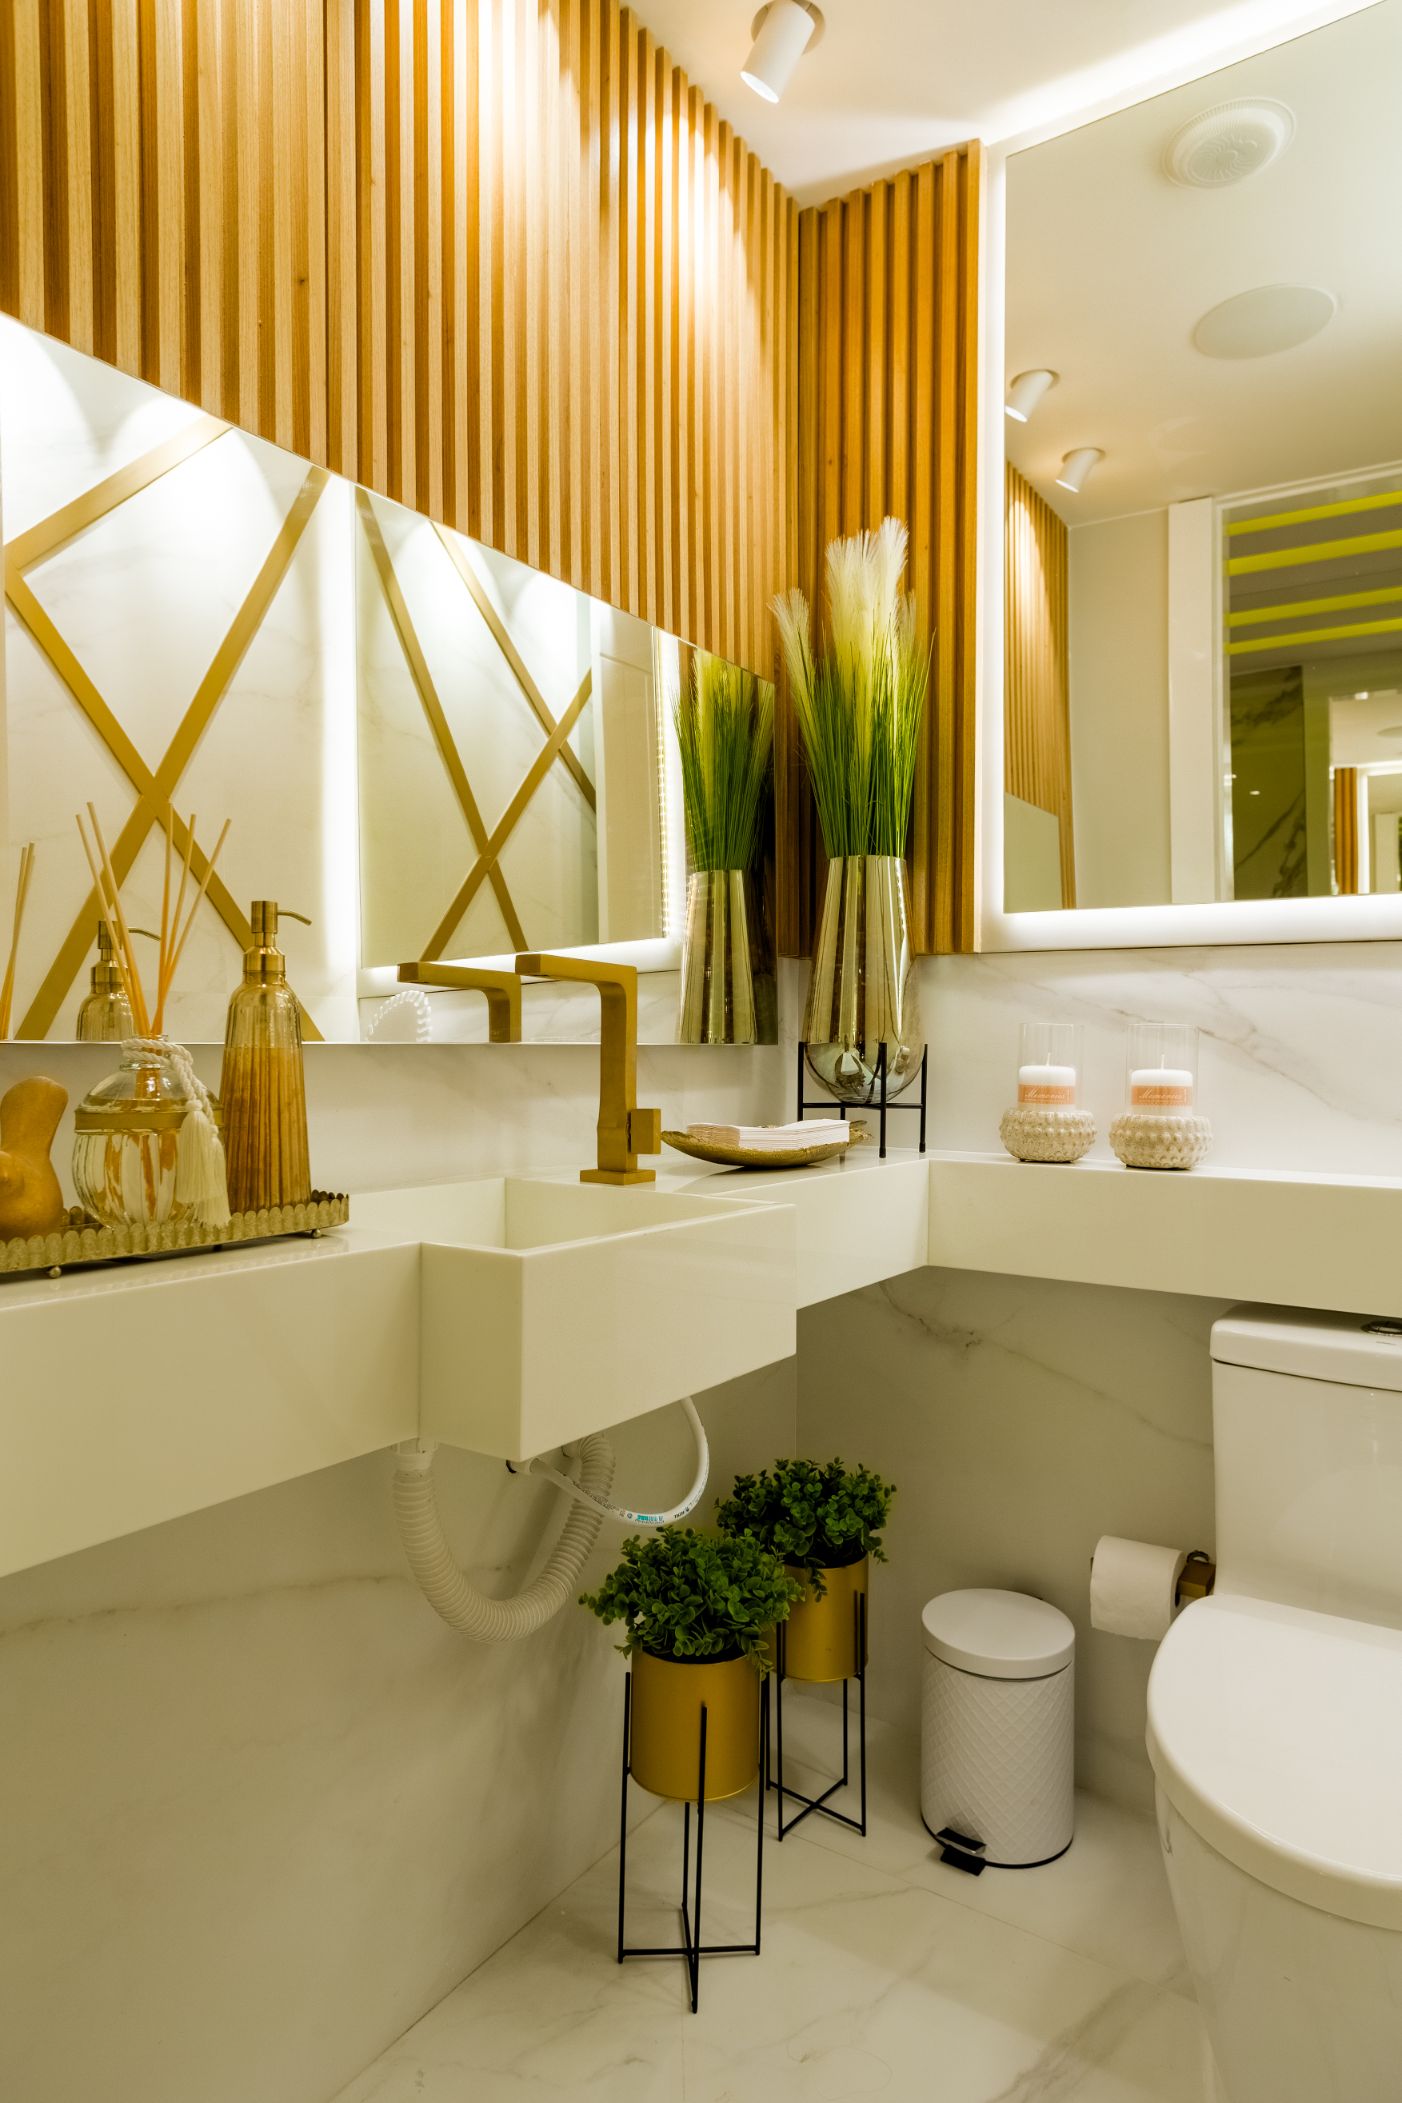
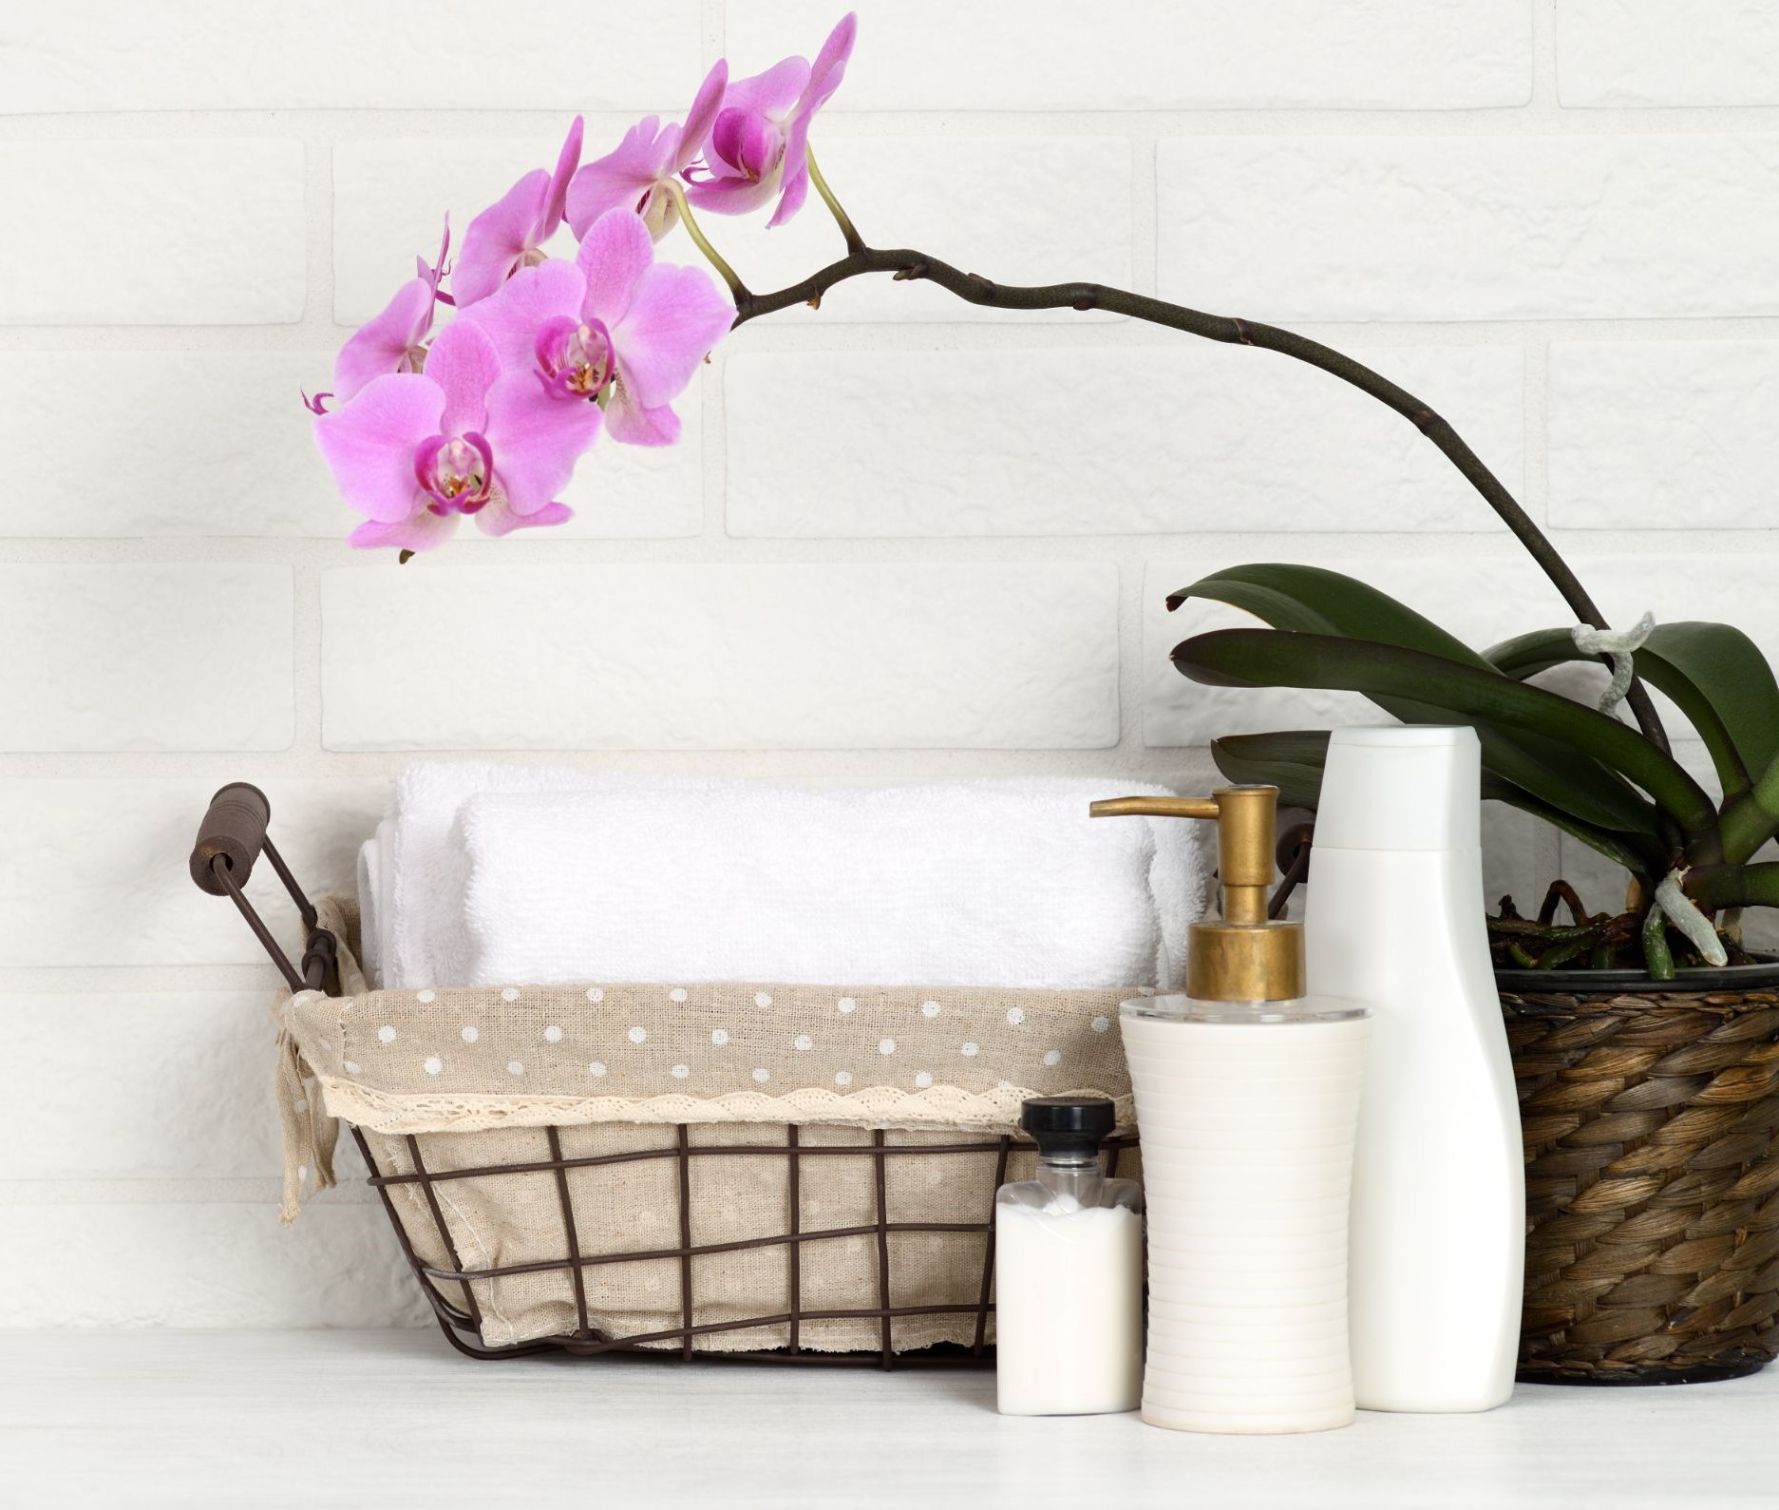
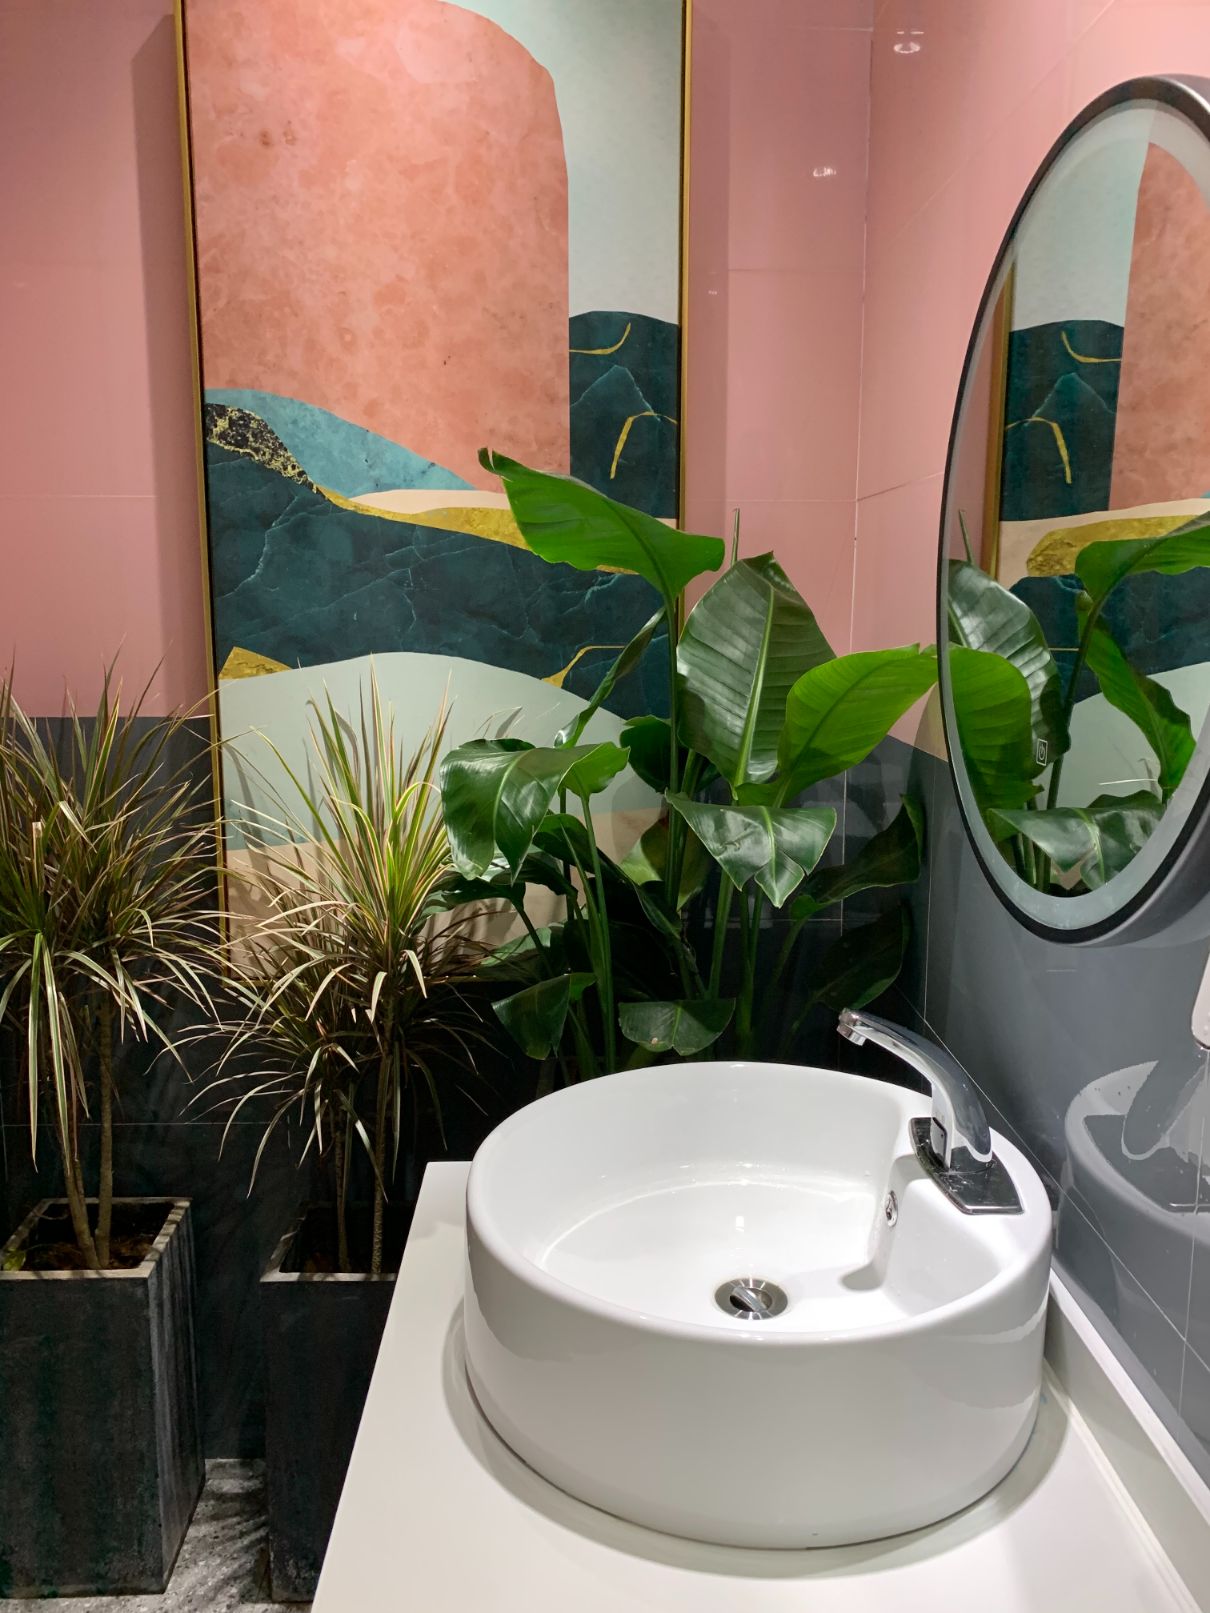
12. Add a bit of Greenery

Add a few plants to your powder room

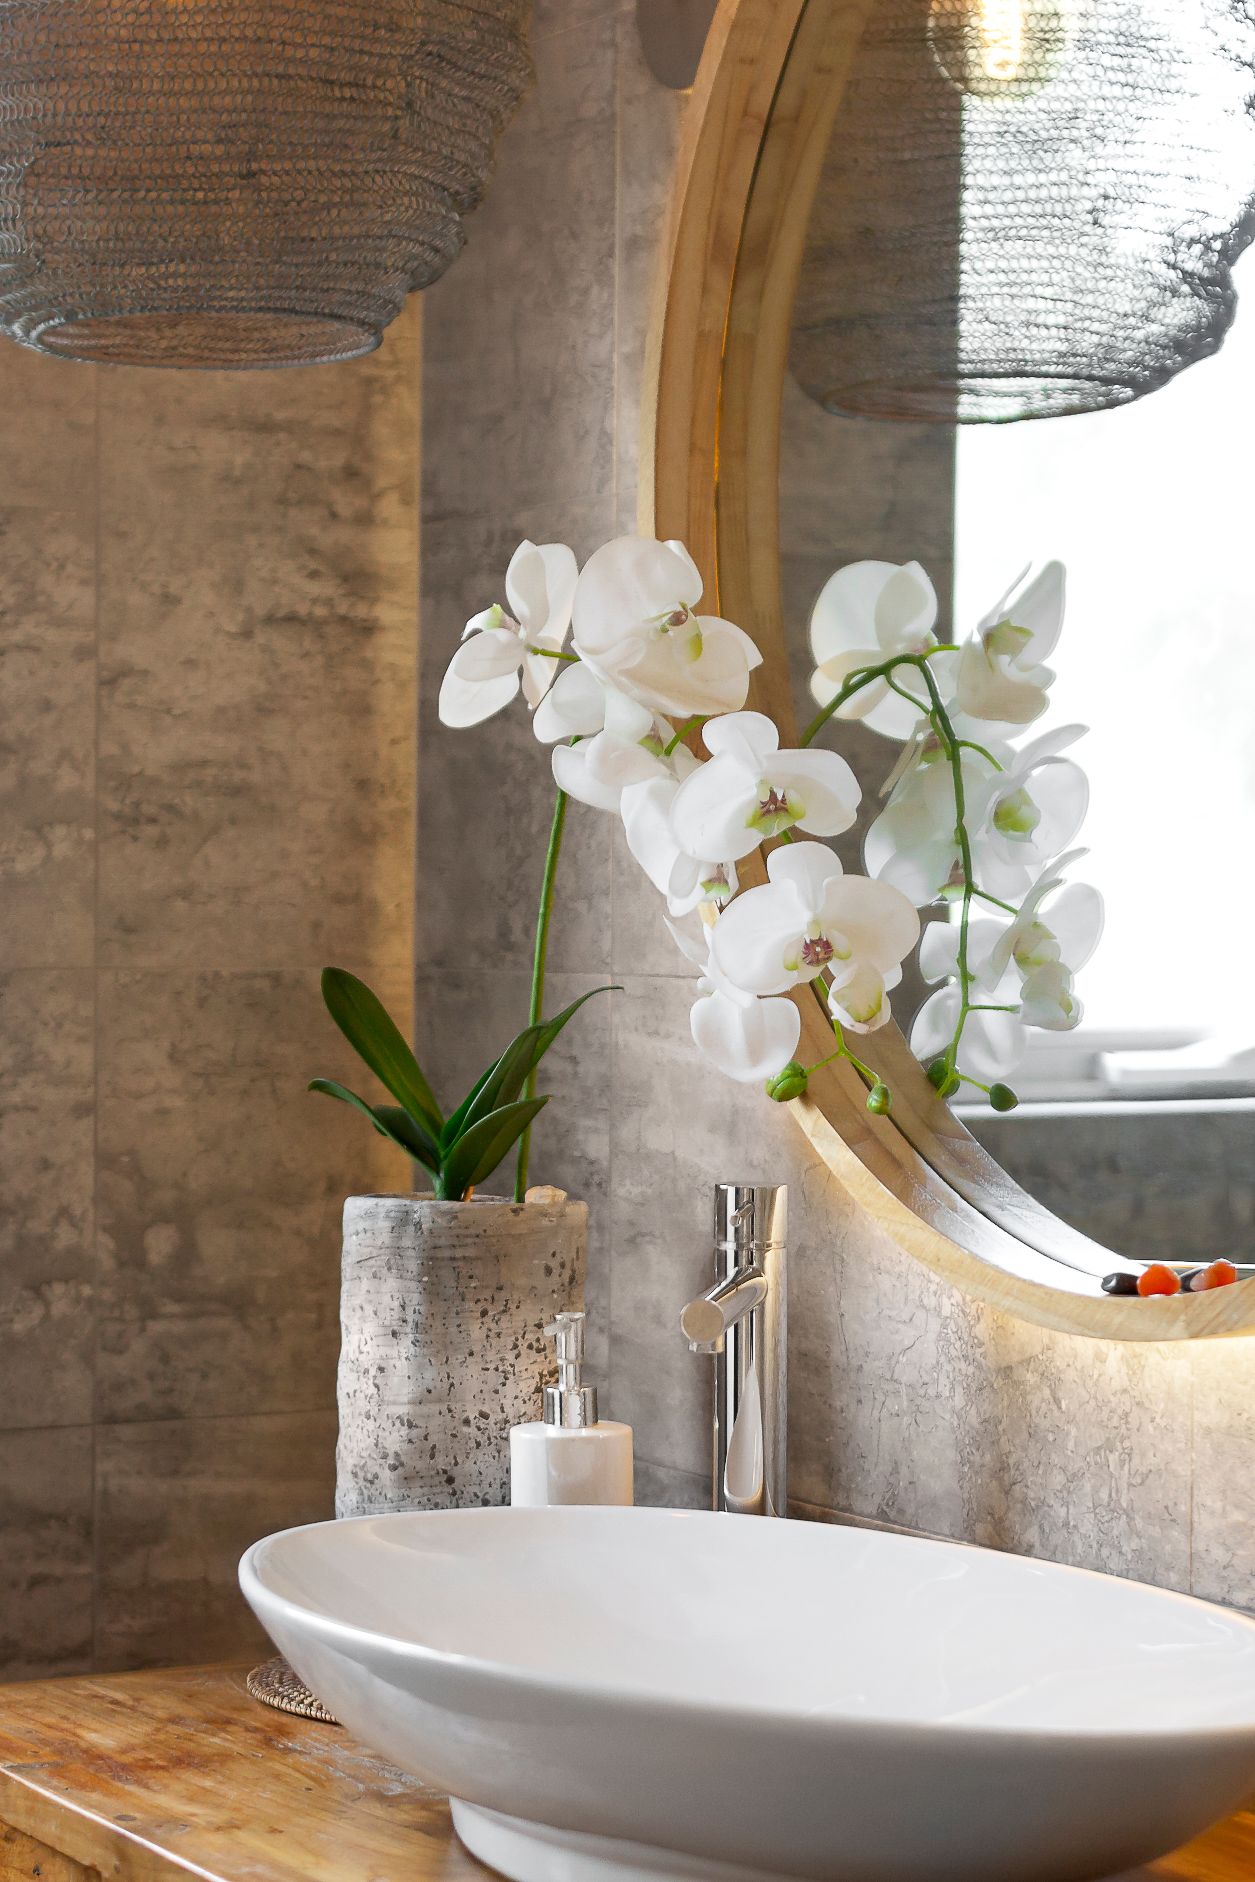
For a touch of finesse, colour and diversity add some greenery. A good quality artificial plant will probably be the best.

13. Air Freshner

Freshen up your powder room with fragrance oil

To keep the air fresh and smelling nice, use fragrance oil diffusers. There are a great many available these days. This will create a wonderful aroma and ambiance in the powder room.

14. Baskets

Wire baskets for your powder room

Baskets of any type are perfect for storing and collecting discarded items. They can be used for items such as towels or the extra roll or two of toilet paper. Choose a basket that resonates with your powder room décor.

Interior Decorating

how to style and decorate your powder room

Our interior decorators can help you artfully rearrange and creatively utilise the interior of your home to transform it into a stylish, revitalising and inviting space which reflects your personal style and taste. Please contact us for an obligatin free quote.

Why Buyers Find It Easier To Visualise Property As Their Future Home When It Is Staged?

Why Buyers Find It Easier To Visualise Property As Their Future Home When It Is Staged?

WHY DO BUYERS FIND IT EASIER TO VISUALISE A PROPERTY AS THEIR FUTURE HOME WHEN IT IS STAGED?

Buyers visualise staged property easier as their new home

Over 81% of buyers find it “easier to visualise the property as their future home” when it is staged.

Buyers visualise staged property easier as their new home

So why do Buyers find it easier to visualise a property as their future home when it is staged?

Simply because we are visual and emotional human beings.

Emotions propel us and play an important role when it comes to decision making.

Our emotions and senses are tightly intertwined, and we experience the world through our senses.

Buyers visualise staged property easier as their new home

So, when it comes to selling your property you want to present a lifestyle that would be appealing to the emotions and senses of potential buyers. A good example of this would be yourself. Can you remember what triggered your interest when purchasing your current home, or the new one you are now buying?

Buyers visualise staged property easier as their new home

Flush the Toilet and Put the Lid Down

Homeowners often decide to prepare their homes for sale themselves. Is this a good option, and can it be done? Yes, most certainly it can with a little help and advice from experienced Property Stylists.

Getting a Property Stylist involved in invaluable, simply because they are in the know and know exactly which boxes are to be “ticked” to help buyers visualise a property as their future home.

Buyers visualise staged property easier as their new home

Homeowners can overlook the simplest of things which could be detrimental to the overall presentation and a probable sale. The visual presentation is so important that an unflushed and up toilet seat can deter a potential buyer.

Buyers visualise staged property easier as their new home

Declutter

Declutter is an all-important step and cannot be skipped. The buyer though an emotional being has no connection with your family photos and award-winning trophies. These need to be removed. What he wants to “see” is where he could hang up his family portraits and award-winning trophies.

Buyers visualise staged property easier as their new home

Decluttering is as much a process as it is preparing the house for sale. For the seller, this can be an emotional time too – having to let go and being overwhelmed by the task. Again, a Property Stylist can be of great worth and support during this exercise.

Buyers visualise staged property easier as their new home

Less is Best

Remember the question at the beginning – “Why do Buyers find it easier to visualise a property as their future home when it is staged?” – because they can then “see” themselves living there.

Buyers visualise staged property easier as their new home

Do not overindulge the presentation with an overload of decorative items and accessories. Keep it simple, spacious yet inviting.  Leave enough space so that the buyer can envision where his furniture could go.

Buyers visualise staged property easier as their new home

For more information and assistance on preparing your property for sale, whether you want DIY, or prefer us to do it for you please contact our Property Stylists for an appointment.

Want to Renovate Your Home But Don’t Know Where To Start

Want to Renovate Your Home But Don’t Know Where To Start

Want to Renovate Your Home But Don’t Know Where To Start

When it comes to home renovations the first question homeowners ask is – “where do I start?”

Renovating your home need not be an overwhelming thought. 

The best way to accomplish something big is to approach it in smaller pieces.

St Francis of Assisi had these wise words – “Start by doing what’s necessary; then do what’s possible; and suddenly you are doing the impossible.”  

When deciding to make changes to your home, serious considerations are involved because your home is perhaps one of the biggest financial and emotional investments you have.

It is therefore important to know what you want to achieve and why.


“Some people look for a beautiful place, others make a place beautiful” – 

Hazrat Inayat Khan

So, Where Do You Start?

STEP 1 – BEFORE YOU START

  • Be final about your decisions BEFORE you start planning –  changes during the renovation process will cause delays and may have financial implications.
  • Decide if you are going to do the renovation yourself or hire someone to do it for you.
  • Clarify local regulations and/or get council approval. This is especially true for structural changes. 

STEP 2 – START WITH A PLAN AND STICK TO IT

Desmond Tutu once said, “there is only one way to eat an elephant: a bite at a time” and as such emphasising goal settings. 

Start with a plan and stick to it. Working from a plan stipulates the sequence of work to be done, overall efficiency and project flow.

Prepare and implement a filing system (cloud-based/hard copy/electronic) to keep all receipts, signed contracts and paperwork.

Budget for the renovation

STEP 3 – BUDGET

  • Do not overcapitalize – it is important to know what alterations/renovations will add value to your property and what won’t.
  • Create a detailed budget plan – do your homework on prices and stick to it. 
  • If you have more that one renovation project going – budget for each one. This will avoid overcapitalising on one project and not having enough left to see the other project through.
  • Set reserved funds aside to cover unexpected costs. 

Budget for the renovation

STEP 4 – GO SHOPPING

  • Purchase or order fittings and fixtures before you start, this will reduce delays.
  • This would be a good time to get some paint samples and test them on the walls. This will avoid regretting the colour of choice later.
  • Keep/file all receipt dockets. You may require more of the same items purchased or may need to exchange them. 
Low cost improvements

STEP 5 – LOOK FOR LOW-COST IMPROVEMENTS

  • Not all home improvements or renovations have to be on a large scale. Sometimes just a new coat of paint, new door handles or a little interior decorating can make a world of difference.
  • Decluttering.  When renovating, areas are to be cleared out; why not declutter at the same time? 
  • The possibilities are endless.

Low cost improvements

STEP 6 – GET HELP

  • If the job is too big contact a renovation company. Do some research and look at examples of work done by the company.
  • Ask around – word of mouth is always a good reference.
  • Should you enter into a contract for the renovation work to be done, read the contract and make sure all liability points are covered, understood and clarified, signed and dated by all parties concerned.
  • HOUZZ is a good website with loads of images, ideas and reviews.


Outdoor Renovation

STEP 7 – OUTDOOR AREAS

  • Do not forget the outdoor areas when renovating. People sometimes overlook the outdoor area when doing interior renovations and regret this afterwards.


Outdoor Renovation
  • Whatever your reason and ultimate goal to renovate your home, if you have done your homework thoroughly and spent much time in project preparation you will reach your goal with great success.


Colour Combinations That Never Go Out of Style

Colour Combinations That Never Go Out of Style

Colour Combinations That Work and Never Go Out of Style


Fail Safe Colour Combinations

If you want to transform your interiors and make them look stunning, you have to nail colour combinations. If the tones in your room don’t work together, then the room will look awkward and unattractive – and you don’t want that!

Fortunately, getting colours right is a breeze. Here are some fail-safe colour combinations that will enable you to equal the results of a professional property stylist or decorator.

Neutrals…

Neutrals are the most sought after colours as they are versatile and can be combined with almost any other colour.

Neutrals bounce light and make areas appear larger.

Neutrals are calming and sophisticated.

Neutral – Grey


Greys of all tones and shades are extremely popular. They coordinate well with other colours and are a superb backdrop for furnishings.

Note:
Always consider paint undertones and do sample spot painting before choosing your colour.

Neutral grey is the ideal colour combination for anyone who wants to create a delicate living room or entryway. 

Here are the four colours you should use:

● Snow White (Pantone: 11-0602)
● Alloy (Pantone: 16-3915)
● Black onyx (Pantone: 19-4003)
● Glazed ginger (Pantone: 18-1154)

This combination of colours allow you to create a suave and sophisticated look in your lounge, without having to worry about clashing. The scheme is ideal for any 21st century home and interacts beautifully with natural light.

Neutral-Yellow


If you want something a little warmer and lighter, you might want to try the neutral-yellow living room.

The great thing about this paint scheme is that you can use it to bring warmth and style into your home. Make signature elements ochre and then apply the neutrals to your heart’s content. 

Here are the colours:

● Ochre (Pantone: 14-1036)
● Pumice stone (Pantone: 14-002)
● Simply taupe (Pantone: 16-0906)
● Sparrow (Pantone: 18-1404)

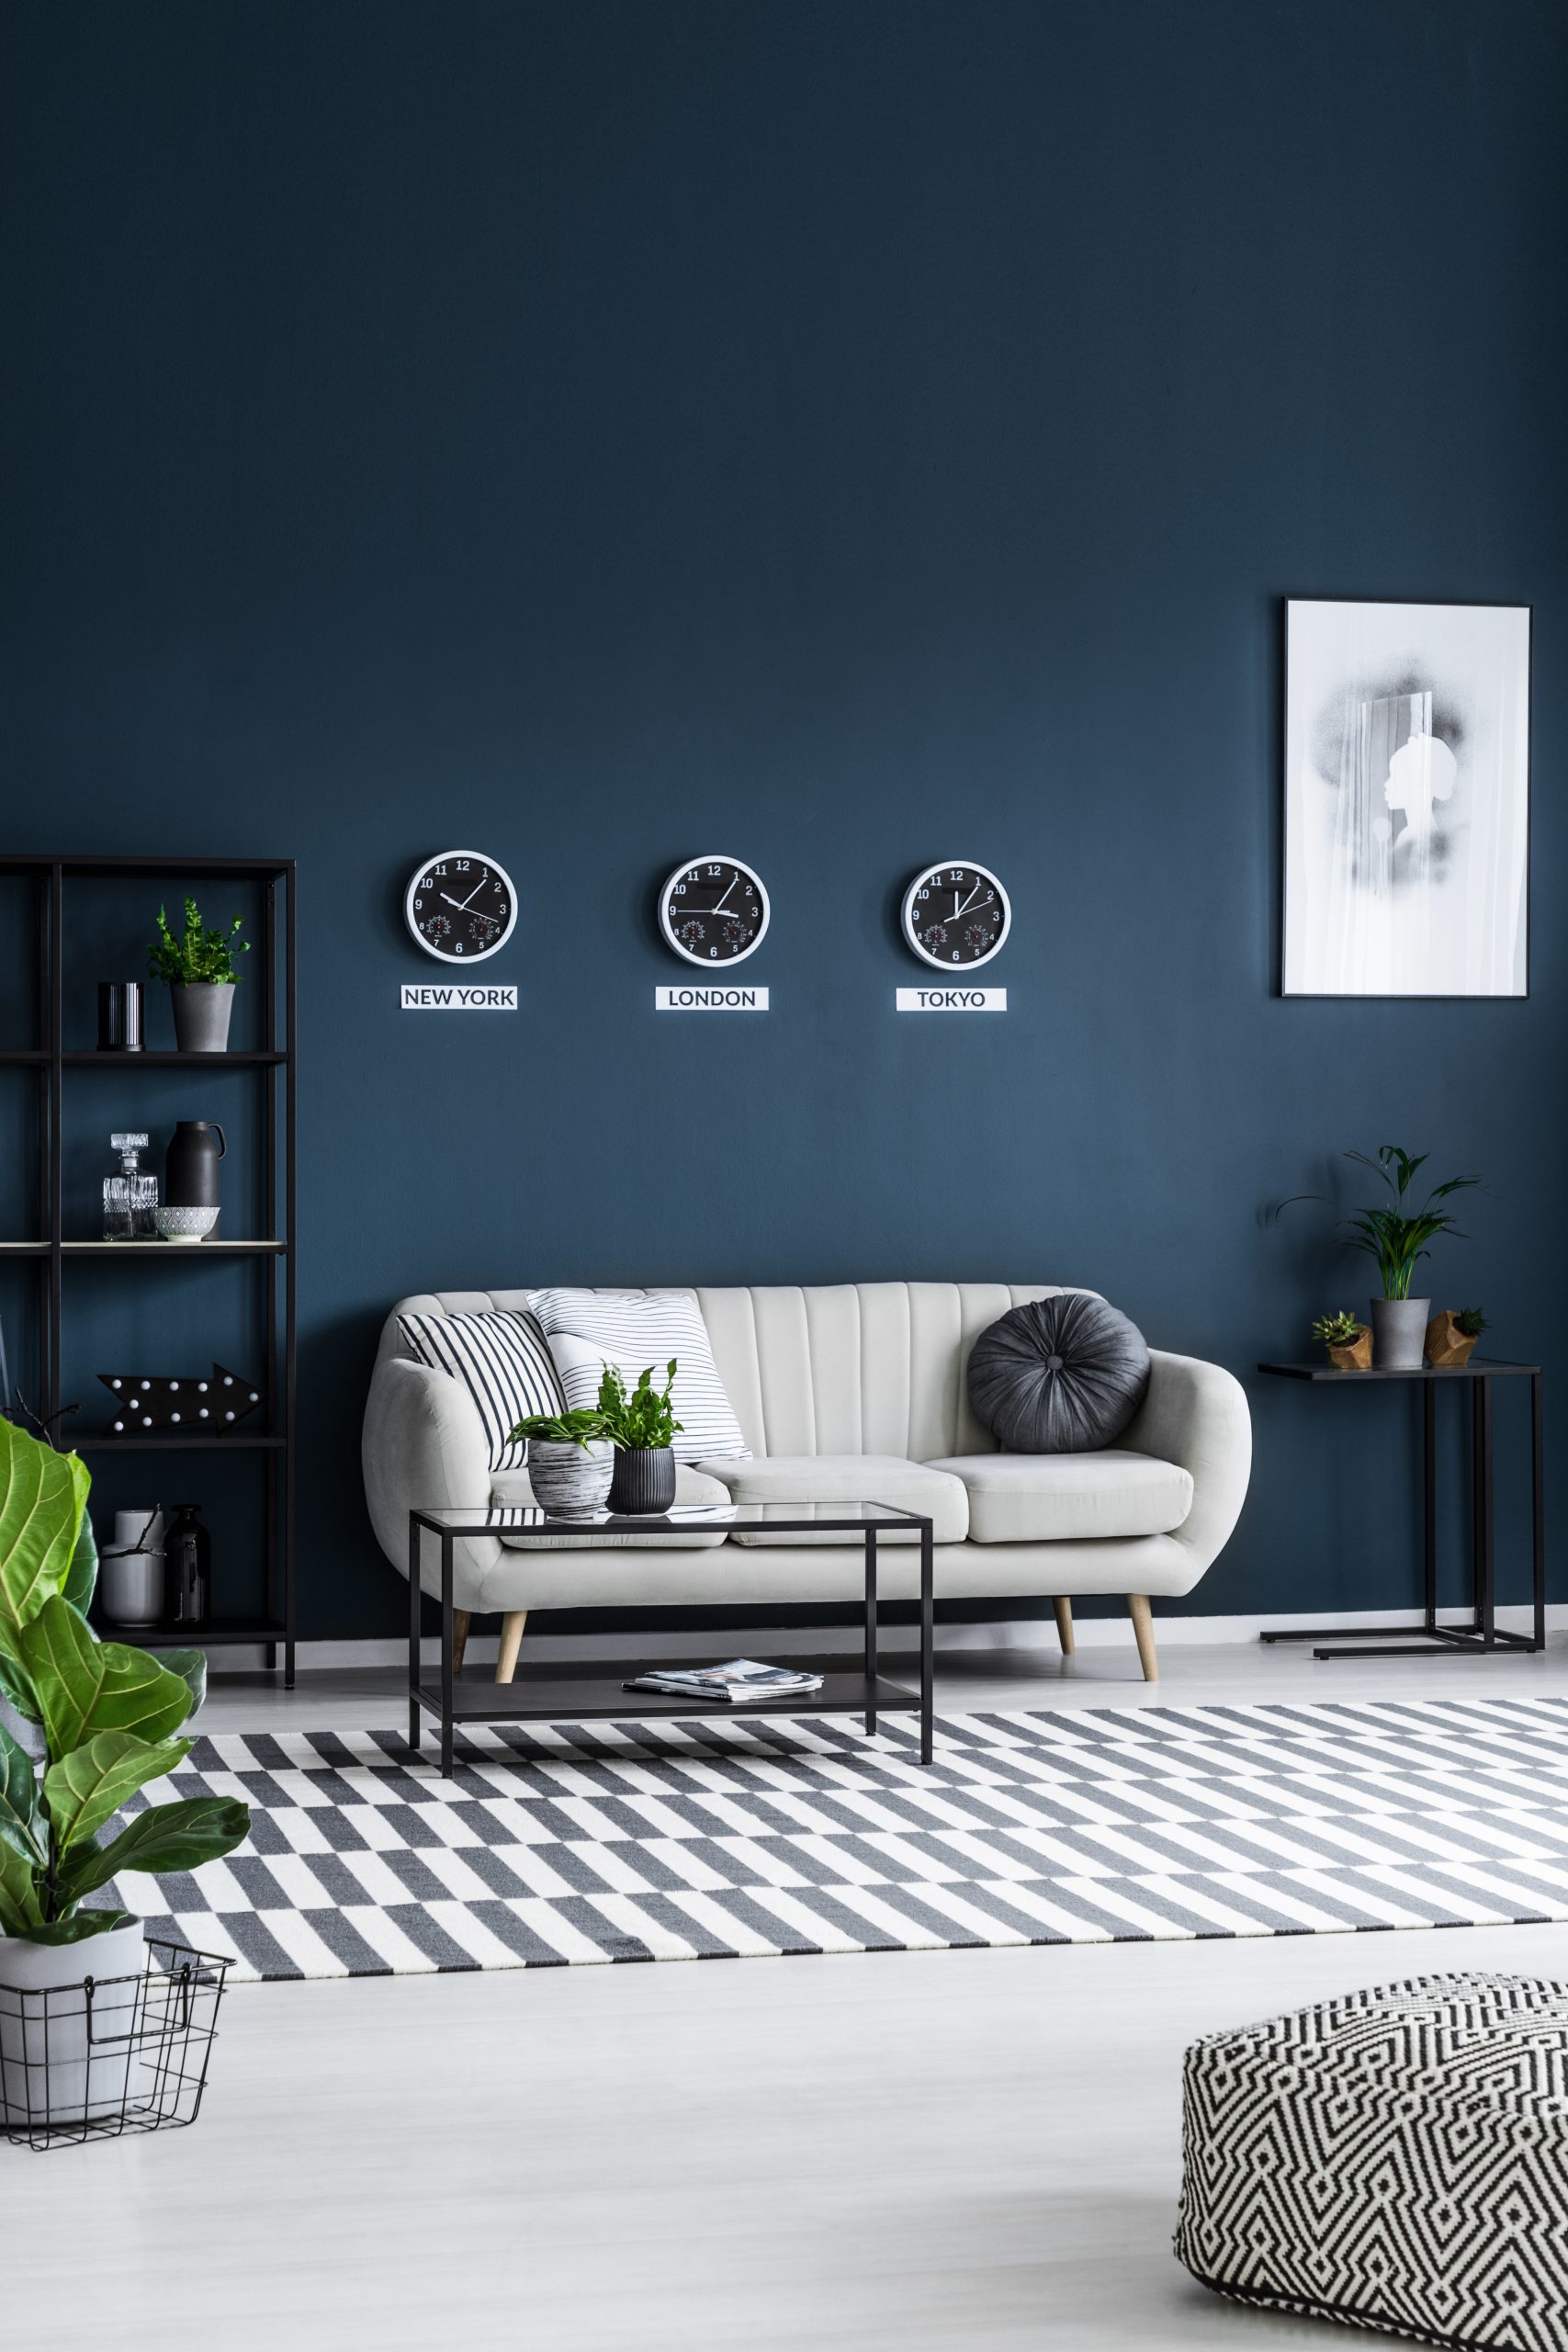
Blue and White


Do you want your living room to have a regal look? Then why not try a blue and white theme?

Create an elegant room that contrasts beautiful lightness with moody, vibrant blues and blacks.

In fact, Pantone Colour Institute had chosen Classic Blue as the colour of the year 2020.

The colours are: 

  • Dark Sapphire (Pantone: 19-4020)
  • Jet Black (Pantone: 19-0303)
  • Snow White (Pantone: 11-0602)
  • Vintage Indigo (Pantone: 19-3929).

My Writing Blog

Follow Along

Contact Let's Revamp Property Styling and Decorating

Tel: 02 9659 2556

info@letsrevamp.com.au