Choosing the Best Colour Scheme for Your Baby’s Room

Choosing the Best Colour Scheme for Your Baby’s Room

Choosing the Best Colour Scheme for Your Baby’s Room

As parents we want to create that perfect haven of peaceful bliss for the baby and we have so many decorating options available today to make our child’s room a nurturing, comfortable and beautiful place.

So before rushing out the door and buying the cutest, trendiest and latest baby furniture and gadgets for your soon to arrive little one, first do some decorative planning for the baby’s room starting with choosing the best colour scheme for your baby’s room.

The Theory of Colour

We know different colours influence and affect us in different ways. So why not apply this knowledge when it comes to choosing the colour scheme for your baby’s nursery?

  •  RED – is an emotionally intense colour and should only be used for focal points or pop off colour – less is best.


  • ORANGE – evokes feelings of warmth and comfort – it is a nice colour that can be used in the nursery. Use a darker orange to create a warm, cozy atmosphere.
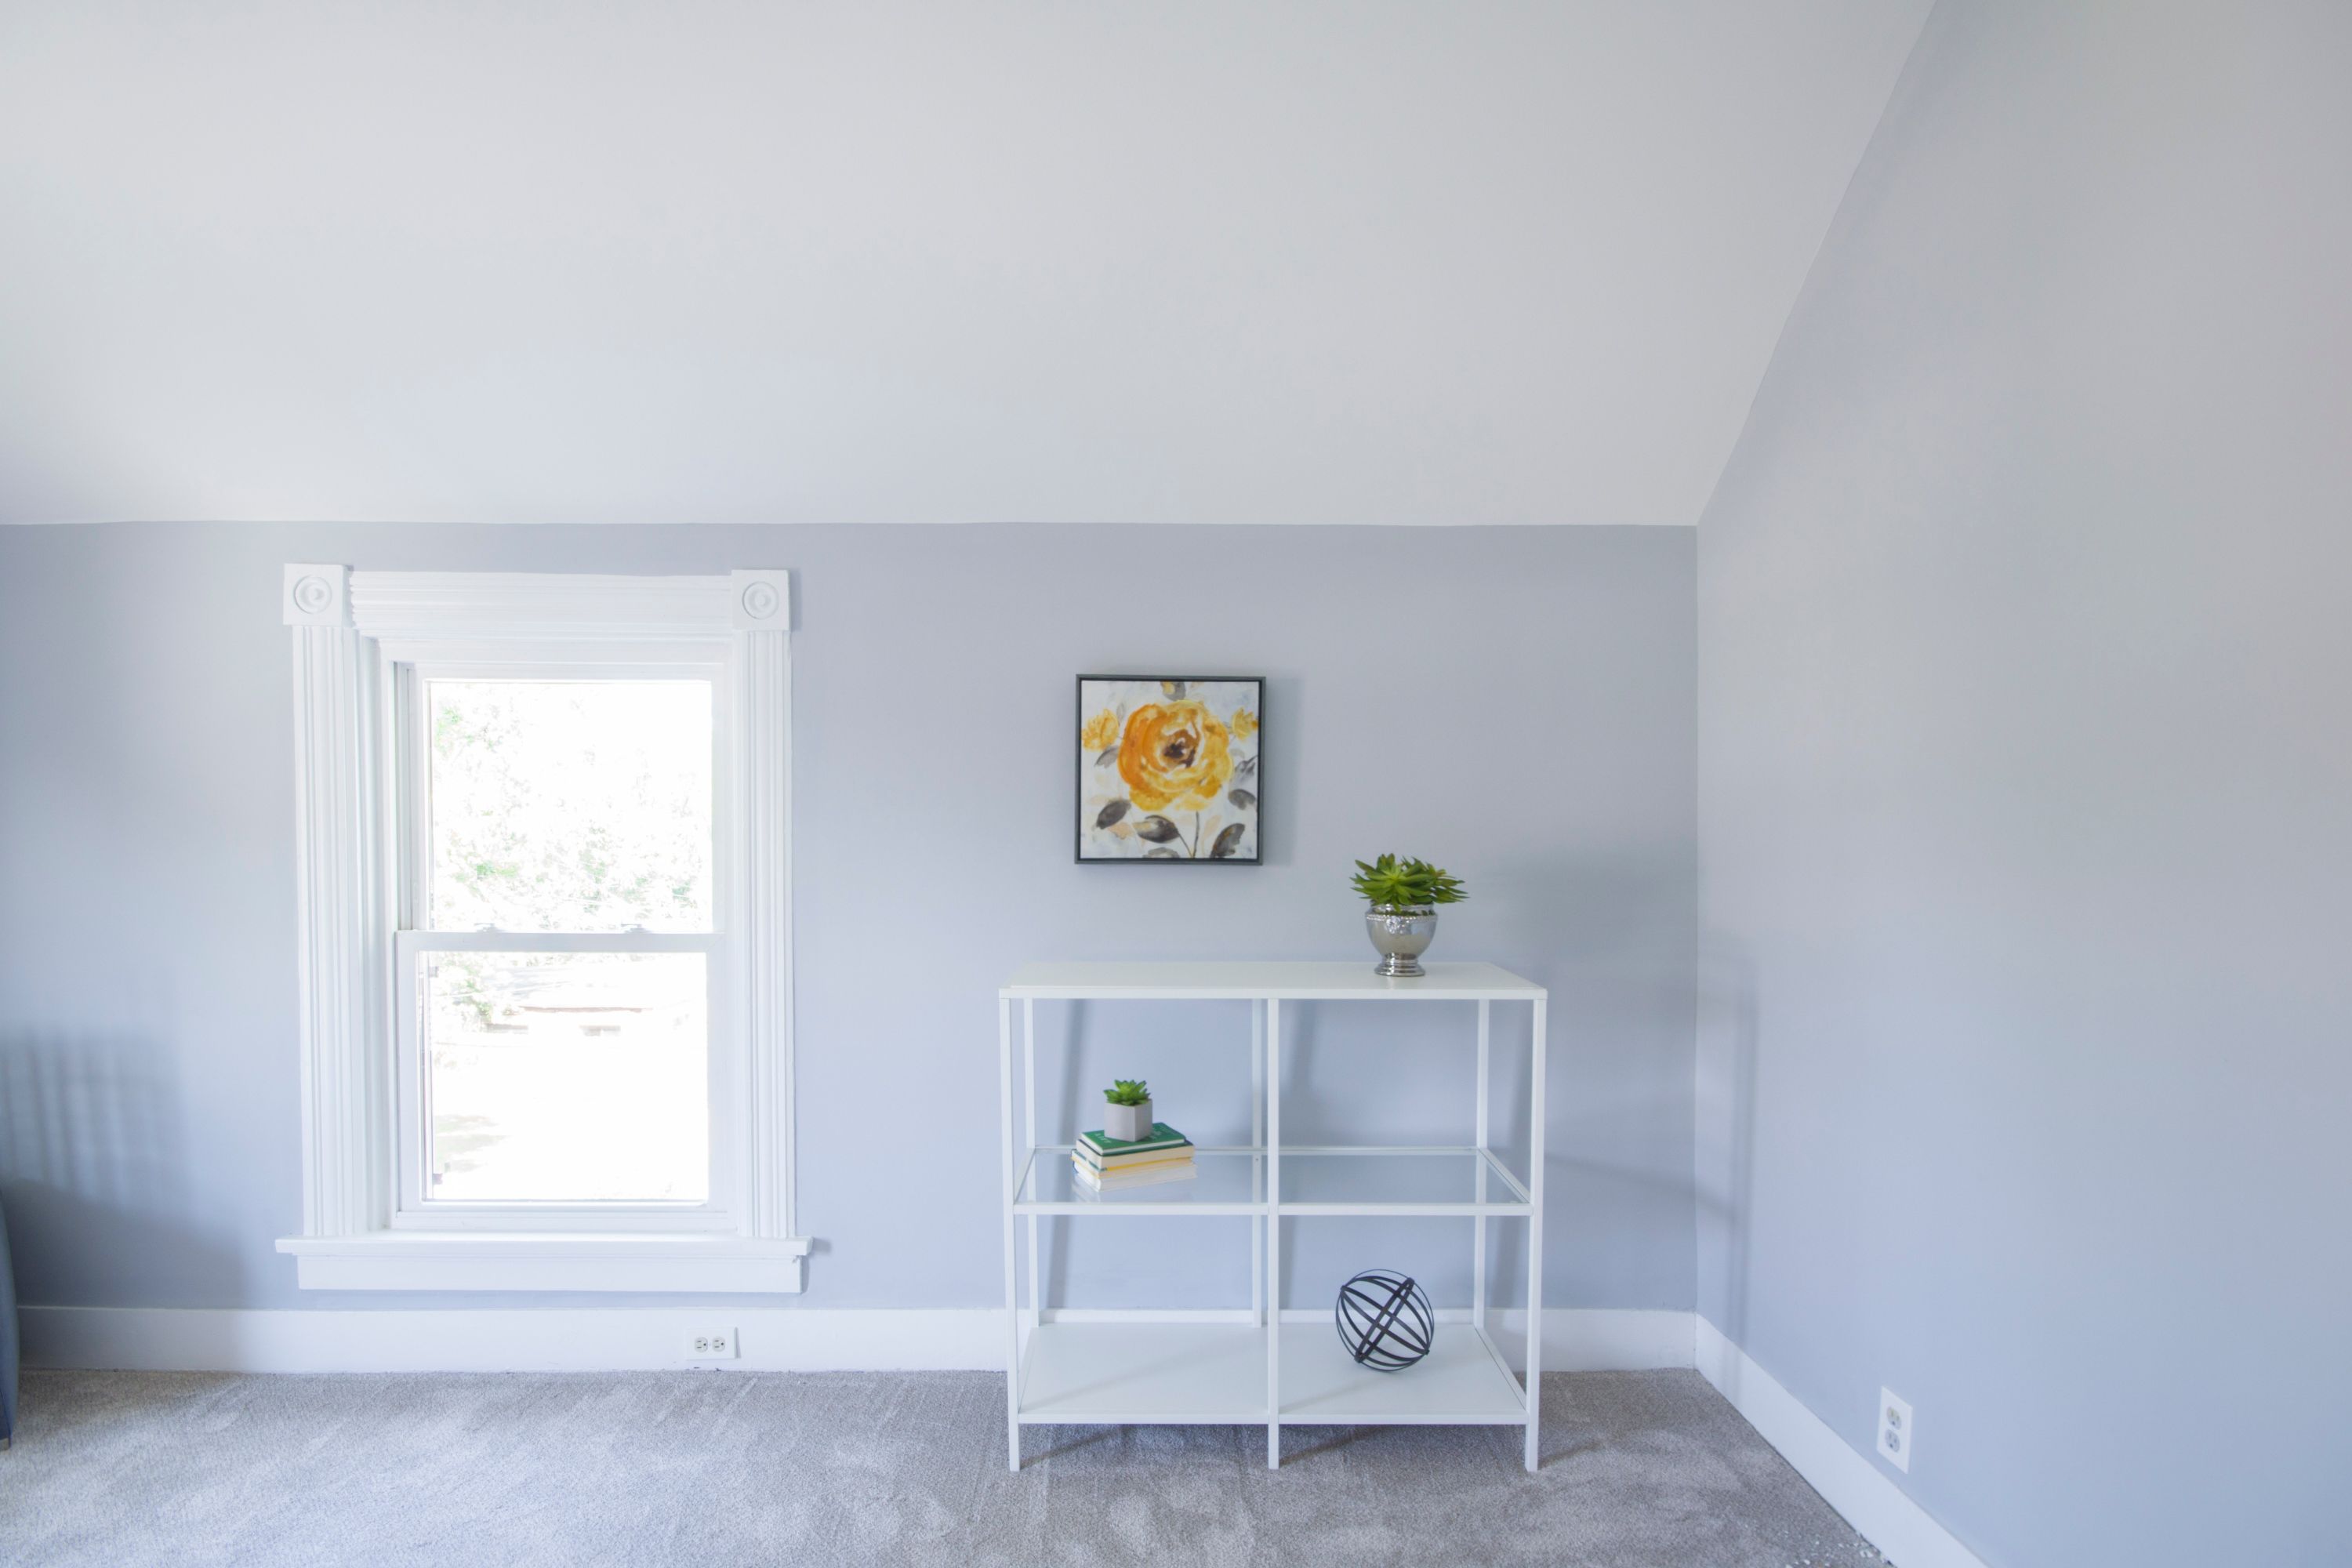
  • YELLOWis a lively, cheerful and happy colour. Use muted yellow colours like the yellow of post-it notepaper.
  • GREEN – is natural, calming, relaxing and soothing. A good colour to use in the nursery but stay with subtle hues of green such as sage and moss.
  • BLUE – evokes calm and serenity. Use warm, bright or subdued blues.

 PURPLE – a symbol of luxuriousness, royalty and wealth. Use pastel purples or very pale shades like lavender and lilacs.


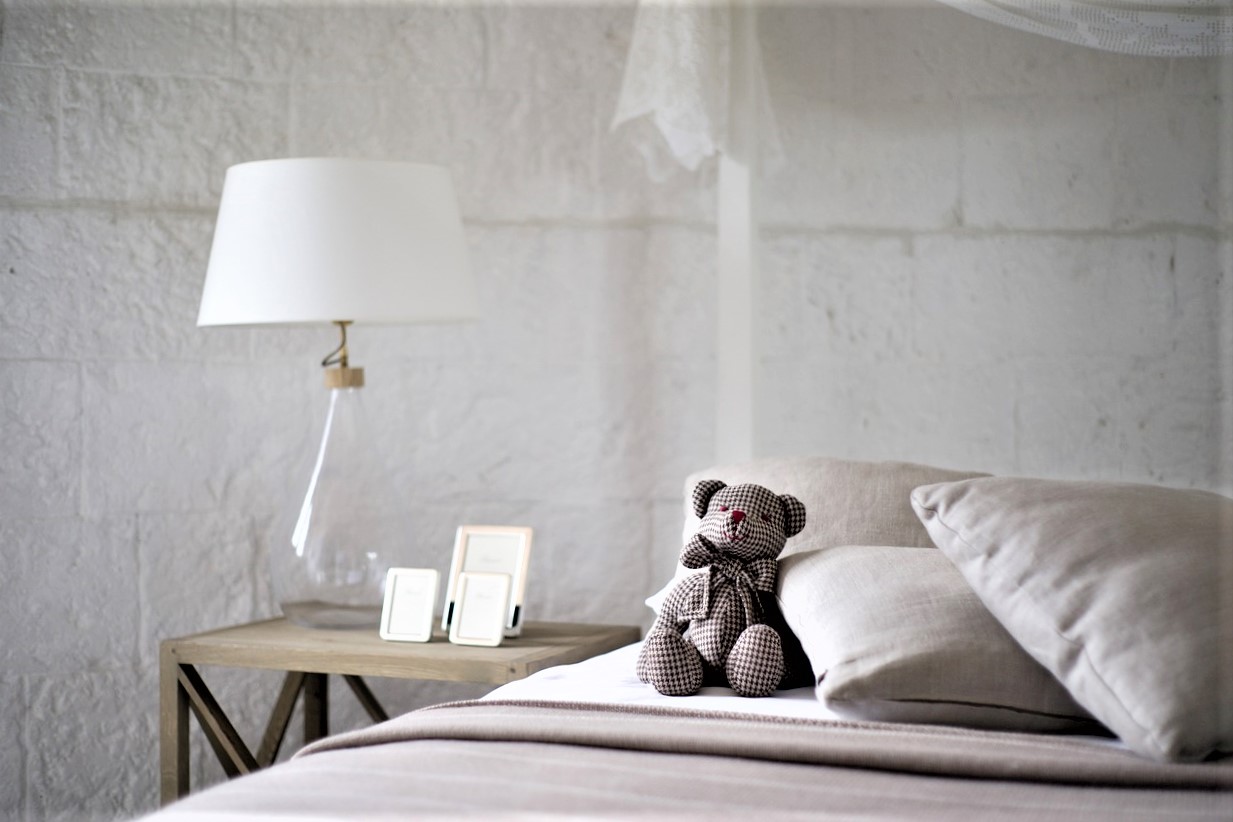
  • WHITE – White is angelic, sweet, pure, clean and innocent – but do not go all white it may seem cold and harsh. Use white as a foundation on which to build and incorporate other colours into the nursery. Opt for the creamier shades of white like soft ivory and antique white.
  • PINK – has a calming effect and is associated with love, kindness and nurturing. Use bright pinks to accentuate features in the nursery but generally stay with the pale soft gentler hues of pink.
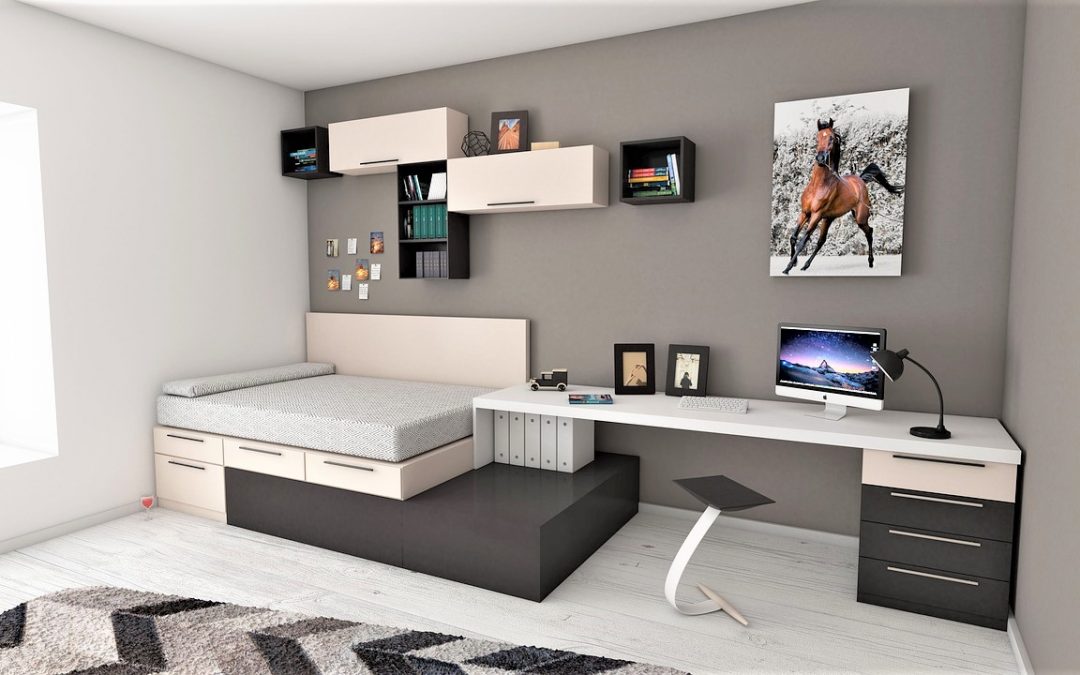
  • GREY – is subdued, quiet and reserved. When using grey, use warm tones or very light greys, avoiding dark greys. Add bright colours to the room. Grey is a neutral colour and makes other colours stand out.
  •  BROWN – is earthy and evokes strength, reliability and isolation. Use this colour sparingly and balance with other colours. Avoid the middle shades of brown. Go with dark chocolate brown, beige and tan.
  • BLACK – represents strength, seriousness and power. Use this colour sparingly and preferably as an accent colour. Repainting black walls is a nightmare. Ensure the room has access to a lot of natural light and large windows.
  • NEUTRALS – probably the best of all the choices are neutrals shades. They evoke warmth and present a cosy atmosphere. Neutrals make other colours sing.

These colours can be incorporated into the nursery in many ways.

  • Main colour scheme
  • Painting the walls – one wall or all
  • Furniture
  • Decorative items
  • Bold Accents
  • Rugs
  • Artwork
  • Baby paraphernalia
  • Pop off colours


Choosing the Best Colour Scheme for Your Baby’s Room

You are now armed with a little colour “know how” enabling you to transform the room into a blissful sanctuary for the little one by adding the furniture and decorative items.

Spring Cleaning From Start To Finish In One Day

Spring Cleaning From Start To Finish In One Day

WISHING ALL OUR CLIENTS AND READERS A WONDERFUL

Spring 2019

Spring Cleaning From Start To Finish In One Day

Spring is the reason to feel energetic and to SPRING CLEAN – sweeping and clearing away the clinging remnants of winter. Spring cleaning benefits the mind, body and spirit.


Before you start, open the windows to let fresh spring air into your house. This is the best air freshener yet.

A Few Tips


  • Read through the blog from start to finish before starting your spring cleaning as there are ideas and tips that you need to do that will assist you in getting the job done in one day.


  • Get the washing machine going – wash items whilst getting on with other cleaning tasks.


  • Spray and soak – spray recommended cleaning agents onto the shower walls, bathtub, toilet and basins. They will do the hard work for you while you are busy with other tasks.

 1. Bathroom


  • Vacuum and machine wash throw-rugs.
  • Vacuum the ceiling and walls using the brush attachment. Then wipe with an all-purpose cleaner.
  • Wash mirrors and the insides of the windows with microfiber cloths.
  • Rinse the shower from the top down.
  • Next, clean the toilet from the top of the tank to the rim, then the bowl (scrub well with toilet scrubbing brush) and then the base.
  • Keep all cloths used for cleaning the bathroom separate and wash them in a hot water.
  • Add cleanser to the floor. Let it soak. Wipe clean with water and mop on your way out.

2. Bedrooms


  • Remove ALL bed linen – and wash them in the order of what goes onto the bed first.
  • Items that are too large to wash can be hung on a clothesline to freshen in the sunlight and spring air. (A good idea would be to hang these out before starting your spring cleaning). I especially do this with pillows and cushions. Where possible air mattresses too.
  • Vacuum (with the brush attachment) and wipe the walls.
  • Wipe switch plates, door frames, architraves and skirting.
  • If you cannot wash the curtains, have them dry-cleaned. I have found that hanging the curtains back when slightly damp, helps them to hang out nicely with minimum creases.
  • Wipe down mirrors, artwork glass and frames with microfiber cloths.
  • Give the carpet a thorough vacuum or have them cleaned professionally.

3. Kitchen


The Refrigerator

  • Switch off the fridge at the start of your spring-cleaning day.
  • Place all contents from the fridge into a cooler.
  • Let shelves and drawers reach room temperature before washing them. This will prevent them from cracking when put into hot water.
  • Mix 1 litre of hot water and 2 tablespoons baking soda. Use this mixture to wipe the fridge interior clean. Pay special attention to the egg holders.
  • Clean the door seals with mild dishwashing liquid and remove all debris. Dry the seals well.
  • Wipe the exterior down and buff with microfibre cloth.


The Stove and Oven

  • If removable stovetop parts are very greasy, leave them overnight in soapy water.
  • Wash all removable stovetop parts in hot soapy water and scrub them with cleaning pads suitable for use with stovetop items.
  • The next step can also be done in advance or between other tasks: spray the oven with approved oven cleaner. Leave the cleaner on for the recommended time and wipe off.


The Microwave

  • To get stubborn food particles off from the inside of the microwave oven, boil water and some lemon juice in a microwave-safe bowl for 3 minutes. The steam will loosen the particles and the lemon will lift the grease and leave the microwave smelling nice and fresh too. Wipe down the inside.


Windows and Surfaces

  • Clean the windows with a microfibre cloth.
  • Make a mixture of warm water and dishwashing liquid to wipe down all surfaces drawers and cupboards.


Floors

  • Sweep or vacuum the floors and then mop them.


NOTE:

A product I have been using on my kitchen floors is KOH

I also use it to clean my glass-ceramic stovetop. It is none abrasive and is environmentally sound and certified. I also prefer using it to wipe down the kitchen cabinets etc.

For stubborn marks and spots, I have found using Chux Magic Eraser invaluable.

 4. Living Room


  • Dust ceiling fans with a microfiber extendable duster that bends to a 90-degree angle. This saves you getting up on a ladder.
  • Clean the windows.
  • Dust down electronic equipment.
  • Clean out the fireplace.
  • Wipe down sofas and chairs or where possible vacuum, taking care not to rip off any buttons.
  • Give the carpet a thorough vacuum or have them cleaned professionally.

5. Order In for Dinner – you deserve it.


  • Disclaimer: always read manufacturer instruction before using cleaning agents.

What To Do When You Still Need To Stay In Your House When Staging It For Sale

What To Do When You Still Need To Stay In Your House When Staging It For Sale

What To Do When You Still Need To Stay In Your House When Staging It For Sale

What to do when you still need to stay in your house when staging it for sale. Agreeably perhaps not the most ideal situation but it is not that uncommon, and it is achievable even when you have kids and pets.

1. Get the “you” out of the house – Declutter and Depersonalise

The first step in getting your house presentable for the buyers’ market is to declutter and depersonalise.

This is a fundamental step that cannot be avoided or proverbially “swept under the carpet” – Real Estate Agent Morris Short explains why and gives valuable advice on the importance of house presentation.


2. Let’s Pretend

  • Once decluttered and depersonalised keep it that way:

    • Pretend your home is sold and you are moving out now; or
    • pretend this is not your home and you are leasing it for a very short time.
    • pretend there is a house inspection today. Keep the place tidy, clean and neat.

3. Property Stylist – (your genie in a bottle)


4. Staging your house with the kids in.

  • A great idea is to prepare something similar as to have an emergency evacuation plan and “go-to bag”.


5. Staging your house with the pets in.

  • Clean the yard and hide the litter box.
  • Remove pet stains.
  • Eliminate pet odours with appropriate pet odour removals.
  • Vacuum up pet hair.
  • Ensure that no pet deposits or pet toys are lying around the garden.

6. Cleaning Supplies

  • Keep household cleaning products close at hand and in one place – this will help to quickly clean areas and store the product away and out of sight.
  • Keep your vacuum cleaner close at hand for quick vacuuming and then store away neatly in a cupboard or in the garage.
  • Open windows daily to let fresh air in.

7. Keeping the Stage Set

  • Make a last-minute checklist – this will help you to ensure that all the boxes are ticked for a spotlessly clean and well-presented house when potential buyers arrive.
  • Admittedly keeping your home stage-ready could be a challenge. Being prepared and with help from the family and professionals, your home can be stage ready at the drop of a pin.
  • Keep the lawn and flower beds tidy. This is very important to note: Keeping the outside and garden pristine is as important (if not more) as keeping the inside of the house clean and tidy.

More Property Styling Ideas –

For more information and ideas please contact our property stylists at Let’s Revamp Property Styling and Decorating, or visit our website.


How Easy, Innovative And Great Ideas Can Make A Small Bedroom Look Bigger

How Easy, Innovative And Great Ideas Can Make A Small Bedroom Look Bigger

How Easy, Innovative And Great Ideas Can Make A Small Bedroom Look Bigger

Image by engin akyurt from Pixabay

Small bedroom – no problem!

Large bed – small room – no problem!

Expensive makeover?

Does not have to be – read on to find just how easy, innovative and great ideas can make a bedroom look bigger.

Photo by Milly Eaton from Pexels
  1.  Paint The Walls A Lighter Colour


  • Light colours reflect light and make small spaces seem brighter and lighter.
  • Choose neutral colours, they blend, accentuate and are the perfect canvas to work with giving you ample scope to expand your boundaries, ideas and creativeness. 
  • Paint the trims a lighter colour than the walls – using white can be bold. This will make the walls appear further away perceiving a feeling of roominess.
Image by Elias Nössing from Pixabay

2.  Use Space Saving Furniture

  • The less furniture the more spacious the room will look.
  • Use the space beneath your bed for storage –   For an example – please click here.
  • Built-In Shelving around a bed doubles up as bedside side table and creates depth.
  • Use furniture pieces for purposes other than what they are for. For example, using a display unit doubles up as a storage space for clothing items – Please click here…
  • If using a bunk bed, utilize the space beneath the bed for a study area or storage.
  • Use transparent furniture. For example, swap out the wooden bedside table for a glass top bedside table. The “see-through” effect help the room appear bigger.
  • Low profile beds create a feeling of space.
Photo by Daria Shevtsova from Pexels

3. Décor and Accessories


  • Do not overdo – less is best.
  • When hanging art, “divide” the wall into horizontal thirds, instead of halves. Hanging artwork closer to the lower third leaves more wall space above décor and therefore creates the illusion of more spaciousness.
  • Make use of mirrors – they reflect light, create depth and make space look bigger. Ideally mirrored closet doors would be the best.
  • Because the room is small do not use small décor effects – this will make the room look cluttered. Rather use one bold piece than many small grouped pieces.
  • Drapes should not hang or pool onto the floor. Instead, tie them up a few centimetres above the floor.
  • Drapes should be lightly textured fabric and the same colour as the wall. Remember you want to let light into the small room space and not block it out.
  • Mount drapes above the window frame to create a floor to ceiling window illusion.
  • As for the bed quilts, throws and decorative cushions, stick to light and bright pop colours that co-ordinated well with neutrals so as create an even flow of eye sweeping view of the room.
  • Create the illusion of space by pulling furniture slightly away from the walls.
  • Ditch overhead lights – choose the right bedside table lamp instead – Click here for a great short video on to choose the right size lamp.
  • Keep the room organised and clutter-free.
How To Make A Great First Impression On Buyers When Selling Your House

How To Make A Great First Impression On Buyers When Selling Your House

How To Make A Great First Impression On Buyers When Selling Your House

The Importance of First Impressions

  • When selling your house, prospective homebuyers are greatly influenced by the first impression of your house whether online or in person.

  • Therefore it is very important to present your house visually appealing. Quality photographs are one of the biggest factors to consider on how to make a great first impression on buyers when selling your house.

  • Property Styling is a professional service used by homeowners to maximise the appeal of their property. Once styled your house would meet the homebuyers market criteria and therefore be more viable to get a potentially higher sales price and a quick sale.

What is Property Styling?

  • To define what is Property Styling, one should ask what Property Styling is NOT.

  • Property Styling is not Interior Decorating

Property Styling – to prepare a home to its full potential for sale for the benefit of the diverse property buyers market.


Interior Decorating – to decorate your home for your benefit the way you like it while living in it.

    The Styled Main Bedroom

    • This room was superbly styled to its full potential for the buyers market.
    • It was styled to showcase spaciousness, comfort, serenity and exceptionality.
    • The natural light pouring through the bedroom windows make the room appear larger, fresh, bright and uplifting.
    • The two-seater sofa and armchair in the corner add balance to the room and capture the essence of tranquillity and time for introversion. At first glance, the potential buyer can visualise themselves using this space after a week of hard work, enjoying a well-deserved coffee and a morning spent reading. This tête-à-tête corner also announces that there is ample space in the room.
    • Adding deep blue-green velvet decorative cushions to the bed engulfed in a cloud of the brilliant white quilt and throw added exquisiteness fit for royalty. 

    When a Kitchen is Styled.

    • A styled kitchen may look “cold” and impersonal to the current homeowner. However, when a kitchen is styled the aim is to show the potential buyer how much space there is in the kitchen without having the current owner’s kitchen appliances in it.

    Curb Appeal

    • When a property is styled it would include the outside area (also known as curb appeal), too.
    • The grass must be kept neat and tidy during the selling period.
    • All garden tools must be stored away.

    Should you wish to obtain more information regarding property styling your real estate agent will be able to refer you to a styling company or you are welcome to contact our property stylists or pay us a visit at our website. Simply click on the image of a dining room we recently styled and this will take you directly to our contact details and web site.