What To Do When You Still Need To Stay In Your House When Staging It For Sale

What To Do When You Still Need To Stay In Your House When Staging It For Sale

What To Do When You Still Need To Stay In Your House When Staging It For Sale

What to do when you still need to stay in your house when staging it for sale. Agreeably perhaps not the most ideal situation but it is not that uncommon, and it is achievable even when you have kids and pets.

1. Get the “you” out of the house – Declutter and Depersonalise

The first step in getting your house presentable for the buyers’ market is to declutter and depersonalise.

This is a fundamental step that cannot be avoided or proverbially “swept under the carpet” – Real Estate Agent Morris Short explains why and gives valuable advice on the importance of house presentation.


2. Let’s Pretend

  • Once decluttered and depersonalised keep it that way:

    • Pretend your home is sold and you are moving out now; or
    • pretend this is not your home and you are leasing it for a very short time.
    • pretend there is a house inspection today. Keep the place tidy, clean and neat.

3. Property Stylist – (your genie in a bottle)


4. Staging your house with the kids in.

  • A great idea is to prepare something similar as to have an emergency evacuation plan and “go-to bag”.


5. Staging your house with the pets in.

  • Clean the yard and hide the litter box.
  • Remove pet stains.
  • Eliminate pet odours with appropriate pet odour removals.
  • Vacuum up pet hair.
  • Ensure that no pet deposits or pet toys are lying around the garden.

6. Cleaning Supplies

  • Keep household cleaning products close at hand and in one place – this will help to quickly clean areas and store the product away and out of sight.
  • Keep your vacuum cleaner close at hand for quick vacuuming and then store away neatly in a cupboard or in the garage.
  • Open windows daily to let fresh air in.

7. Keeping the Stage Set

  • Make a last-minute checklist – this will help you to ensure that all the boxes are ticked for a spotlessly clean and well-presented house when potential buyers arrive.
  • Admittedly keeping your home stage-ready could be a challenge. Being prepared and with help from the family and professionals, your home can be stage ready at the drop of a pin.
  • Keep the lawn and flower beds tidy. This is very important to note: Keeping the outside and garden pristine is as important (if not more) as keeping the inside of the house clean and tidy.


More Property Styling Ideas –

For more information and ideas please contact our property stylists at Let’s Revamp Property Styling and Decorating, or visit our website.


How To Make A Tiny Balcony A Selling Feature When Selling Your House

How To Make A Tiny Balcony A Selling Feature When Selling Your House

How To Make A Tiny Balcony A Selling Feature When Selling Your House

How to make a tiny balcony a selling feature when selling your house?

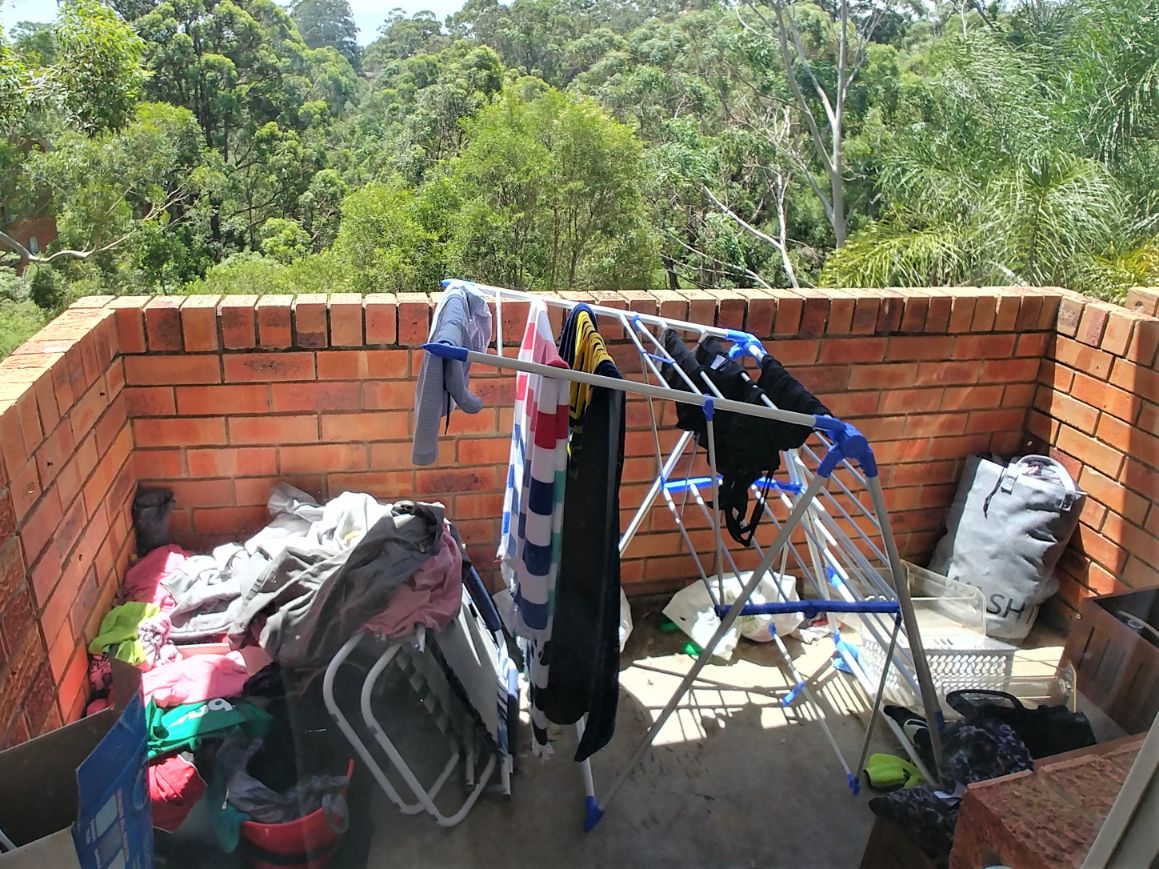
This is a true story about how homeowners transformed what they considered an “ugly duckling” and a space for extra storage into a selling feature when they prepared their home for sale.


    • The Balcony – Before Photo

    https://pixabay.com/photos/towel-fabric-terry-beauty-wellness-2722829/
    • Through the Eyes of the Property Stylist


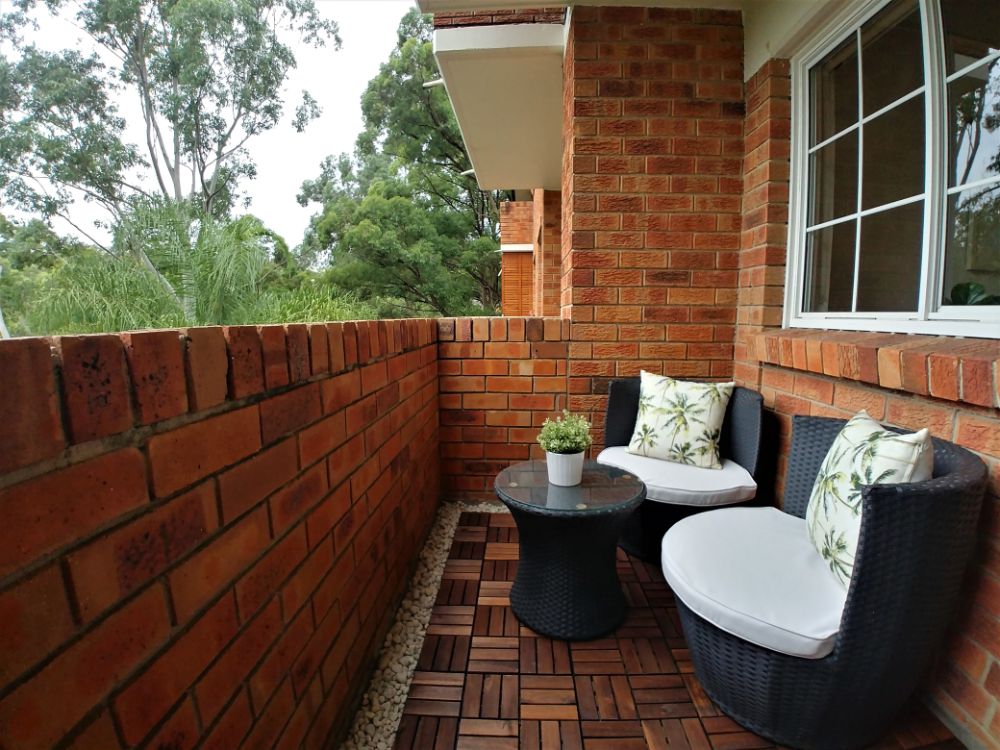
    • Our property stylist immediately saw the potential of this tiny balcony, with its three brown and red-brown bricked walls and stained concrete floor.
    • Can you spot the potential? Yes! The luscious green treetops and natural beauty is a masterpiece to behold. It is like having your very own treetop sanctuary to escape to.
    • Imagine sitting here, having a coffee in the early mornings before work, serenaded by a conglomeration of bird song before going to the office and you know you can return to the same wondrous space after a long day.
    • Let the Makeover Begin


    • The Concrete Floor and Brick Walls
    •  The concrete floor was given a thorough wash with a hard bristle broom and some soapy water.
    • Next, a high-pressure washer was used to wash away all the soapy water, dirt and grime from the floor.
    • The brick walls were pressure wash too.
    • After the wash, the warm brown and red-brown colours of the bricks actually accentuated making the walls look super nice.
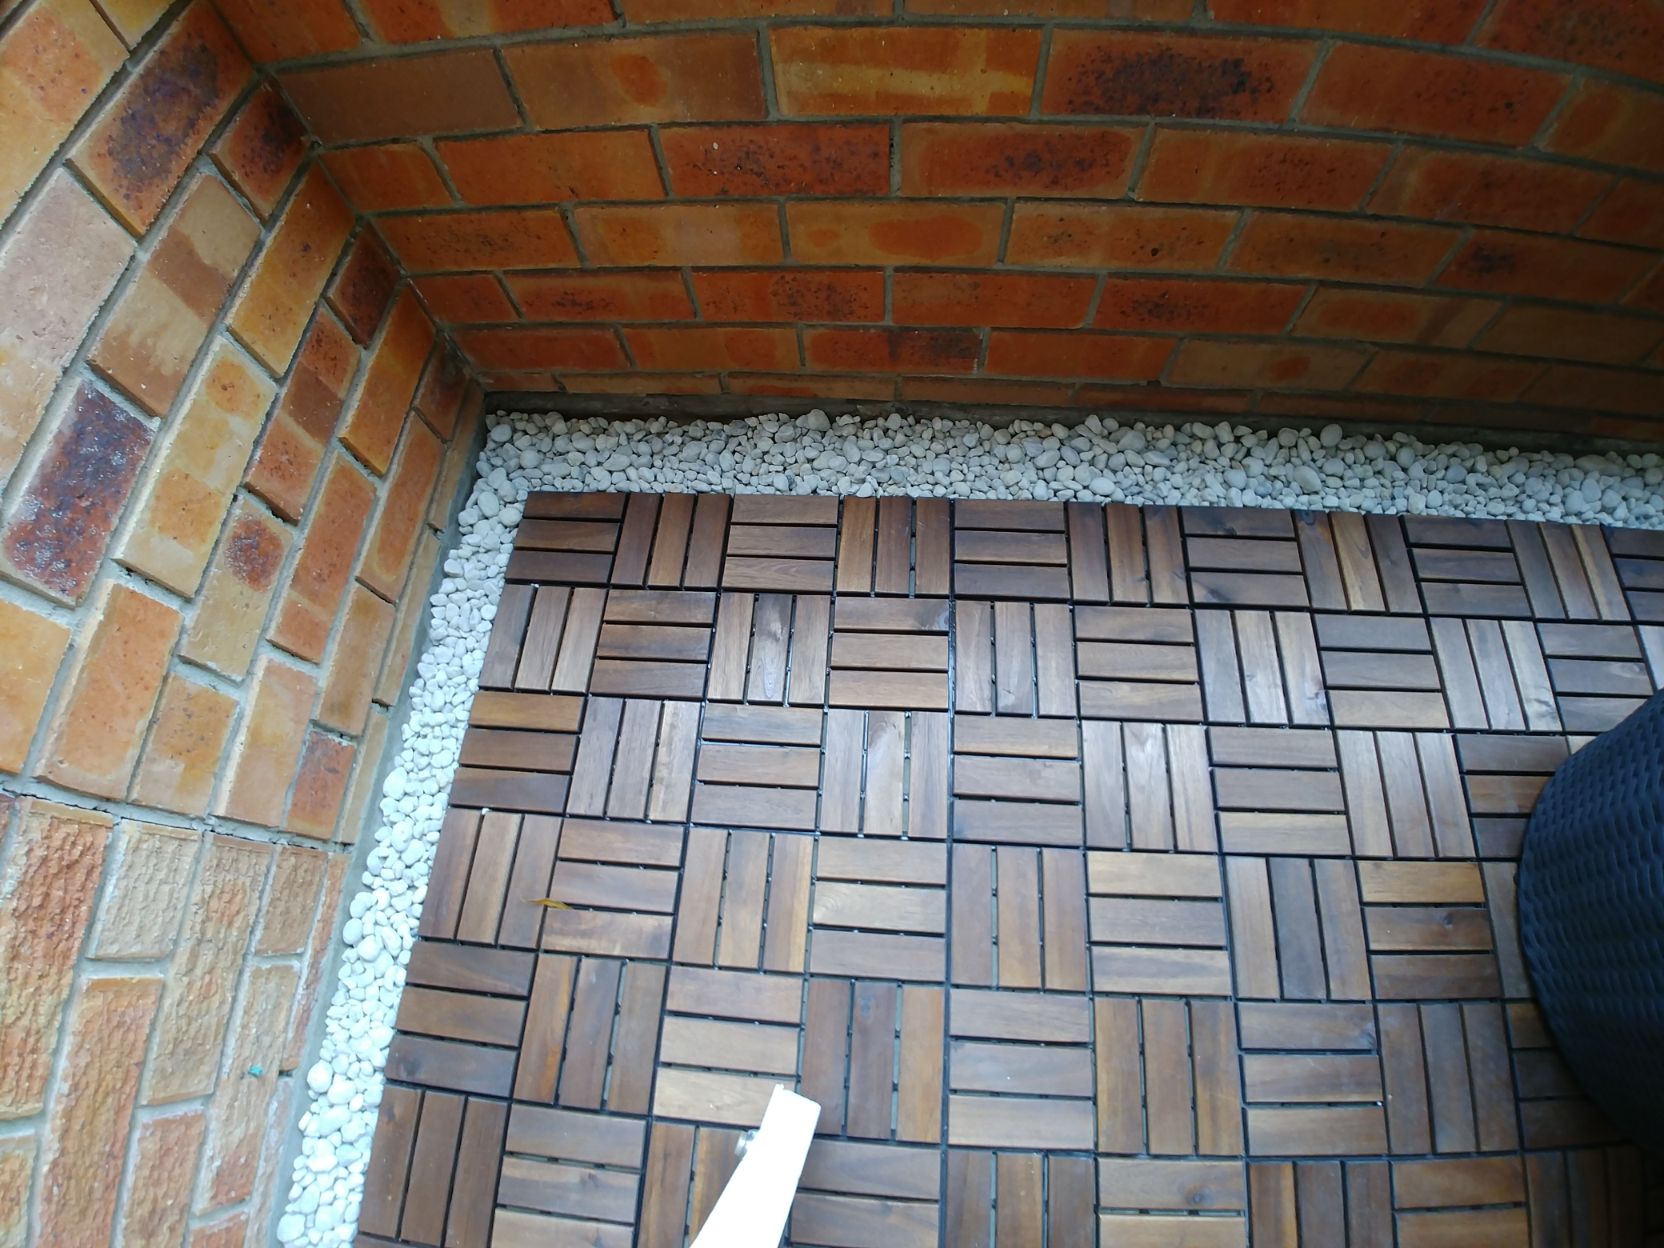
    • Brown stained outdoor floor decking was put down on the concrete floor.
    • A border of white pebbles edged the area which made such a difference to the floor.
    • Complete transformation!
    • Add the Outdoor Furniture

    https://www.rawpixel.com/image/429289/free-photo-image-massage-spa-hotel
    • To create a sense of more spaciousness the two dark grey imitation wicker chairs were placed towards the back corner.
    • The pure white cushions brought vivid contrasting colour and elegance into the space and made the balcony look inviting.
    • Keeping in tune with the surroundings, the decorative cushions mirror the tree scene before them.
    • A Selling Feature

    https://www.rawpixel.com/image/429289/free-photo-image-massage-spa-hotel
    • A good clean and some decorating morphed the tiny “ugly duckling” balcony into a beautiful high-rise curb appeal which became the selling feature of this home.

    More Property Styling Ideas –

    For more information and ideas please contact our property stylists at Let’s Revamp Property Styling and Decorating, or visit our website.


    3 Reasons Why To Put Or Not to Put Sofas Against A Wall

    3 Reasons Why To Put Or Not to Put Sofas Against A Wall

    3 Reasons Why To Put Or Not To Put

    Sofas Against A Wall

    There seems to be some controversy whether to put sofas against a wall or not.

    Truth be told certain circumstances involving styling your living area contrive whether to put a sofa against a wall or not.

    We are about to discover what these circumstances are and the reasons for it.

    #1. Why Put Sofas Against A Wall?

    Photo by Hutomo Abrianto on Unsplash

    Could it be that maybe it has always been the norm?

    • Your grandmother probably did it and your mom followed suit – so now you irrevocably put sofas against a wall too. laughing
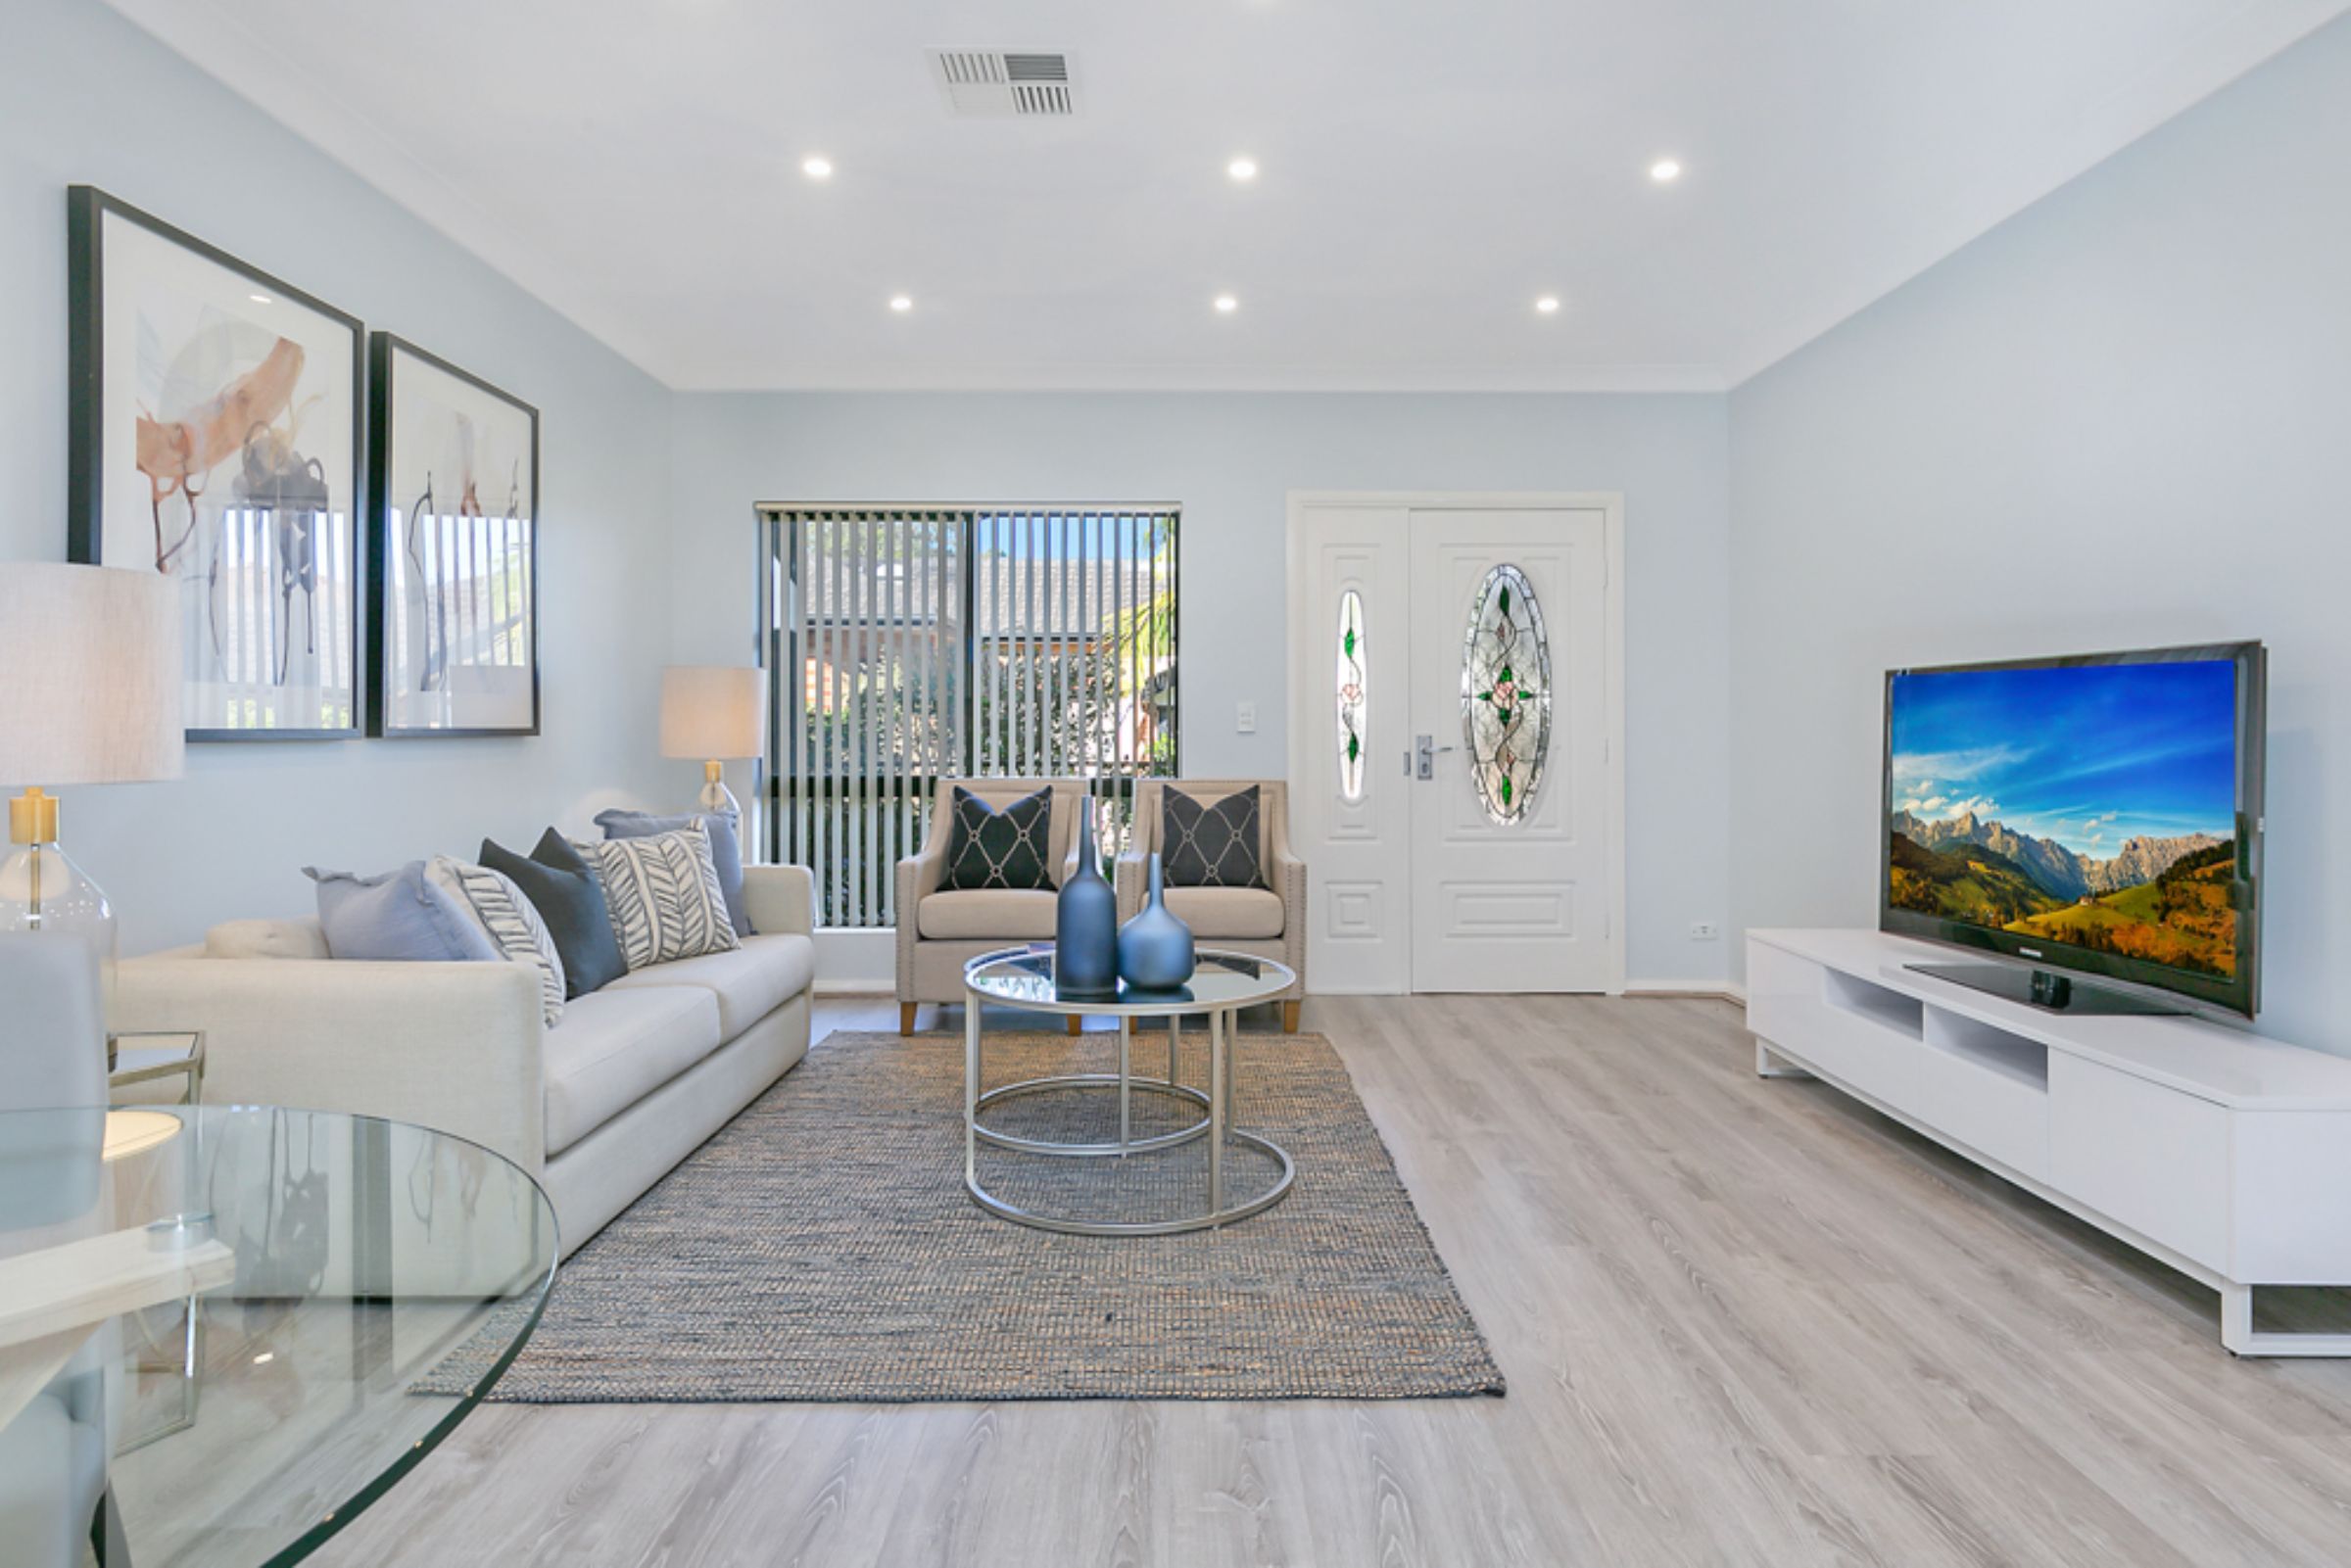
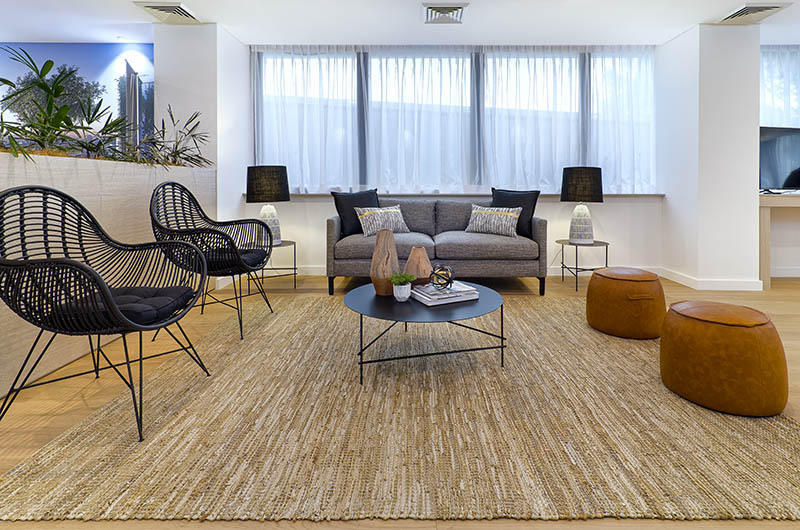
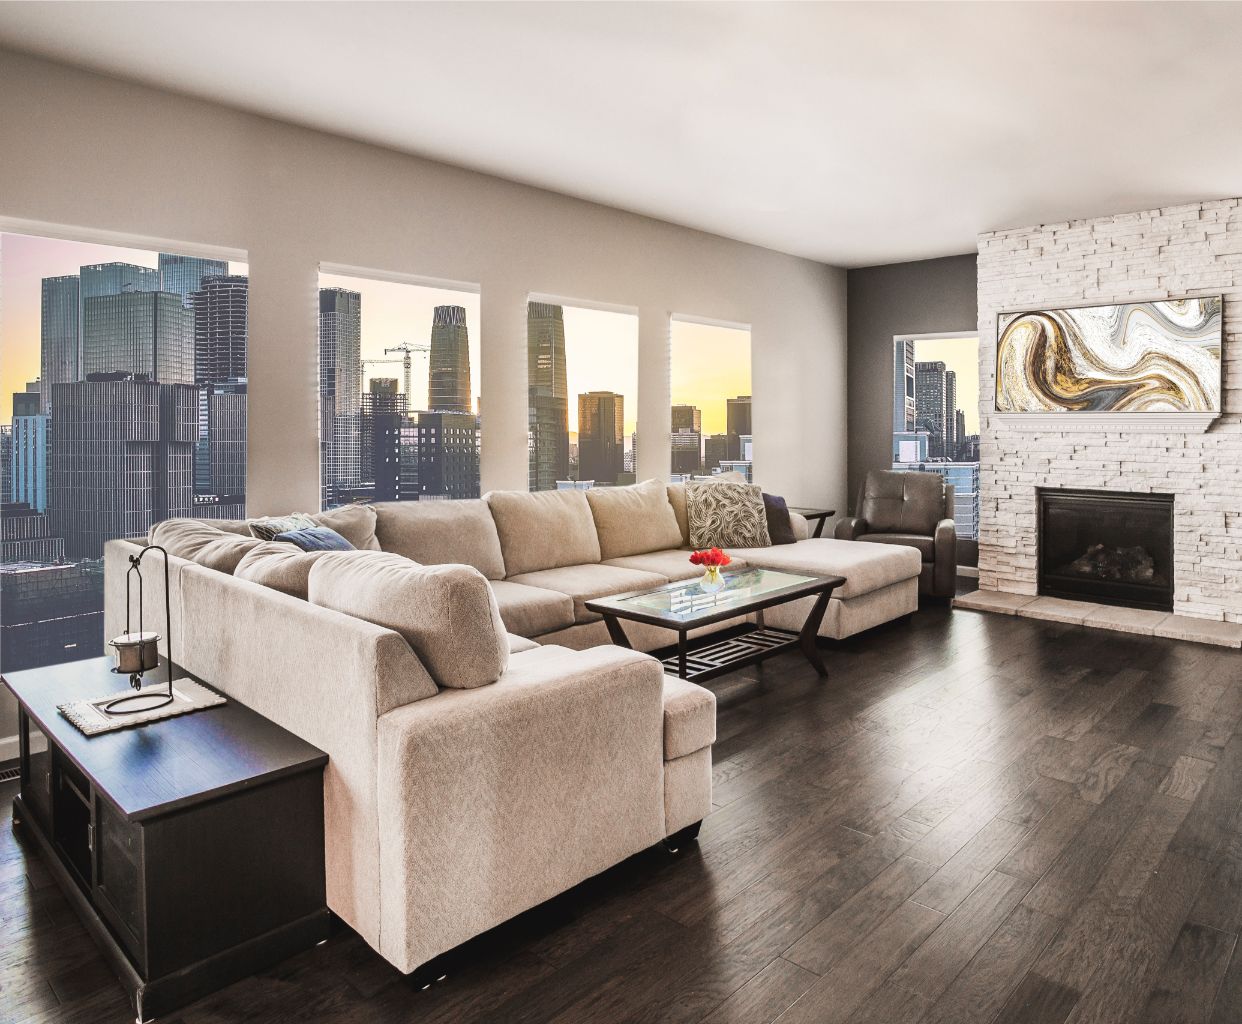
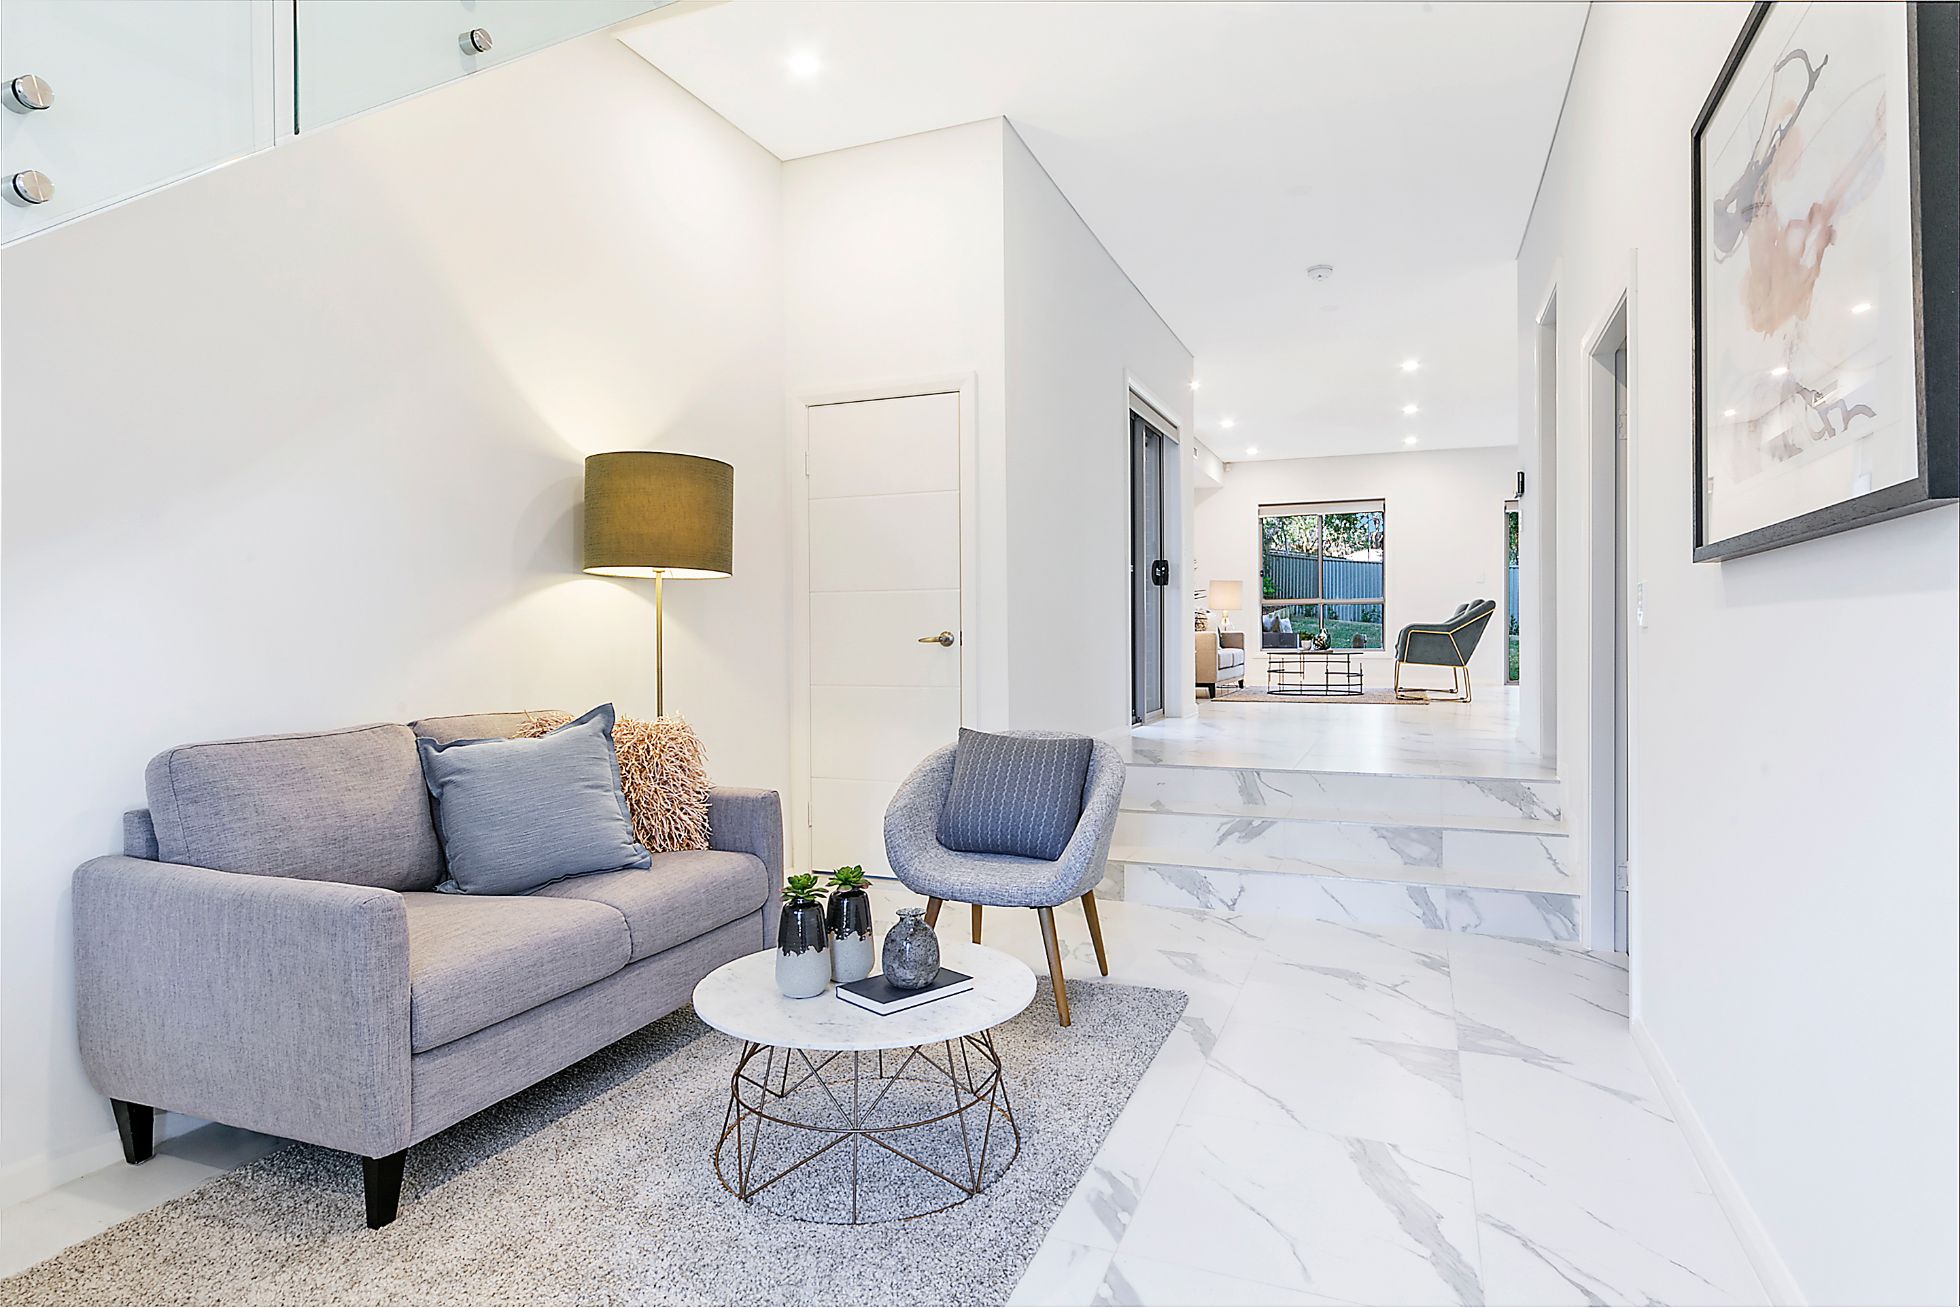
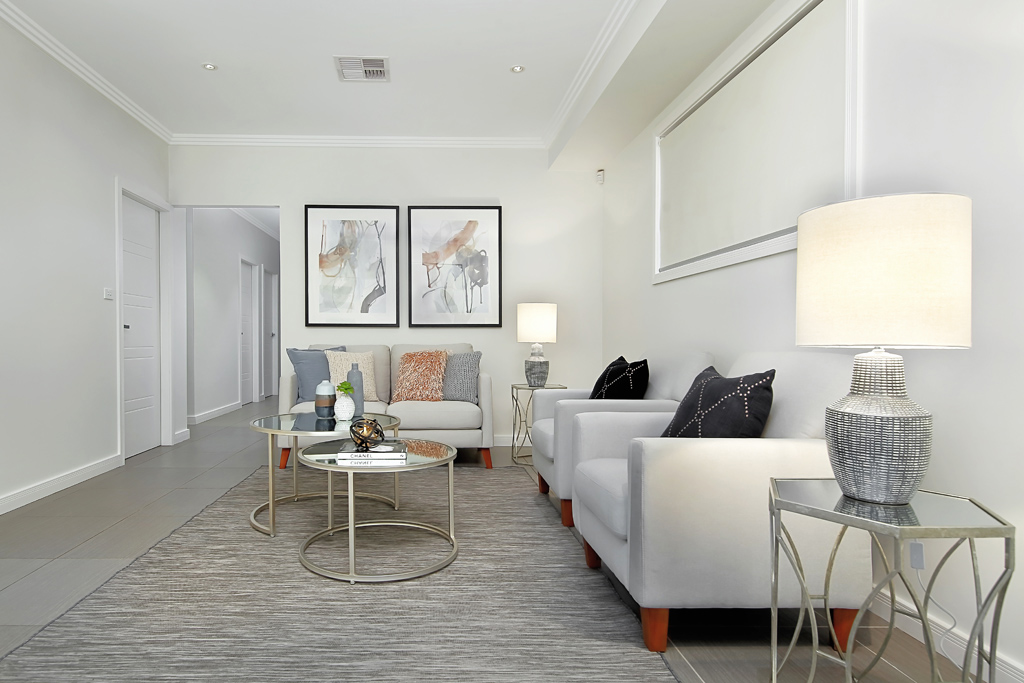
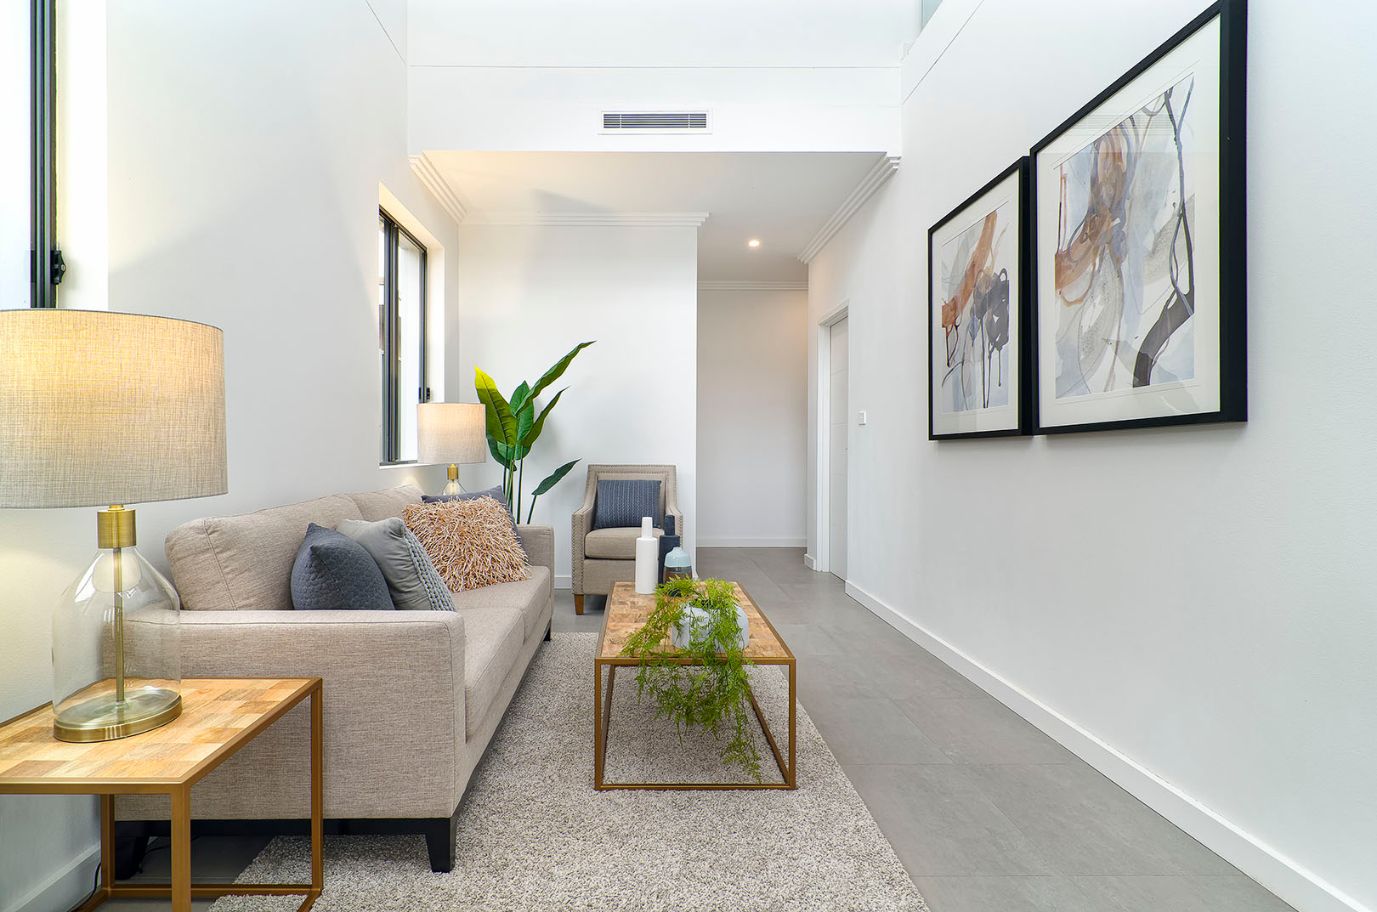
    Property Stylists put sofas against the wall to make a small space look bigger. This enables the potential buyer to visualise the area and decide whether it meets his prerequisites before purchasing the property.
    Interior Stylists do too for the same reason – to make small spaces look larger and wholesome the sofa goes against the wall.
    • Sofas are usually placed against the wall so as to not obstruct the walking area.

    #2. When Are Sofas Not Placed Against The Wall?

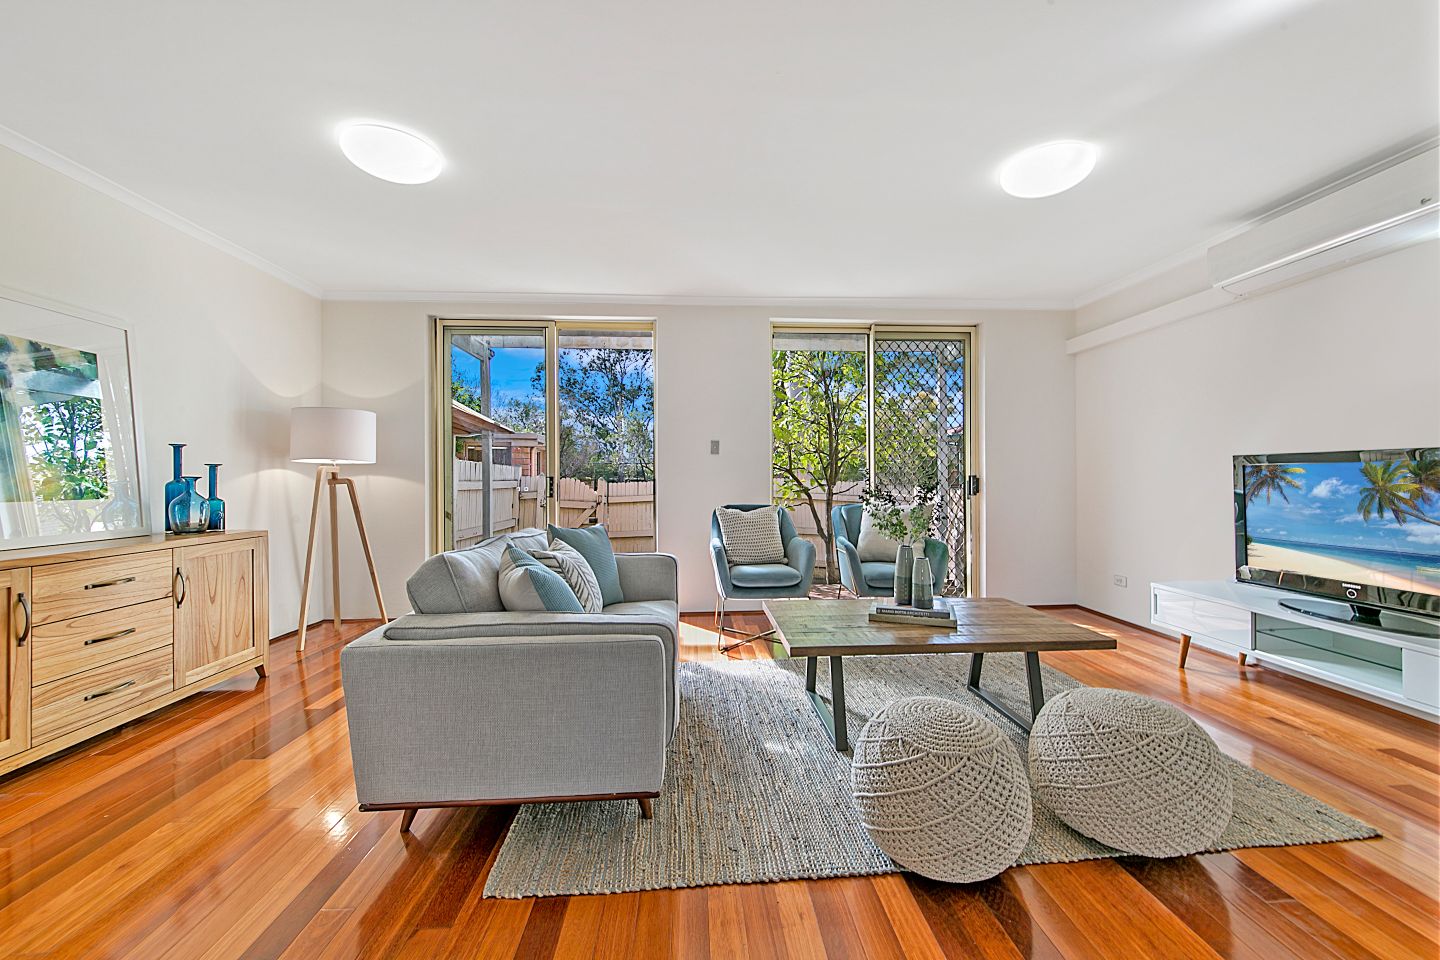
    • When there is ample space and in open plan areas sofas are usually not placed against the wall.
    • It is important to note that when placing furniture/sofas into a room ample free-flowing space for easy maneuverability and thoroughfare is to be created.
    • Sofas and other chairs are to be placed at the right distances from each other for easy chatting and comfortable reachable access to the coffee or side tables to rest glasses or cups.

    #3. In General

    Photo by James McDonald on Unsplash
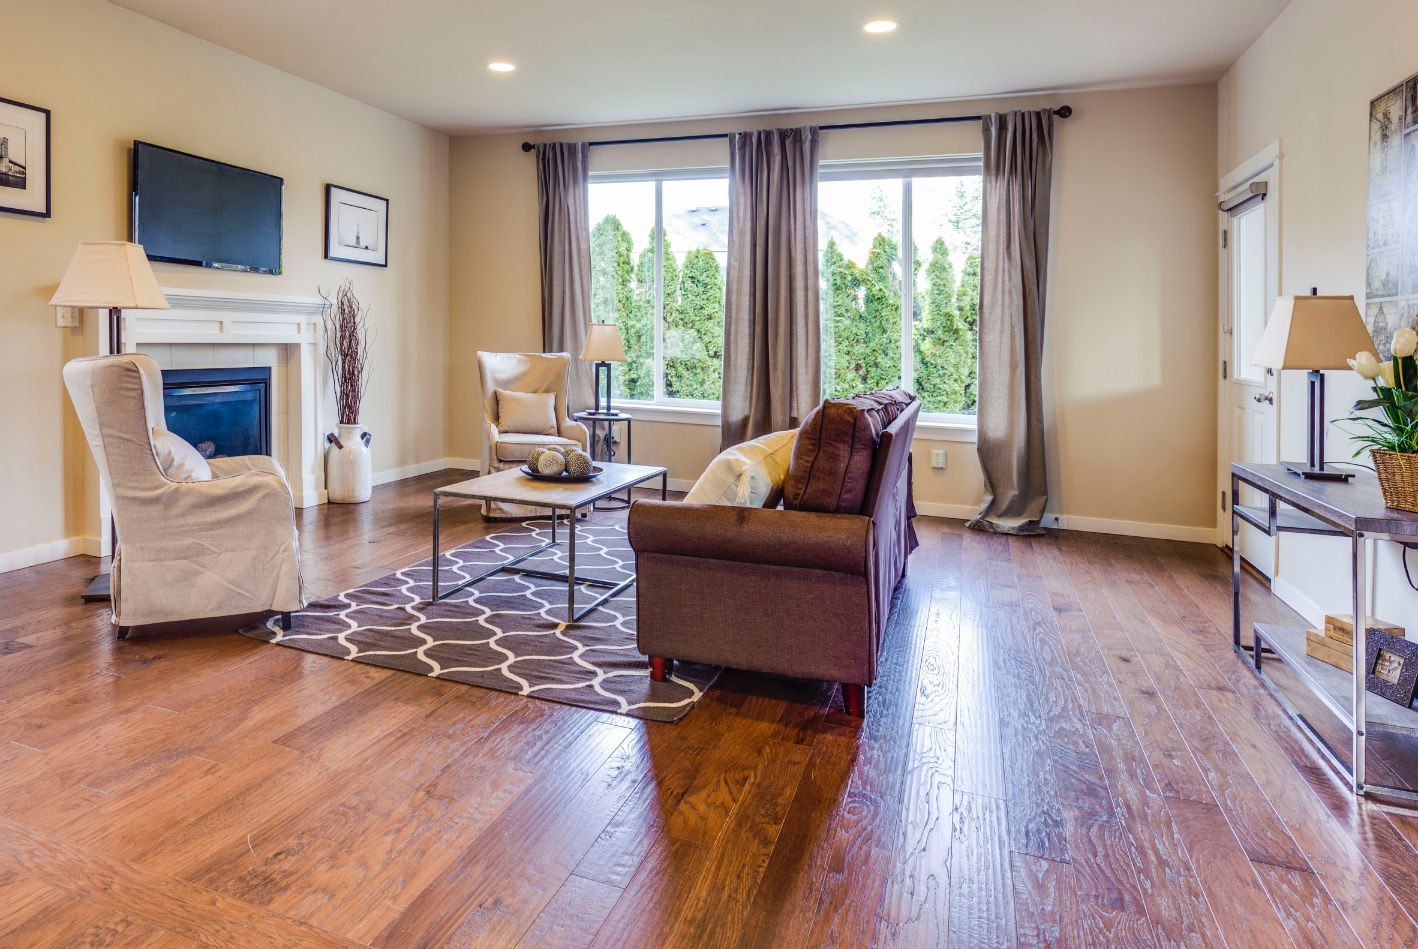
    • Rugs – If you do have a full-size or large enough rug, place all the living room area furniture on it.
      • If you prefer a standard size rug, ensure that it is large enough to accommodate at least 2 thirds of the living room furniture on it.

        This will make the area appear unified and the rug not small.

        If need be, place only the front legs of the chairs and sofas onto the rug.

      • Sofa Table – when pulling the sofa away from the wall, place a sofa table behind it. This will add appeal to the room and extra storage space.

      Need Advice or Ideas

      • Please contact our interior stylists should you need more advice or ideas regarding setting up your living room area or any other room.
      • Please note that we have Virtual Styling Consultation available.

      MAKE AN ENQUIRY

      Creating Office Space That Will Allow You To Work From Home

      Creating Office Space That Will Allow You To Work From Home

      Creating Office Space That Will Allow You To Work From Home

      Photo by Hutomo Abrianto on Unsplash

      So, you need to create office space that will allow you to work from home.

      Home office workspace is not a one size fits all – as everyone has different requirements and different amount of space available.

      Whether you have just enough space for a desk or an extra room, we have put together a list of ideas for you to create the perfect office space to work from. These ideas are easily adaptable, achievable, functional and inviting.

      1. Colour


      • Light colours reflect light and make small spaces seem brighter and lighter.
      • Choose neutral colours, they blend, accentuate and are the perfect canvas to work with giving you ample scope to expand your boundaries, ideas and creativeness.
      • Lighter colours create a sense of restfulness and quietness.
      • Neutral colours do not dominate and therefore you can bring in other colours to style and decorate the home office area.
      • Add blue to your home office space. Blue is noted to calm the mind and is beneficial for concentration.
      Photo by James McDonald on Unsplash

      2.  Maximise the WorkSpace Area

      • Avoid distractions and keep the mind focused by keeping the workspace area clutter-free.
      • The less furniture the more spacious the area will look.
      • Create or add storage space to help keep desks free of clutter. There are many practical and space-saving organisers around these days.
      Image from rawpixel.com

      3. Natural Light

      • Wherever possible try and organise your home office space in an area where there is an abundance of natural light and views of the outdoors. 
      • Natural light is free and healthy.
      • The amount of natural light can be controlled by blinds and curtains.
      • Natural light is mood-lifting and relaxing and brightens up the area.

      4. Desk Lamps 

      • Invest in a good quality desk lamp that will provide suitable light.
      • Choose a lamp that creates a visual focal point on your desk.

      5. The Desk

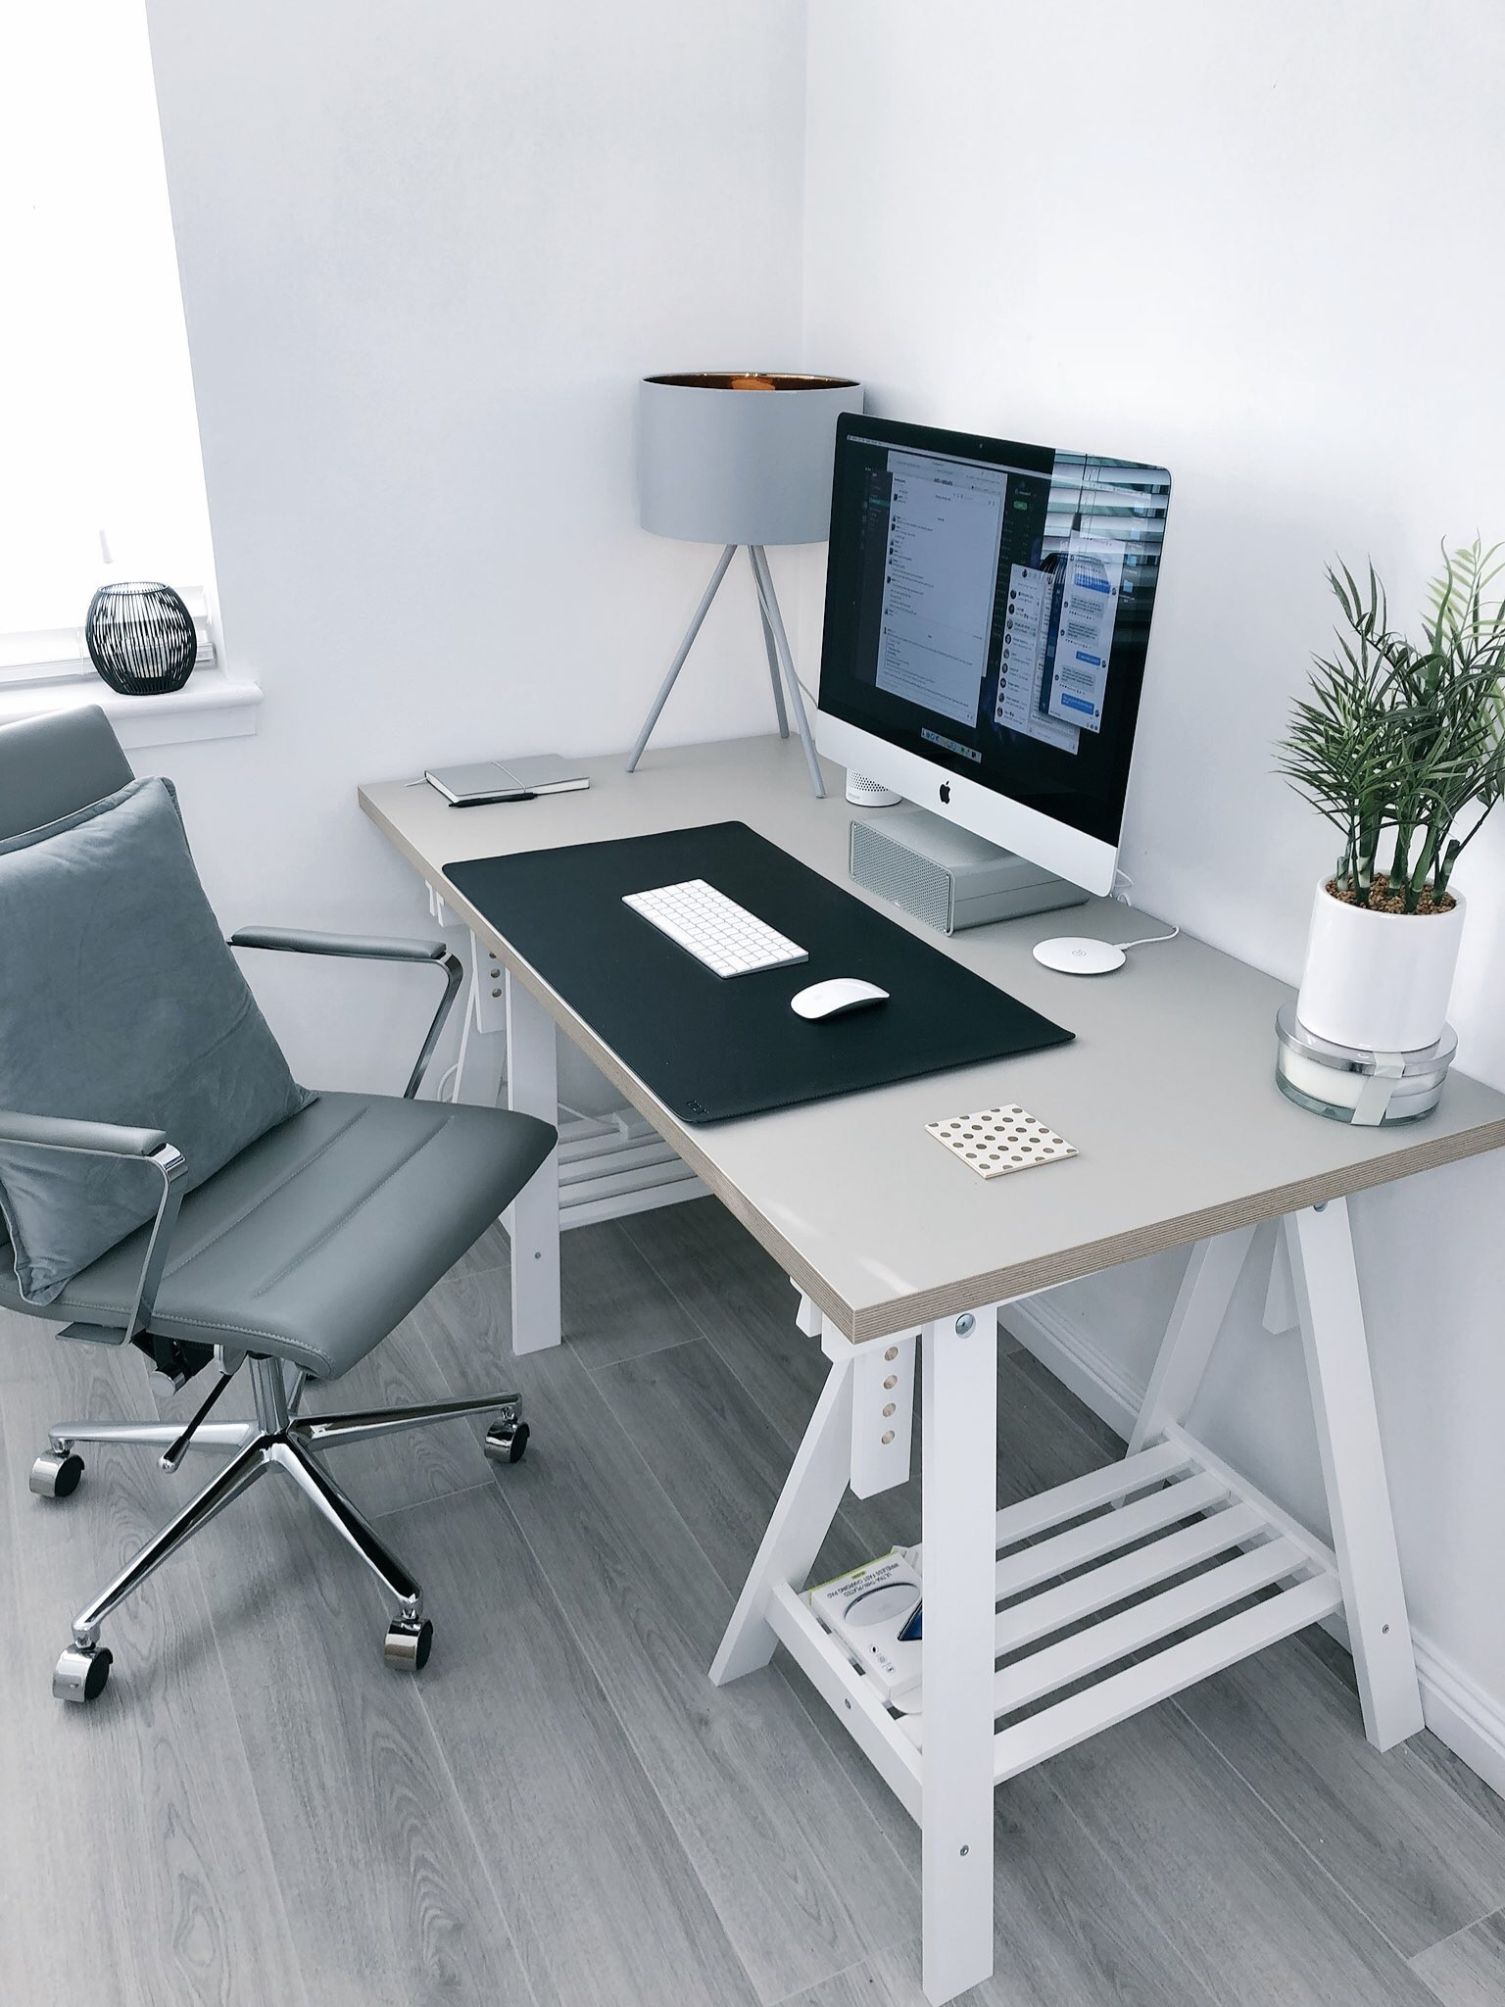
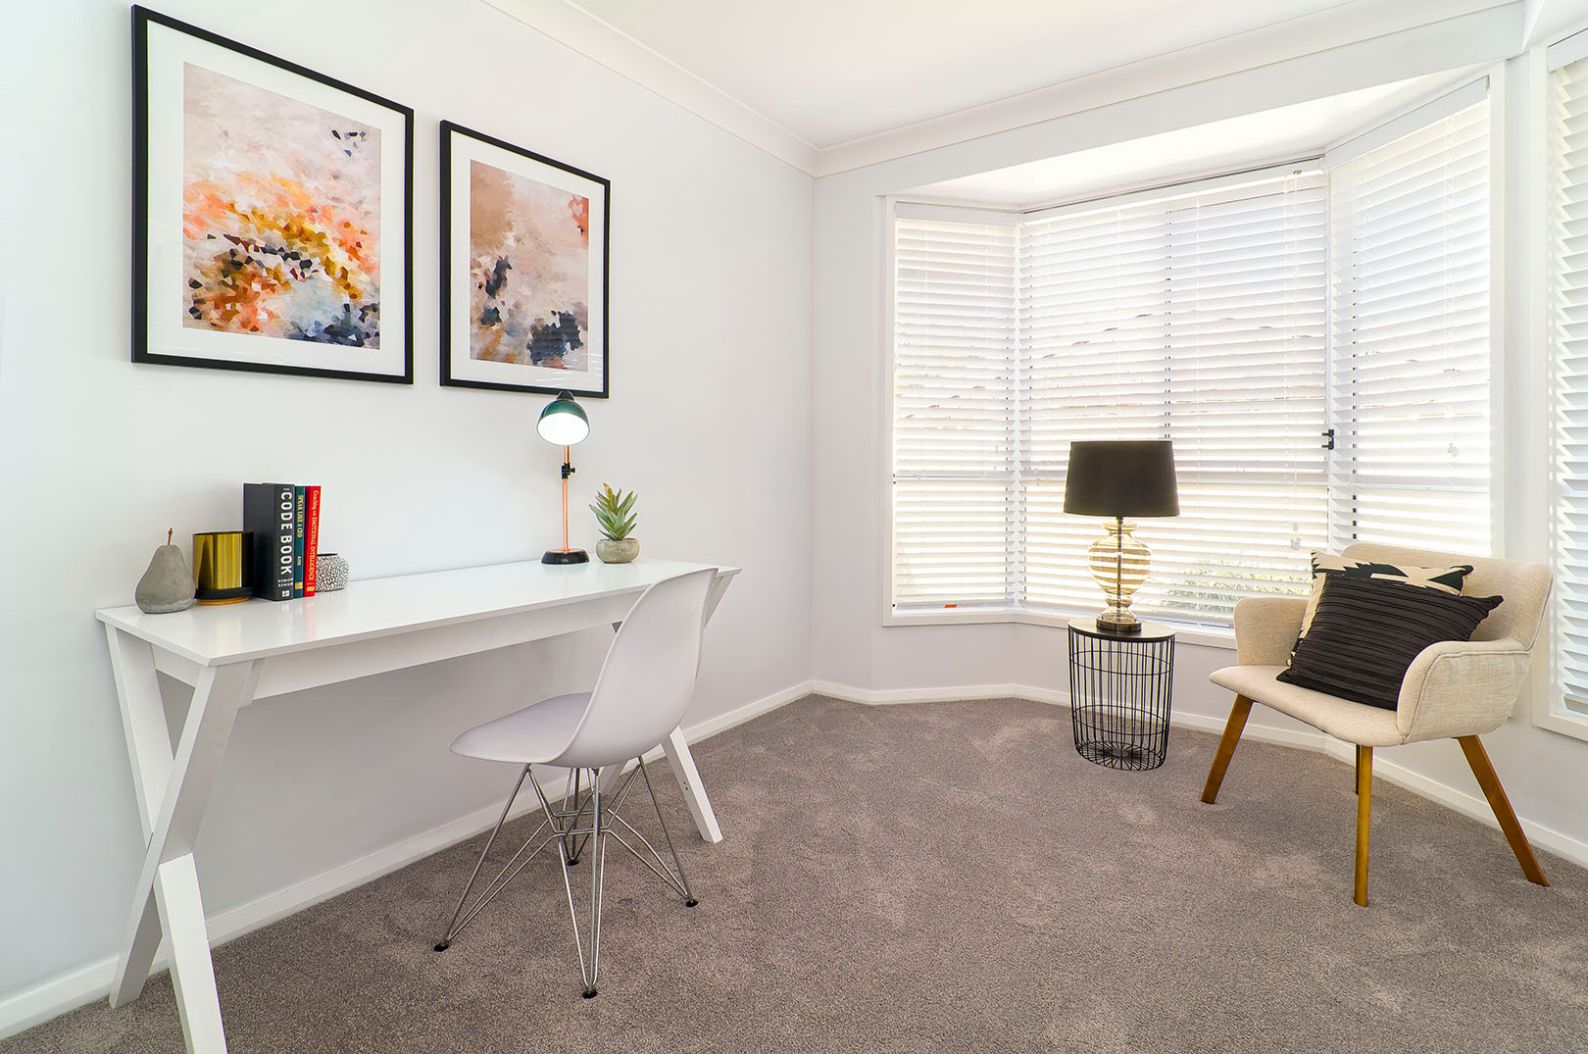
      • Where there is minimal space available to create your home office, opt for desks that are light coloured and mounted on legs.
      • The lighter coloured desk on legs creates the illusion of spaciousness as light reflects over the desk surface, and travel through the leg spaces.
      • Accessorise minimally.


      6. Chairs

      • Opt for chairs that are ergonomic but suitable for the available space.
      • Preferably chairs that are light coloured and mounted on legs.
      • Transparent chairs and those with non-solid backs create a feeling of spaciousness.
      • Accessorise the chair with decorative cushions.


      7. Wall Art

      • Calm the mind by adding blues into the office space area by accessorising with decorative cushions, wall art and ornaments.
      • Word of caution regarding ornaments. Do not overdo, and do not use small items as this will appear as clutter.
      • Mirrors can also be incorporated as wall art. Mirrors reflect light and make an area appear larger.


      8. Rugs

      • Floors and carpeted floors may be left bare but adding a rug of contrasting colour will denote the home office area.
      • Rugs protect the flooring against chaff marks.
      • Hard plastic floor covers also protect floors and carpeting.

      9. A Problem Solved

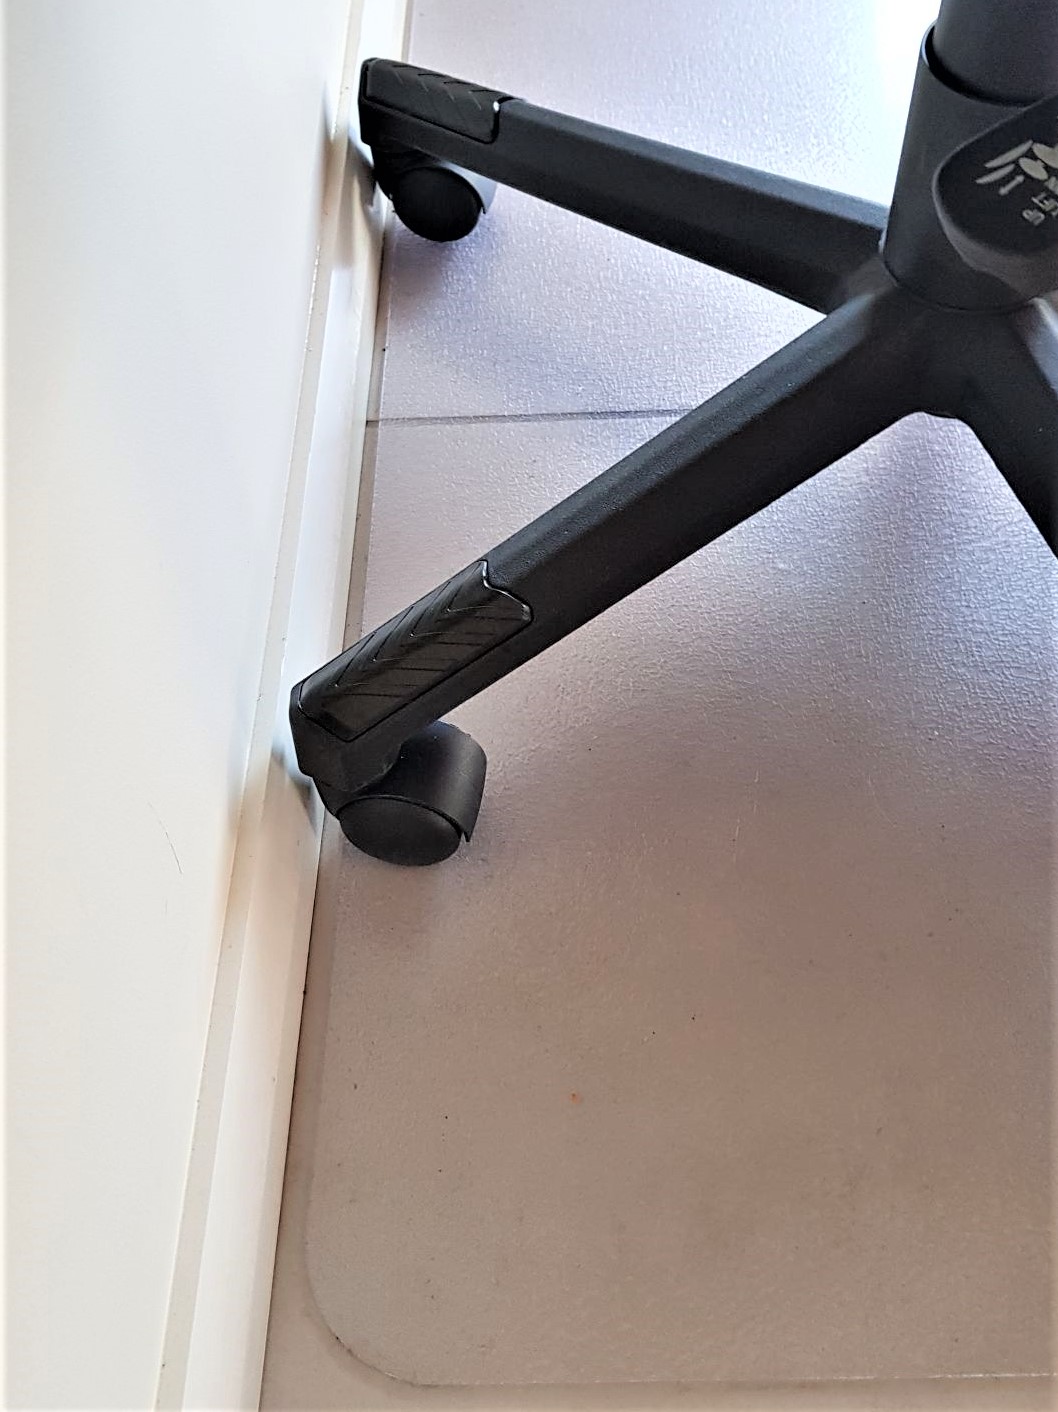
      • The user of the office chair discovered that when rolling the chair backwards it would hit against the wall skirting board causing damage.
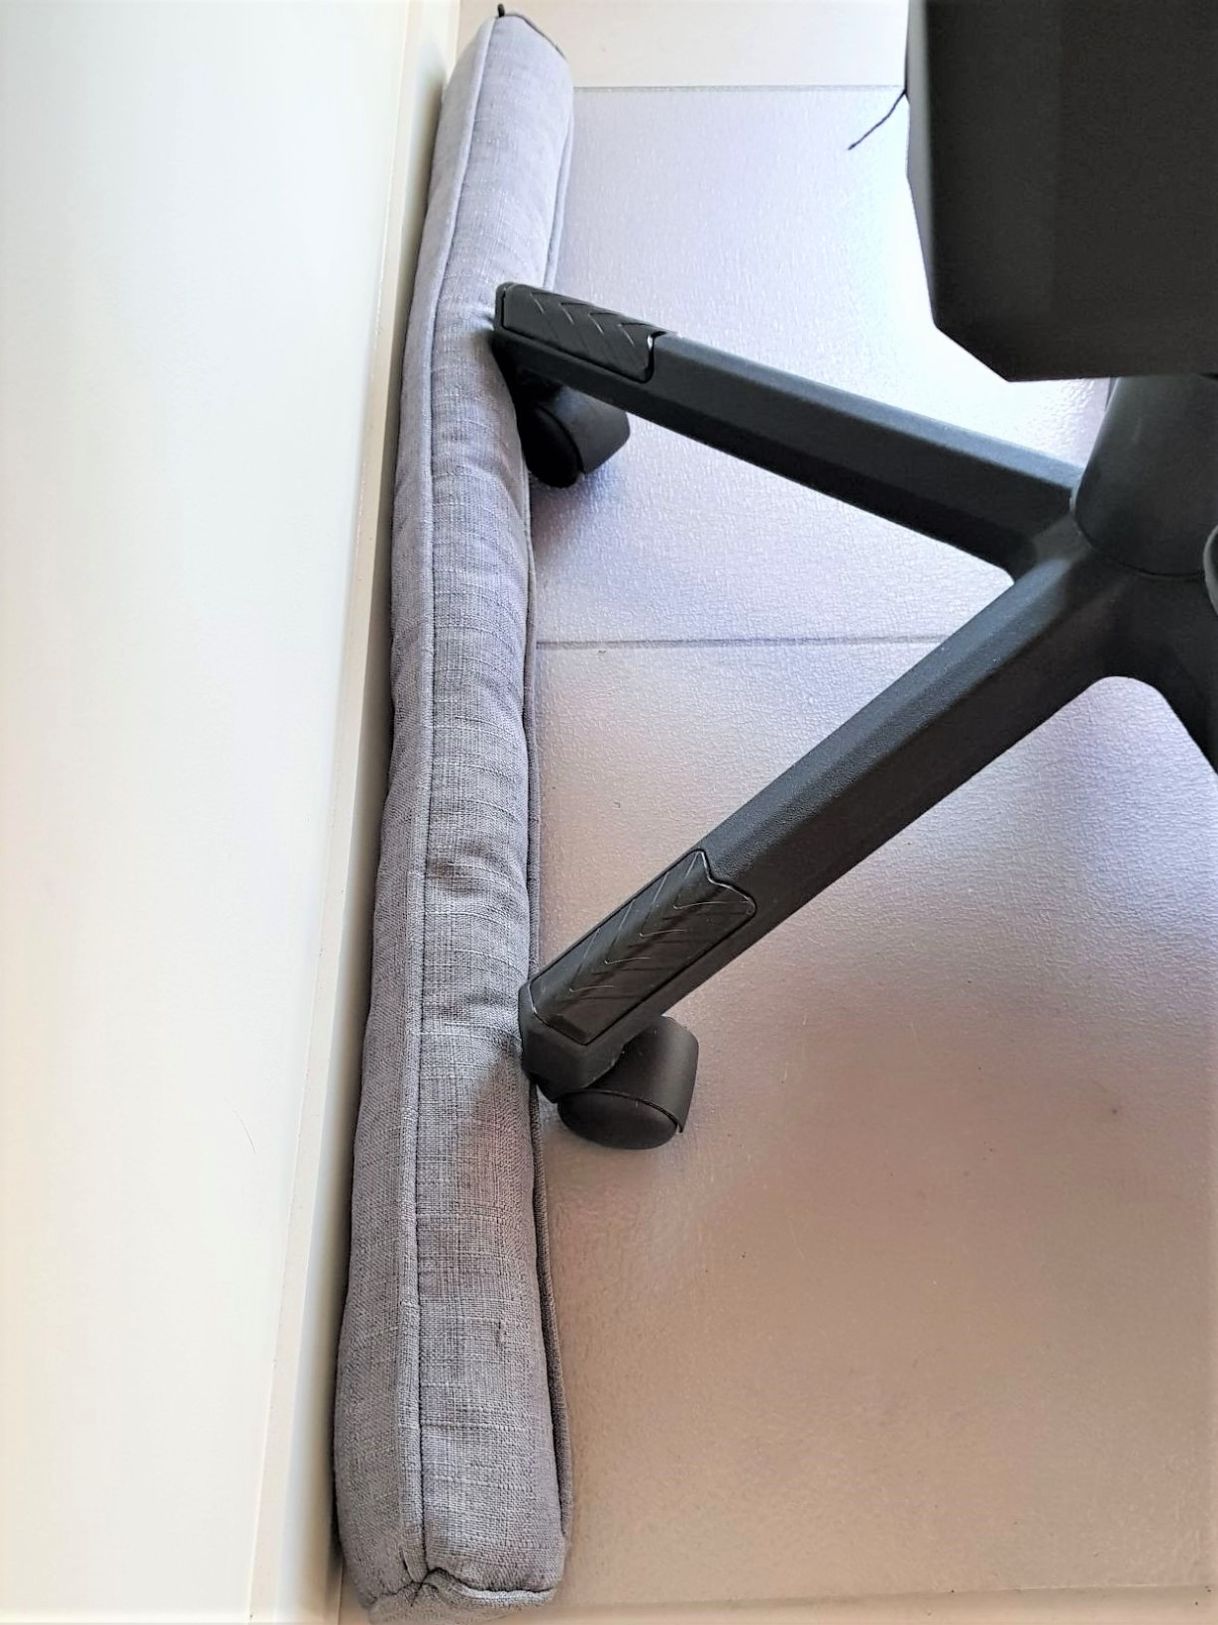
      • To prevent this from occurring again the chair user placed a long draught stopper against the skirting board.
      • Problem inexpensively and easily solved.

      10. Need Advice or Ideas

      • Please contact our interior stylists should you need more advice or ideas regarding setting up your home office space.

      MAKE AN ENQUIRY

      How Easy, Innovative And Great Ideas Can Make A Small Bedroom Look Bigger

      How Easy, Innovative And Great Ideas Can Make A Small Bedroom Look Bigger

      How Easy, Innovative And Great Ideas Can Make A Small Bedroom Look Bigger

      Image by engin akyurt from Pixabay

      Small bedroom – no problem!

      Large bed – small room – no problem!

      Expensive makeover?

      Does not have to be – read on to find just how easy, innovative and great ideas can make a bedroom look bigger.

      Photo by Milly Eaton from Pexels
      1.  Paint The Walls A Lighter Colour


      • Light colours reflect light and make small spaces seem brighter and lighter.
      • Choose neutral colours, they blend, accentuate and are the perfect canvas to work with giving you ample scope to expand your boundaries, ideas and creativeness. 
      • Paint the trims a lighter colour than the walls – using white can be bold. This will make the walls appear further away perceiving a feeling of roominess.
      Image by Elias Nössing from Pixabay

      2.  Use Space Saving Furniture

      • The less furniture the more spacious the room will look.
      • Use the space beneath your bed for storage –   For an example – please click here.
      • Built-In Shelving around a bed doubles up as bedside side table and creates depth.
      • Use furniture pieces for purposes other than what they are for. For example, using a display unit doubles up as a storage space for clothing items – Please click here…
      • If using a bunk bed, utilize the space beneath the bed for a study area or storage.
      • Use transparent furniture. For example, swap out the wooden bedside table for a glass top bedside table. The “see-through” effect help the room appear bigger.
      • Low profile beds create a feeling of space.
      Photo by Daria Shevtsova from Pexels

      3. Décor and Accessories


      • Do not overdo – less is best.
      • When hanging art, “divide” the wall into horizontal thirds, instead of halves. Hanging artwork closer to the lower third leaves more wall space above décor and therefore creates the illusion of more spaciousness.
      • Make use of mirrors – they reflect light, create depth and make space look bigger. Ideally mirrored closet doors would be the best.
      • Because the room is small do not use small décor effects – this will make the room look cluttered. Rather use one bold piece than many small grouped pieces.
      • Drapes should not hang or pool onto the floor. Instead, tie them up a few centimetres above the floor.
      • Drapes should be lightly textured fabric and the same colour as the wall. Remember you want to let light into the small room space and not block it out.
      • Mount drapes above the window frame to create a floor to ceiling window illusion.
      • As for the bed quilts, throws and decorative cushions, stick to light and bright pop colours that co-ordinated well with neutrals so as create an even flow of eye sweeping view of the room.
      • Create the illusion of space by pulling furniture slightly away from the walls.
      • Ditch overhead lights – choose the right bedside table lamp instead – Click here for a great short video on to choose the right size lamp.
      • Keep the room organised and clutter-free.