How to Create Home School Space in Your Dining Room

How to Create Home School Space in Your Dining Room

How to Create Home School Space in Your Dining Room

Having done your research about homeschooling you realize you need a space that will function as a classroom and be enjoyable at the same time.  School can happen amongst regular home life and not sequestered from it.

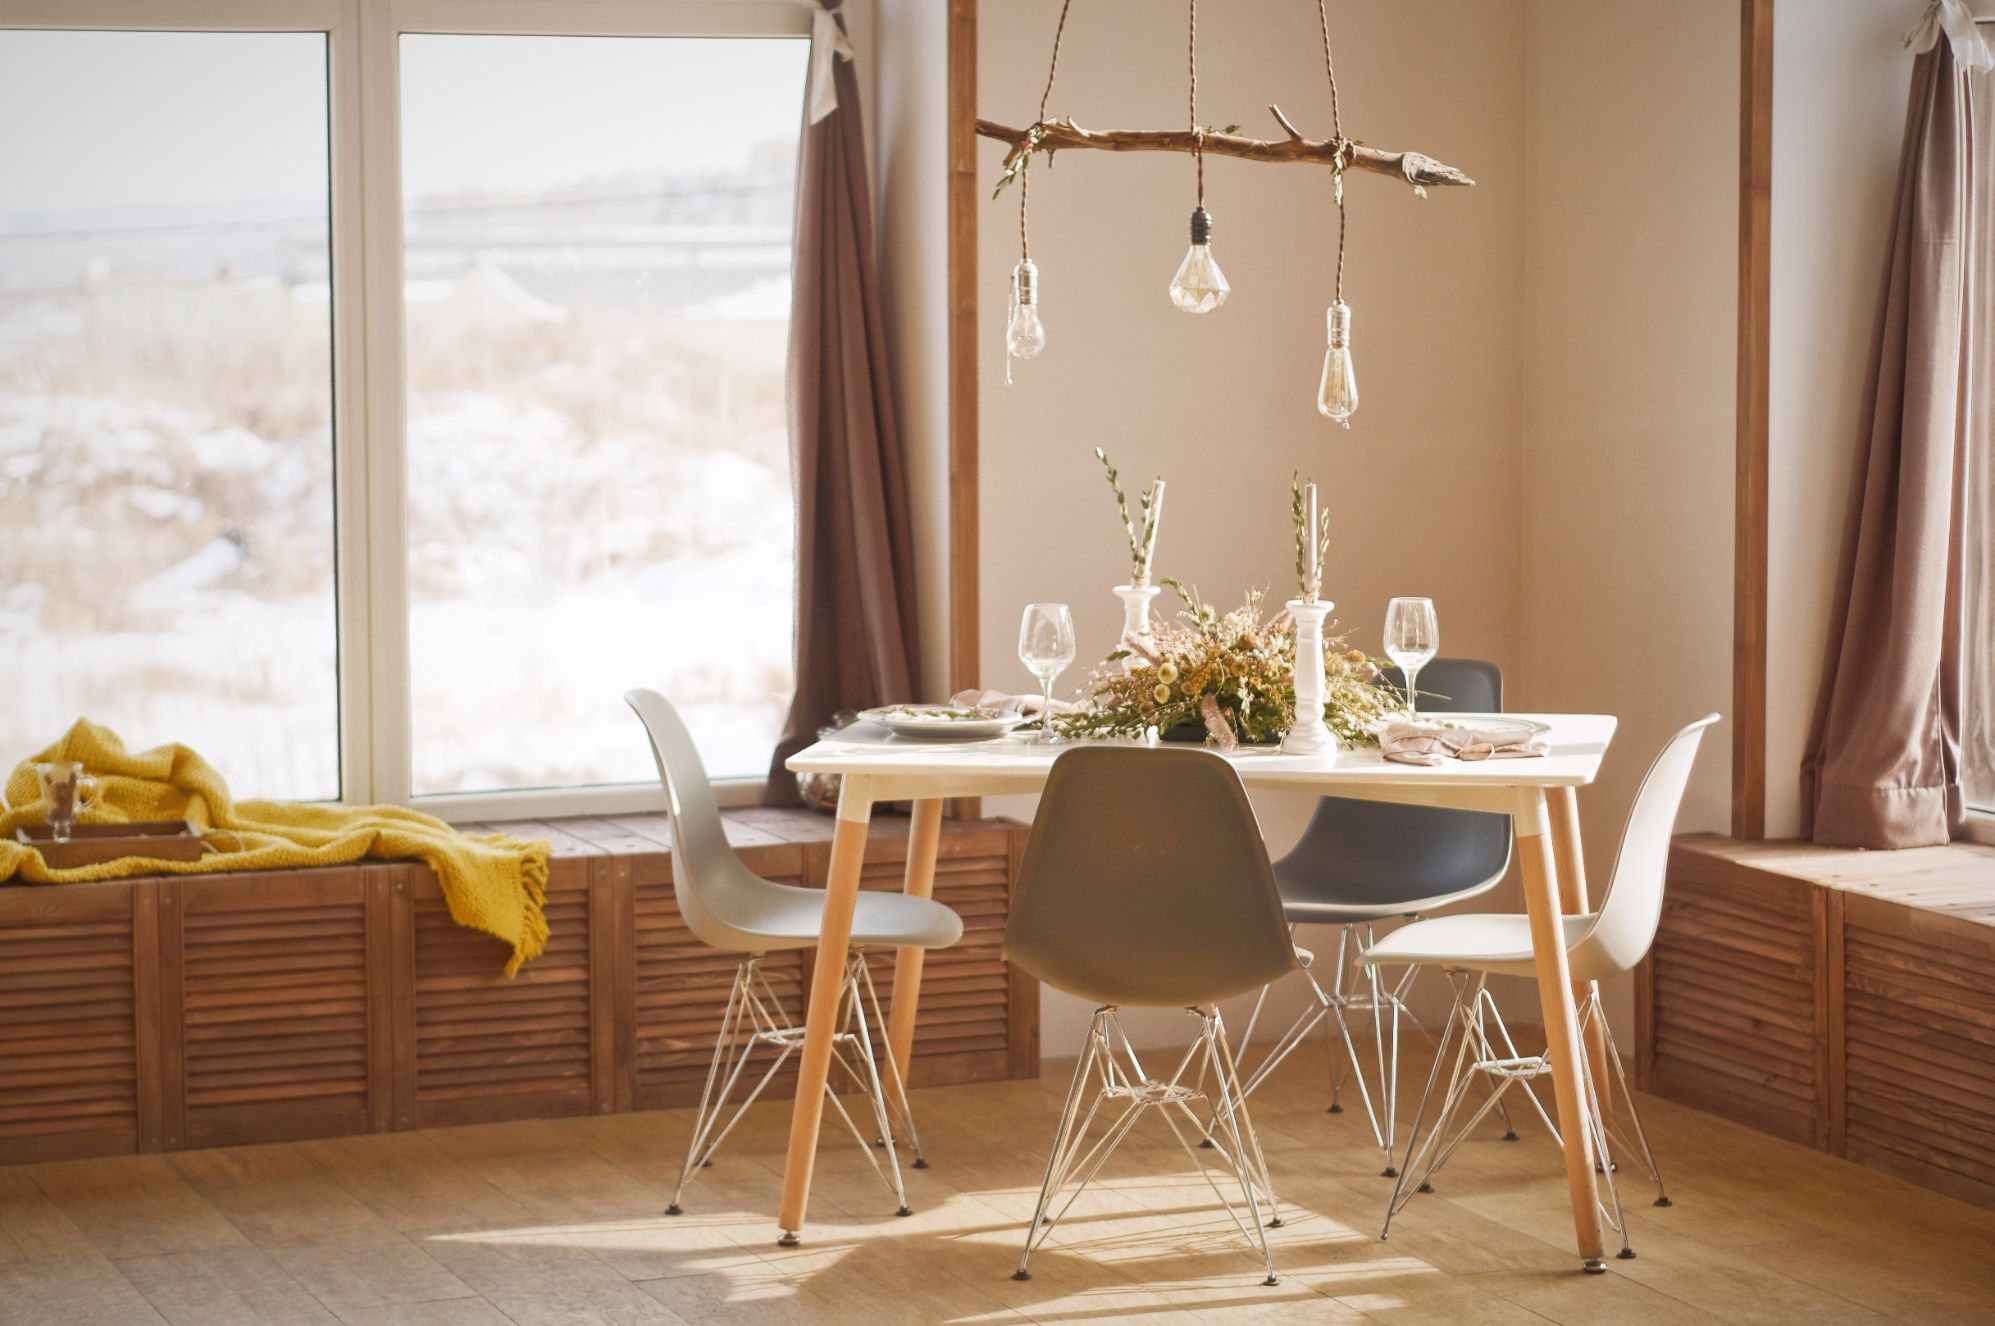
So why not homeschool in the dining room? Dining rooms usually have the best natural light in the house and a table large enough to accommodate the homeschoolers.

1. Prepping

  • Work with what you have. You do not need a picture-perfect homeschool space. The priority is creating a space that is enjoyable, comfortable and welcoming.
  • If you need to move some furniture around do so. If you are not quite sure about the best way to arrange the area contact our property stylists or interior decorators. You’ll be glad you did.

2. What Colour Scheme Will Work Best and Why

  • Colour is fascinating and play a huge part in our perception of an area.
  • To read more about the theory of colour please go our blog the best colour scheme for your baby’s room.
  • Do not overwhelm the area with an assortment of colour and paper paraphernalia, for example, posters. At the end of the day, once all is easily cleared away, you would still want your dining room to look like a dining room.
  • Keep colours toned down and coordinated.
  • Choose colours that will match and blend in with what is already there.
  • Maybe you have been thinking of repainting the dining area. Now would be a good time to do so. It’s amazing what a can of paint can do. If you do not want to paint the whole area, choose a wall to accent.


3. Storage

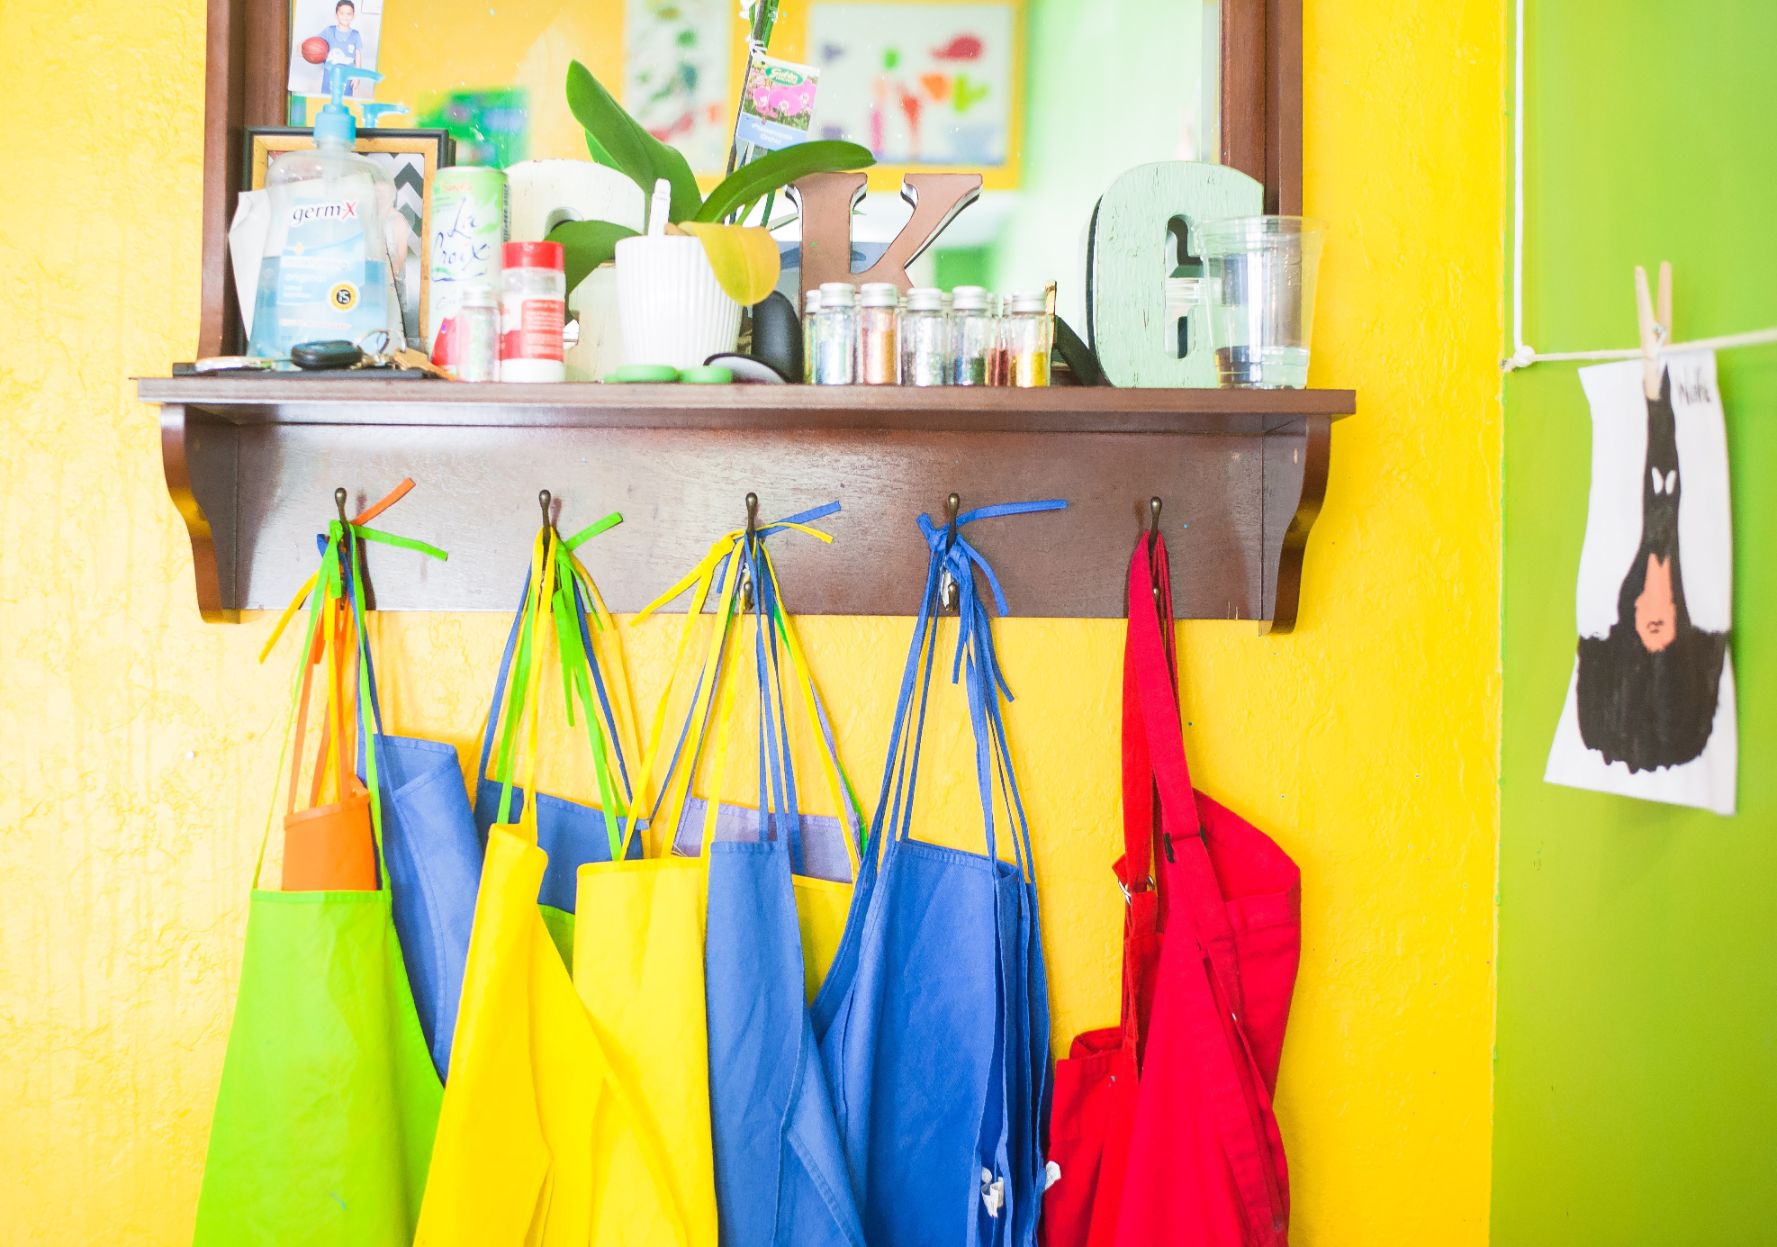
  • Honestly, there is a zillion of storage options out there. To start with, gather what you have. Even old containers and jars can be revamped. Get the children involved. They can even do some of the painting jobs for you, giving them an opportunity adding their own personal touch to their home-school. 
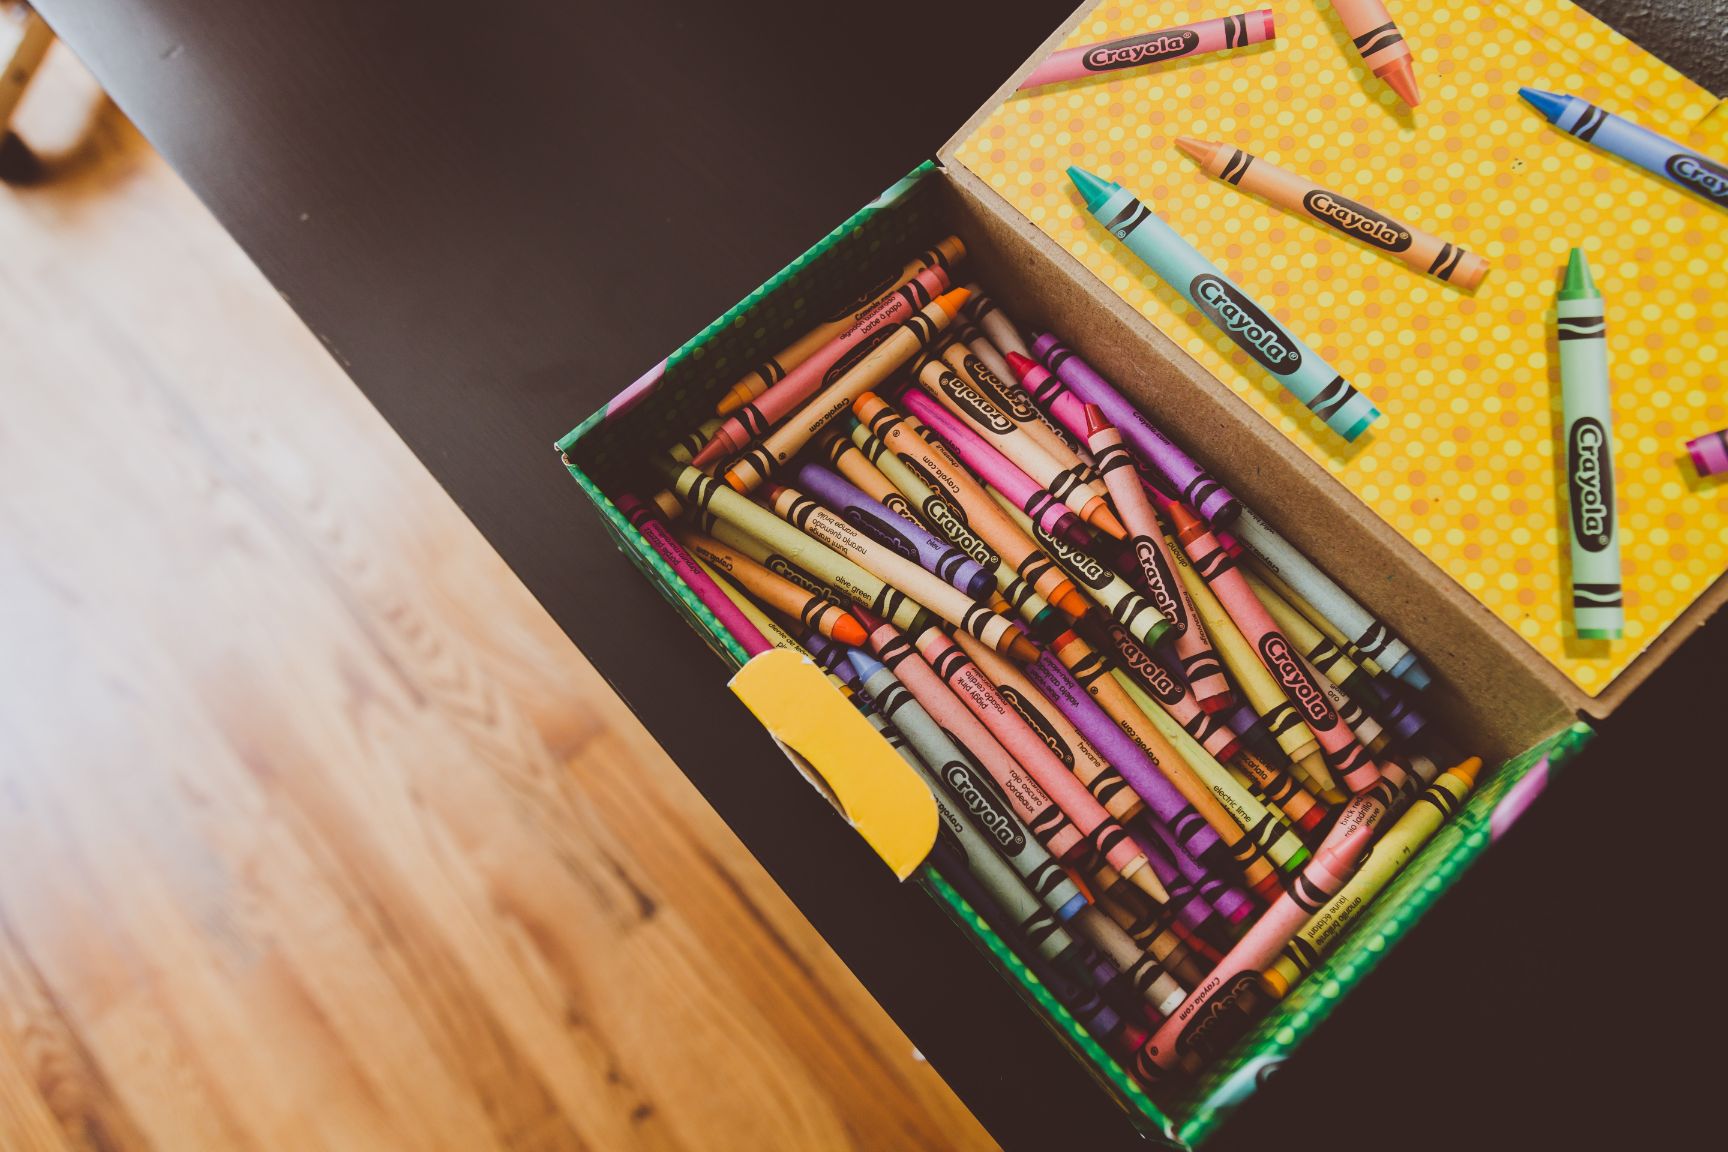
  • Empty tin cans or boxes can hold pencils and an assortment of crayons.


Image by Alexas_Fotos from Pixabay

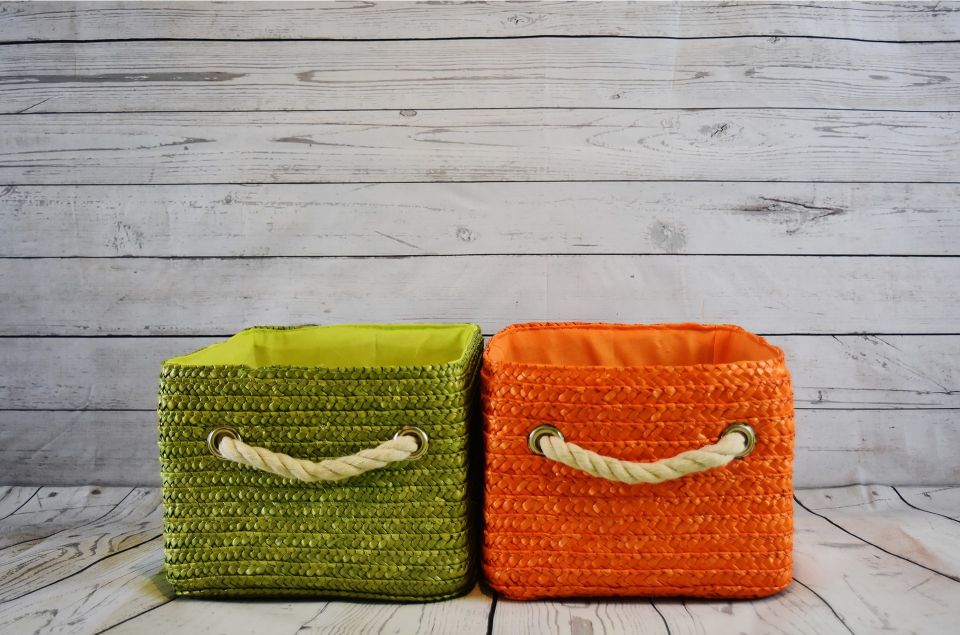
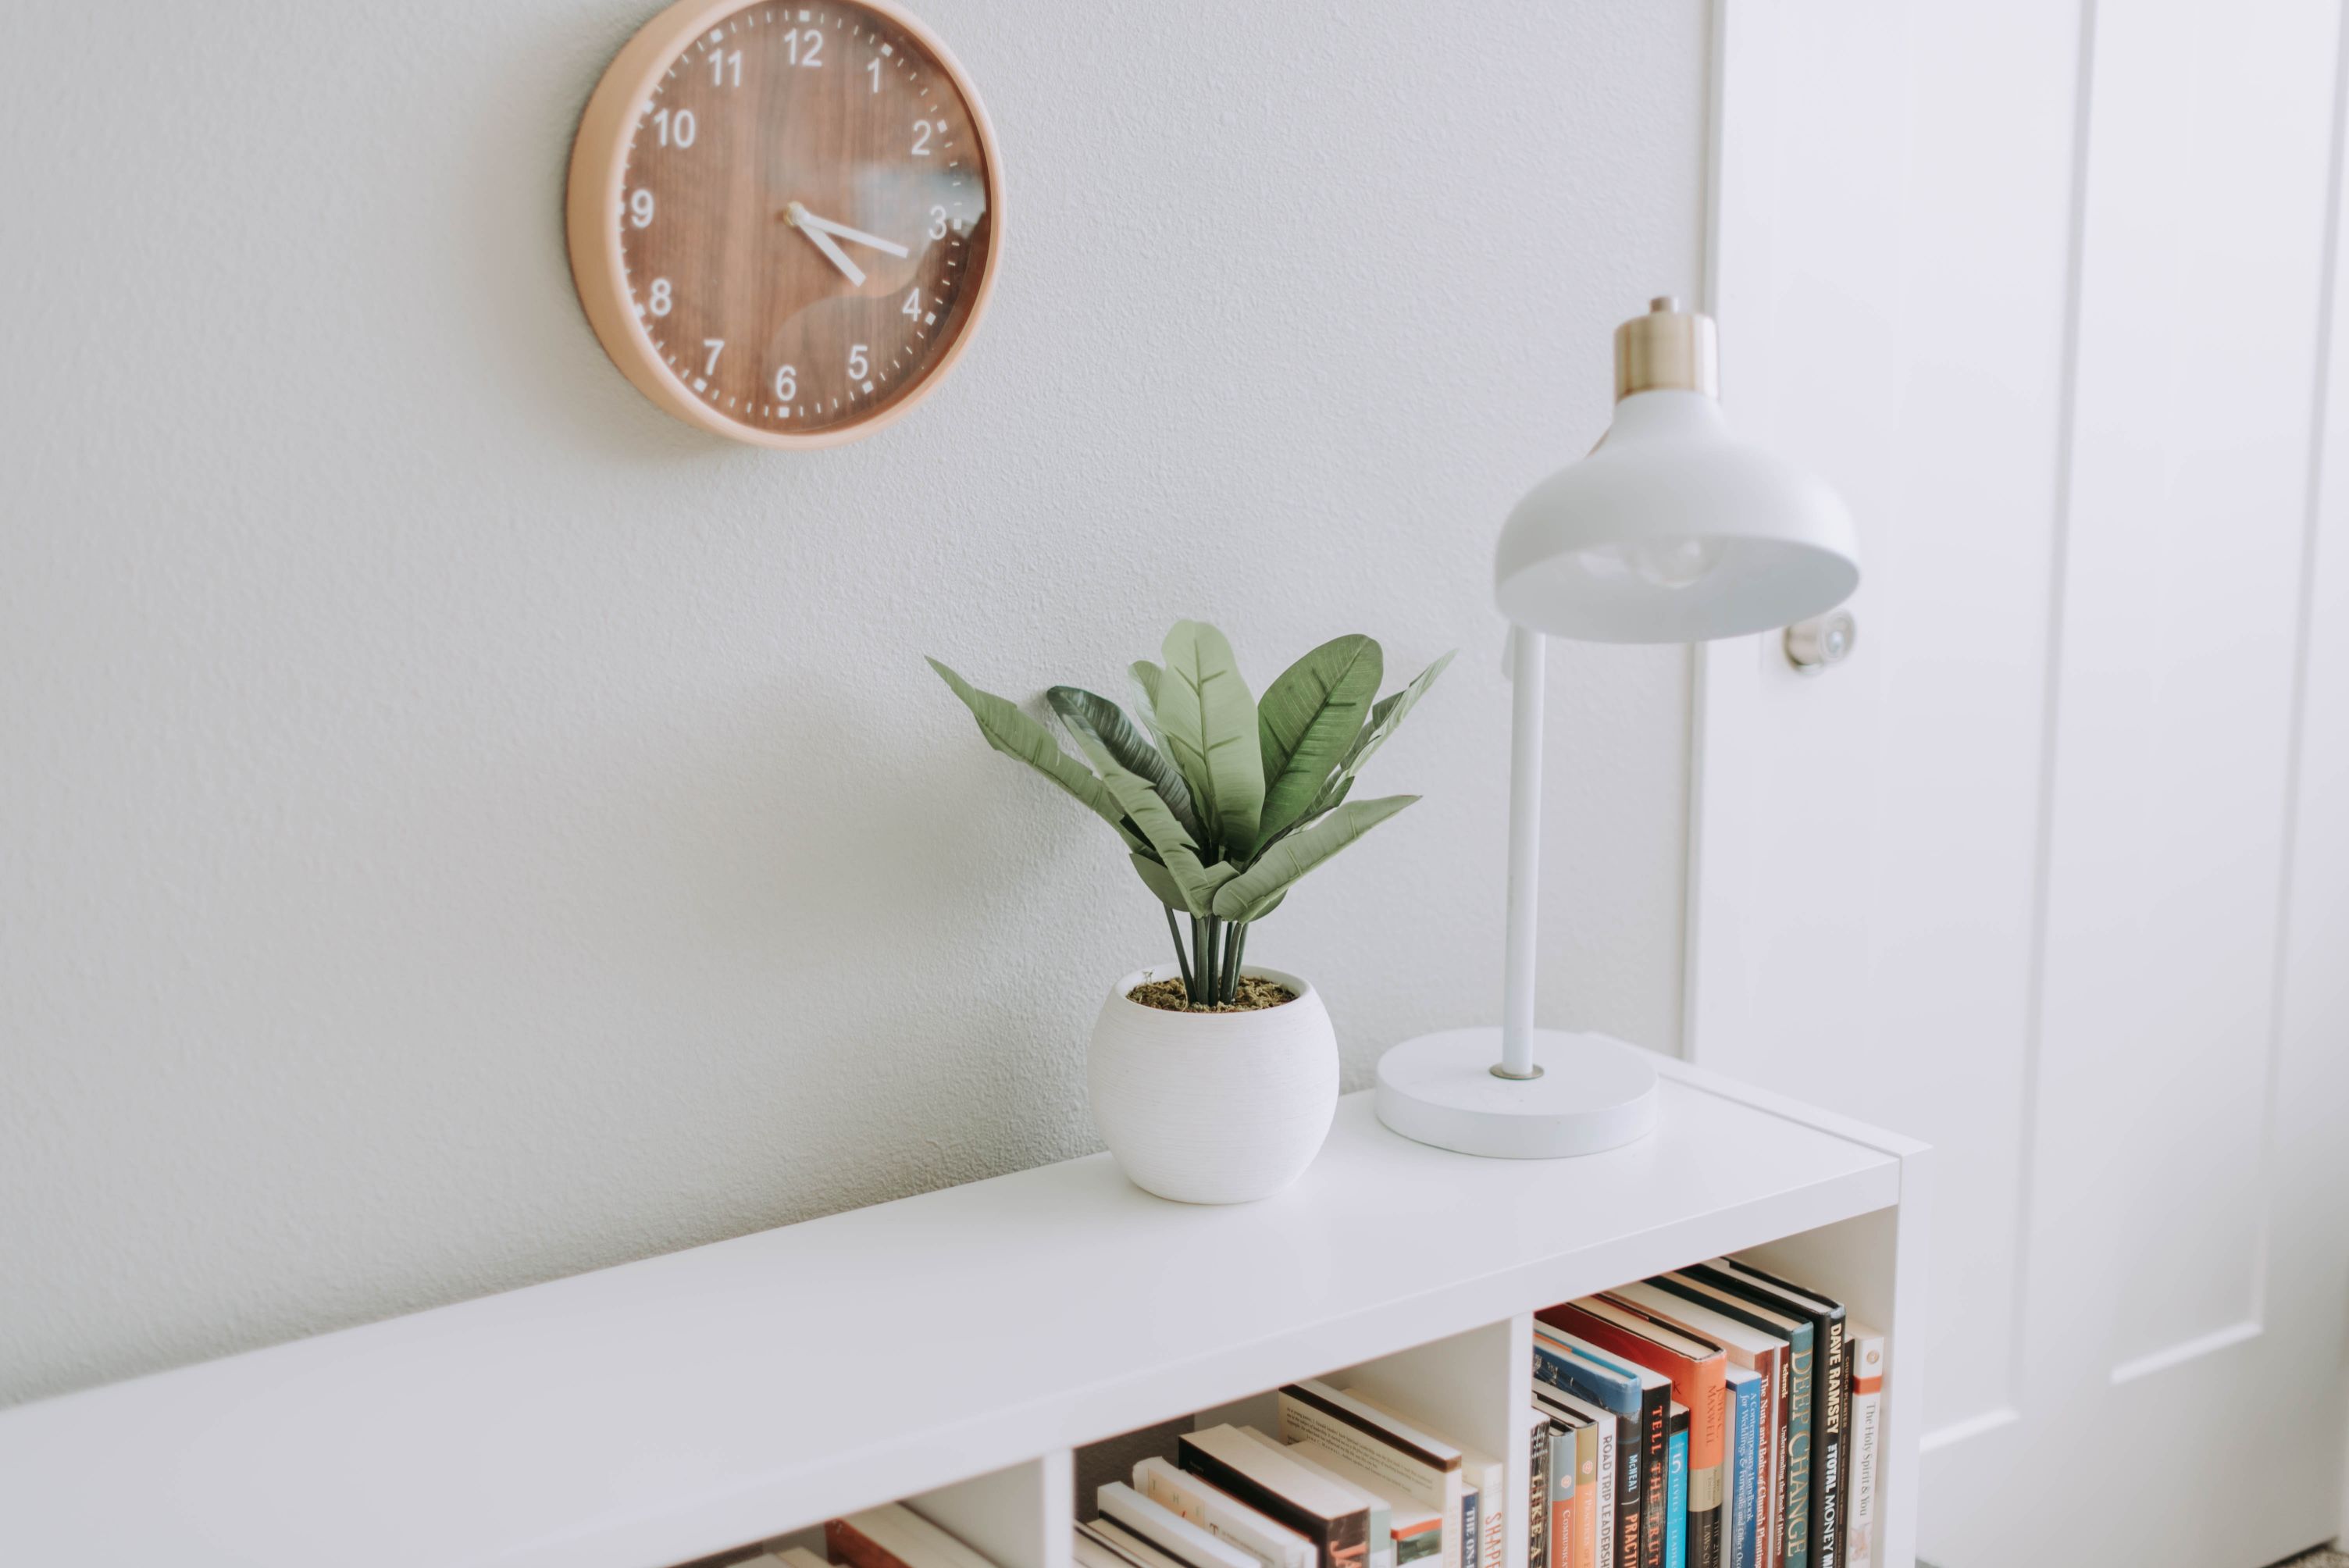
Cube Storage Units are the way to go. These units are so versatile. They can stand upright or lay on the side. Not all cubes need to be filled with Storage Compact Cubes. Cubicles without containers can be used, for example, stacking readers upright.

Cube Storage Units and Compact Cubes are available in an assortment of colour. There is sure to be a colour that will complement the “Dining Room Classroom” and go well with the rest of the dining room theme.

 Click on the links below to see examples of cube storage units available at:

Kmart https://www.kmart.com.au/product/8-cube-unit-white/2112360

Ikea https://www.ikea.com/au/en/catalog/categories/series/27534/

Bunnings https://www.bunnings.com.au/our-range/storage-cleaning/storage/storage-boxes-and-baskets/cubes 


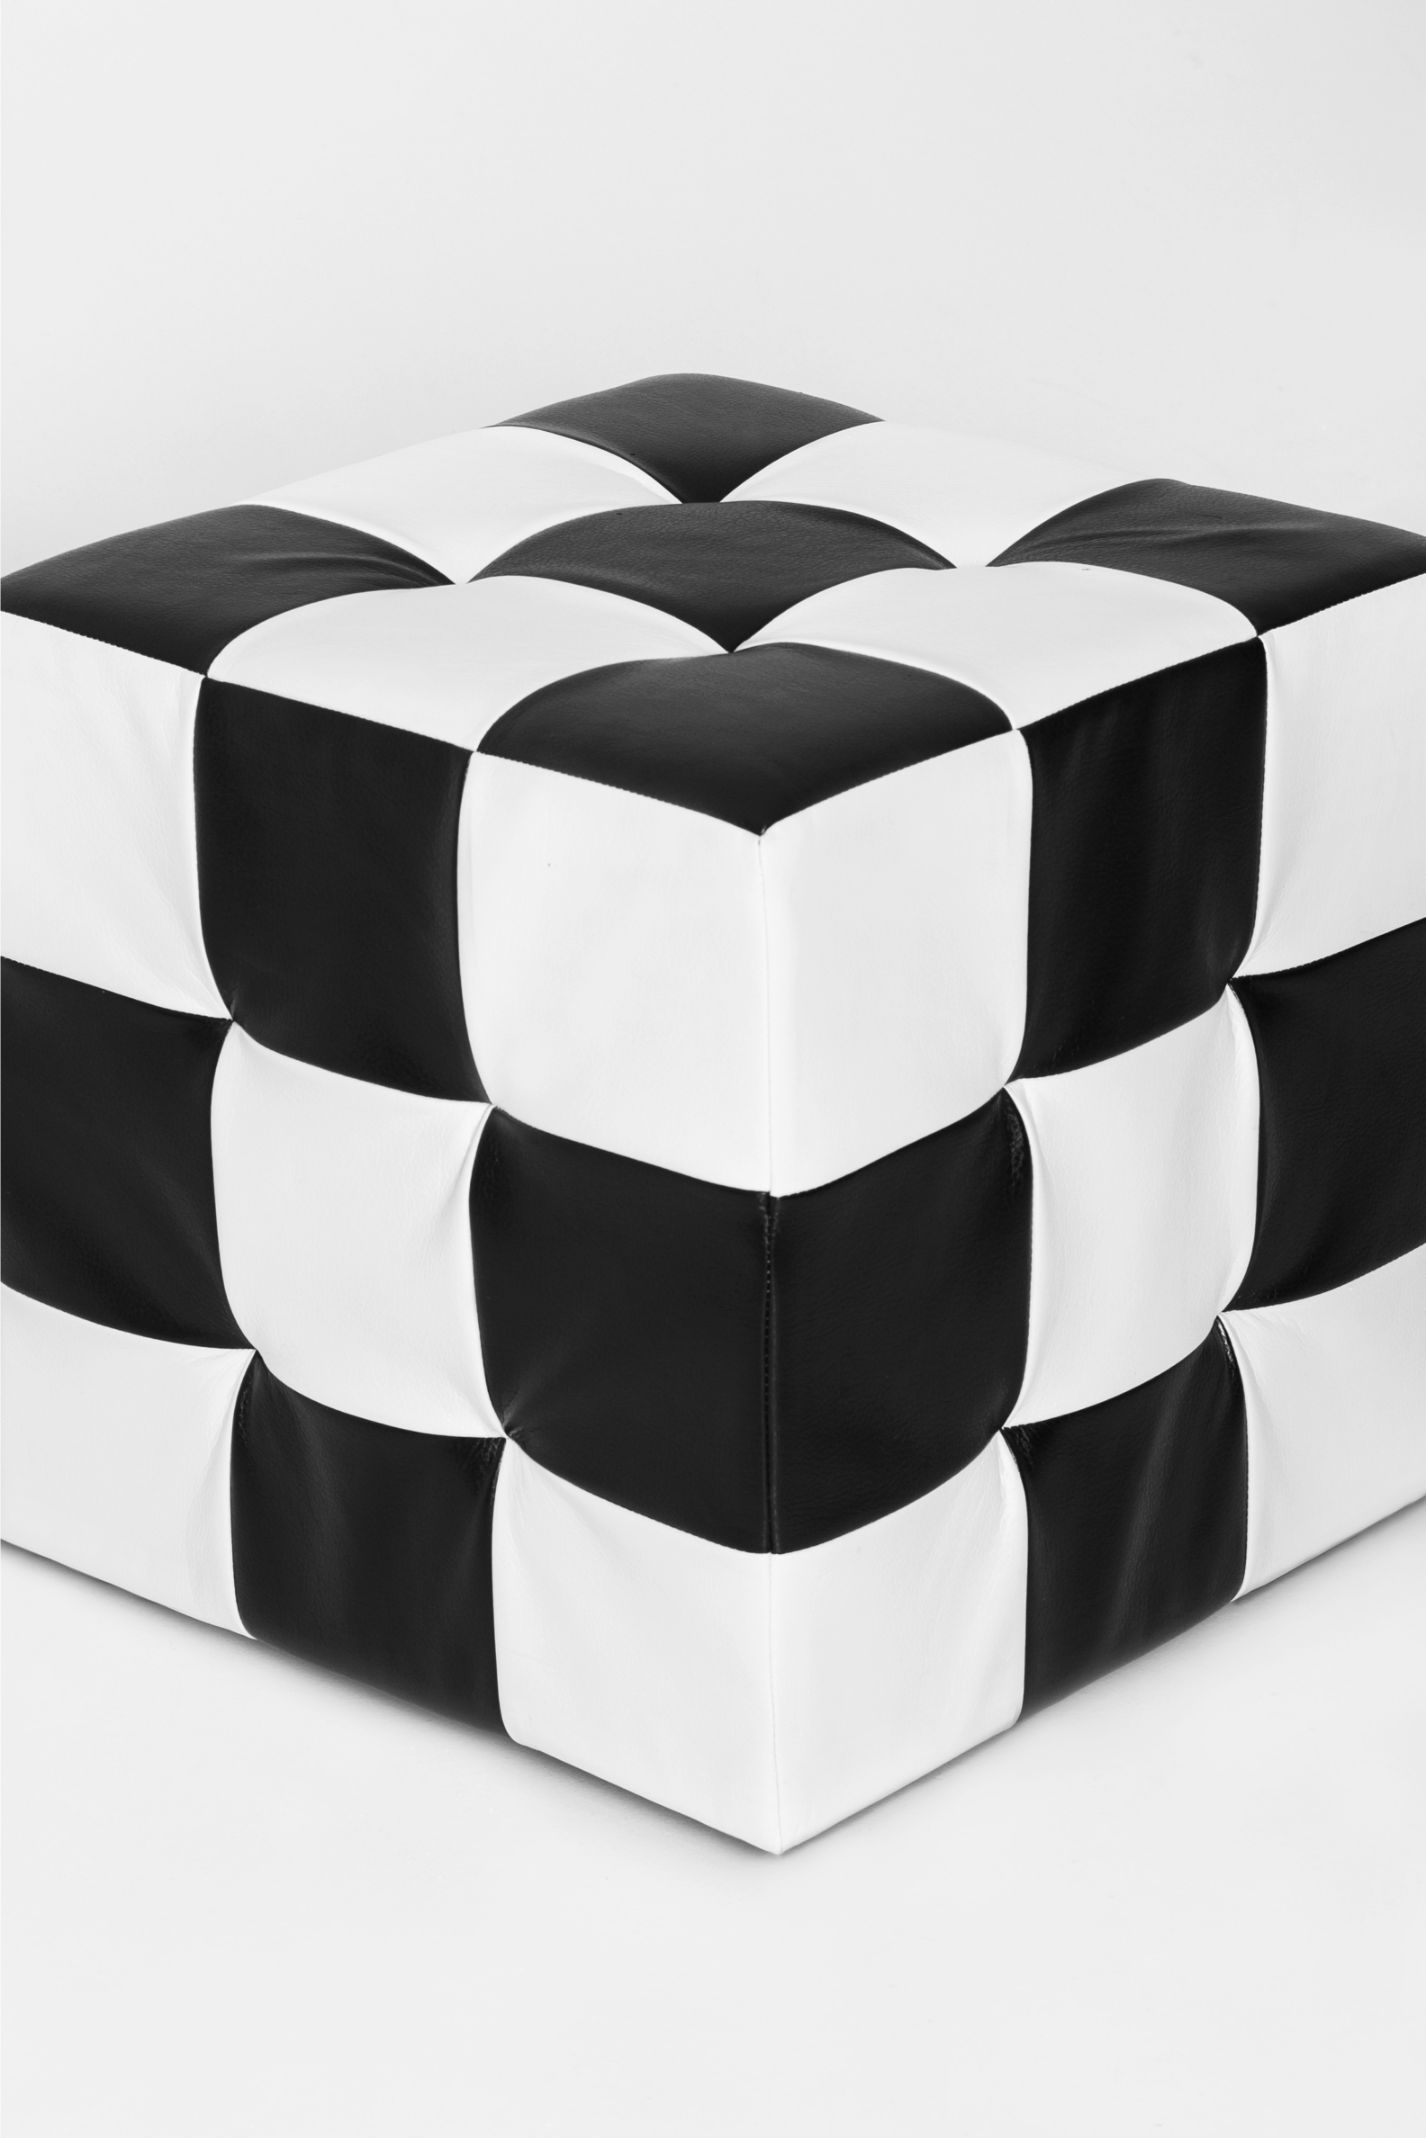
  • Cube storage ottoman are sturdy and versatile. Not only can items be stored in them, but they can also be sat on.
  •  Benchtop storing units are very versatile too. The benchtop area can be utilised for an array of items, for example, a flat-screen TV for video lessons. 
  • The type of storage you want to achieve here is one that will be inconspicuous yet functional.


4. Be Selective

  • Once friends and family find out that you are proposing homeschooling, they are generally generous and eager to donate items for your school.
  • Be selective in what you accept and collect. Too much stuff will cause clutter and stress.
  • Accept and keep only that which you need. From time to time give the area a good declutter.


5. Back to the Dining Room

  • School’s out. Clearing away the day’s school stuff would be a cinch – everything goes back into their place ready for tomorrow.
  • Eating and doing school at the same table encourages and establishes the habit to pick up after every activity whether it be school or eating.
  • Around the same table where pupils had gathered, brainstormed and interacted the dining table now becomes a place of family interaction and enjoyment around food.

Note:

In this dining room image, storage cupboards are clearly visible yet not intrusive.


6. What If The Dining Room Is In An Open Plan Living Area.

  • Think outside the “square” smile when it comes to open plan living areas.
  • Homeschooling in an open plan living area will be great! While preparing meals you can lend a helping hand at schoolwork.
  • Should you wish to demarcate the study area and retain the open plan feel, this can easily be achieved by using Cube Storage Units. 
Baby’s Nursery – How To Add Tranquillity And Comfort To The Room

Baby’s Nursery – How To Add Tranquillity And Comfort To The Room

Baby’s Nursery – How To Add Tranquillity And Comfort To The Room

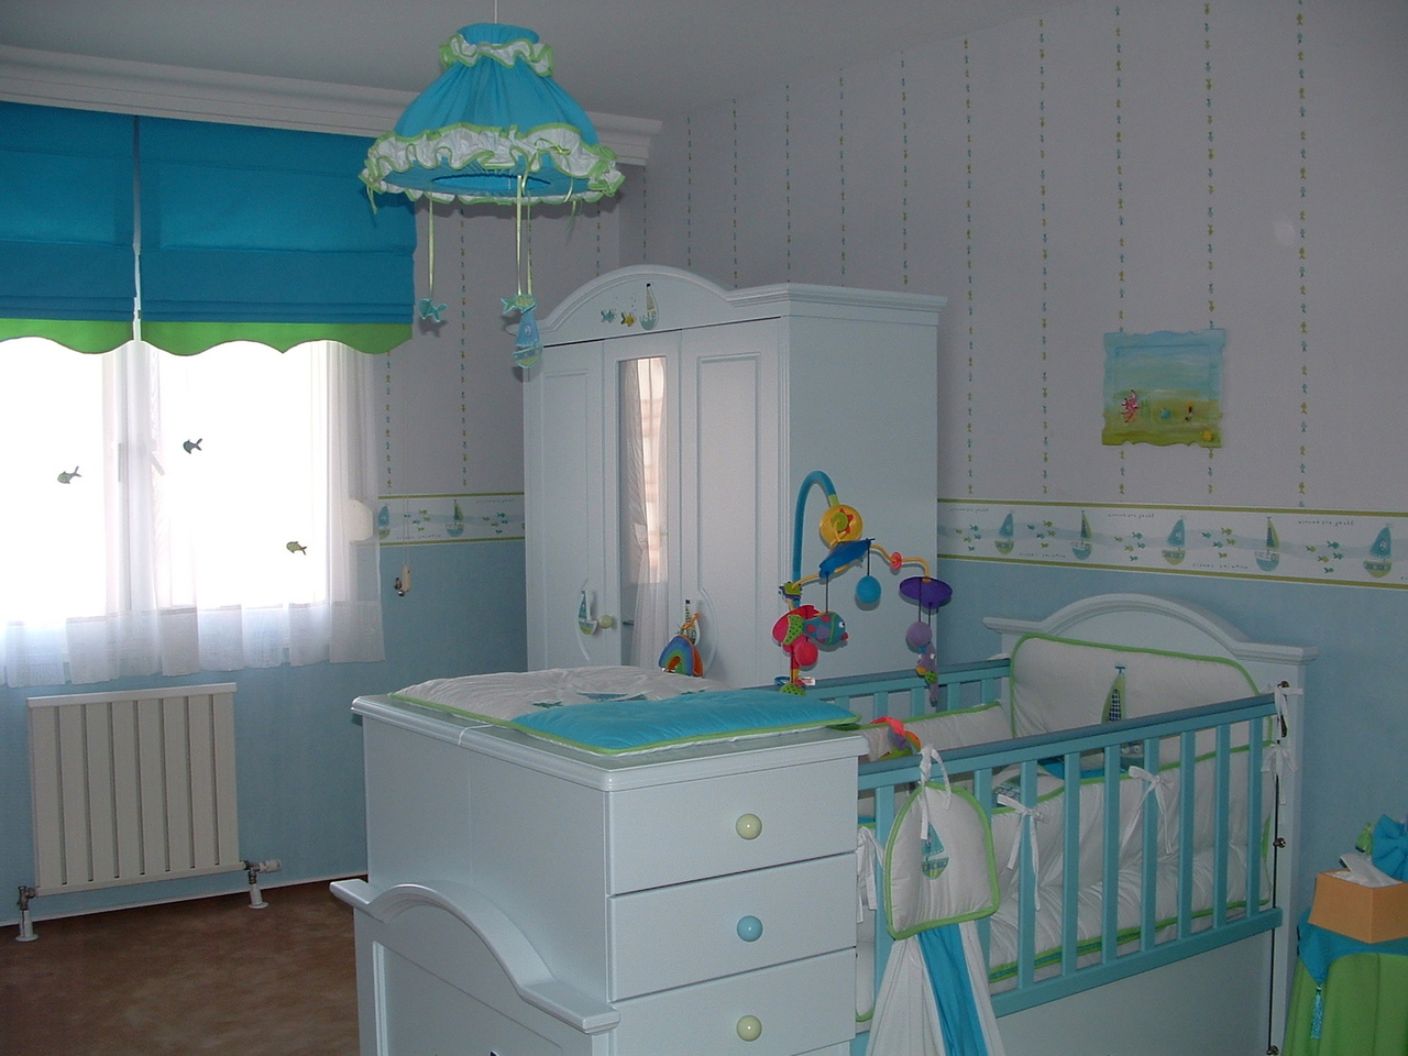
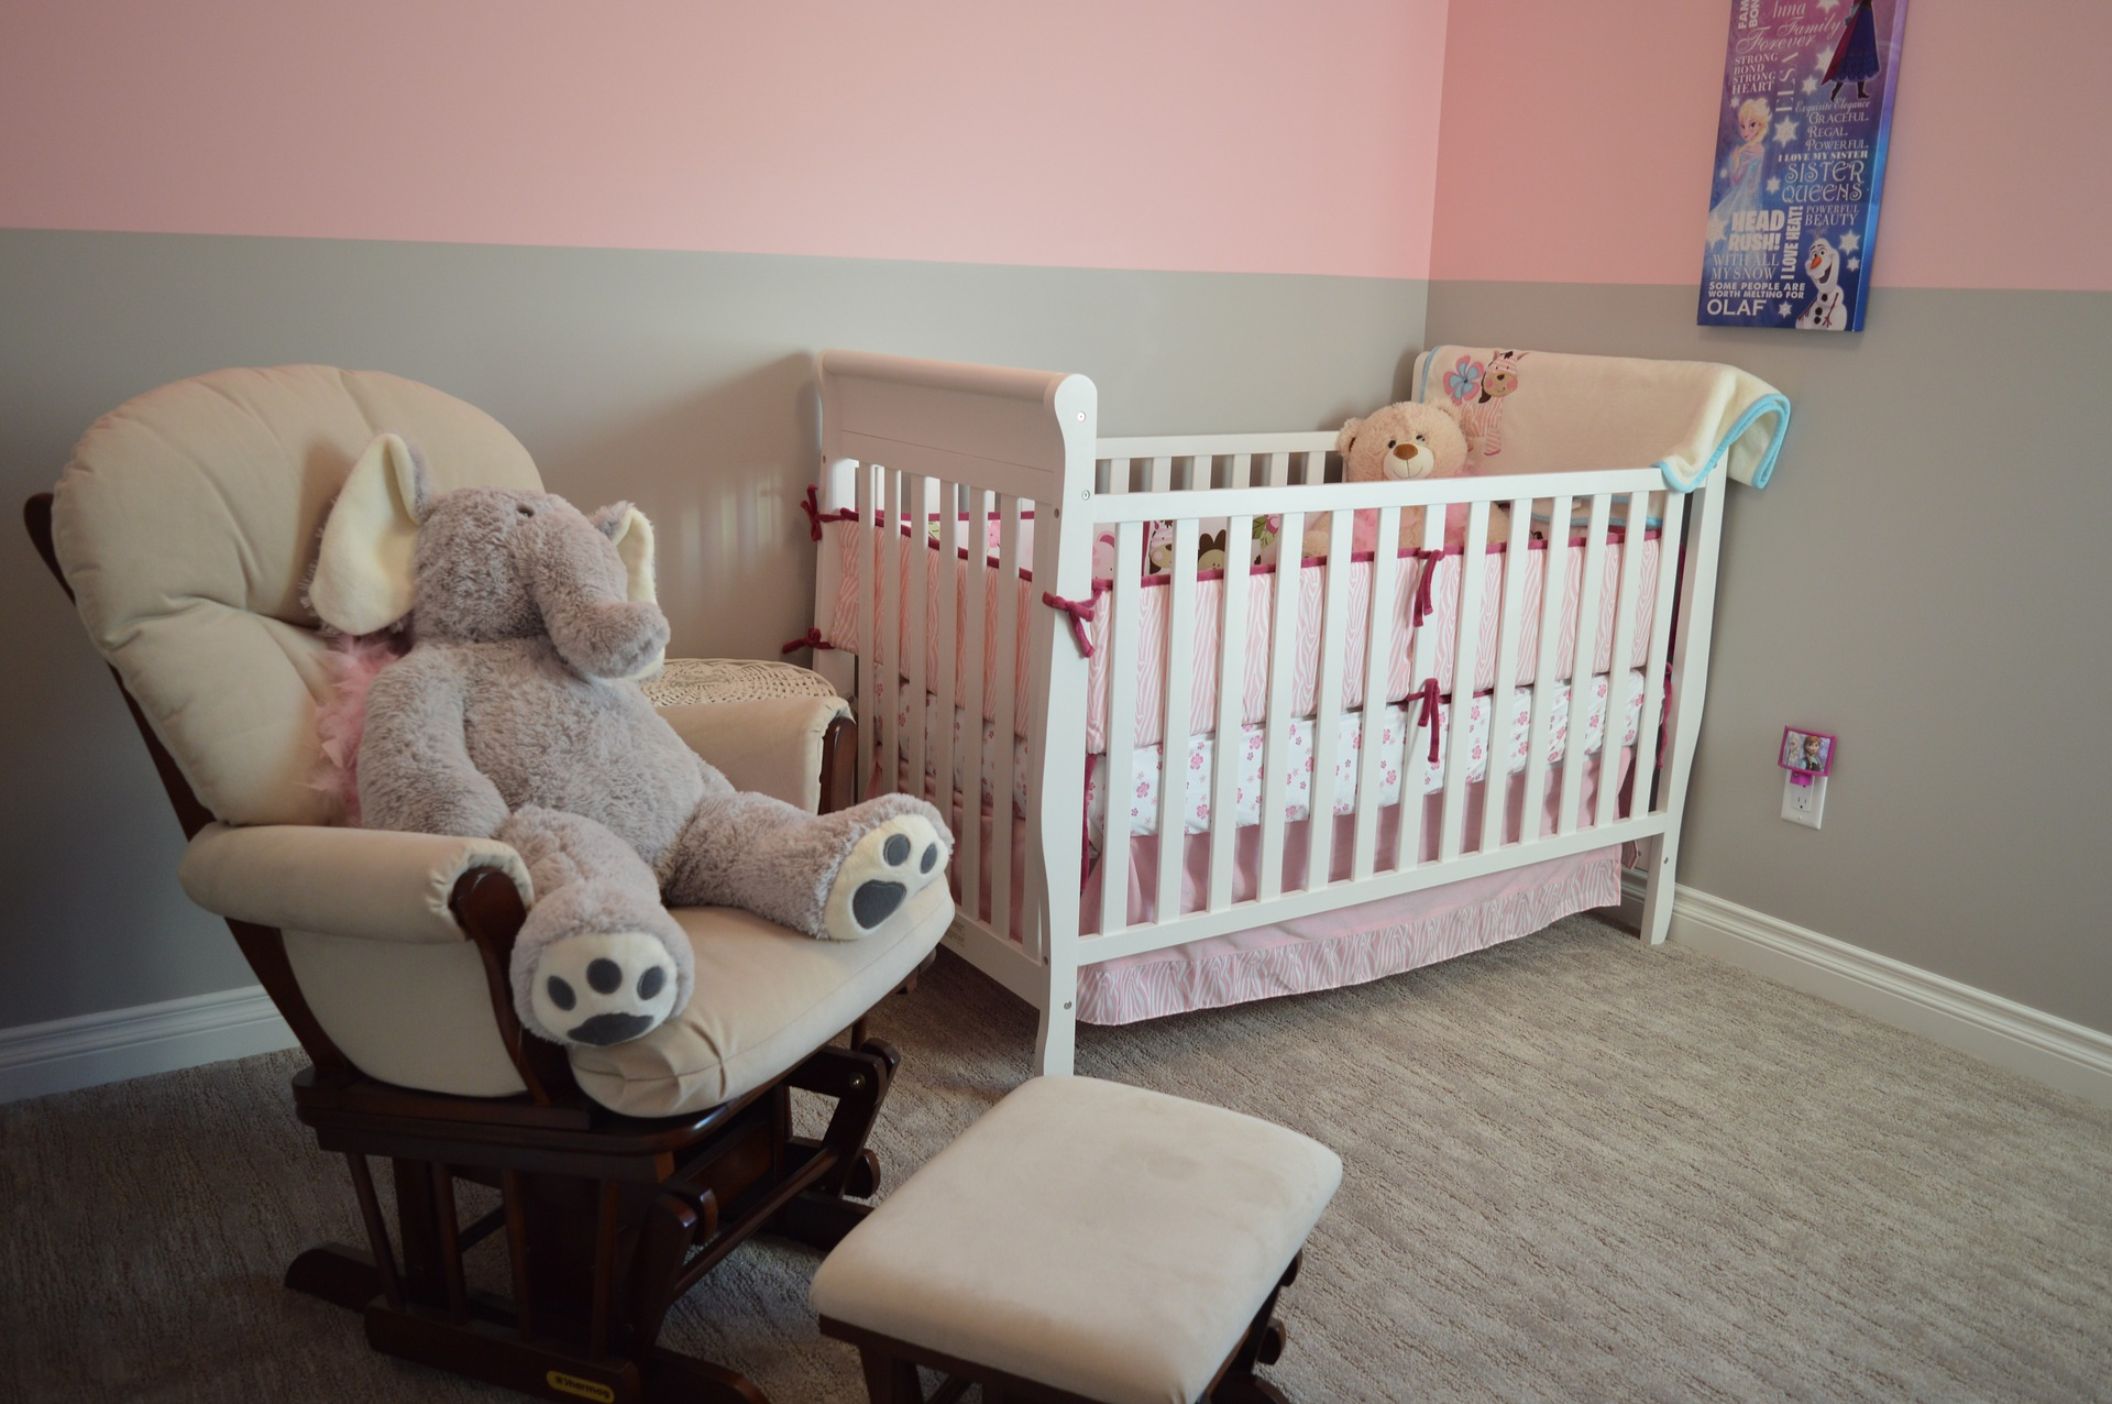
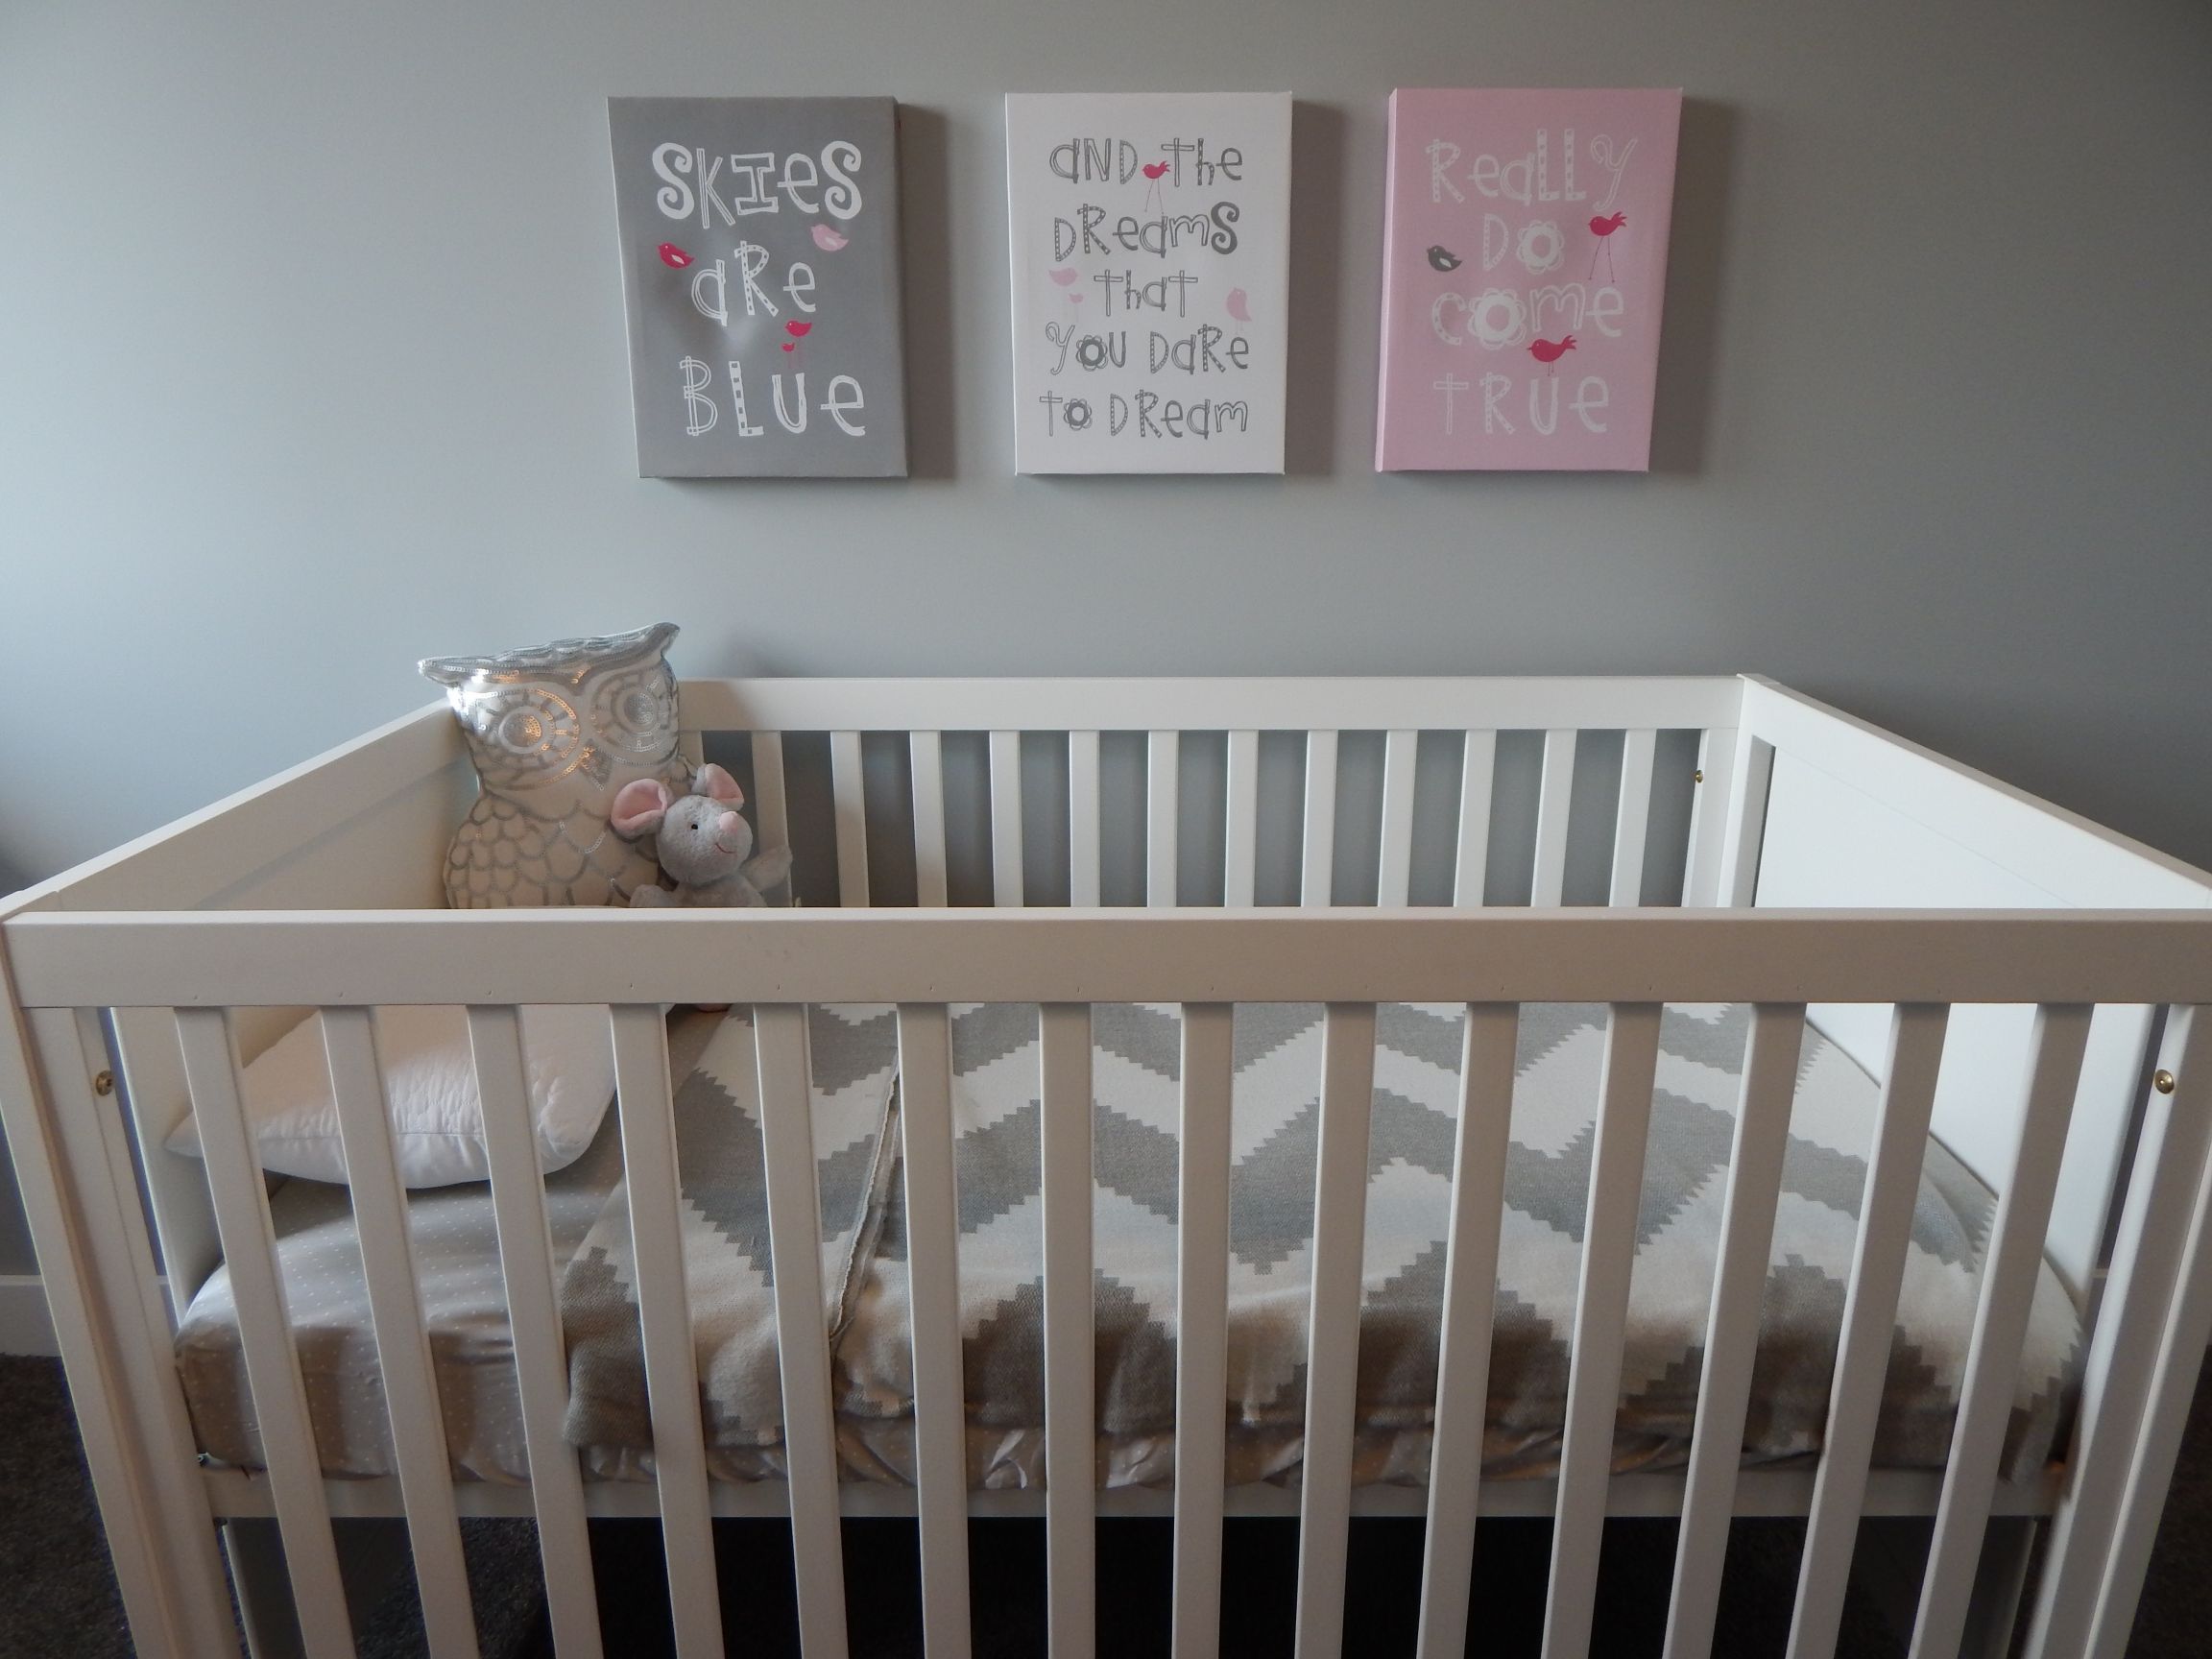
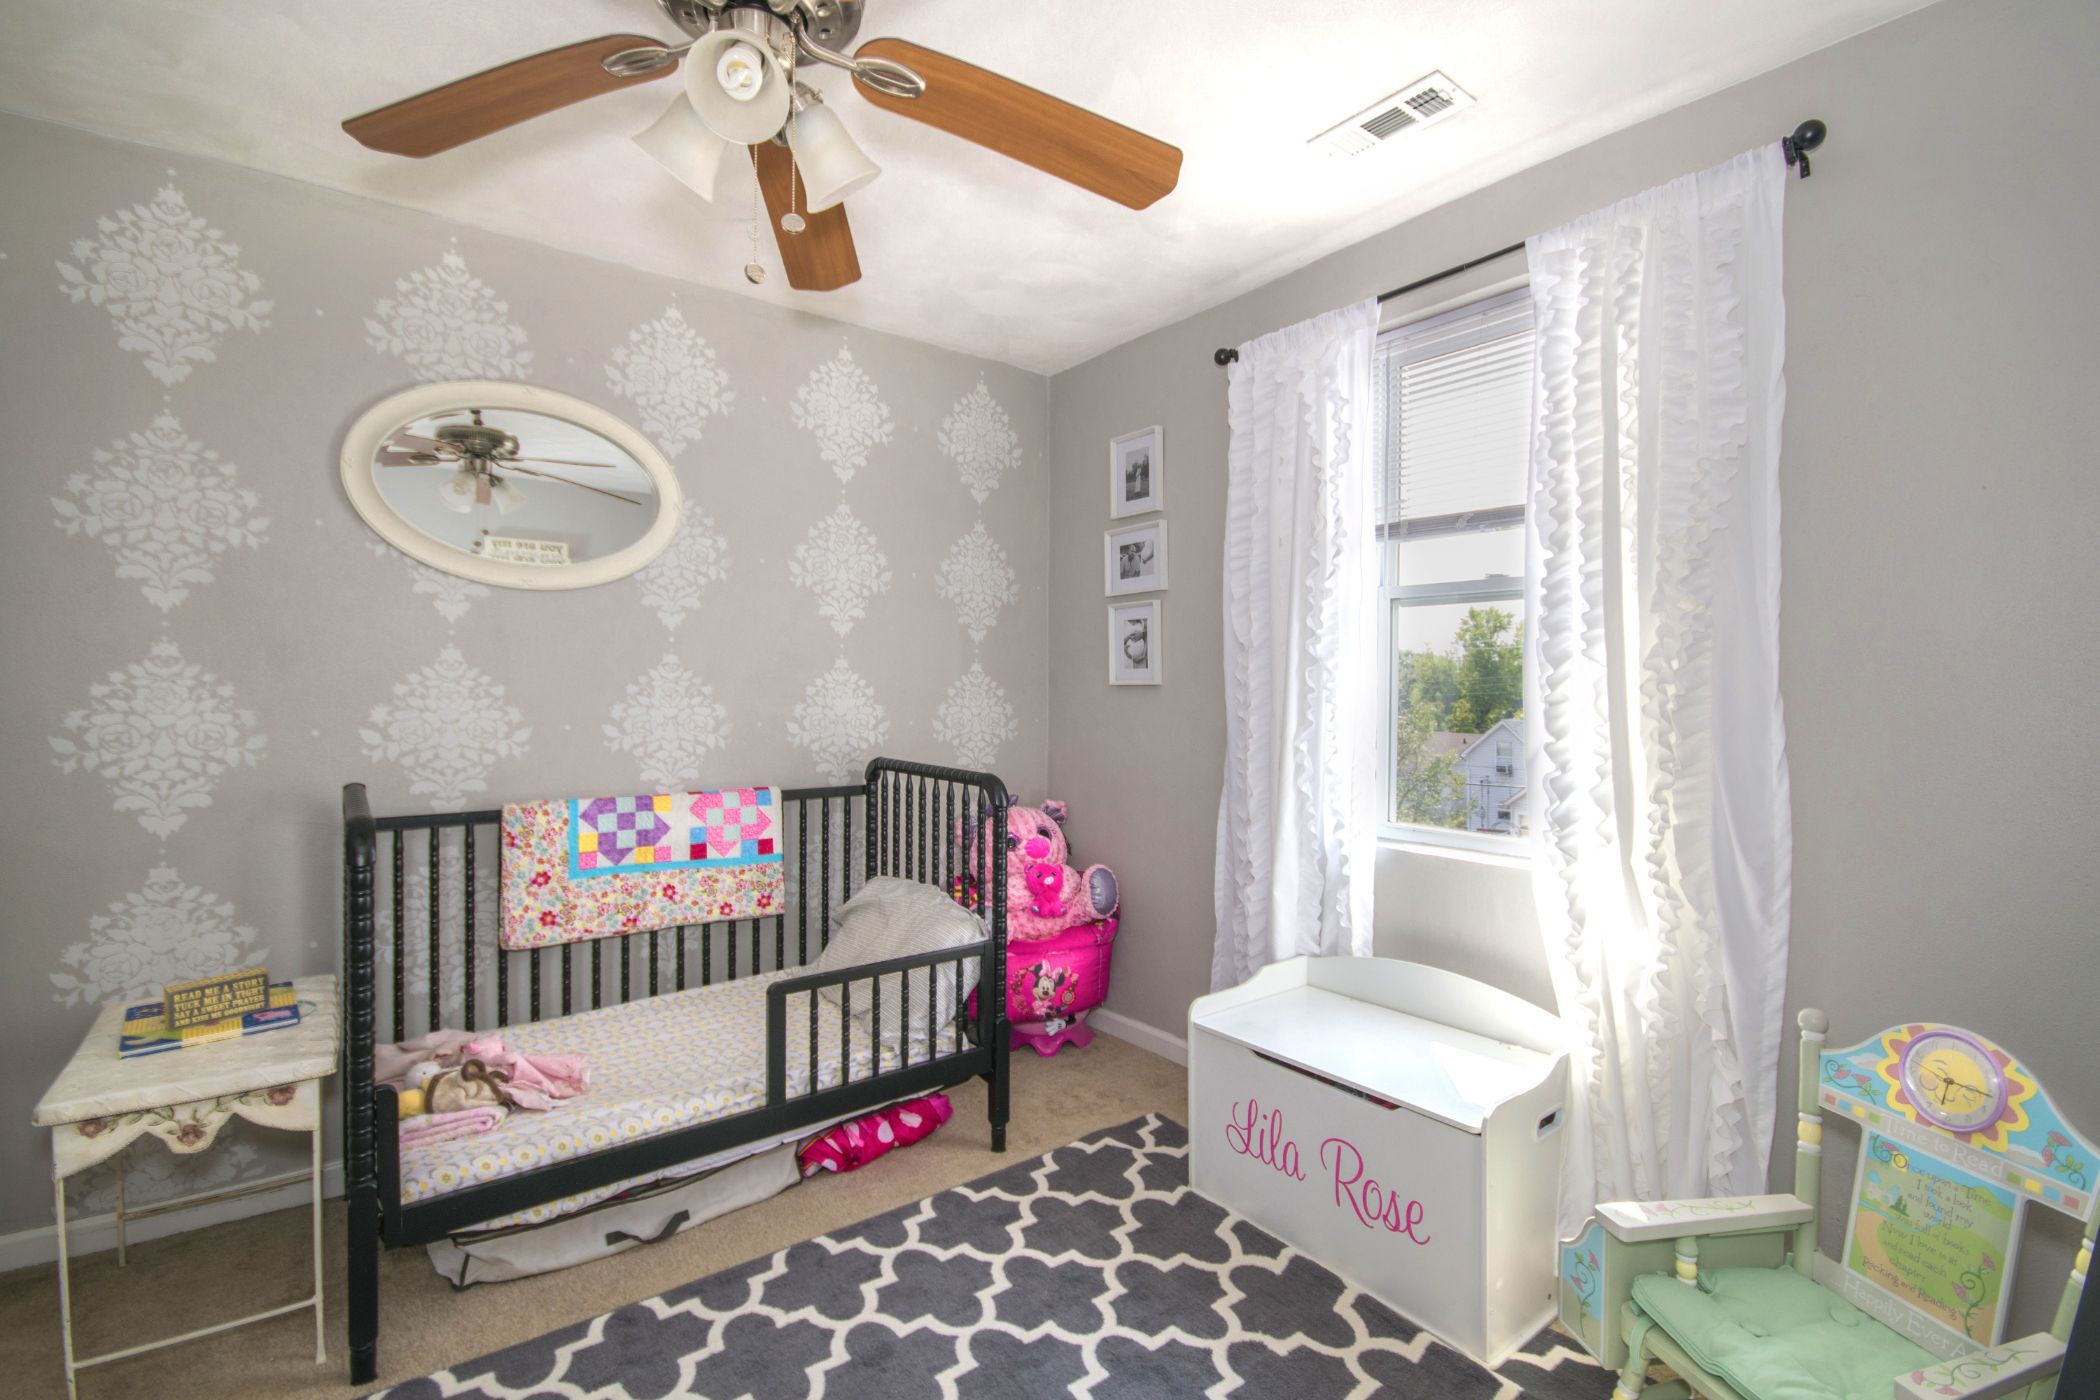
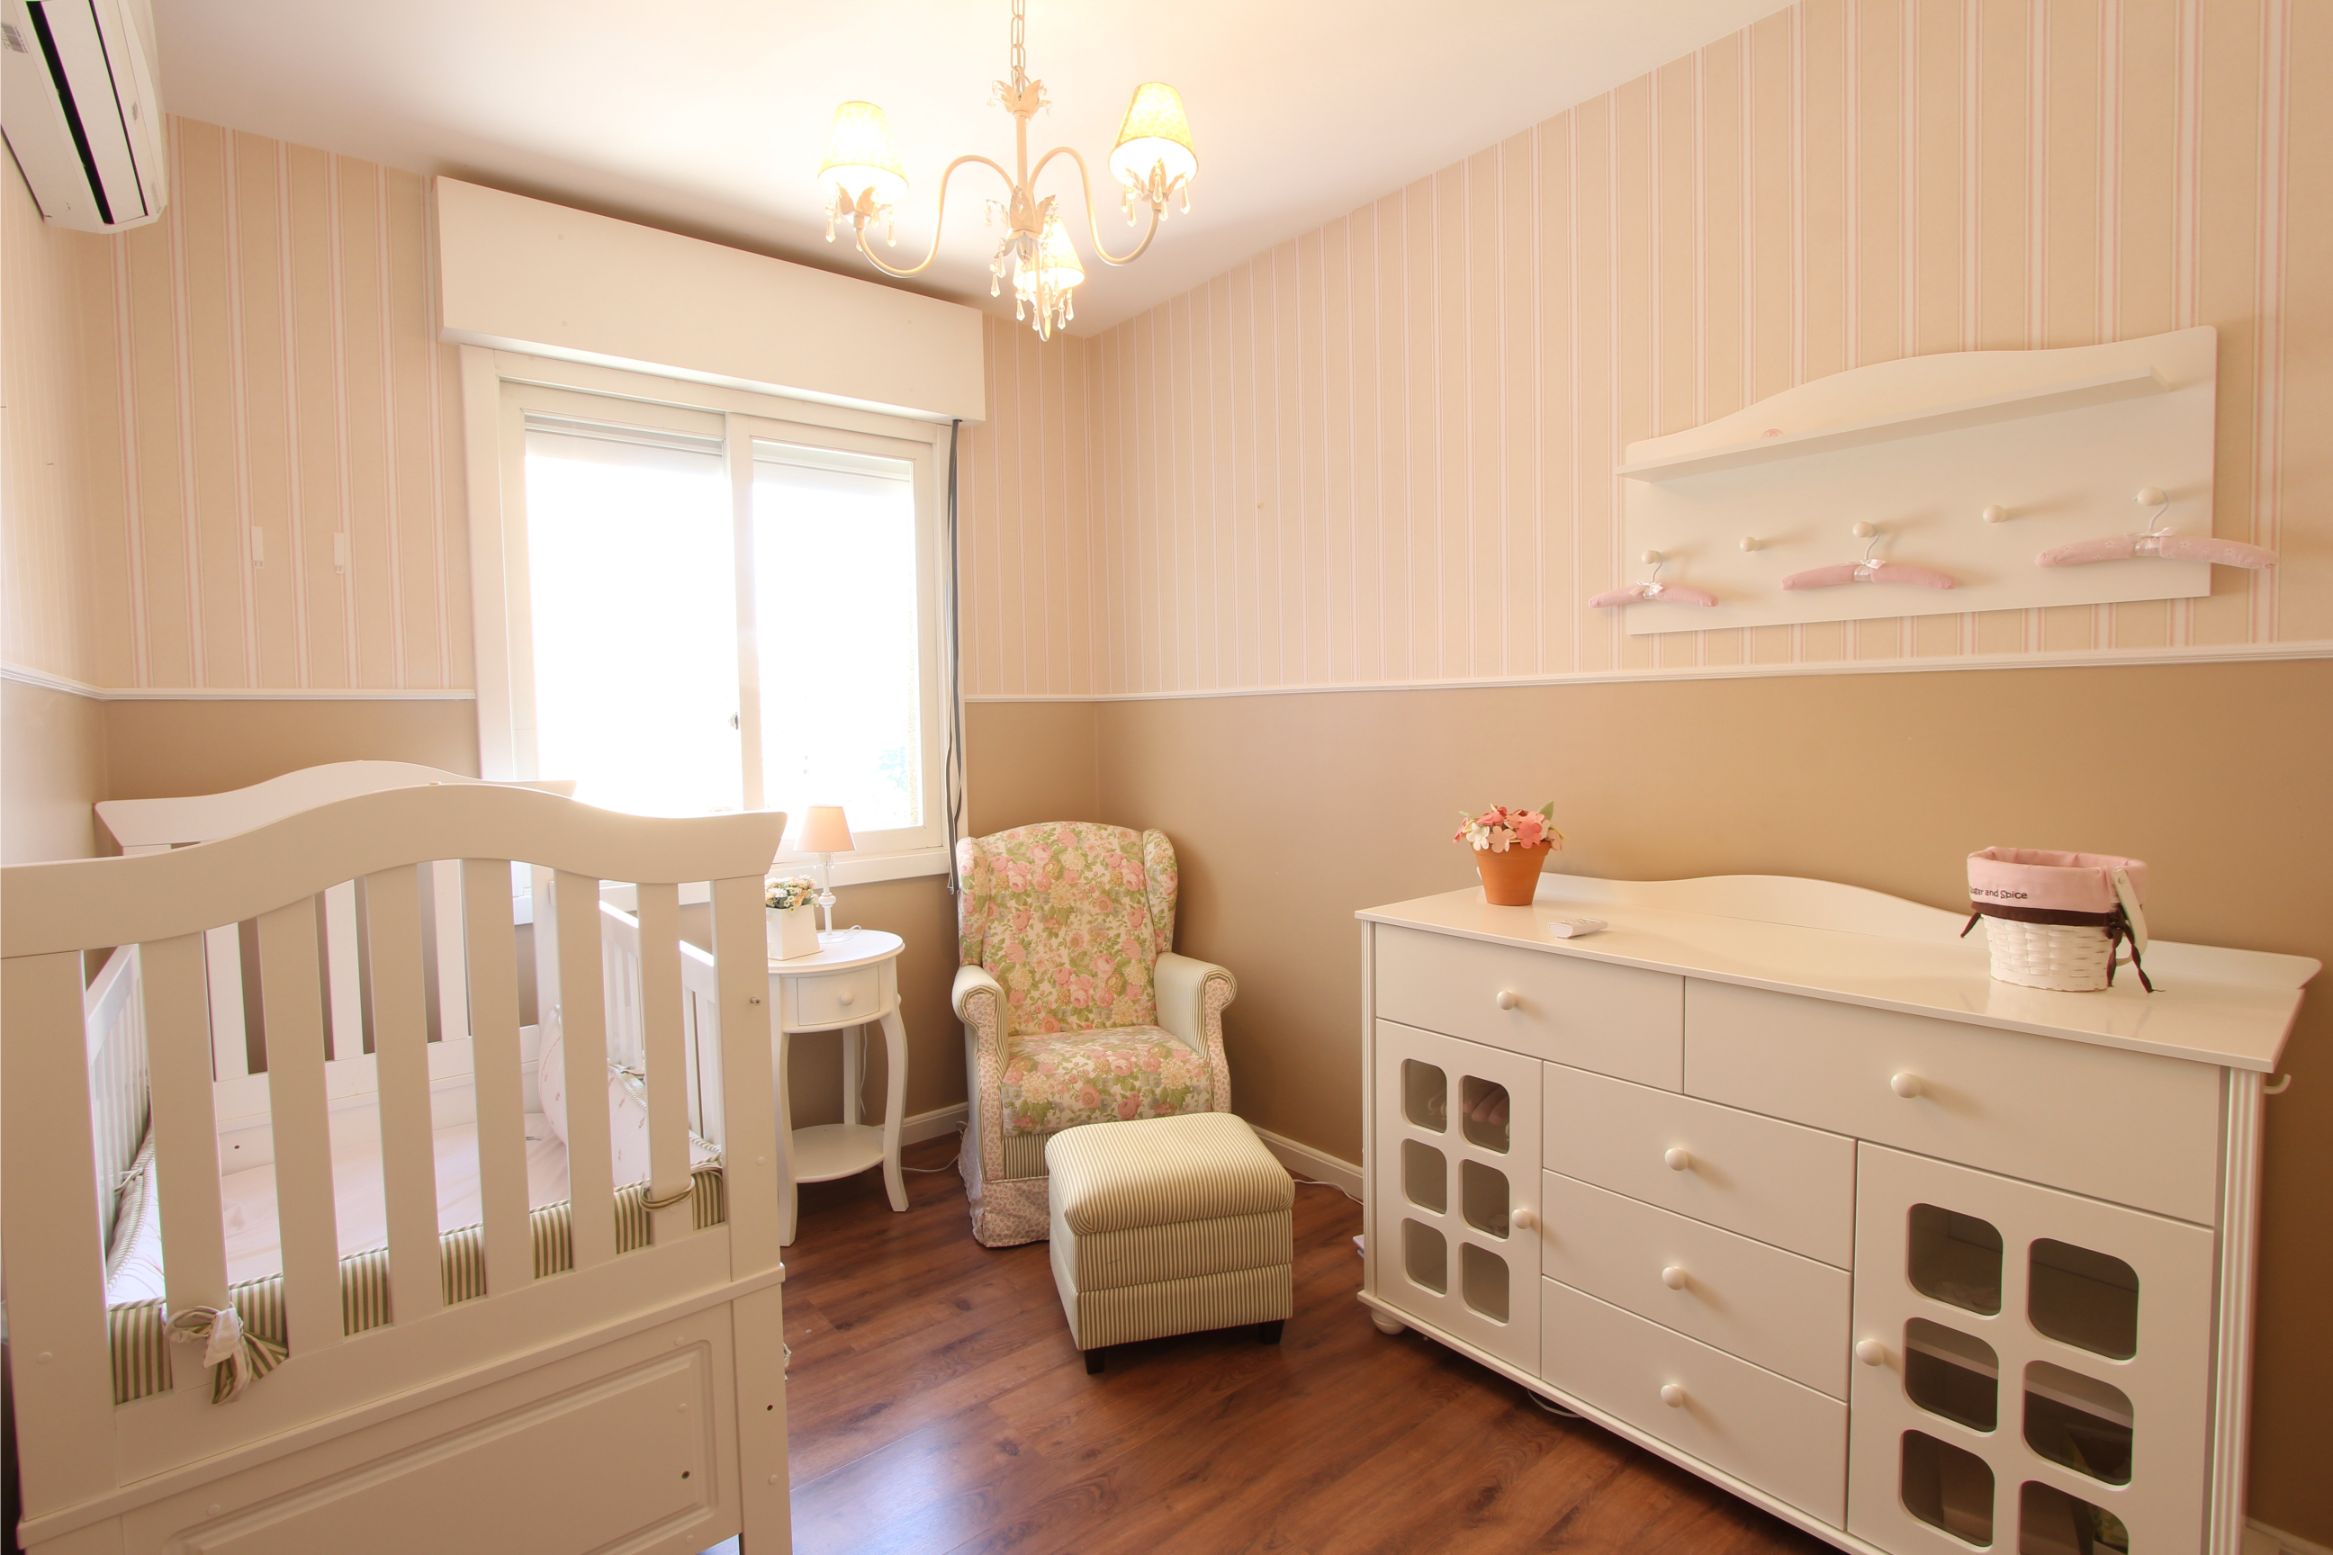
In our previous blog, we discussed the influence of colour on our lives and how to incorporate this into choosing the best colour scheme for your baby’s room.

With the exciting news of expecting your baby comes the realisation that you must create a new living space within your home for the precious little one.

Therefore, the best idea is to think and plan ahead for the growing years when decorating and preparing the baby room.

Make no mistake that the cute little human being will soon demand a space and a life of its own. Choosing a contemporary scheme is perfect. The room must be practical and easily changeable from one phase to another during your baby’s growing years.

1. Keep Things Simple, Practical and Looking Good

The room is to be tranquil, comfortable, bathed in beautiful colours and cute decor.

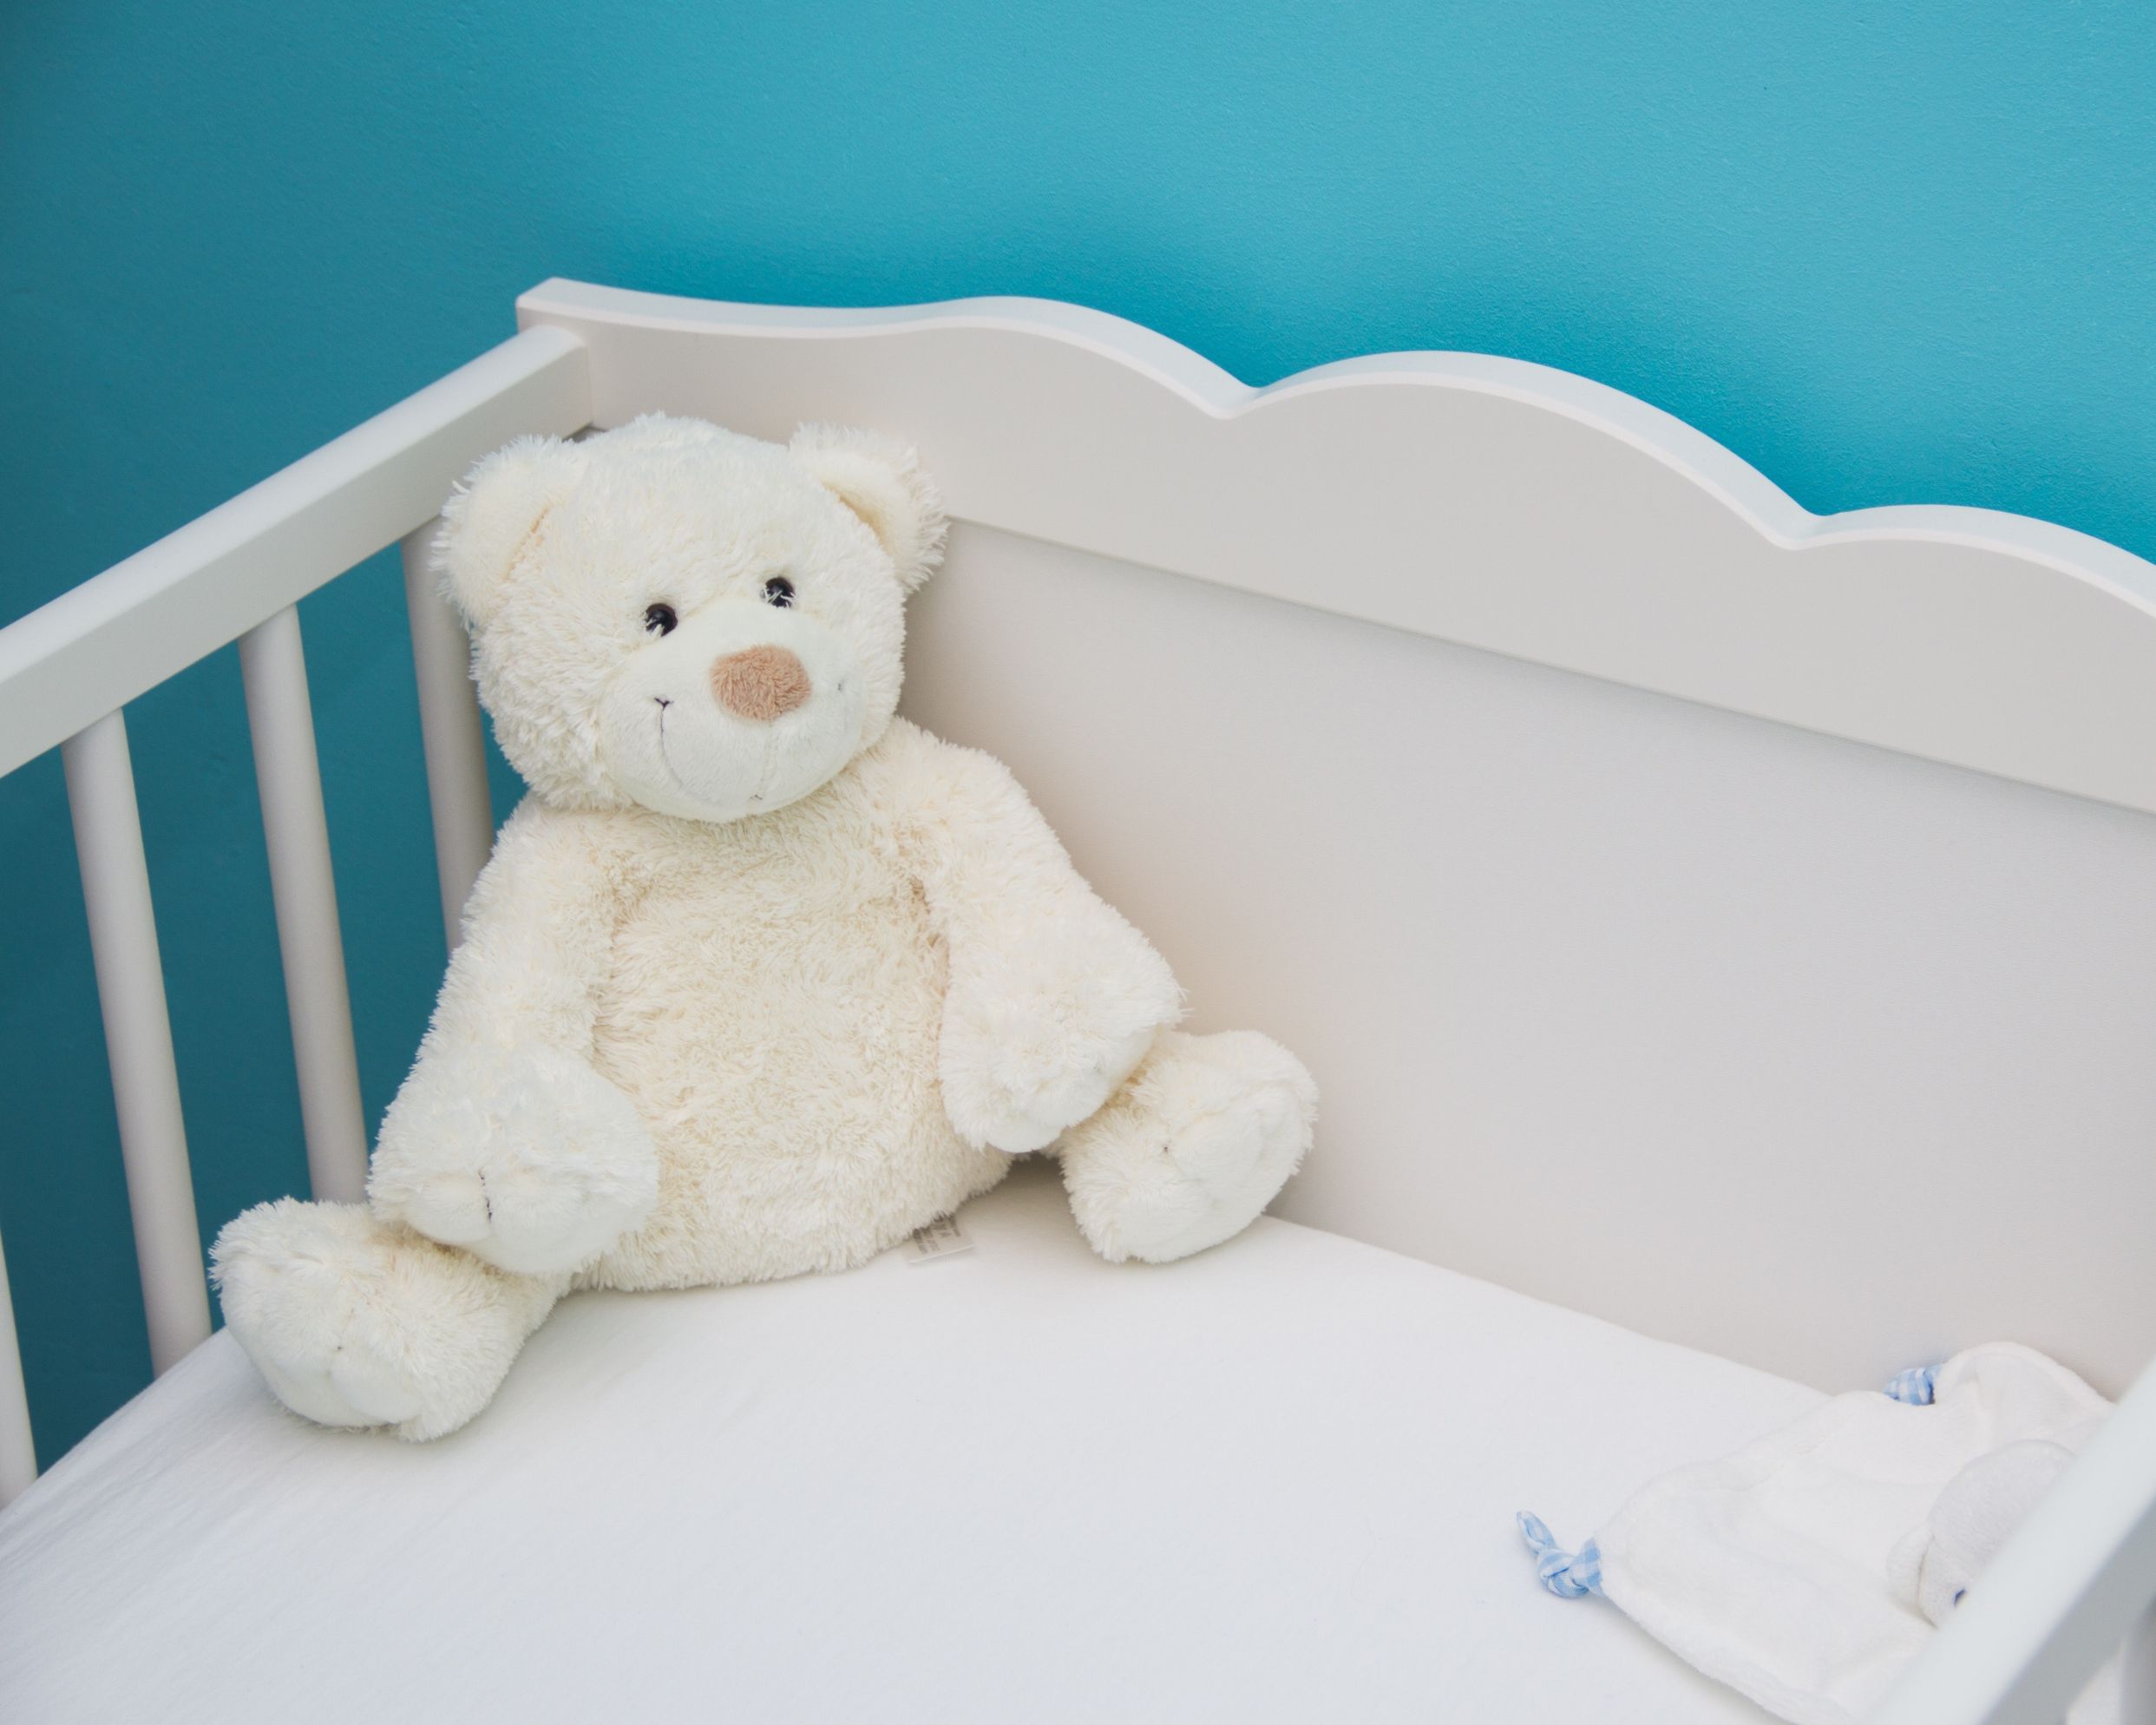
Safe and convenient access to storage units is a must. Unobstructed view of the cot always is of paramount importance.

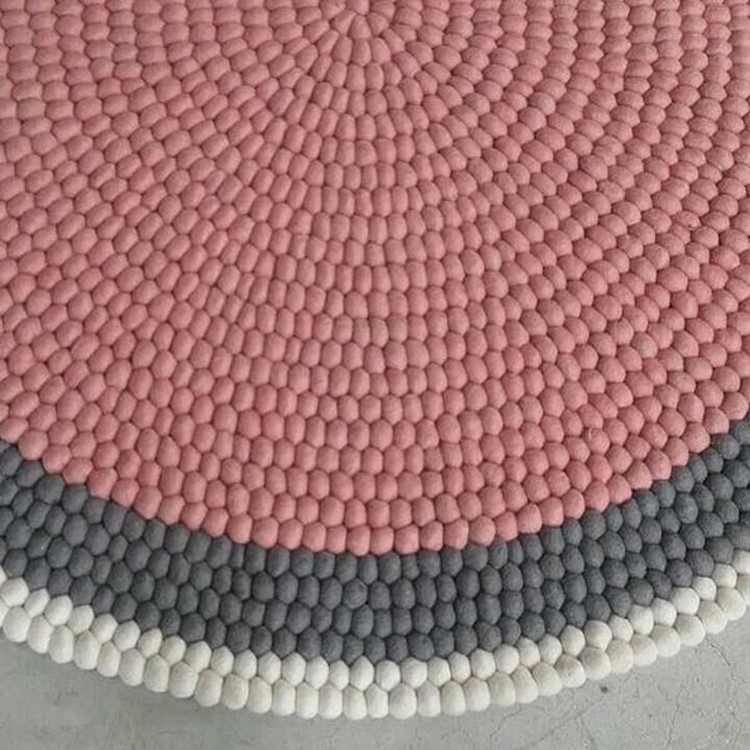
https://feltballrug.com.au/pages/baby-rugs-for-nursery-room

2. Rugs

Use rugs of natural wool. The fibres are long, strong and durable and can last for many years. Natural wool exhibits stain and dirt-repellent properties due to the natural lanolin coating found on the surface of the wool, therefore, making wool easy to clean should spills occur.

The colour and shape of the rug will depend on the scheme you have chosen for the room. Interior decorators do recommend choosing a rug similar to the colour of the floor. Strong contrasting colour can make a room look smaller.

.

3. Identify a Focal Point

The cot need not be the focal point. A large toy can be the focal point or a window or even the change table area.


Why not paint the ceiling with a soothing complementing colour or add a mural or decal?


Should the ceiling be the focal point, repeat the same the colour in some of the decorative accessories. 

4. Sorting and Storing Baby’s Clothes

Buy a few clear plastic storage containers, some labelling stickers and a black felt tip pen. Clothes your baby will be wearing at a later stage can be stored in these containers. Label the container according to size and contents.

Organise baby’s clothing according to size. Place the items that will be worn and used when the baby arrives into the dresser drawers and cupboard.


For more information organising baby clothes please go to https://www.liveabout.com/how-to-keep-baby-clothes-organized-285984

5. Creative Storage

Use a shelving unit with adjustable shelves for additional storage space. Add baskets containers to the shelves. Store items in the baskets and accessorise unused shelves with baby toys etc

Ikea has a great variety of shelving units. The Algot system combined with a two-drawer cabinet grabbed my attention. It is versatile and can still be in use during the growing up years just by adding what is needed.


6. Nursery Furniture

Plan ahead when choosing nursery furniture. The beautiful bassinet crib will soon have to make way for a toddler-sized bed. Thinking ahead will ensure that you make wise space-saving choices that will save you money.


7. Windows

Installing blackout curtains or blinds will keep the room comfortable during the day and help your baby sleep longer.


8. Last Minute

Don’t wait until the last minute to prepare the baby’s room. Getting a head start will prevent stress and ensure that you will have enough energy to finish the job.

A good idea would be to start a “to-do” and a “to purchase” list.


Choosing the Best Colour Scheme for Your Baby’s Room

Choosing the Best Colour Scheme for Your Baby’s Room

Choosing the Best Colour Scheme for Your Baby’s Room

As parents we want to create that perfect haven of peaceful bliss for the baby and we have so many decorating options available today to make our child’s room a nurturing, comfortable and beautiful place.

So before rushing out the door and buying the cutest, trendiest and latest baby furniture and gadgets for your soon to arrive little one, first do some decorative planning for the baby’s room starting with choosing the best colour scheme for your baby’s room.

The Theory of Colour

We know different colours influence and affect us in different ways. So why not apply this knowledge when it comes to choosing the colour scheme for your baby’s nursery?

  •  RED – is an emotionally intense colour and should only be used for focal points or pop off colour – less is best.


  • ORANGE – evokes feelings of warmth and comfort – it is a nice colour that can be used in the nursery. Use a darker orange to create a warm, cozy atmosphere.
  • YELLOWis a lively, cheerful and happy colour. Use muted yellow colours like the yellow of post-it notepaper.
  • GREEN – is natural, calming, relaxing and soothing. A good colour to use in the nursery but stay with subtle hues of green such as sage and moss.
  • BLUE – evokes calm and serenity. Use warm, bright or subdued blues.

 PURPLE – a symbol of luxuriousness, royalty and wealth. Use pastel purples or very pale shades like lavender and lilacs.


  • WHITE – White is angelic, sweet, pure, clean and innocent – but do not go all white it may seem cold and harsh. Use white as a foundation on which to build and incorporate other colours into the nursery. Opt for the creamier shades of white like soft ivory and antique white.
  • PINK – has a calming effect and is associated with love, kindness and nurturing. Use bright pinks to accentuate features in the nursery but generally stay with the pale soft gentler hues of pink.
  • GREY – is subdued, quiet and reserved. When using grey, use warm tones or very light greys, avoiding dark greys. Add bright colours to the room. Grey is a neutral colour and makes other colours stand out.
  •  BROWN – is earthy and evokes strength, reliability and isolation. Use this colour sparingly and balance with other colours. Avoid the middle shades of brown. Go with dark chocolate brown, beige and tan.
  • BLACK – represents strength, seriousness and power. Use this colour sparingly and preferably as an accent colour. Repainting black walls is a nightmare. Ensure the room has access to a lot of natural light and large windows.
  • NEUTRALS – probably the best of all the choices are neutrals shades. They evoke warmth and present a cosy atmosphere. Neutrals make other colours sing.

These colours can be incorporated into the nursery in many ways.

  • Main colour scheme
  • Painting the walls – one wall or all
  • Furniture
  • Decorative items
  • Bold Accents
  • Rugs
  • Artwork
  • Baby paraphernalia
  • Pop off colours


Choosing the Best Colour Scheme for Your Baby’s Room

You are now armed with a little colour “know how” enabling you to transform the room into a blissful sanctuary for the little one by adding the furniture and decorative items.

Spring Cleaning From Start To Finish In One Day

Spring Cleaning From Start To Finish In One Day

WISHING ALL OUR CLIENTS AND READERS A WONDERFUL

Spring 2019

Spring Cleaning From Start To Finish In One Day

Spring is the reason to feel energetic and to SPRING CLEAN – sweeping and clearing away the clinging remnants of winter. Spring cleaning benefits the mind, body and spirit.


Before you start, open the windows to let fresh spring air into your house. This is the best air freshener yet.

A Few Tips


  • Read through the blog from start to finish before starting your spring cleaning as there are ideas and tips that you need to do that will assist you in getting the job done in one day.


  • Get the washing machine going – wash items whilst getting on with other cleaning tasks.


  • Spray and soak – spray recommended cleaning agents onto the shower walls, bathtub, toilet and basins. They will do the hard work for you while you are busy with other tasks.

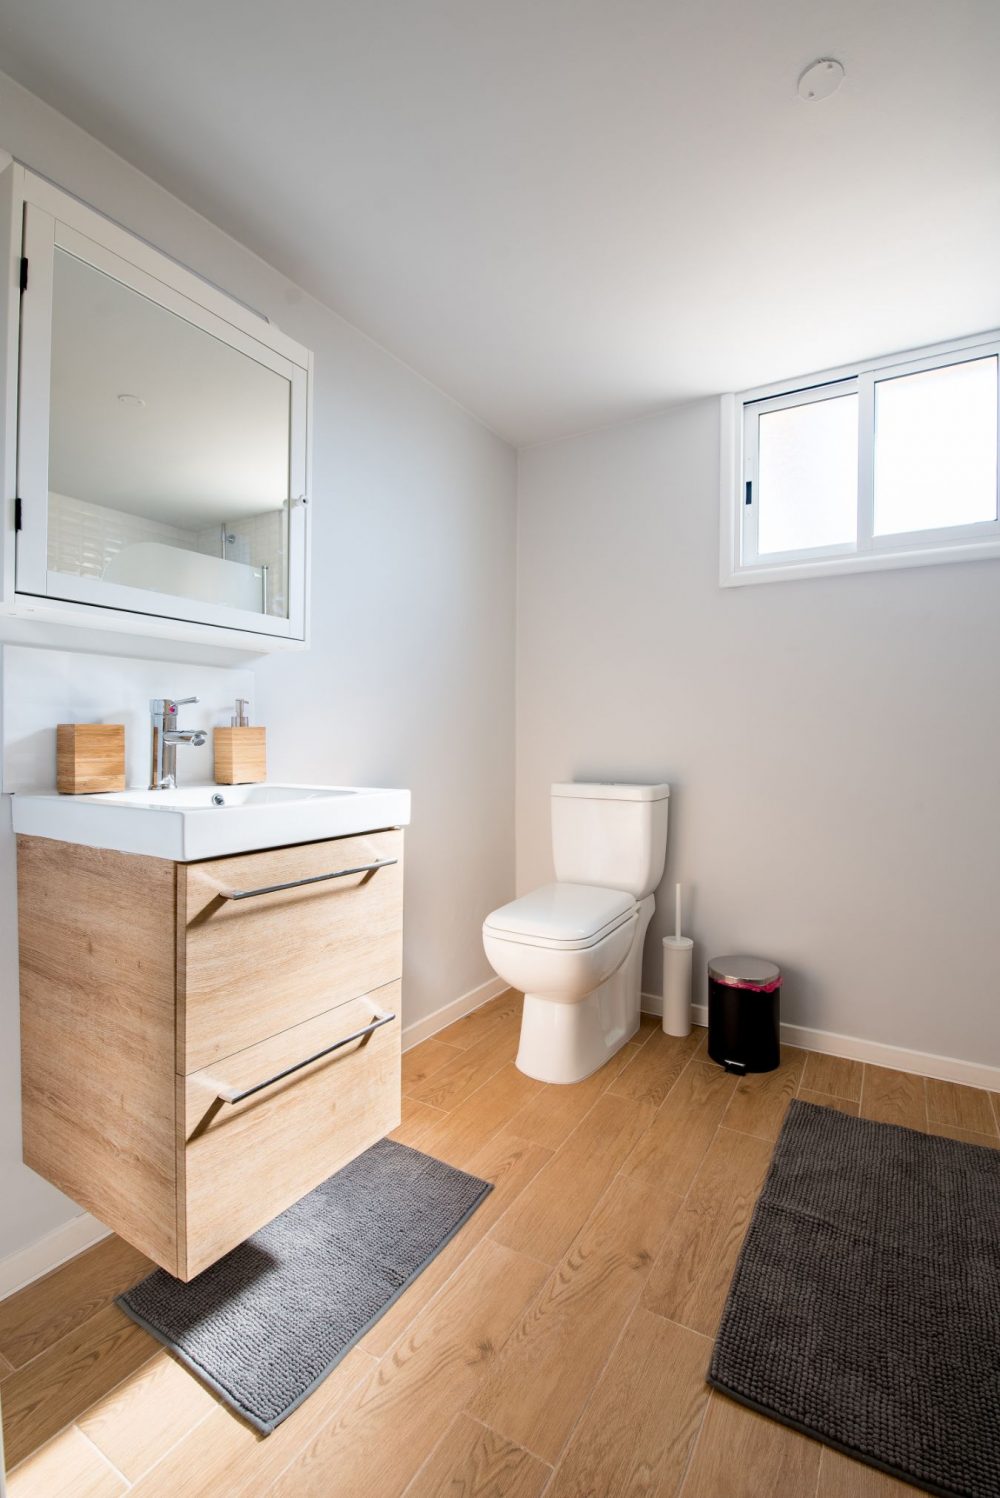
 1. Bathroom


  • Vacuum and machine wash throw-rugs.
  • Vacuum the ceiling and walls using the brush attachment. Then wipe with an all-purpose cleaner.
  • Wash mirrors and the insides of the windows with microfiber cloths.
  • Rinse the shower from the top down.
  • Next, clean the toilet from the top of the tank to the rim, then the bowl (scrub well with toilet scrubbing brush) and then the base.
  • Keep all cloths used for cleaning the bathroom separate and wash them in a hot water.
  • Add cleanser to the floor. Let it soak. Wipe clean with water and mop on your way out.

2. Bedrooms


  • Remove ALL bed linen – and wash them in the order of what goes onto the bed first.
  • Items that are too large to wash can be hung on a clothesline to freshen in the sunlight and spring air. (A good idea would be to hang these out before starting your spring cleaning). I especially do this with pillows and cushions. Where possible air mattresses too.
  • Vacuum (with the brush attachment) and wipe the walls.
  • Wipe switch plates, door frames, architraves and skirting.
  • If you cannot wash the curtains, have them dry-cleaned. I have found that hanging the curtains back when slightly damp, helps them to hang out nicely with minimum creases.
  • Wipe down mirrors, artwork glass and frames with microfiber cloths.
  • Give the carpet a thorough vacuum or have them cleaned professionally.

3. Kitchen


The Refrigerator

  • Switch off the fridge at the start of your spring-cleaning day.
  • Place all contents from the fridge into a cooler.
  • Let shelves and drawers reach room temperature before washing them. This will prevent them from cracking when put into hot water.
  • Mix 1 litre of hot water and 2 tablespoons baking soda. Use this mixture to wipe the fridge interior clean. Pay special attention to the egg holders.
  • Clean the door seals with mild dishwashing liquid and remove all debris. Dry the seals well.
  • Wipe the exterior down and buff with microfibre cloth.


The Stove and Oven

  • If removable stovetop parts are very greasy, leave them overnight in soapy water.
  • Wash all removable stovetop parts in hot soapy water and scrub them with cleaning pads suitable for use with stovetop items.
  • The next step can also be done in advance or between other tasks: spray the oven with approved oven cleaner. Leave the cleaner on for the recommended time and wipe off.


The Microwave

  • To get stubborn food particles off from the inside of the microwave oven, boil water and some lemon juice in a microwave-safe bowl for 3 minutes. The steam will loosen the particles and the lemon will lift the grease and leave the microwave smelling nice and fresh too. Wipe down the inside.


Windows and Surfaces

  • Clean the windows with a microfibre cloth.
  • Make a mixture of warm water and dishwashing liquid to wipe down all surfaces drawers and cupboards.


Floors

  • Sweep or vacuum the floors and then mop them.


NOTE:

A product I have been using on my kitchen floors is KOH

I also use it to clean my glass-ceramic stovetop. It is none abrasive and is environmentally sound and certified. I also prefer using it to wipe down the kitchen cabinets etc.

For stubborn marks and spots, I have found using Chux Magic Eraser invaluable.

 4. Living Room


  • Dust ceiling fans with a microfiber extendable duster that bends to a 90-degree angle. This saves you getting up on a ladder.
  • Clean the windows.
  • Dust down electronic equipment.
  • Clean out the fireplace.
  • Wipe down sofas and chairs or where possible vacuum, taking care not to rip off any buttons.
  • Give the carpet a thorough vacuum or have them cleaned professionally.

5. Order In for Dinner – you deserve it.


  • Disclaimer: always read manufacturer instruction before using cleaning agents.
What To Do When You Still Need To Stay In Your House When Staging It For Sale

What To Do When You Still Need To Stay In Your House When Staging It For Sale

What To Do When You Still Need To Stay In Your House When Staging It For Sale

What to do when you still need to stay in your house when staging it for sale. Agreeably perhaps not the most ideal situation but it is not that uncommon, and it is achievable even when you have kids and pets.
1. Get the “you” out of the house – Declutter and Depersonalise
The first step in getting your house presentable for the buyers’ market is to declutter and depersonalise.

This is a fundamental step that cannot be avoided or proverbially “swept under the carpet” – Real Estate Agent Morris Short explains why and gives valuable advice on the importance of house presentation.


2. Let’s Pretend

  • Once decluttered and depersonalised keep it that way:

    • Pretend your home is sold and you are moving out now; or
    • pretend this is not your home and you are leasing it for a very short time.
    • pretend there is a house inspection today. Keep the place tidy, clean and neat.

3. Property Stylist – (your genie in a bottle)


4. Staging your house with the kids in.

  • A great idea is to prepare something similar as to have an emergency evacuation plan and “go-to bag”.


5. Staging your house with the pets in.

  • Clean the yard and hide the litter box.
  • Remove pet stains.
  • Eliminate pet odours with appropriate pet odour removals.
  • Vacuum up pet hair.
  • Ensure that no pet deposits or pet toys are lying around the garden.

6. Cleaning Supplies

  • Keep household cleaning products close at hand and in one place – this will help to quickly clean areas and store the product away and out of sight.
  • Keep your vacuum cleaner close at hand for quick vacuuming and then store away neatly in a cupboard or in the garage.
  • Open windows daily to let fresh air in.

7. Keeping the Stage Set

  • Make a last-minute checklist – this will help you to ensure that all the boxes are ticked for a spotlessly clean and well-presented house when potential buyers arrive.
  • Admittedly keeping your home stage-ready could be a challenge. Being prepared and with help from the family and professionals, your home can be stage ready at the drop of a pin.
  • Keep the lawn and flower beds tidy. This is very important to note: Keeping the outside and garden pristine is as important (if not more) as keeping the inside of the house clean and tidy.

More Property Styling Ideas –

For more information and ideas please contact our property stylists at Let’s Revamp Property Styling and Decorating, or visit our website.


How To Make A Tiny Balcony A Selling Feature When Selling Your House

How To Make A Tiny Balcony A Selling Feature When Selling Your House

How To Make A Tiny Balcony A Selling Feature When Selling Your House

How to make a tiny balcony a selling feature when selling your house?

This is a true story about how homeowners transformed what they considered an “ugly duckling” and a space for extra storage into a selling feature when they prepared their home for sale.


    • The Balcony – Before Photo

    https://pixabay.com/photos/towel-fabric-terry-beauty-wellness-2722829/
    • Through the Eyes of the Property Stylist


    • Our property stylist immediately saw the potential of this tiny balcony, with its three brown and red-brown bricked walls and stained concrete floor.
    • Can you spot the potential? Yes! The luscious green treetops and natural beauty is a masterpiece to behold. It is like having your very own treetop sanctuary to escape to.
    • Imagine sitting here, having a coffee in the early mornings before work, serenaded by a conglomeration of bird song before going to the office and you know you can return to the same wondrous space after a long day.
    • Let the Makeover Begin


    • The Concrete Floor and Brick Walls
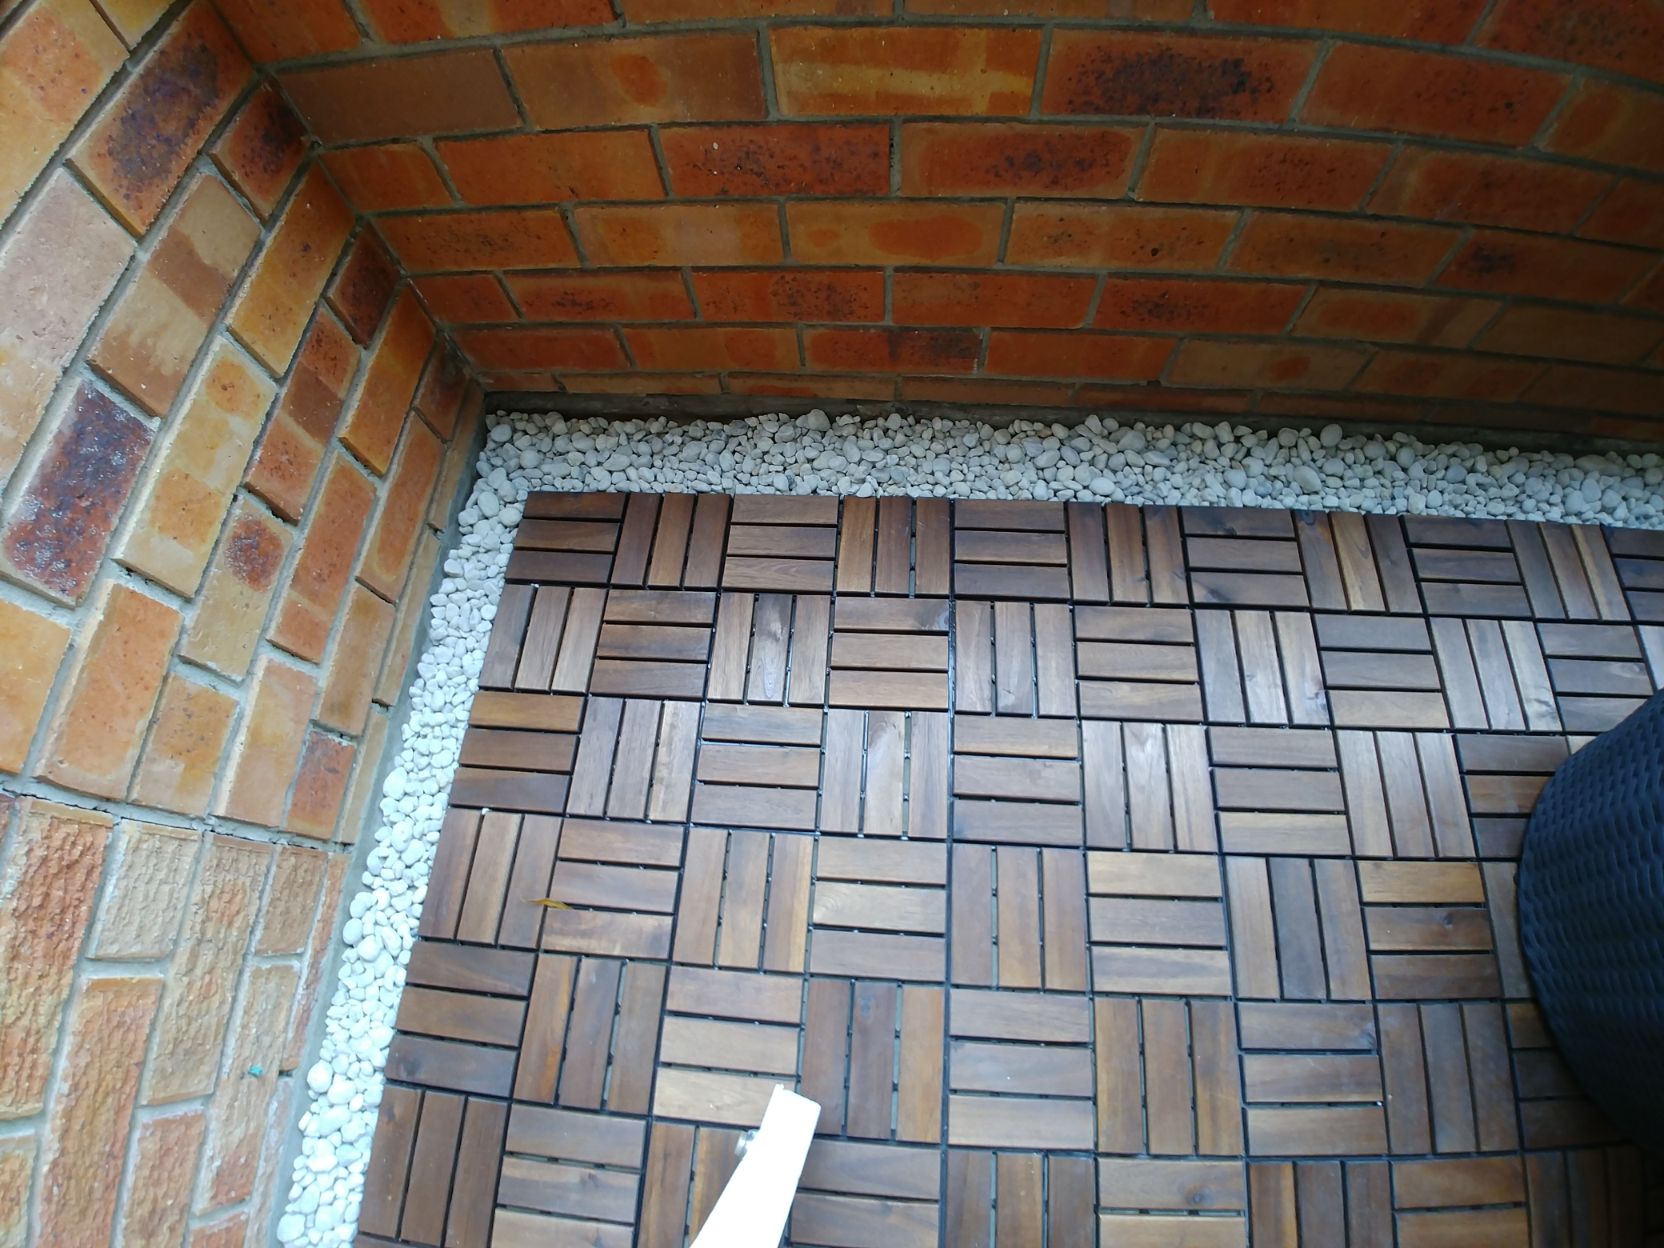
    •  The concrete floor was given a thorough wash with a hard bristle broom and some soapy water.
    • Next, a high-pressure washer was used to wash away all the soapy water, dirt and grime from the floor.
    • The brick walls were pressure wash too.
    • After the wash, the warm brown and red-brown colours of the bricks actually accentuated making the walls look super nice.
    • Brown stained outdoor floor decking was put down on the concrete floor.
    • A border of white pebbles edged the area which made such a difference to the floor.
    • Complete transformation!
    • Add the Outdoor Furniture

    https://www.rawpixel.com/image/429289/free-photo-image-massage-spa-hotel
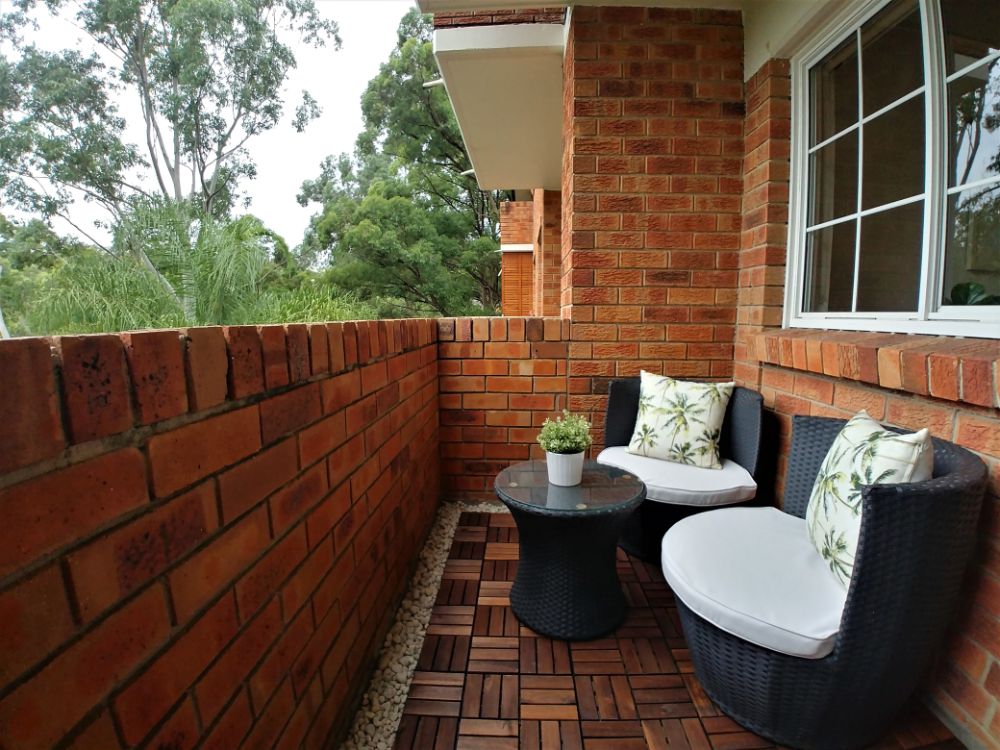
    • To create a sense of more spaciousness the two dark grey imitation wicker chairs were placed towards the back corner.
    • The pure white cushions brought vivid contrasting colour and elegance into the space and made the balcony look inviting.
    • Keeping in tune with the surroundings, the decorative cushions mirror the tree scene before them.
    • A Selling Feature

    https://www.rawpixel.com/image/429289/free-photo-image-massage-spa-hotel
    • A good clean and some decorating morphed the tiny “ugly duckling” balcony into a beautiful high-rise curb appeal which became the selling feature of this home.

    More Property Styling Ideas –

    For more information and ideas please contact our property stylists at Let’s Revamp Property Styling and Decorating, or visit our website.