How Does Property Styling Add Value to The Sale of Your Property?

How Does Property Styling Add Value to The Sale of Your Property?

How Does Property Styling Add Value to The Sale of Your Property?

Have you ever wondered how does property styling add value to the sale of your property?


The words property styling are synonymous with the words real estate agent and selling your home.

https://letsrevamp.com.au/

    1. What is Property Styling?

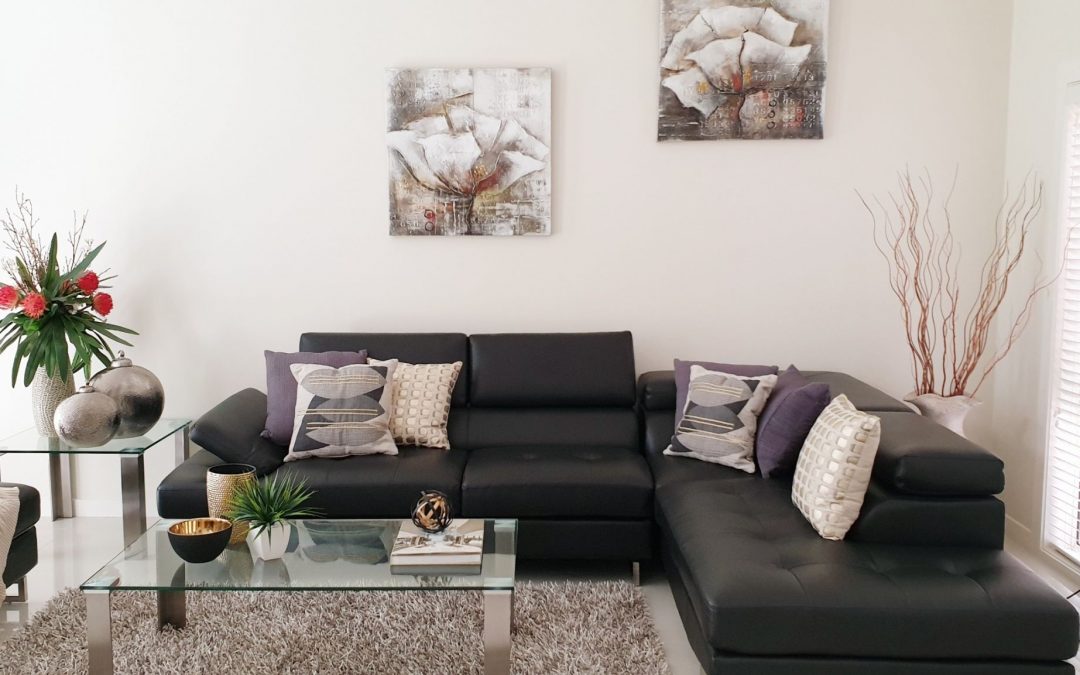
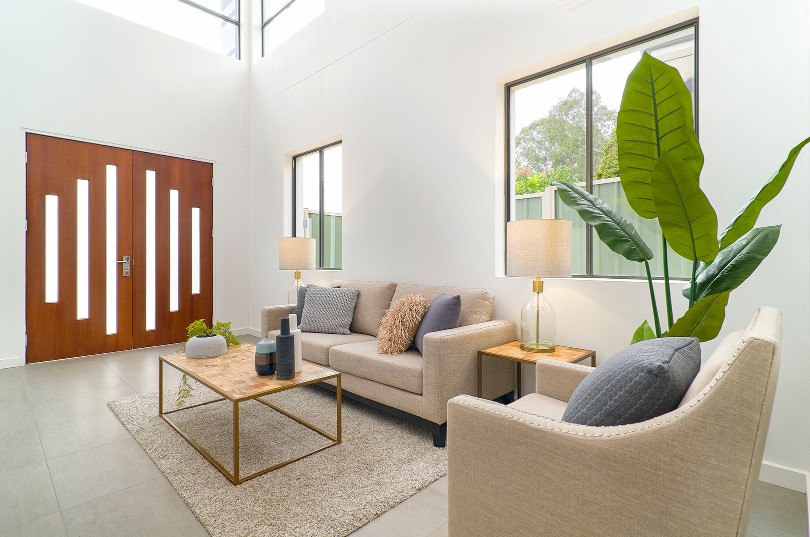
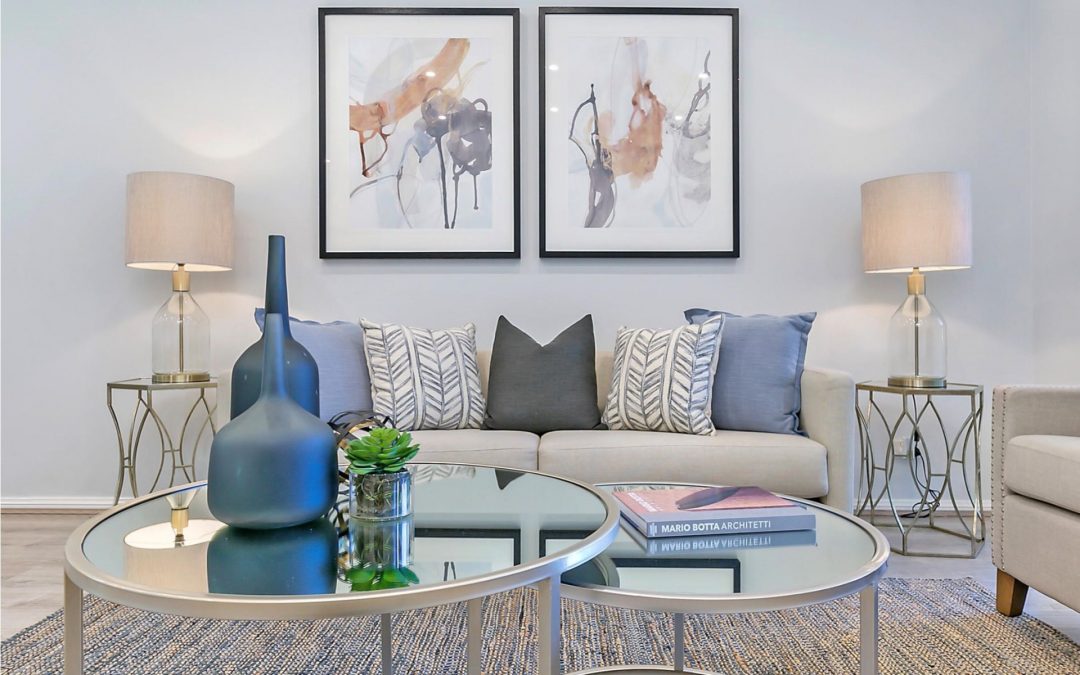
    Property styling is all about presentation: i.e.


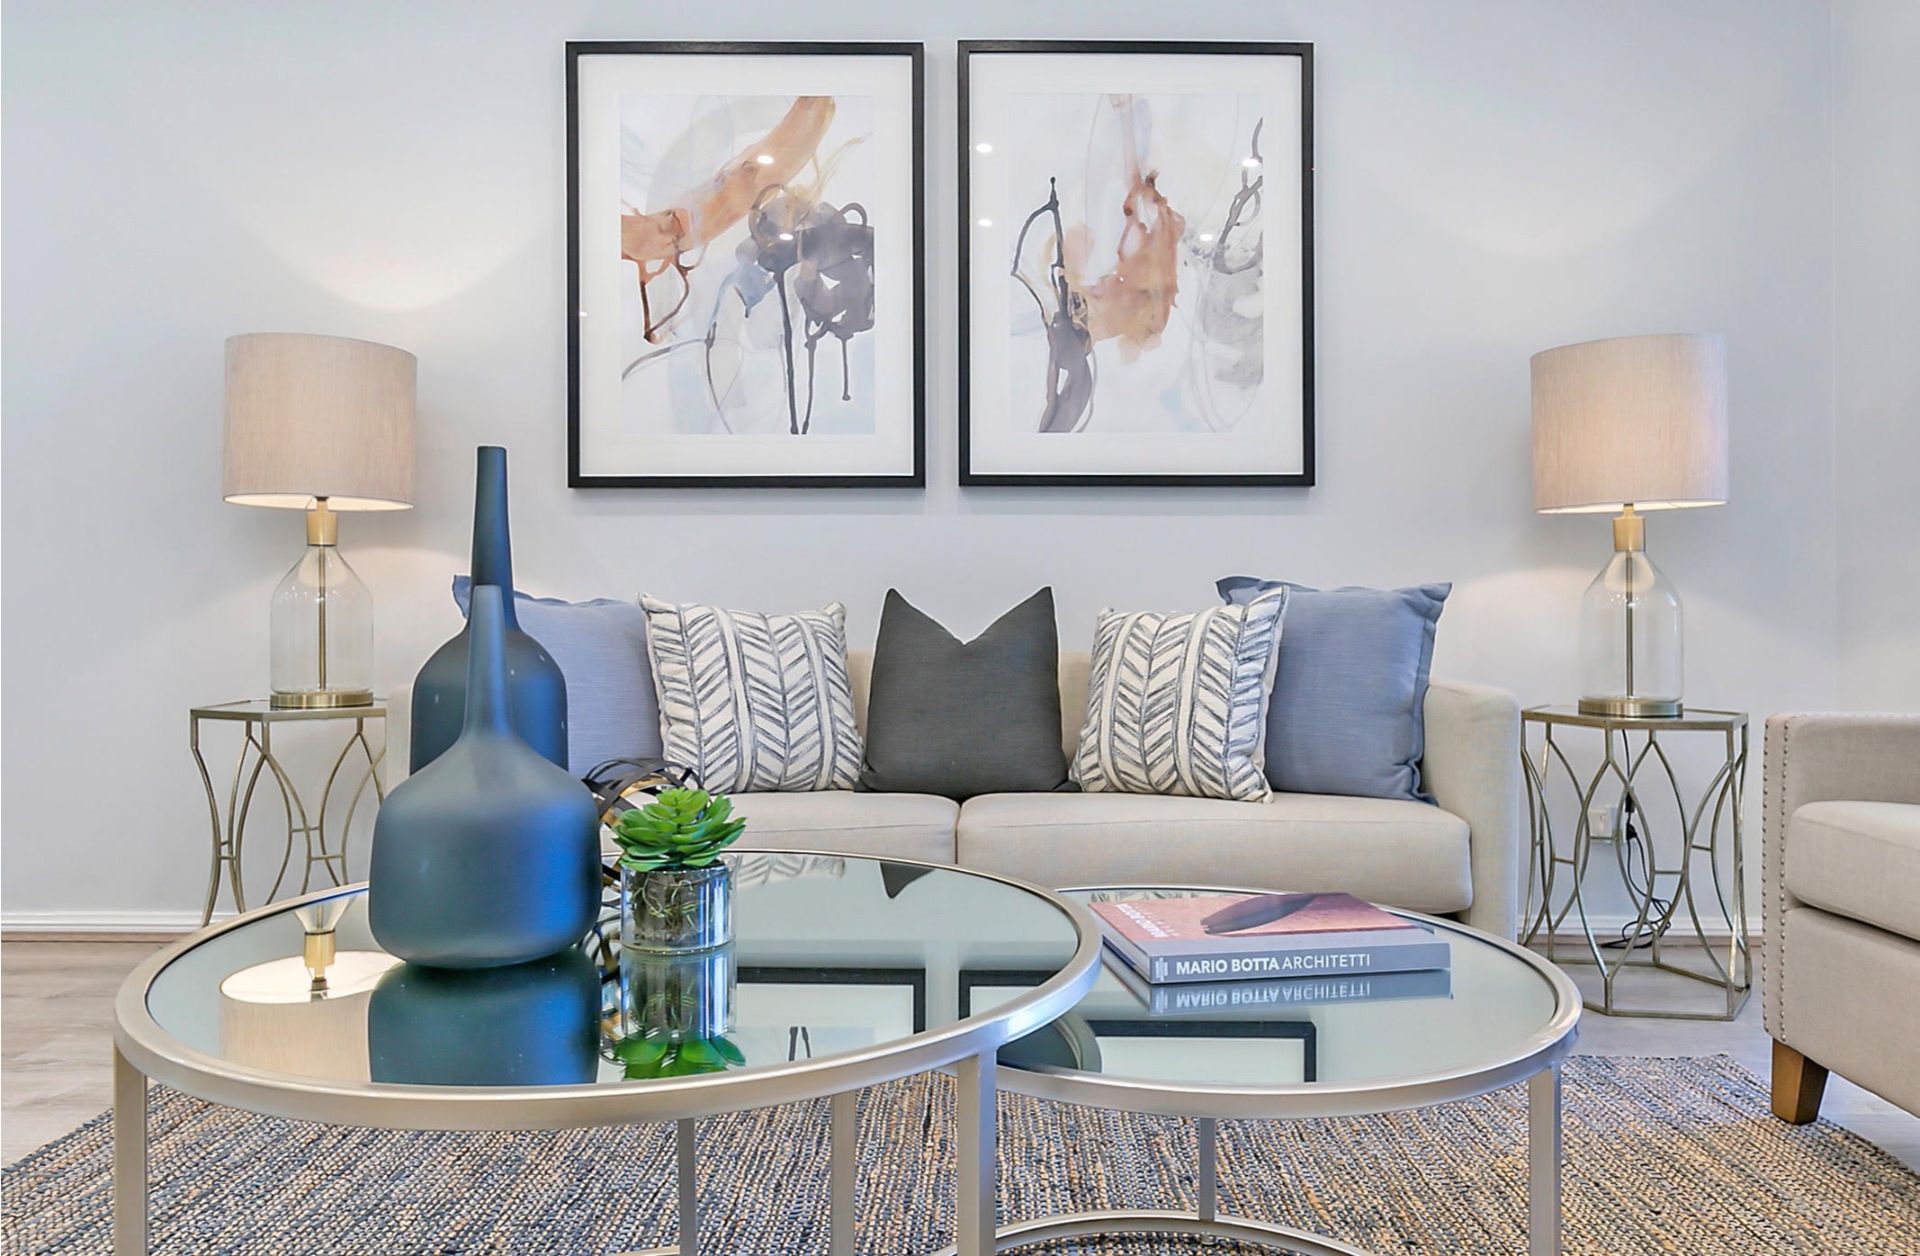
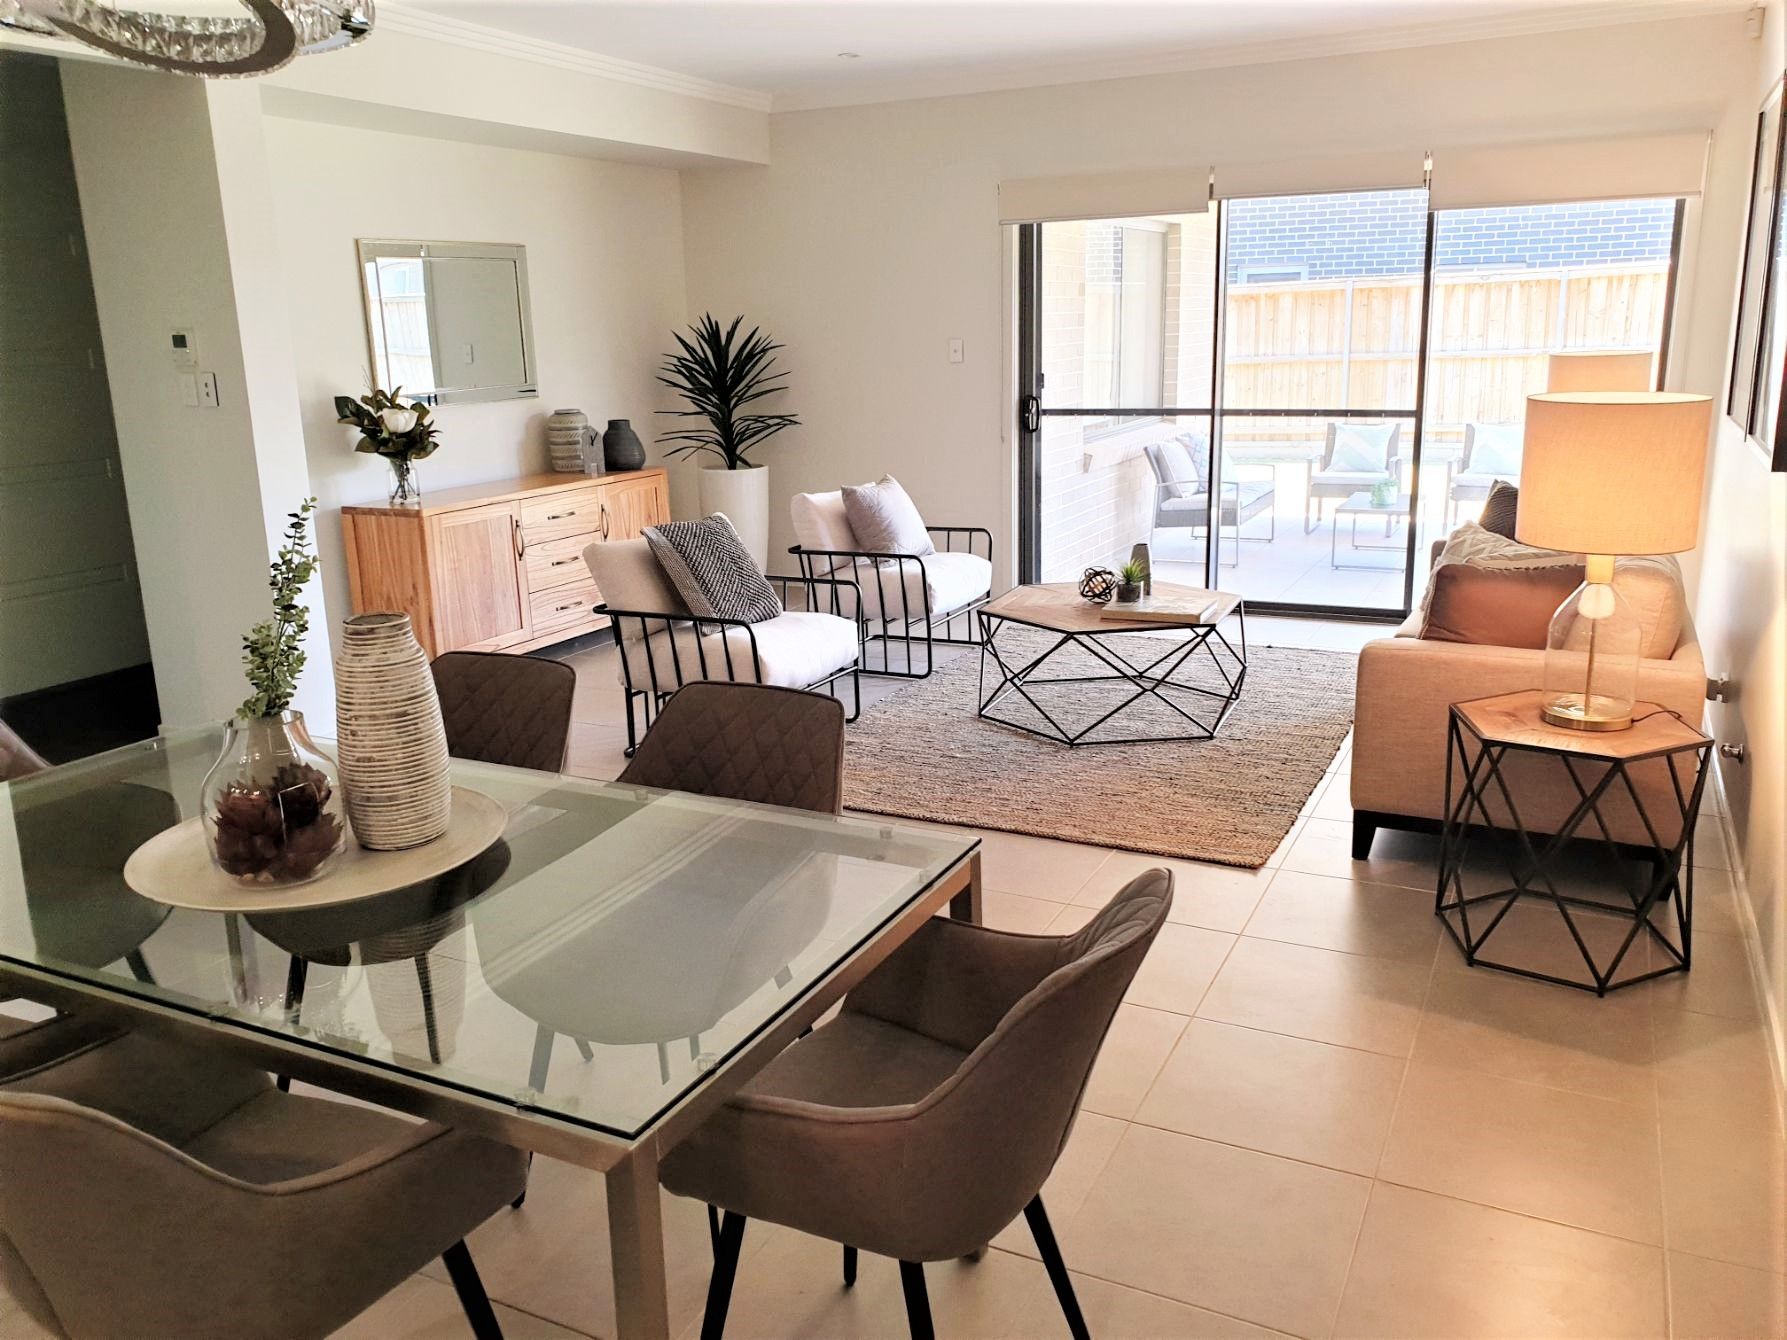
    • presenting your property in a competitive buyers market for you to get a potentially higher sales price and a quicker sale.
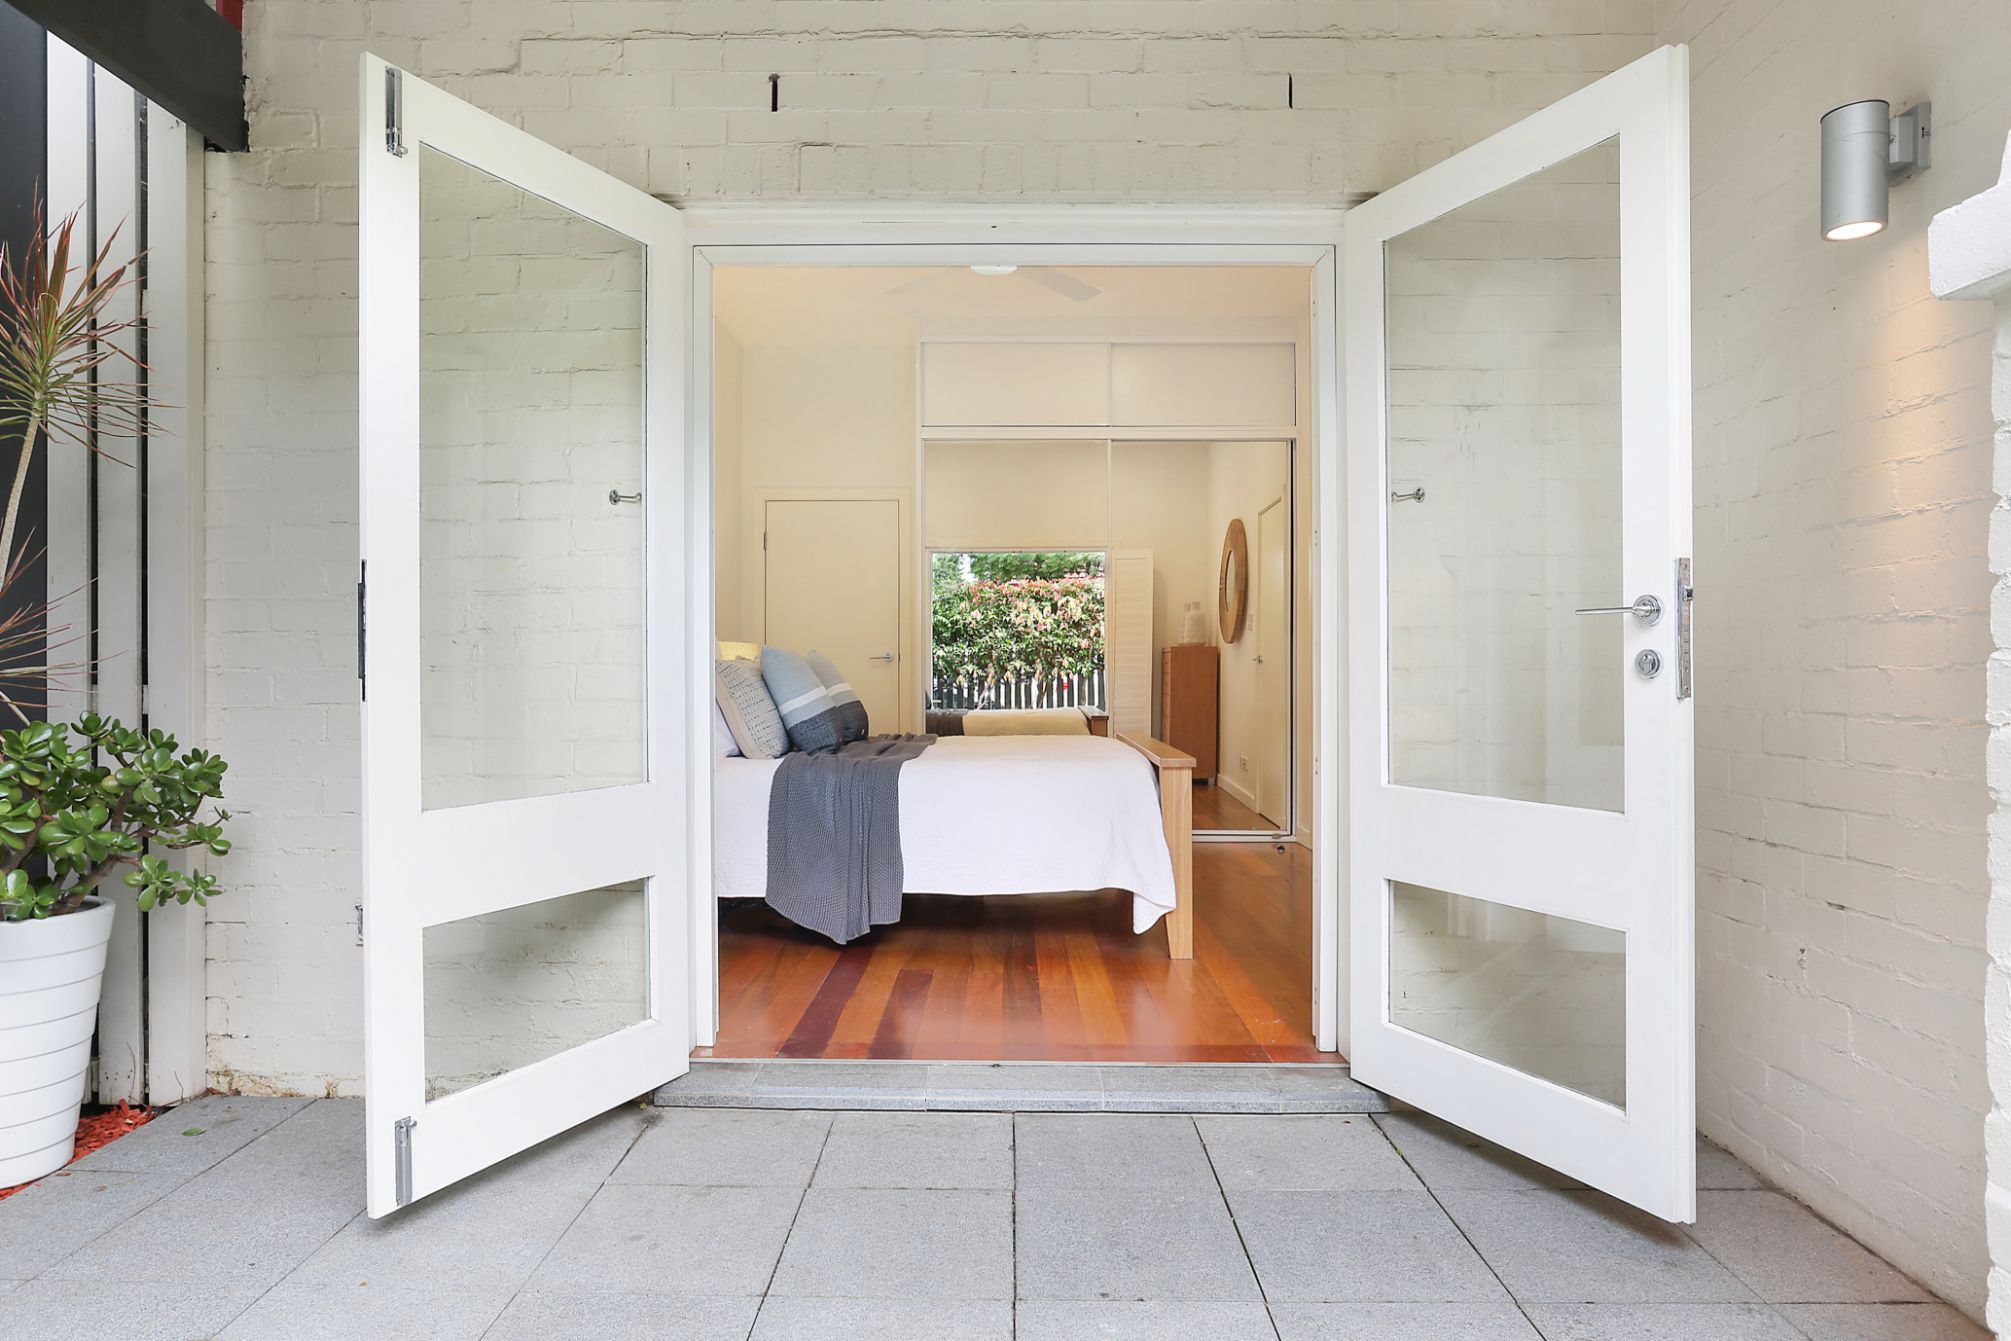
    • presenting your property in a visual manner that a buyer’s first impression will be a positive and lasting one.
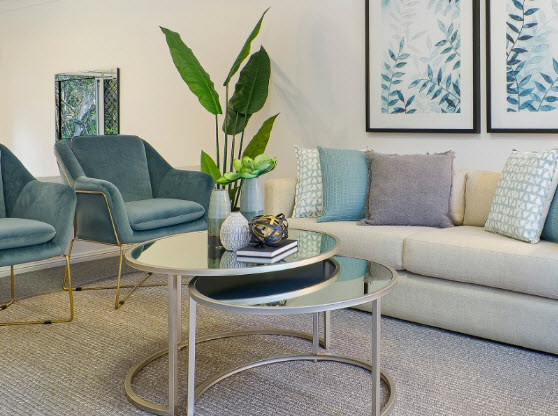
    • when advertised, images of the styled property draw more interest and positive impressions and reaction than those not styled.
    https://letsrevamp.com.au/gallery/

    2 What Property Styling is NOT

    Property styling is not about “just” hiring furniture.

    We recently styled a client’s property and realized that often property owners have the perception that property styling is about just hiring furniture.

    Our client soon realized it was not the case –

    PLEASE CLICK HERE  –

    to listen to his account when he discovered property styling was so much more than just hiring furniture.

    https://www.rawpixel.com/image/429289/free-photo-image-massage-spa-hotel

    ….Yes! as property stylists we even iron the pillows..

    3. Who and What is a Property Stylist?

    A Property Stylist is a Property Styling professional and usually works in close collaboration with the estate agent and property owner.


    • The property stylist knows and understands the property market and can, therefore, style your property according to the demographic appeal it is being marketed in.


    • The optimum goal of property stylists is to improve the appeal of the property using techniques to highlight the best features of the property and to optimally showcase space availability, for a successful sale with the best possible results.


    • The property stylist plays a supportive role during this period and provides the best advice on how to present your property well and appealing to the buyers’ market.


    • When styling property it does not only pertain to the interior of the house but also to the exterior presentation – known as curb appeal. The stylist will be able to advise the seller the best cause of action to take to make the outside presentation resonate with the indoor presentation.


    • Last but not least the property stylist take the stress out of DIY styling.


    More Property Styling Ideas –

    For more information and ideas please contact our property stylists at Let’s Revamp Property Styling and Decorating, or visit our website.


    Choosing the Right Towel: 4 Things You NEED TO Know

    Choosing the Right Towel: 4 Things You NEED TO Know

    Choosing the Right Towel: 4 Things You NEED to Know

    When choosing the right towel important to you?

    Here are 4 things to consider when choosing the right towel for the right purpose.


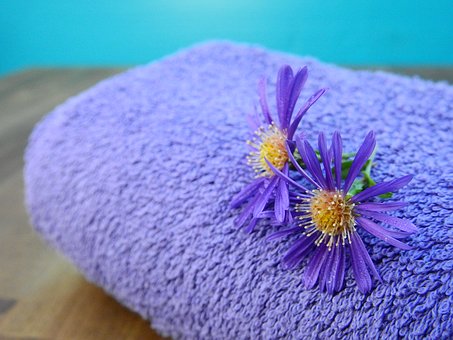
    https://pixabay.com/photos/towel-fabric-terry-beauty-wellness-2722829/


      1. Choosing the Right Size Towel

      TOWEL SIZE cm
      Bath Sheet 90 x 160
      Bath Towel 70 x 140
      Beach Towel Various 80 x 180std
      Fingertip Towel 28 x 45
      Guest Towel 50 x 100
      Hand Towel 50 x 70
      Washcloth 30 x 30
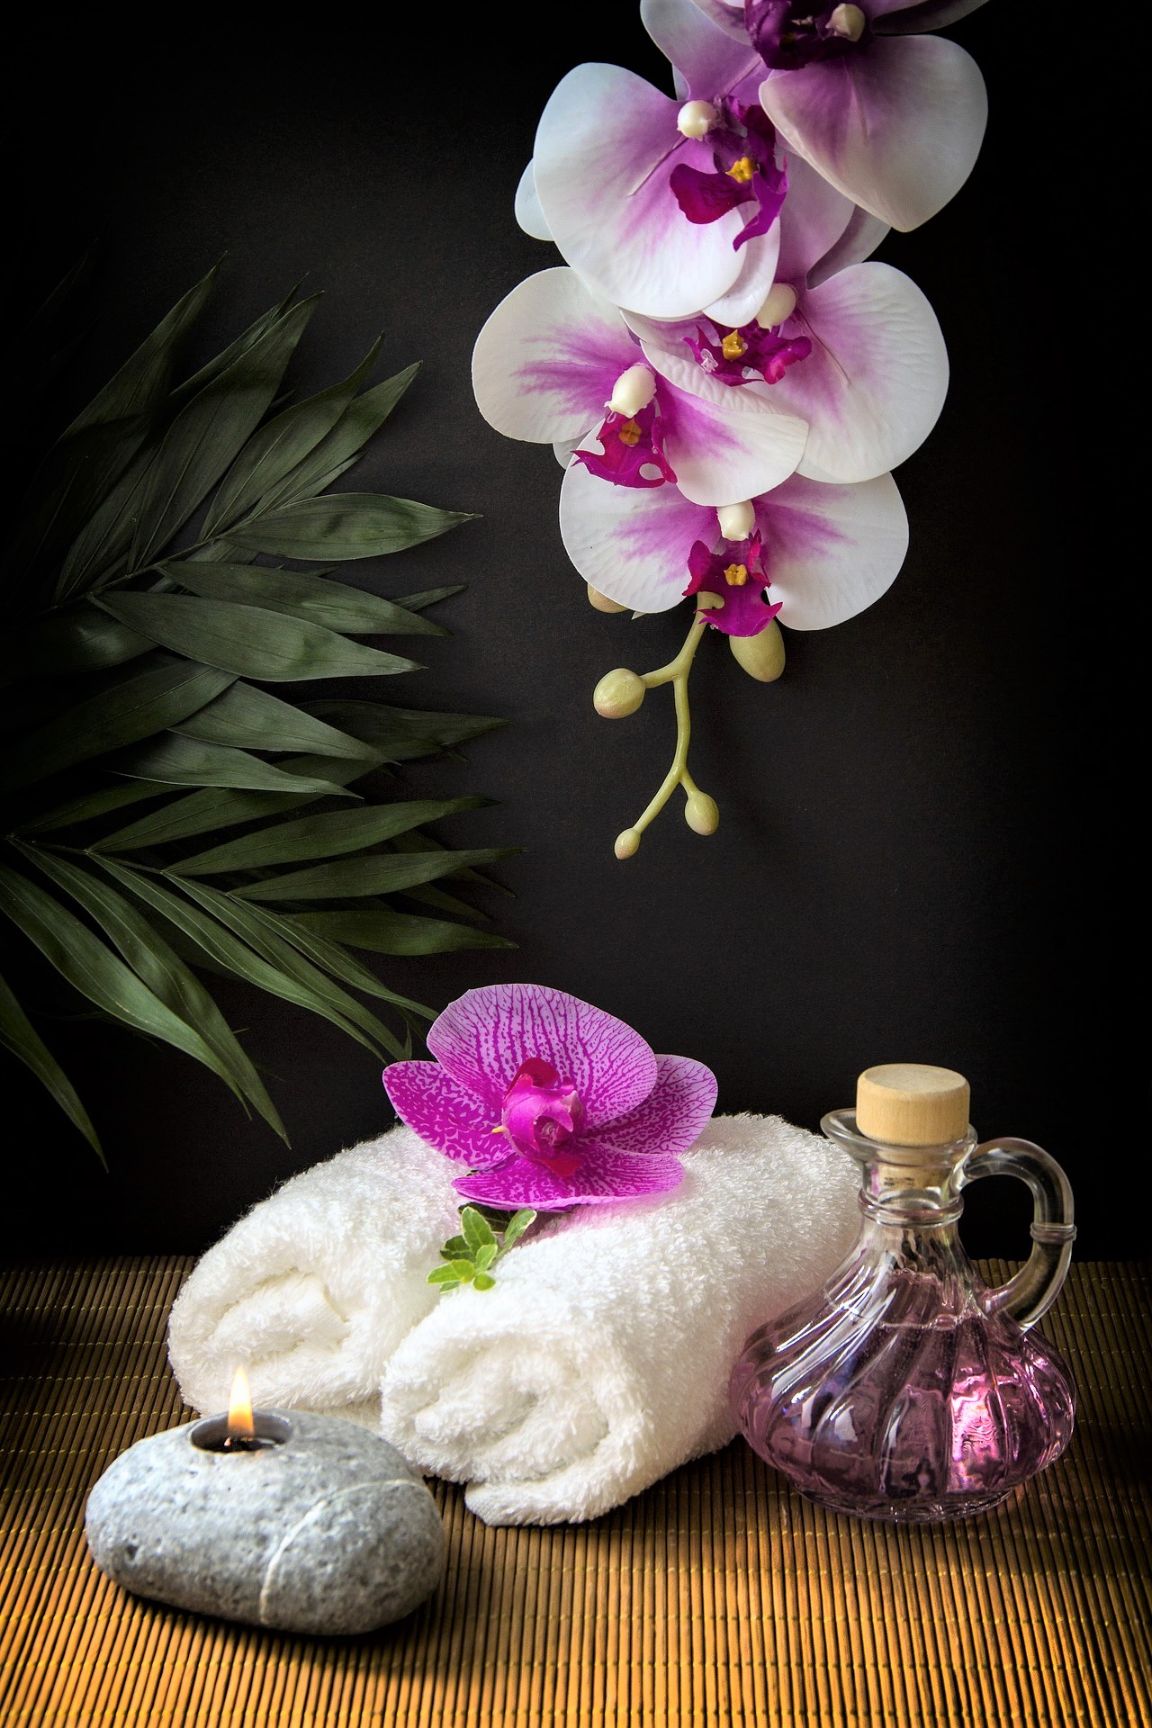
      https://pixabay.com/photos/wellness-carafe-towels-white-3793413/
      BATH SHEET

      Large towel for drying off your body and wrapping up in after a shower or bath – too large to use for wrapping around your head when drying your hair

      BATH TOWEL

      General all-purpose size bath towel for drying after bath or shower.

      BEACH TOWEL
      • Beach and pool use.
      • Comes in various sizes and is large enough to lie on.
      • Comes in different shapes too; e.g. square, rectangular and round.
      • Very brightly coloured and decorative so that individual towels can easily be identified amongst others on crowded beaches or at pools.
      FINGERTIP TOWEL
      • Usually found on bathroom countertops and often used as a decorative accessory in a guest bathroom.
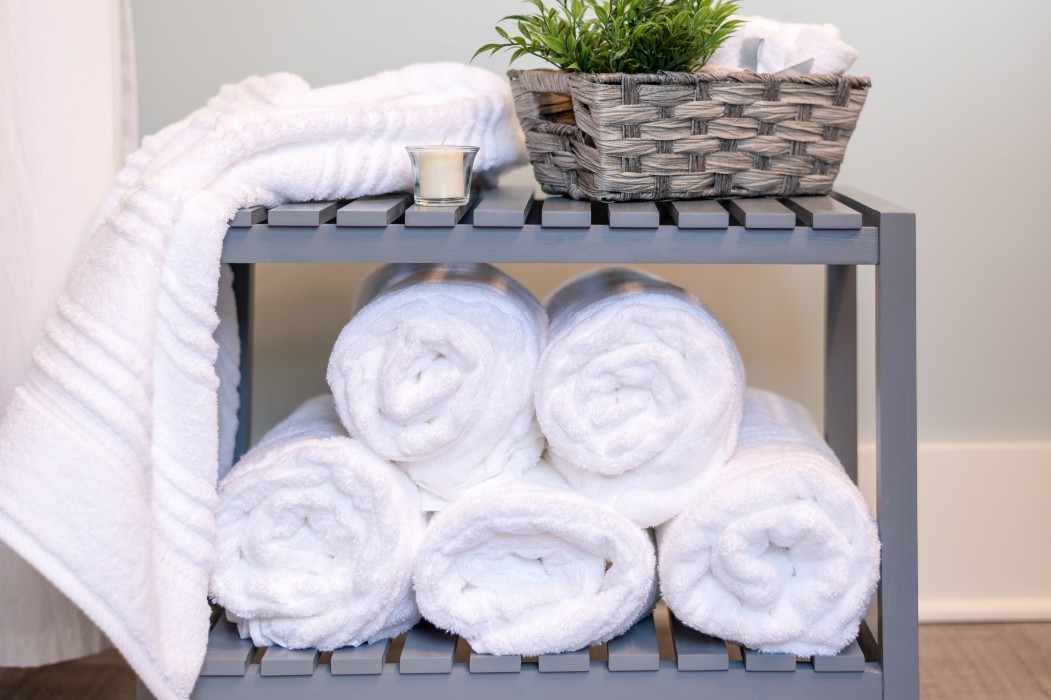
      • Often rolled up and placed in a small basket or holder of sorts or hung on small towel stands on the countertop.
      • Guest can then use them instead of the hand towel and take a fresh towel every time they wash their hands.
      • Tip: Fingertip towels are great to use in the kitchen too.
      • Tip: They are great for drying fine crystal and wine glasses.
      GUEST TOWEL
      • Guest towels are similar to the hand towel but are for – you guessed it – guests.
      • Also used as a decorative item with other towels.
      • Often a cause for confusion whether they are to be used or not.
      HAND TOWEL

      For drying hands after washing them.

      WASHCLOTH

      Washing your body, hands and face.

      https://unsplash.com/photos/bcl7GZugAfg

      Choosing a Towel According to Its Characteristics


      More durable towels are denser and have a bit of weight to them.

      Light and airy towels are soft, velvety and fast drying.
      Thin and scratchy towels will not improve with washing and adding fabric softener will not make them fluffy either.

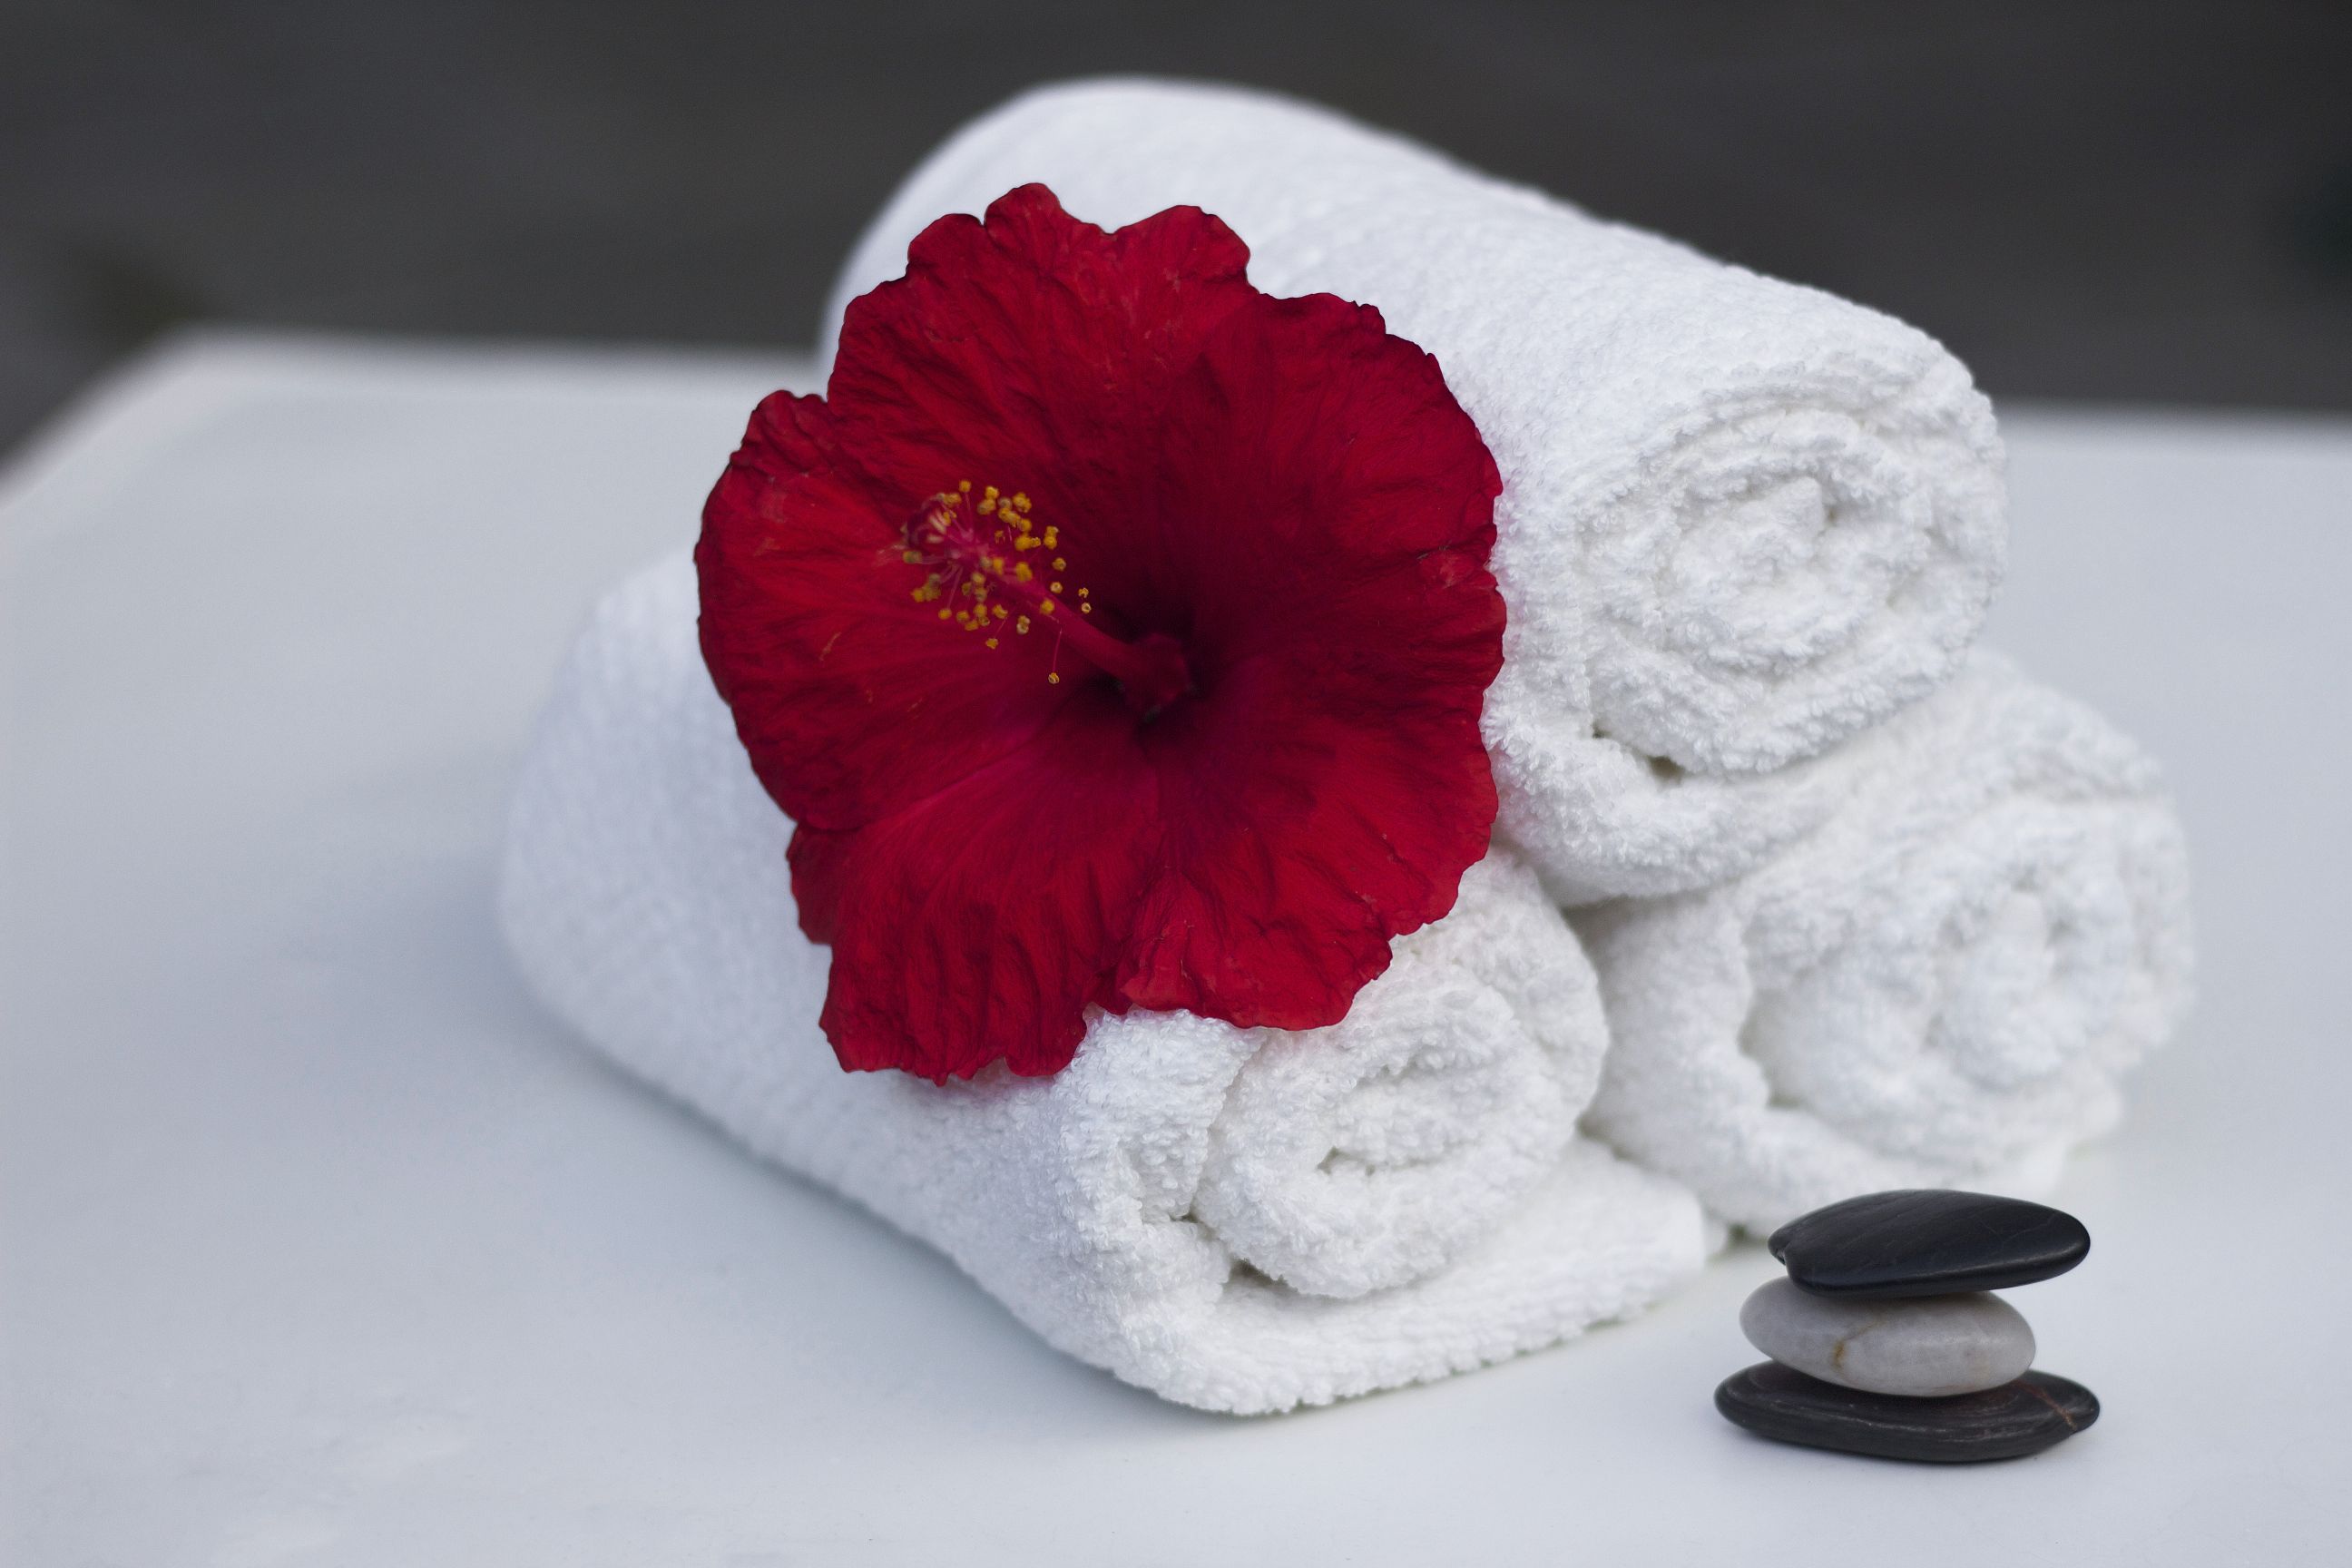
       http://absfreepic.com/free-photos/download/red-flower-on-towels-5184x3456_87755.html
      https://www.rawpixel.com/image/429289/free-photo-image-massage-spa-hotel

      4. How Many Towels Do You Need? 

      For bathroom presentation

      ·       A washcloth

      ·       A hand towel

      ·       A bath towel

      ·       Two bath sheets

      ·       A bathmat


      Towels per person It is suggested three. One for use, one for the linen closet and one which is being washed.
      https://www.rawpixel.com/image/429289/free-photo-image-massage-spa-hotel

      Bath Towel Folding Demonstration

      by our Property Stylist

      towel lingo

      Before you buy towels.


      5. Before you buy towels

      Before you buy towels visually inspect them. Make sure the edges are neatly folded and sewed. Good secure edging is a sign of good craftsmanship.  Understand towel lingo. A towel super soft at the touch may not maintain the softness after a few washes. On the label read the production highlights.

      More Property Styling Ideas –

      For more information and ideas please contact our property stylists at Let’s Revamp Property Styling and Decorating, or visit our website.


      How to Style Property for Sale That Has Parquet Flooring

      How to Style Property for Sale That Has Parquet Flooring

      How to Style Property for Sale That Has Parquet Flooring

      Are you contemplating selling your home, but worried whether the parquet flooring will influence the selling price negatively? Perhaps you are wondering “how do I style my property for sale that has parquet flooring.”


      Before we talk about styling the home, let’s first talk about parquet flooring. Sounds good?

      1. The Origin and History of Parquet Flooring
      • Did you know that parquet flooring originated in 1600 in Versailles, France?  Way back then it was the preferred flooring differentiating the wealthy from the commoners.


      • In the 1930’s carpets were introduced as an alternative floor covering, and many a parquet floor was covered with carpeting.


      • In the 1980- 1990 parquet flooring was revived and so too the modern appreciation for the durability, natural beauty and warmth of parquet and other forms of wood flooring.
       

      2 The Influence of Parquet Flooring on the Value of Your Property

      • Does parquet flooring influence the value of your property?


      • It seems so – homes with timber flooring and for that matter parquet flooring are more saleable and can increase the sale price of your property.

      How to Style Property for Sale That Has Parquet Flooring

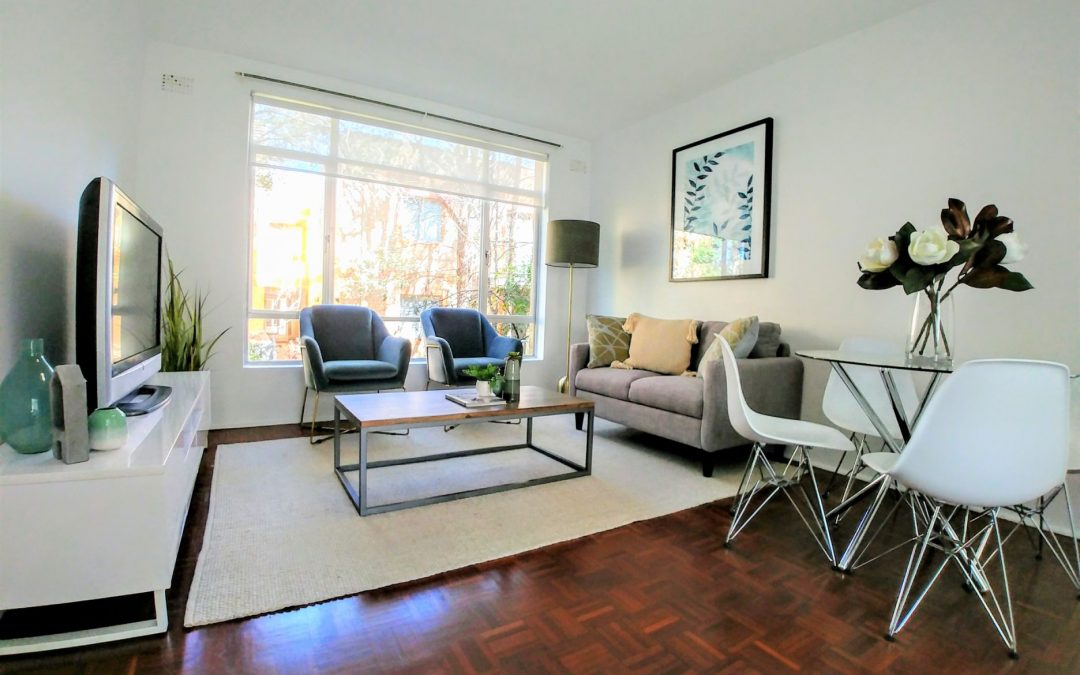
      • We recently styled a two-bedroom, open plan dining – living room apartment for a client who wanted to list the property for sale. The parquet flooring basically is a rich dark brown colour.
      • Join me as I talk you through some of the styling done for this apartment.

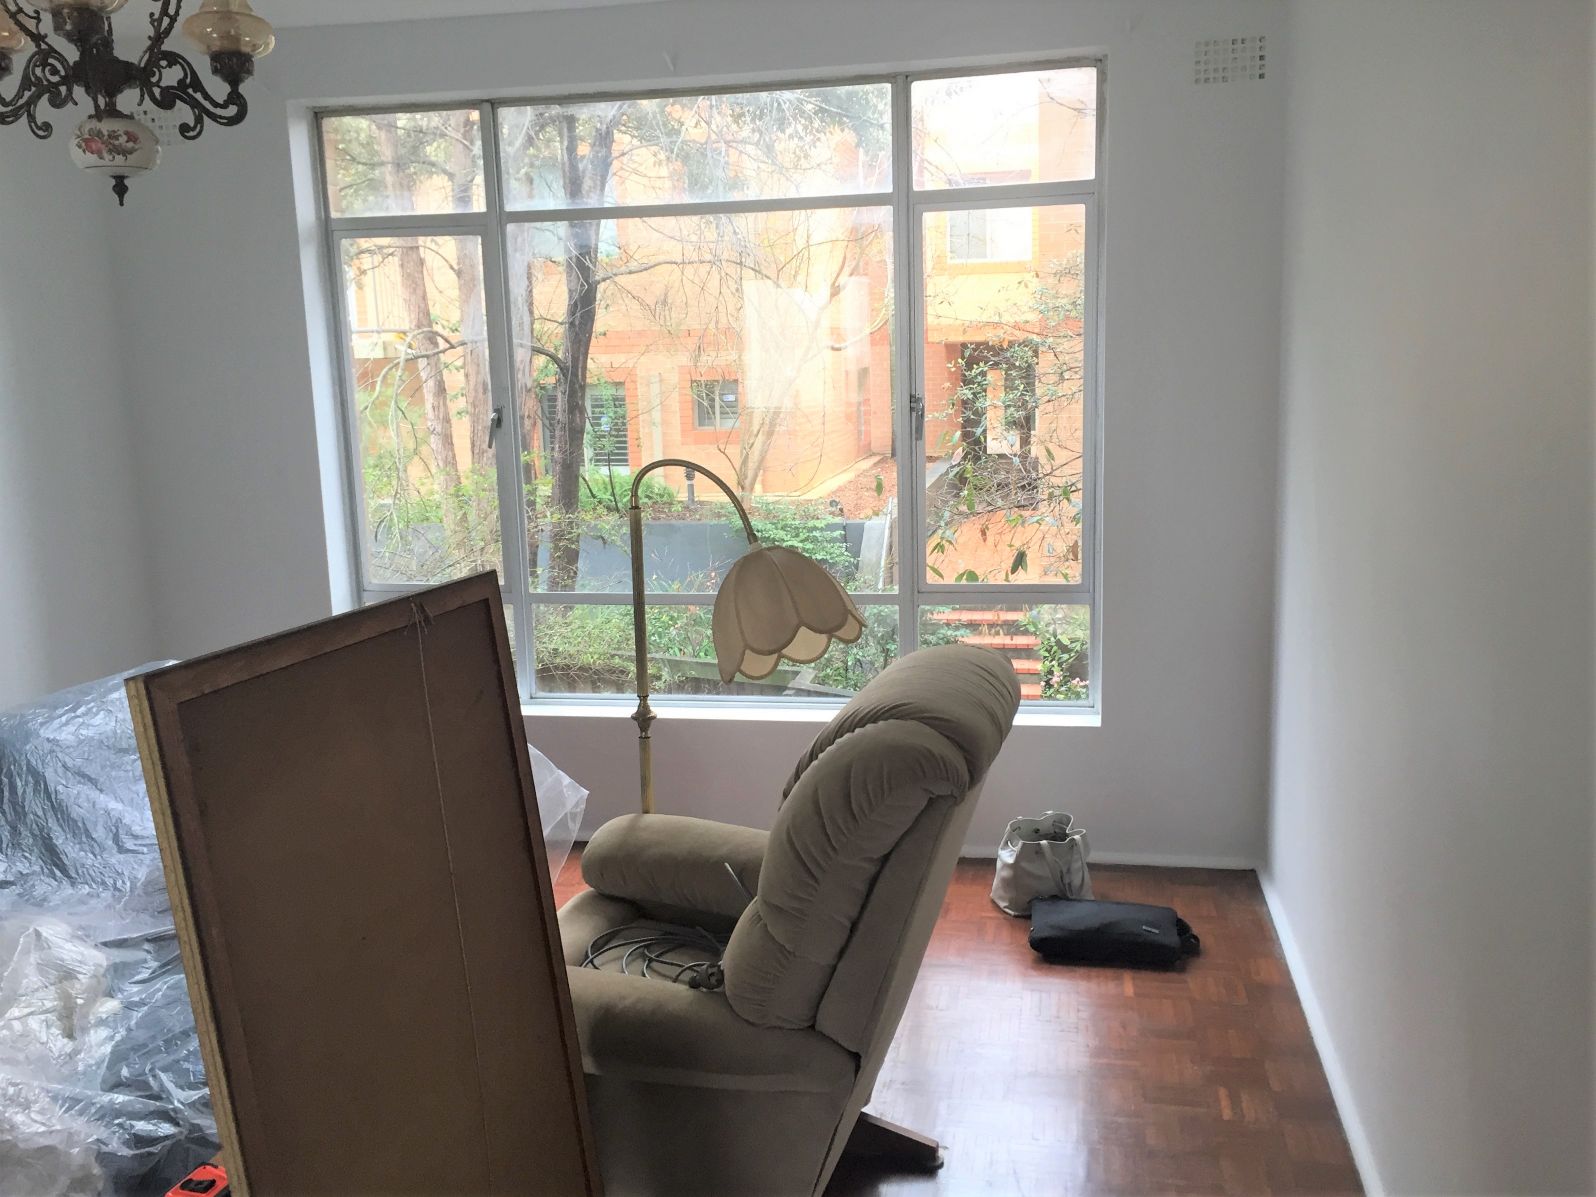
      Before

      Scenario


      Though a smallish living-dining area, there was plenty of natural light pouring through the window ready to be harnessed, wonderfully exhibiting the different colours of the wood in the parquet flooring. This was an amazing canvas to work with.

      The flooring was giving a good clean and quick buff through-out before the staging commenced.

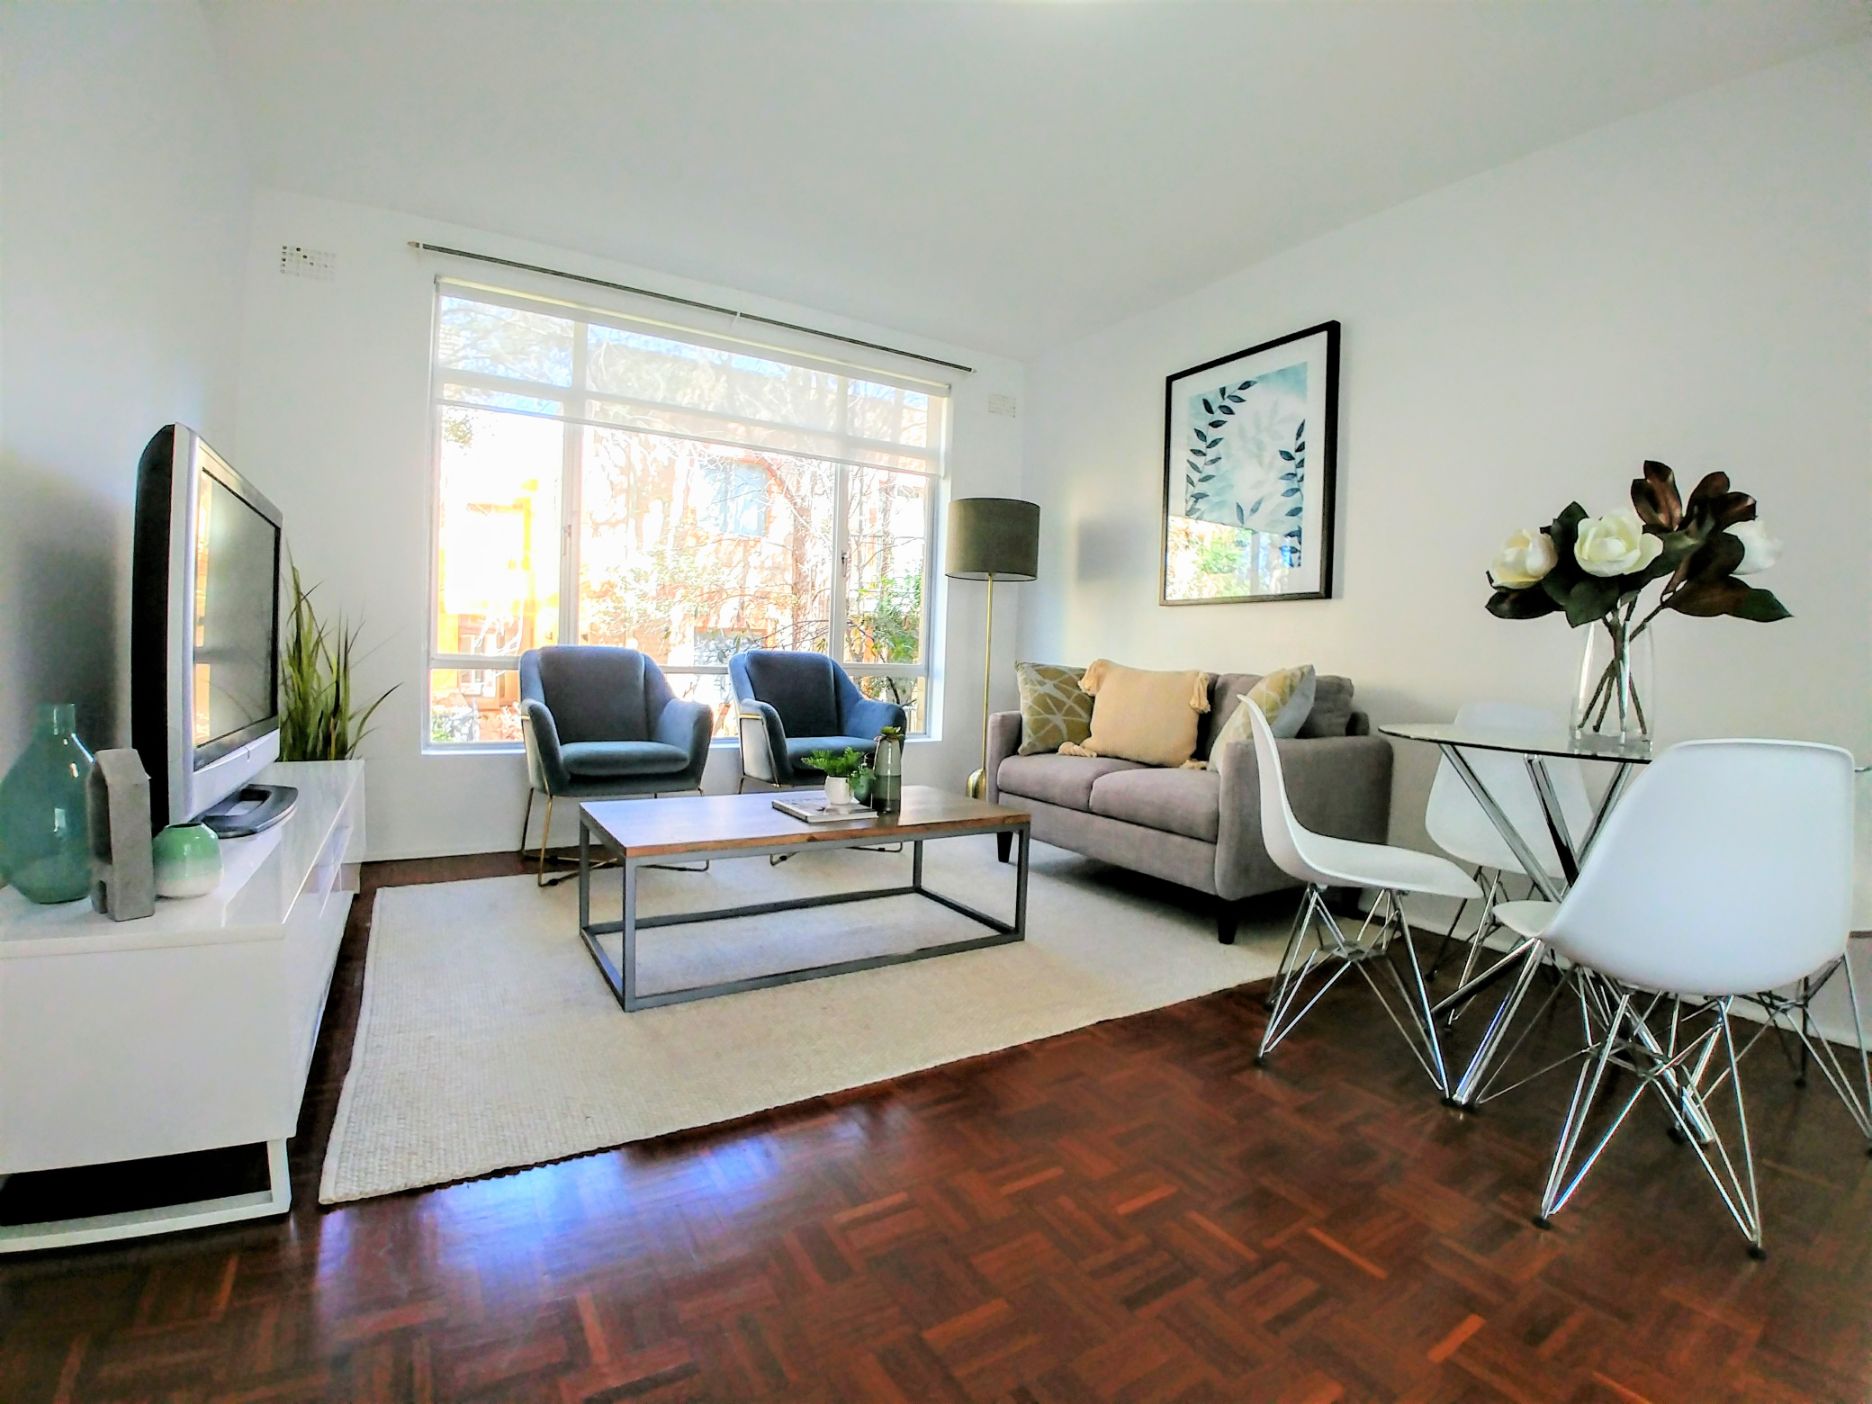
      After

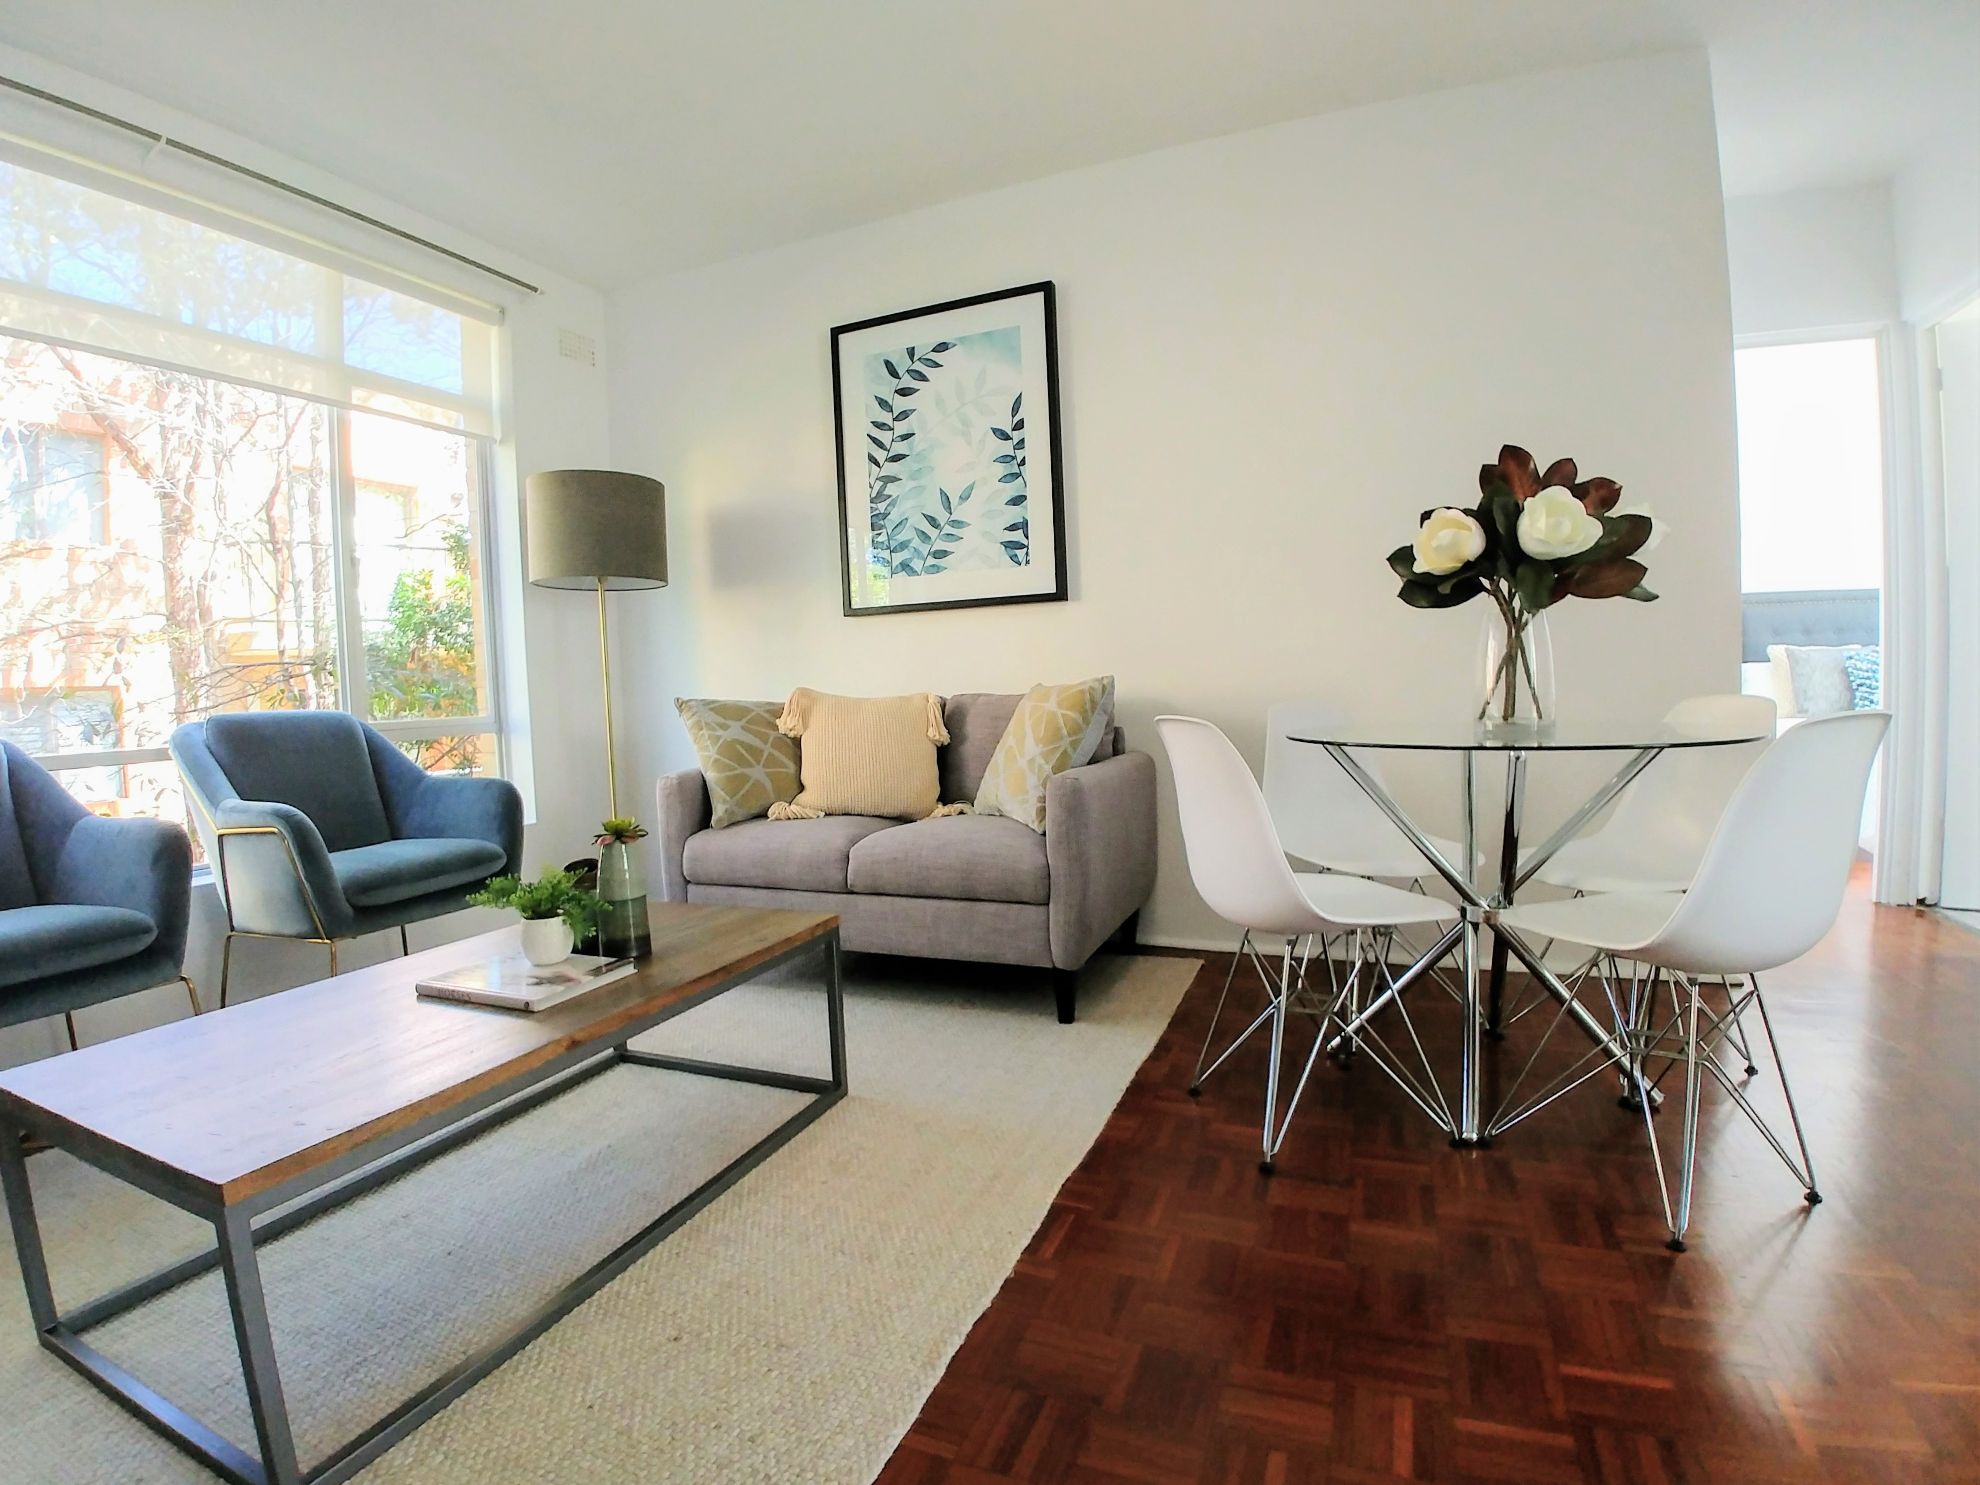
      • The ceiling light was exchanged with a modern warm white flush mounted light.

      • Let’s talk why to use a Rectangular Beige Cashmere Rug

      – the beige colour shows off and enhances the colours of the flooring

      – it captures and reflects the natural light

      – it brings neutral colour and texture into the area

      – it distinctively defines the living area from the dining areas and creates a sense of spaciousness and length

      • Using a round glass top dining table is space saving and allows light to escape through.
      • The chrome legs of the dining set add texture and light reflectors.
      • The outdoors is replicated in the artwork, in the blue and green hues of the leaves.
      • The artwork and floor lamp add height to the area and immediately catches the eye upon entering the area
      • Incorporating soft and neutral colours in the furnishing creates balance and harmony.


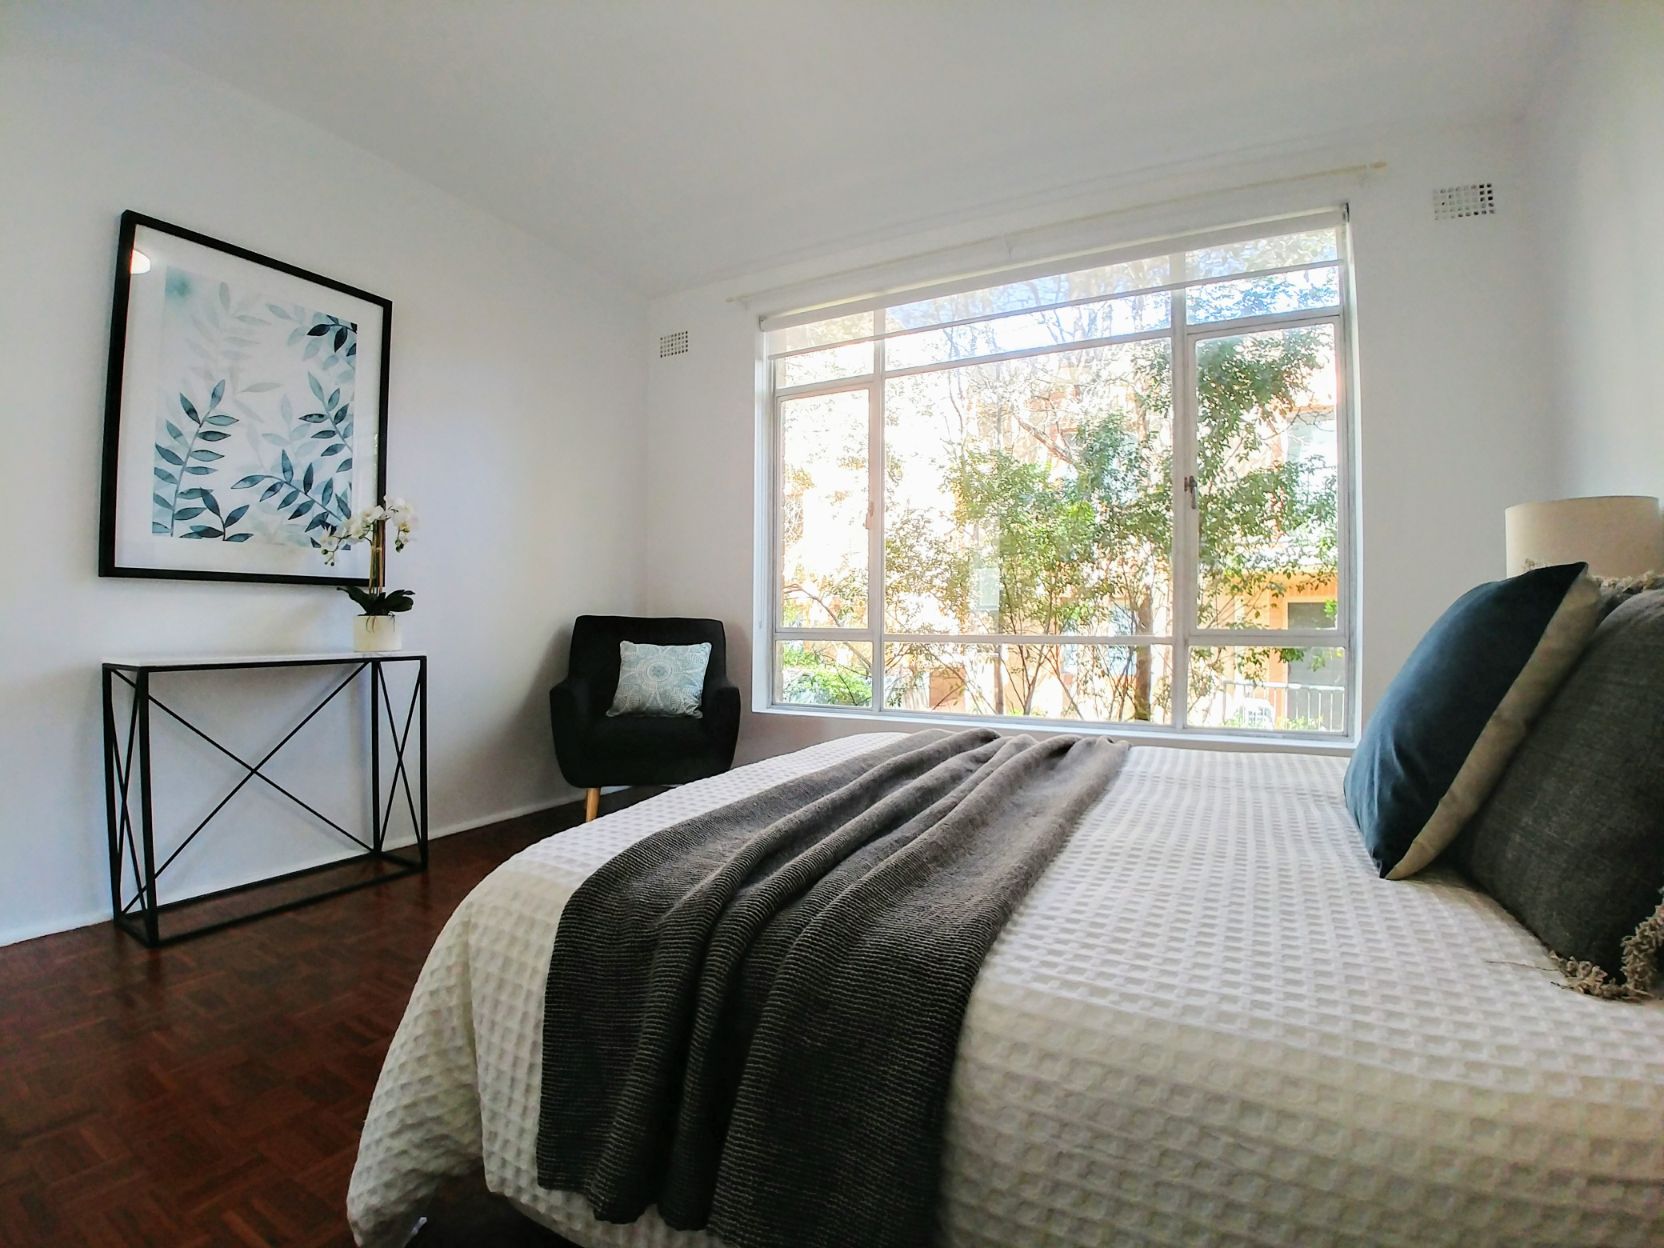
      Main Bedroom


      A lovely spacious bedroom.

      • To emphasize the spaciousness, we styled into the room a study desk and chair, and on the opposite side, a console table and an armchair.


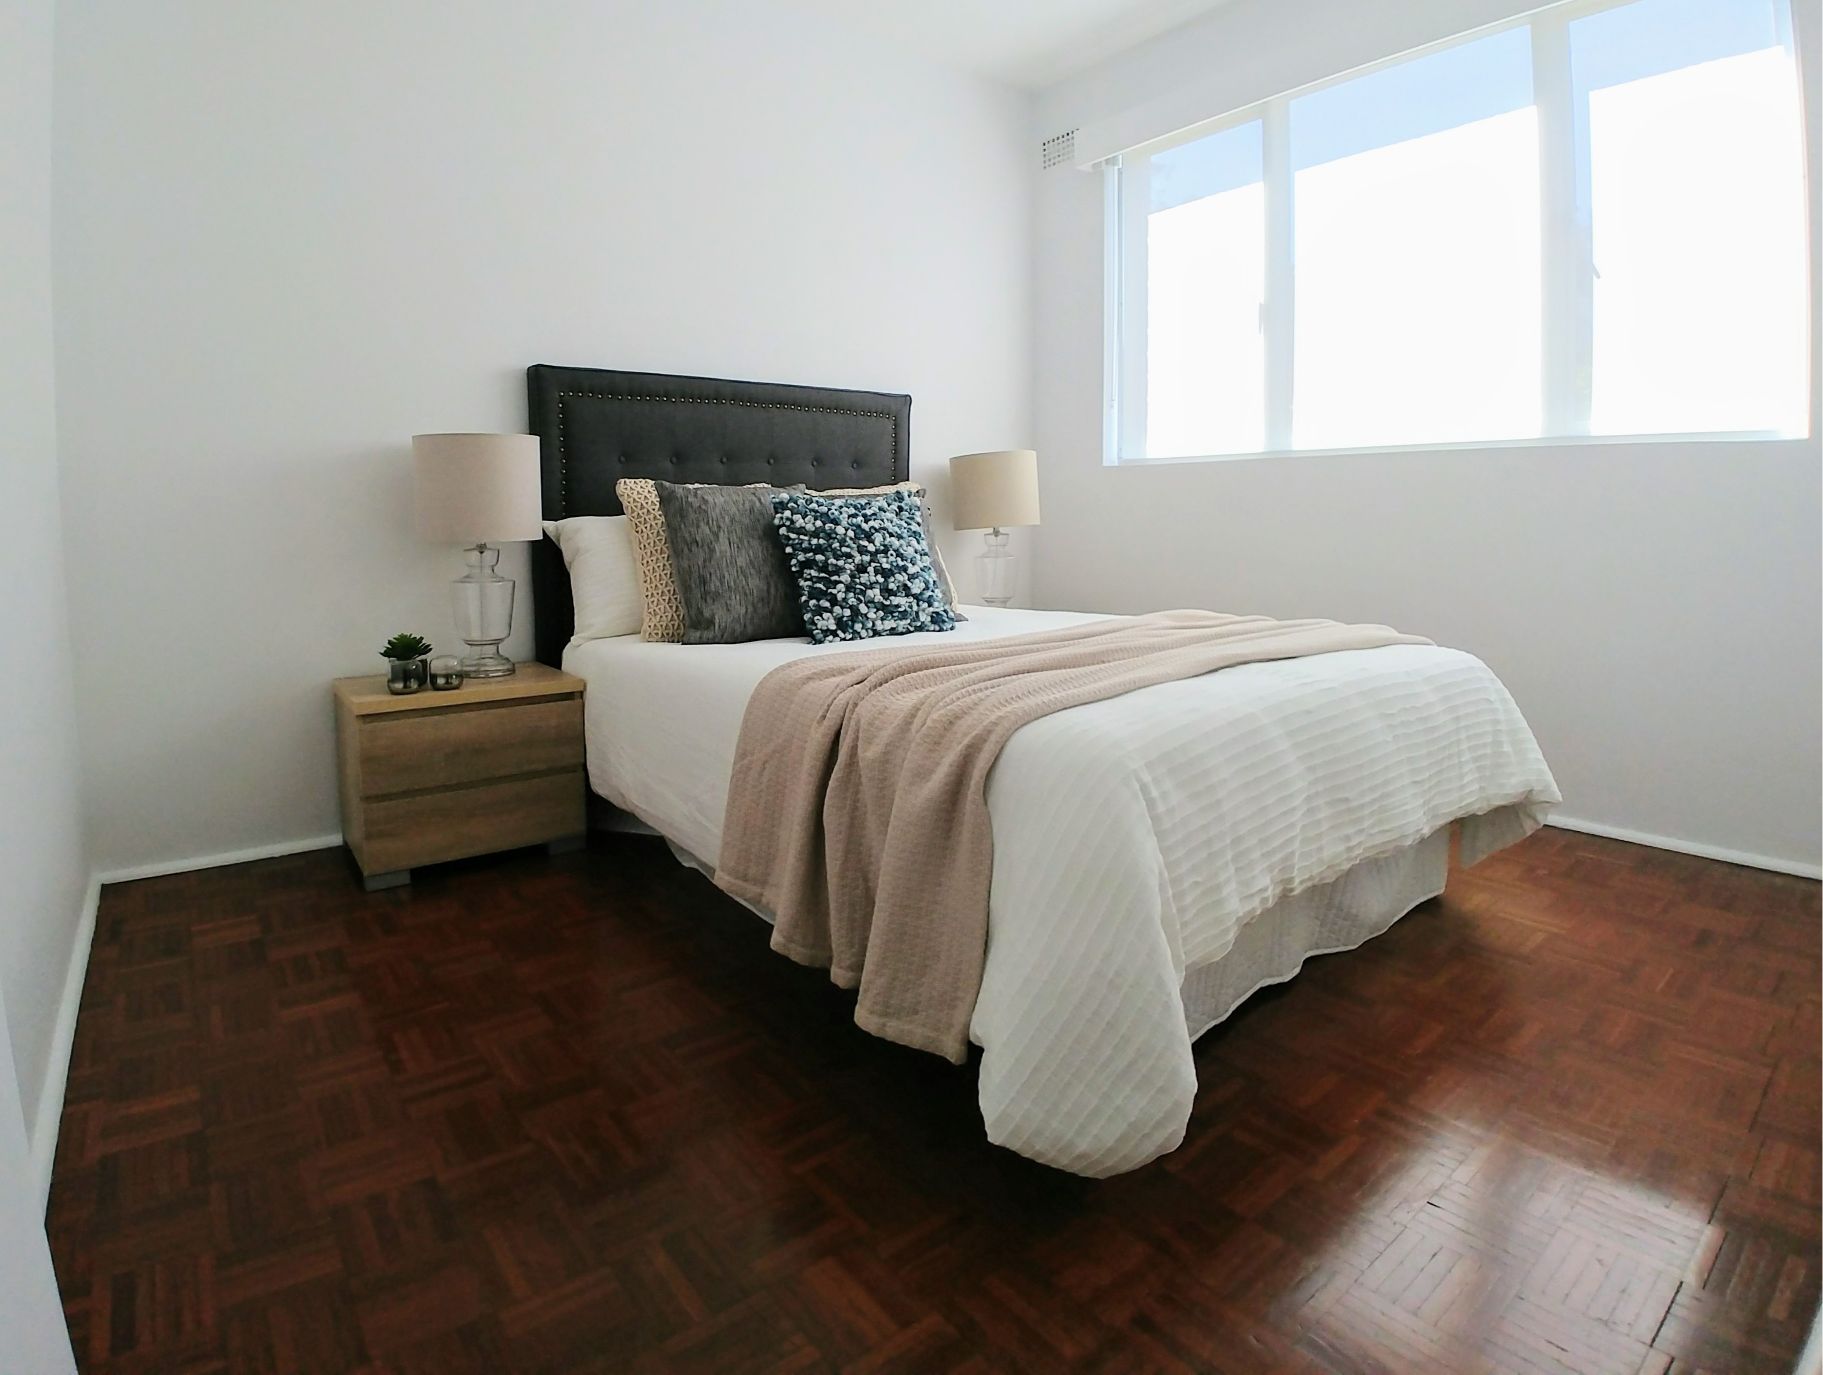
      •   The beautiful stark white quilt and the rich warmth of the parquet floor counteract yet complement each other.


      •  Adding a grey throw brings it all together – pure luxuriousness!


      Leaves…..

      • Can you feel it? The gentle restful, peaceful ambiance enveloping the room.


      •  Look at the window – see the tree. The artwork to the left is replicating the leaves inviting nature indoors.


      Second Bedroom…..

      • This room is quite small and narrow.


      •  To create a sense of space the bed was moved as close as possible to the wall and at the same time avoided to appear crammed in.


      More Property Styling Ideas –

      I hope you enjoyed the tour through this beautiful property which was styled for sale.

      For more information and ideas please contact our property stylists at Let’s Revamp Property Styling and Decorating, or visit our website.


      The Easiest Way to Style Your Bookshelf – Here’s How

      The Easiest Way to Style Your Bookshelf – Here’s How

      The Easiest Way to Style Your Bookshelf – Here’s How in 5 Easy Steps

      Are you wondering how to style your bookshelf after decluttering?

      Here’s how in 5 easy to follow steps.

      Step #1

      A Little Prepping Goes a Long Way

      In our blogHow to Declutter my Bookshelf in 5 easy steps”there are steps how to prepare your books before placing them back onto the shelves.

      • You will have in the work area of your bookshelf books that have been sorted and are to go back onto the shelves.
      • Some books will have their original covers, others won’t and some you have covered with interesting new covers.
      • You will also have some decorative items, photo frames and accessories set to one side that you would like to be included on the shelves.
      • Important to note – less is best. This is where people run into trouble – not all the books and decorative items you have decided to keep can be put back on the shelves. Store those in a box. They can easily be swapped back onto the shelf whenever you want to make some styling changes.
      • Remember to decorate in uneven numbers: 1,3,5,7. As strange as it may sound – odd numbers create a more balanced look.
      • Before starting to style your bookshelf, take a step back and try to visualize how you would like it to look. You can even make rough sketches to help you or have an image from a magazine that you like and try to replicate according to your style.

      Step #2

      Decorate with Decorative Items.

      Image by annca from Pixabay
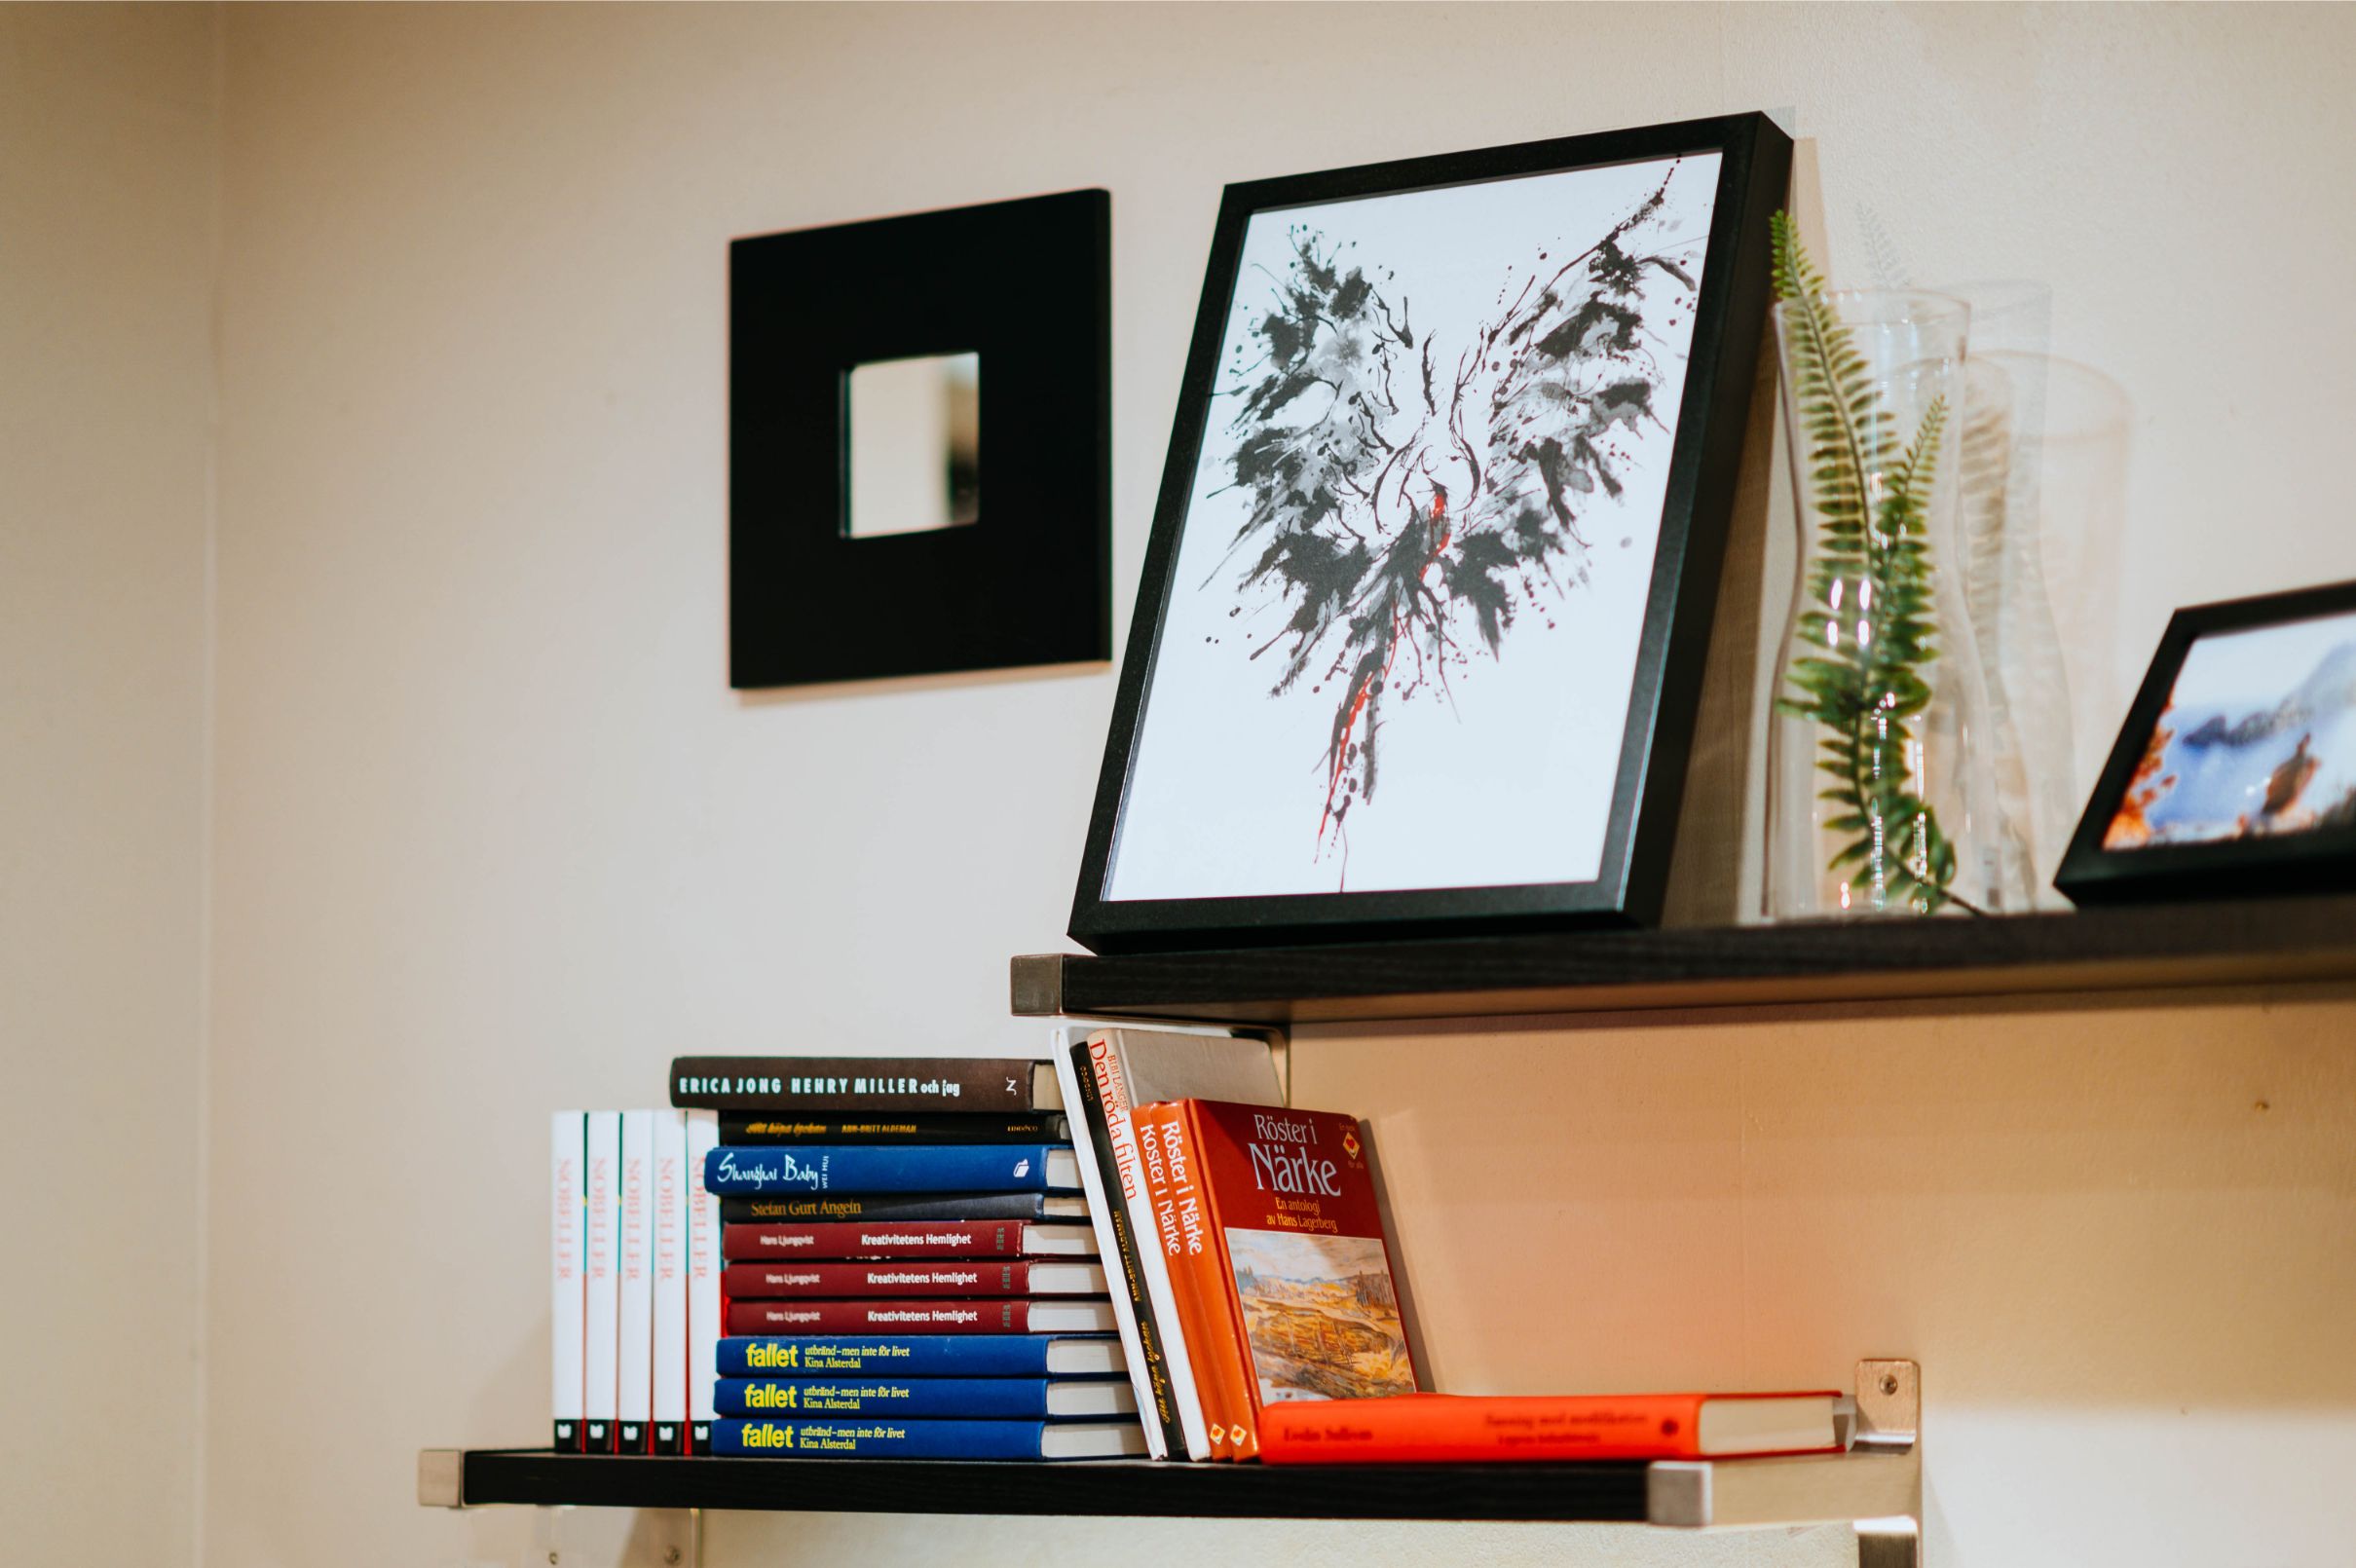
      • Place larger items towards the back of the shelf – this will create depth and interest.
      • Layer smaller decorative items to the front. For special effects place a small item on top of a stack of few books
      • Be creative and use items of different texture – woven baskets, a beautiful bowl or plate, shells, a basket of pebbles.
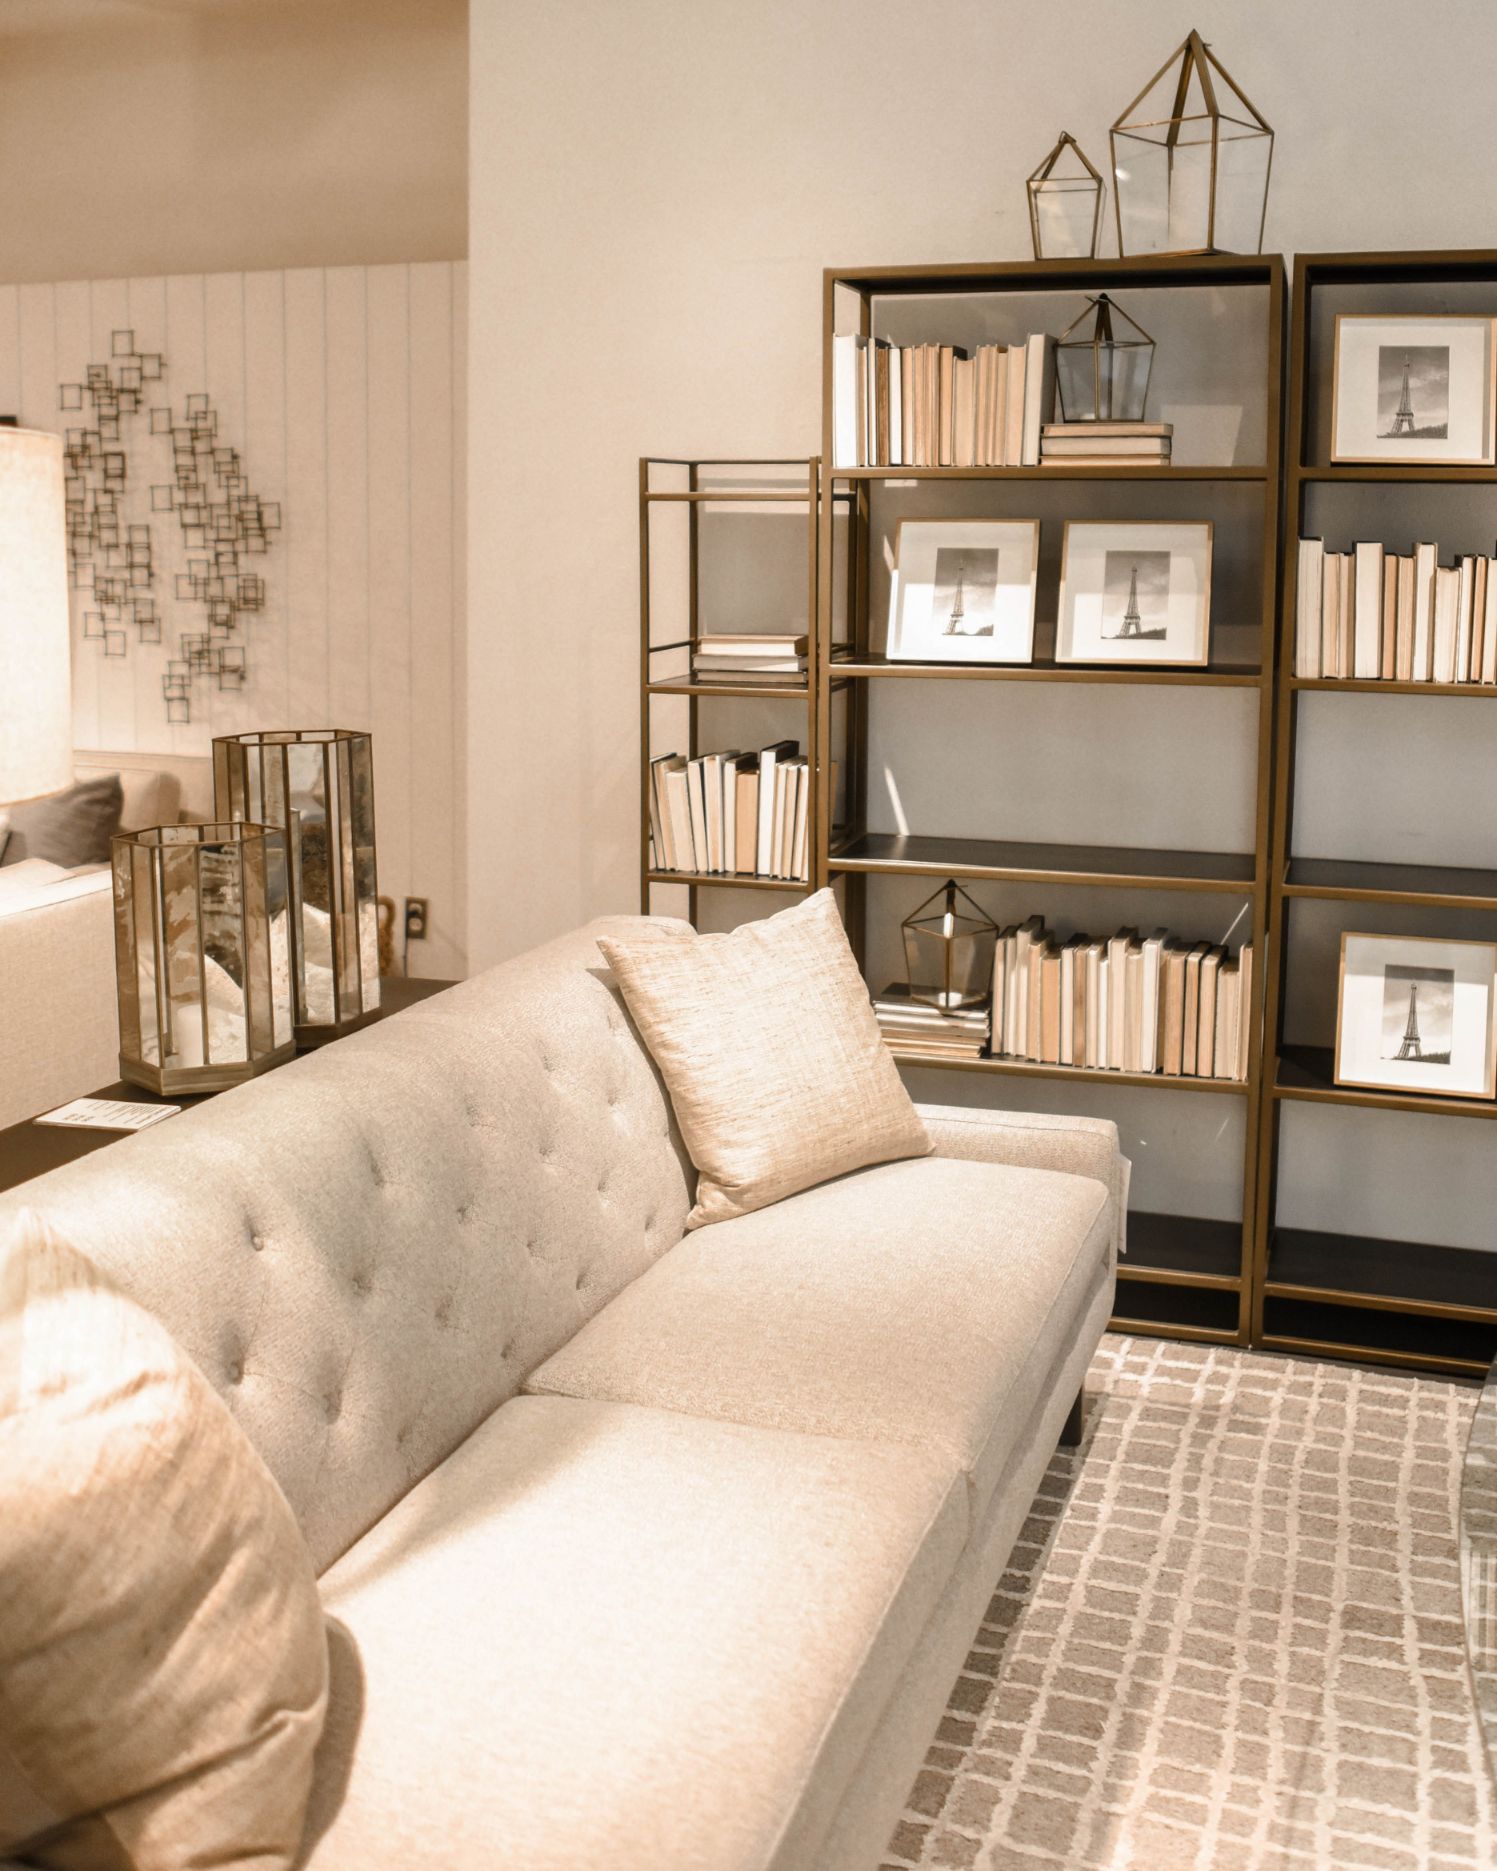
      • Metallic objects can be used for decorative accents too.A word of warning though – you can use different metals but stay within the theme.

        If you decide to use warm metals e.g. copper and brass – stay with the theme ‘warmth” – gold can be added to this.

        Cold theme would be items of silver, aluminium and nickel.

      • Add framed pieces of art or images towards the back of the shelf.You’ve guessed it! The image in the frame is interchangeable. Want a new look without going through the hassle of major bookshelf overhaul – just change the image in the frame.On that thought may I suggest the use of non-reflective glass in the frame – the image appears more clearly.

      Step #3

      Styling the Books

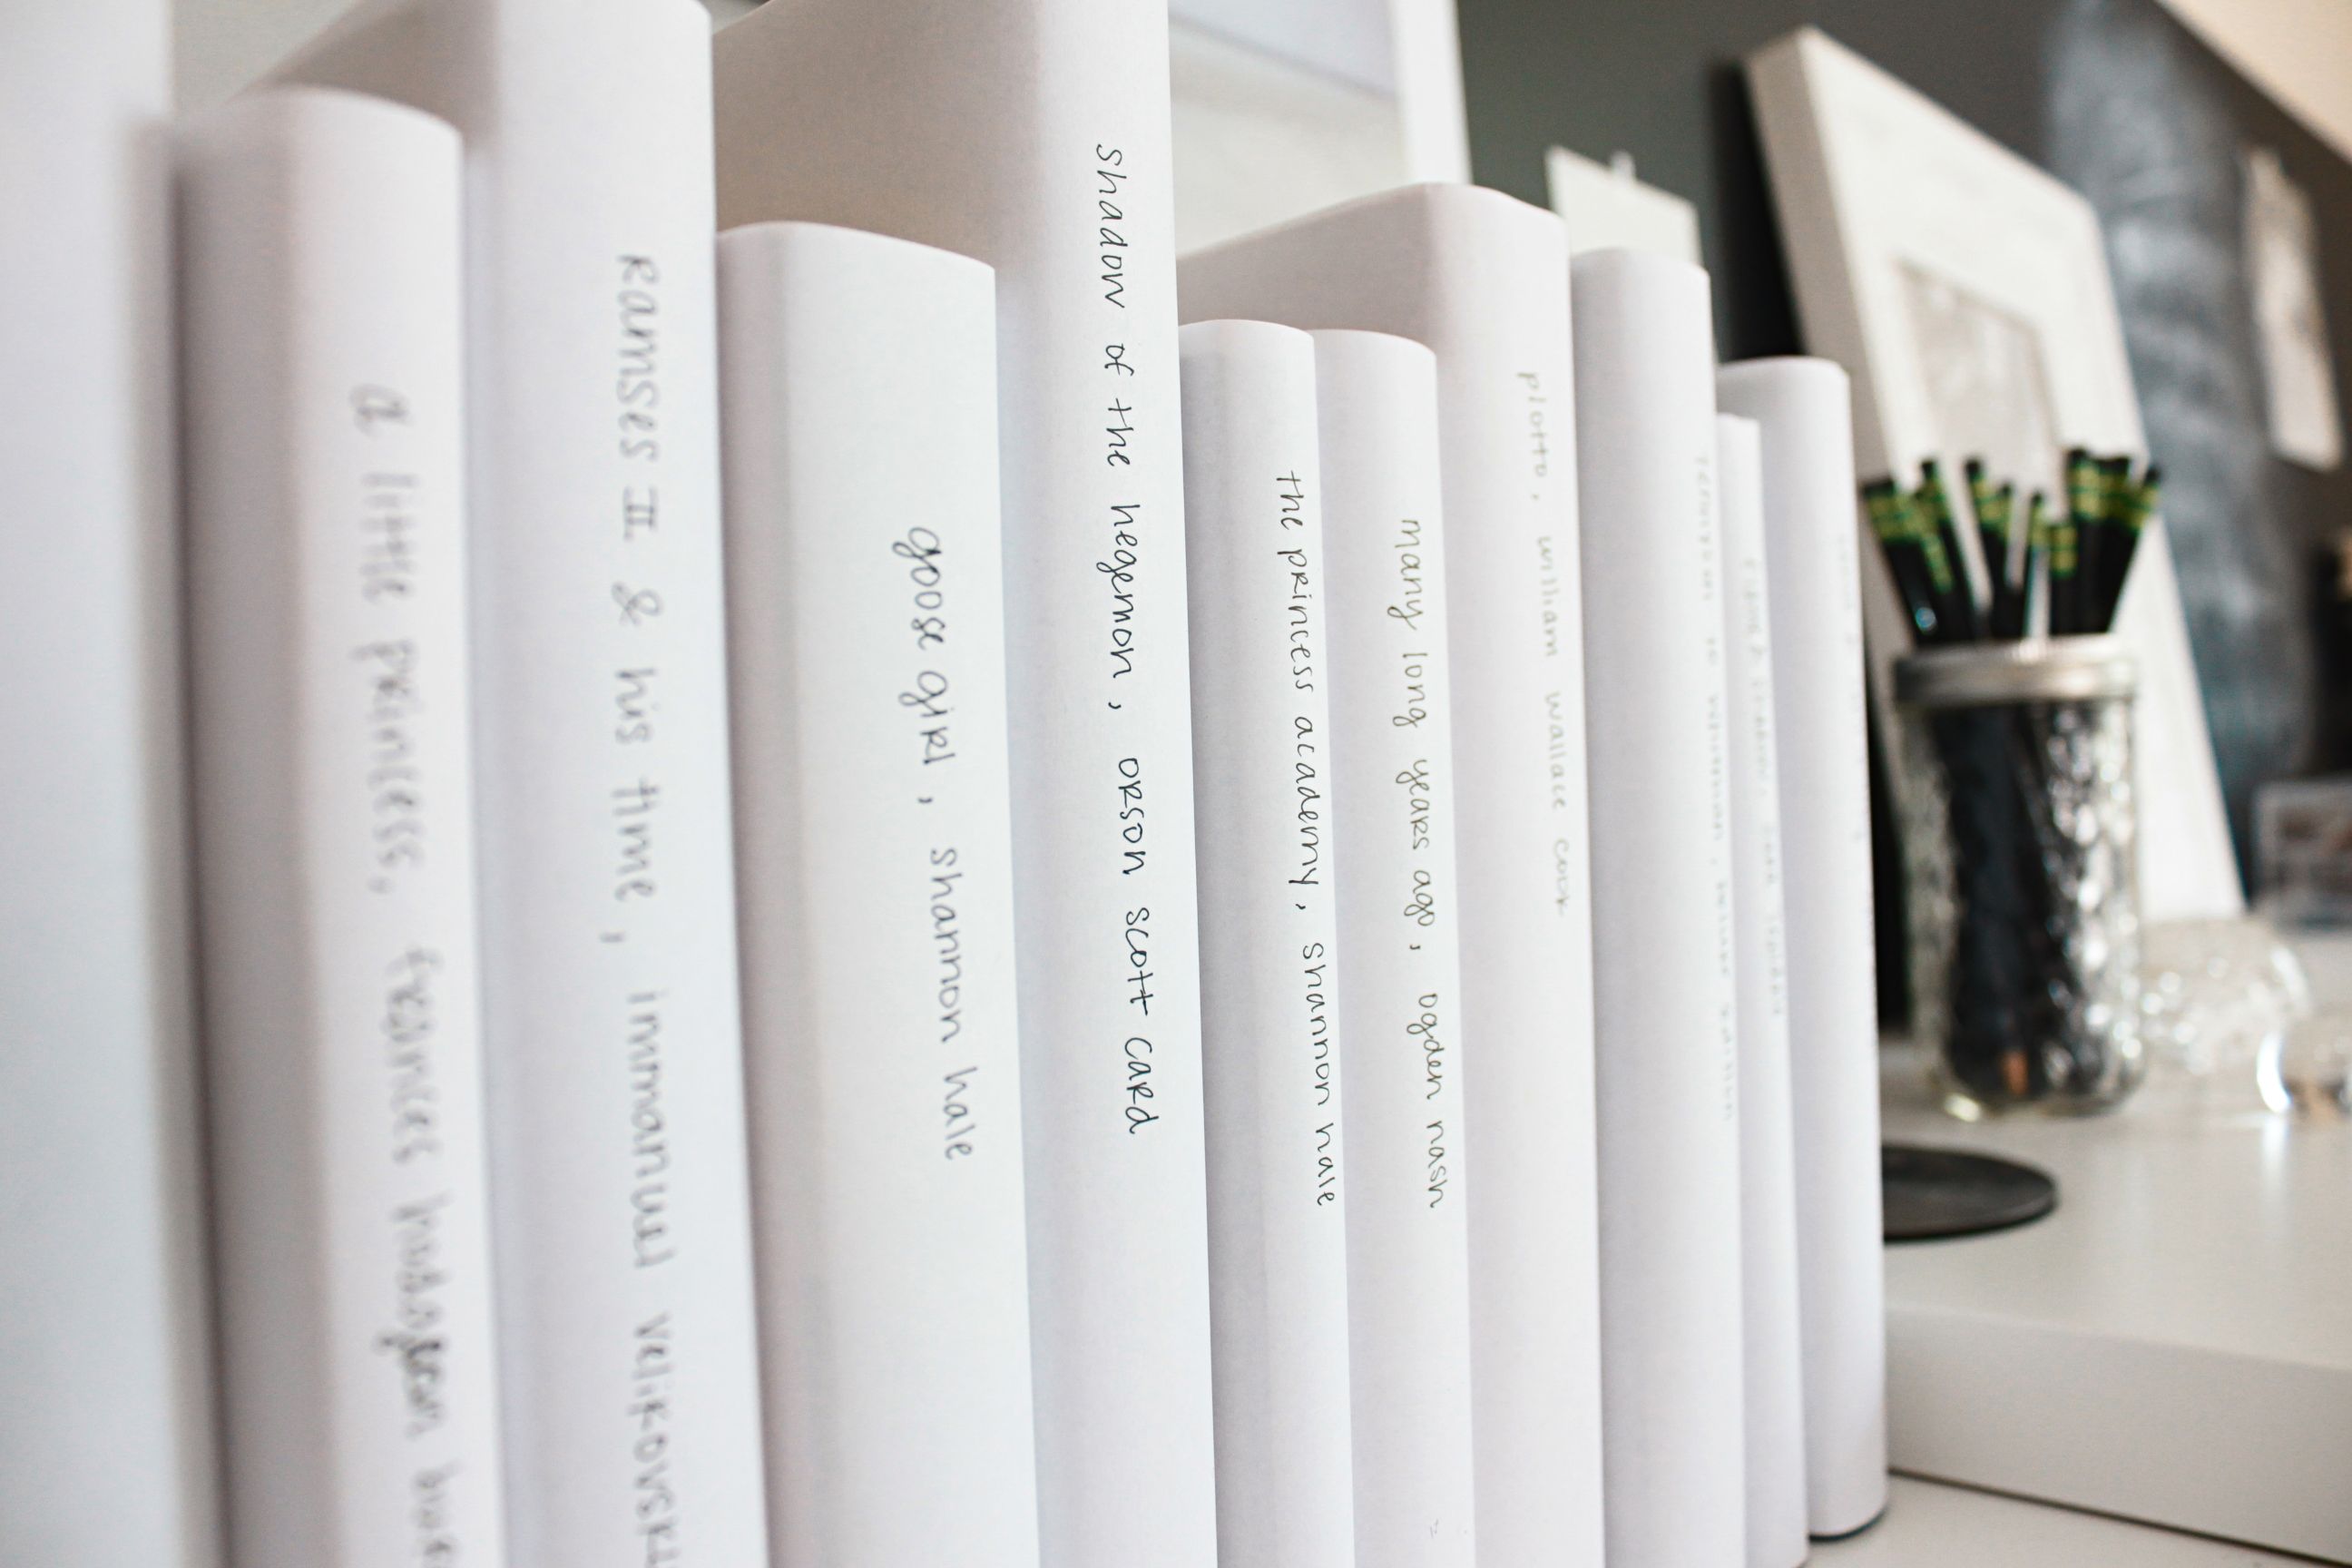
      No more uninteresting uniformly vertical stashed books.

      Did you know?
      – you can stack your books horizontally and vertically
      – you can place books at angles that appeal and are eye-catching
      – books can go anywhere on the shelf to create balance and “shelfie” styling appeal.
      – Use books within the same colour scheme.
      – Use books of different sizes in a group.

       Photo by chuttersnap on Unsplash
      Photo by Jessica Arends on Unsplash

      Step #4

      Let Nature In

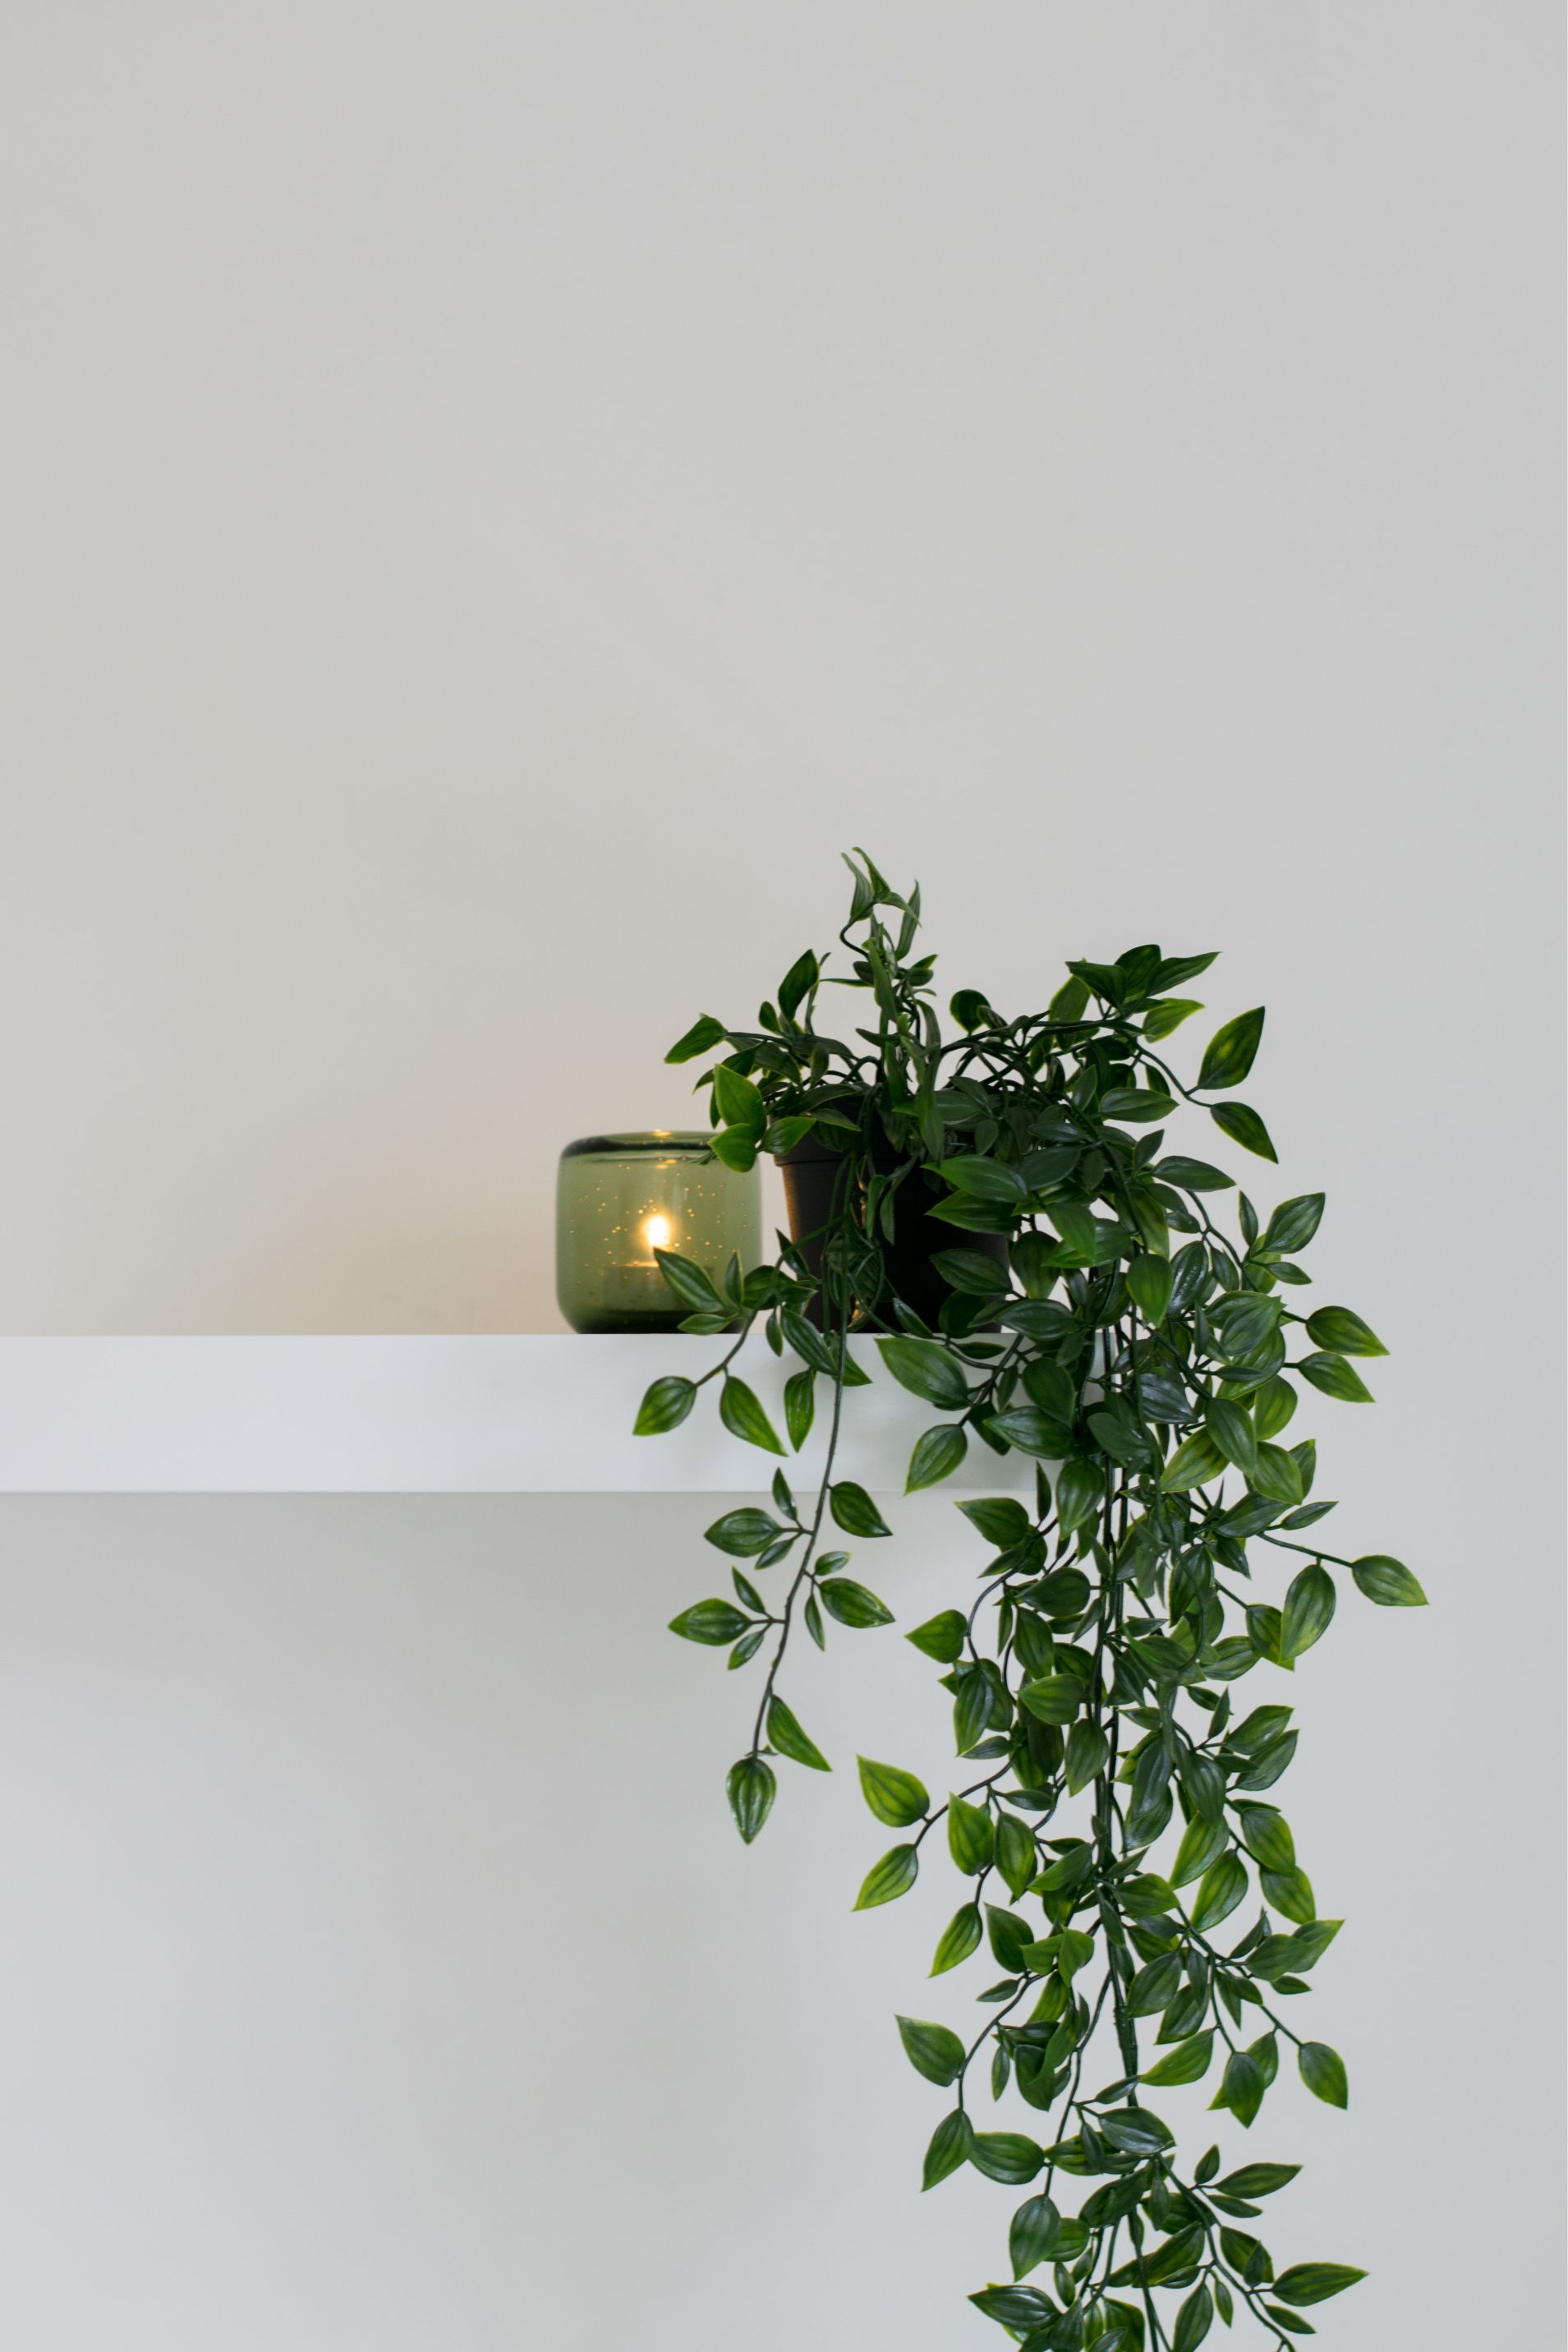
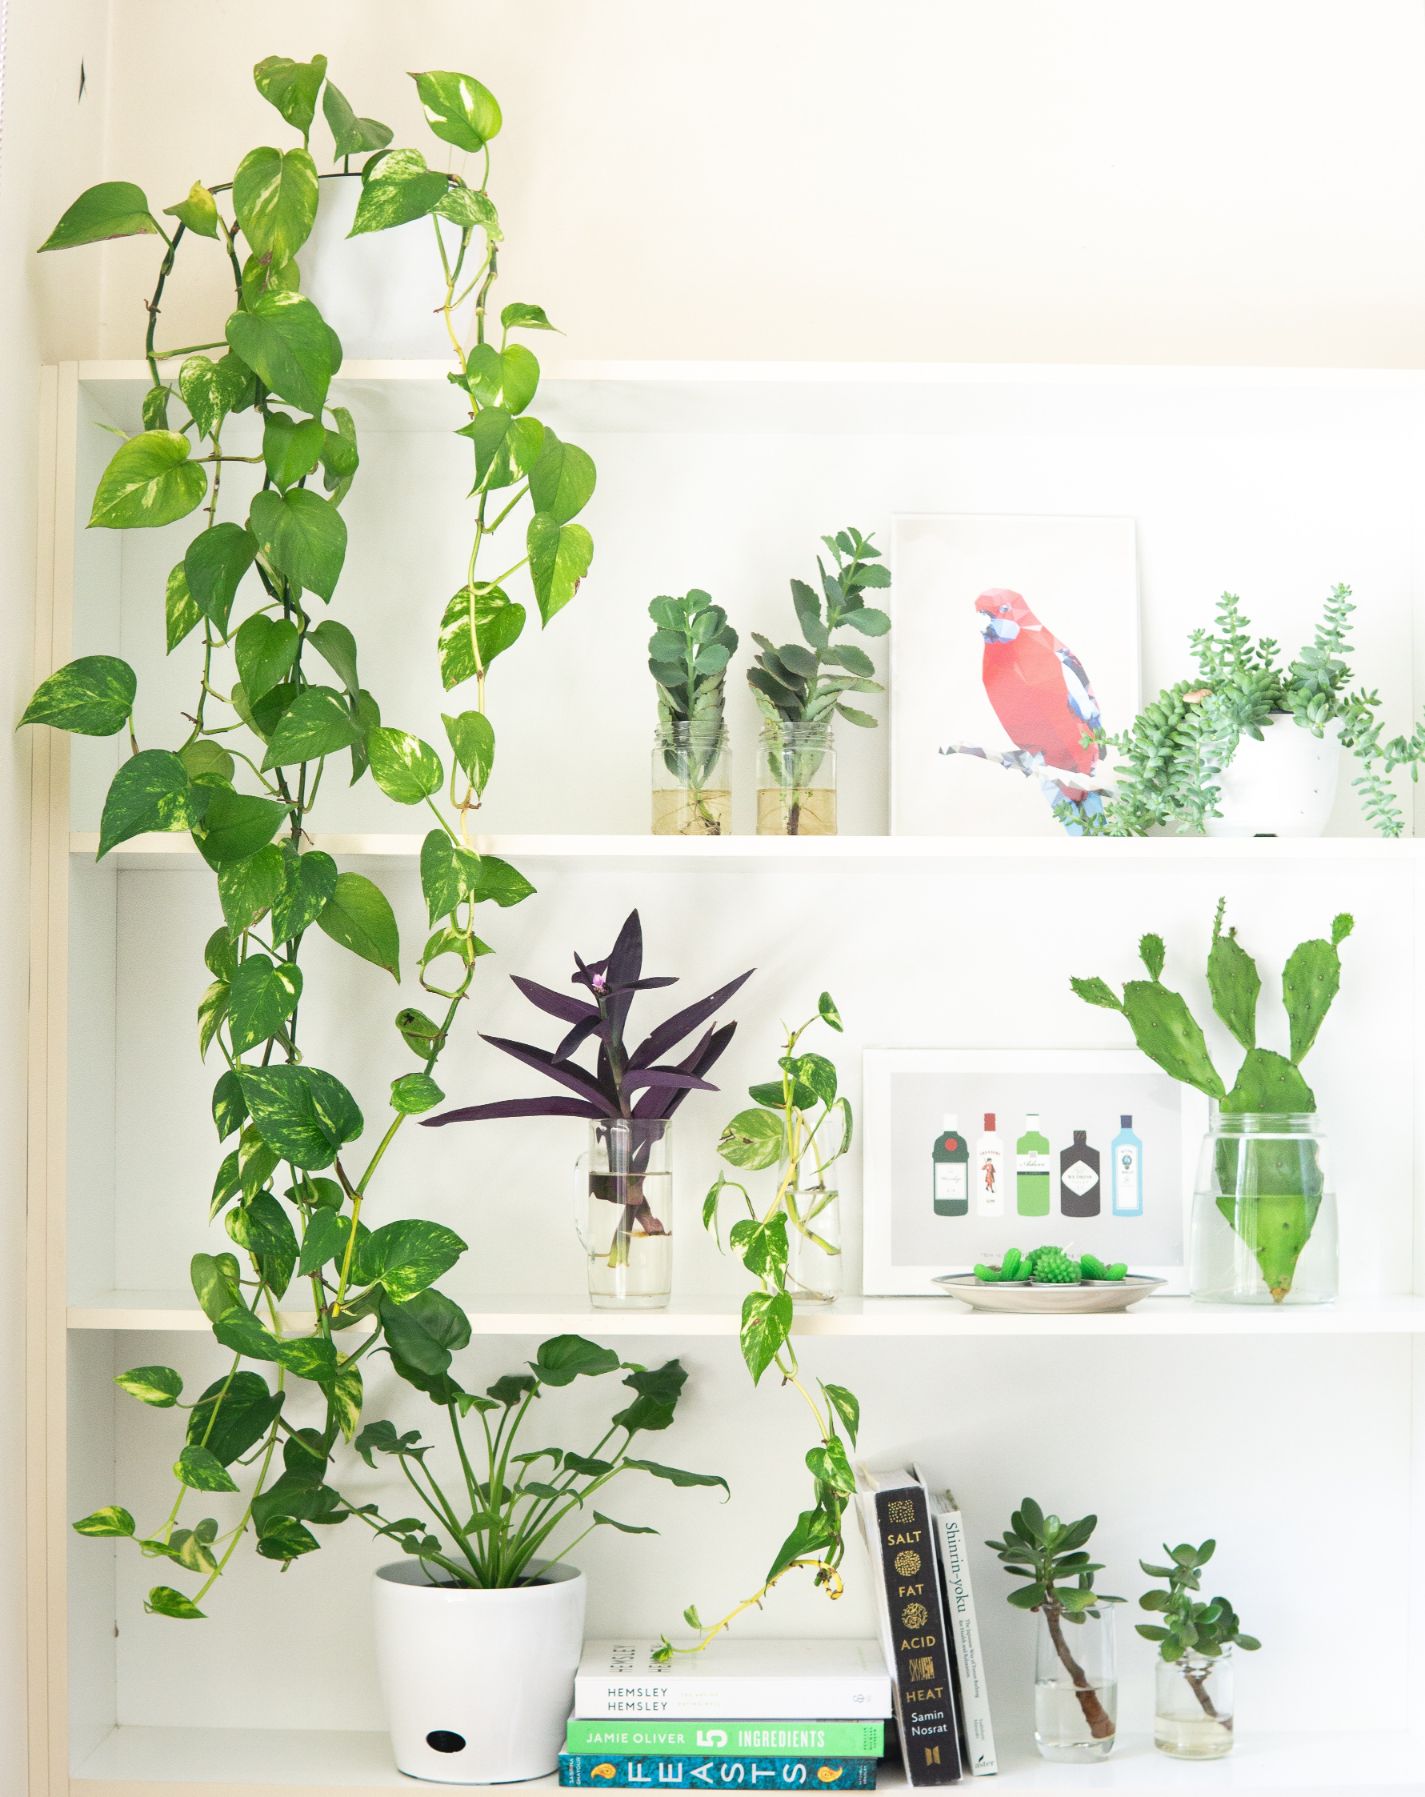
      • Adding plants to your home adds so much more than just greenery. Plants inhabit and accents the ambiance of an area.

      • Adding a few plants to the bookshelf will add more texture and dimension to your bookshelf.

      • Good quality artificial plants create the same visual impact as natural plants.

      Step #5

      Enjoy Styling Your Bookshelf

      These steps are intended as guidelines.

      Once you have finished styling your bookshelf and you take a step back and do not like what you see, make some changes.

      If it feels too busy, remove some items. Empty space is positive.

      Do not try to style it all at once. If you have decorative items that do not fit the style, leave the space empty till you find something that will.

      After styling take a shelfie! Compare your before and after photos. You will be amazed at the transformation.

      For inspirational styling tips and more information please click on our logo to visit our website. You will be glad you did …………….

      Photo by Elle Hughes from Pexels
      Photo by Element5 Digital from Pexels

      How to Declutter my Bookshelf in 5 Easy Steps

      How to Declutter my Bookshelf in 5 Easy Steps

      The Pebble in her shoe

      Decluttering is a pebble in her shoe.

      “I tried to declutter my bookshelf,” my friend said the other day, while we were having coffee.

      “But it did not go very well. In the end, I put everything back on the shelves. The thing is, I do not know where to start and how to sort through it all. 

      “The trick is to approach it systematically”  I replied.  “Let me break this down into five doable steps for you”.

      “How to Declutter my Bookshelf in 5 easy steps.”

      Step #1

      Set Up Your Work-Space Area


      • Get a couple of boxes. Label them “Donate” and “Recycle.”
      • Buy a roll of book cover paper that you like. See Step #5 as to why.
      •  Clear and create a work-space area around your bookshelf.
      •  Take a “before” photo of the bookshelf.

       Step #2

      Photo credit: ¡arturii! on Visualhunt / CC BY-NC-SA

      How to Sort and Group your Books


      Taking each book from the shelf ask yourself:

      • Have I ever read this book? If not, why? And if I did, would I really be reading it again.
      • Would I classify this book as a favourite of mine?
      •  Would I ever refer back to this book?
      •  Does the subject matter still interest me?
      •  Are the contents relevant for today and could it still be put to good use?


        Your answers to these questions would determine where the book goes –

        • on the pile for books to go back onto the bookshelf or –
        • in the box for recycling or donating.

        • Oh and do remember to give each book a quick flip through. You never know what long-forgotten item previously used as a bookmark you may find between the pages of a book – e.g. a photo, a card or note…you absolutely do not want precious memorabilia ending up in the recycle or donation box.


          Step #3

          A Good Clean, Wipe Down or Paint


          Give each empty shelf a good clean and wipe down.

          If the bookshelf is painted, give it a fresh new coat of paint. Preferably white and if not then a neutral colour.

          If the shelves are adjustable, why not move one or two to a different height to create a different look.

          Image by congerdesign from Pixabay 

          Step #4

          Sort the Pile of Books


          I can almost hear you thinking – what, sort again

          Yeah! But wait there is more – trust me on this, you’ll be glad you did.

          While sorting the books into the following groups –

          • Colour
          • Size
          • Topic
          • Adult
          • Children

          – repeat the questions listed in Step #2.

          You will find yourself putting more books into the recycle or donation box.

          Image by ATDSPHOTO from Pixabay 

          Step #5

          The Book Is Judged By Its Cover


          • Remove book covers that have become tattered and torn before putting the books back on the shelf. A couple of uncovered books add texture and diversity to the appeal.
          • Remember the book cover paper mentioned in Step #1? Cover some of the books with this paper.
          • Investing in these changes add panache to your freshly styled bookshelf.

          Photo by Joyce McCown on Unsplash

          All Done and Dusted –

          Well, Not Exactly

          Styling your bookshelf


          Good job! You’ve made it to here.

          The next step would be to put the books you have decided to keep, back onto the shelves.

          Only this time the books will not be all standing upright, and we will add a few decorative items too.

          This is called styling your bookshelf.

          Bookshelves must draw the eye, create interest, look nice and be your inspiration.

          So keep a look out for our next blog “How to Style Your Bookshelf”.

          How to Style Your Home Like a Professional

          How to Style Your Home Like a Professional

          How Important Is It Really?

          • We know that in today’s property market, styling your house for sale is a necessity and no longer a choice.
          • Empty space and cluttered rooms discourage prospective buyers.
          • A styled or staged home is photogenic and visually invaluable when images of your place are shown on the various property market platforms as this will entice potential buyers.
          • Real Estate Professionals agree, that styling your house will get you the best return on your property and in a shorter time frame.

          Yes, You Can!

          The question some homeowners may ask is “can I style my home professionally myself or should I contract in the services of a professional property stylist?”

          • The answer is “yes”, you can style your property yourself.
          • There are instances when a property stylist is not in your area, then you will need to style your home yourself.
          • Sometimes financial constraints could be the reason.
          • Or simply you just want to do it yourself.

          How?

          So How Do You Style Your Property Like a Professional?

          At Let’s Revamp Property Styling and Decorating we currently have three great self-styling packages available for the DIY property Stylist to choose from.


          • Whichever option you choose, will empower and guide you to styling your home like a professional.
          • We work with you to present your property in a way that will completely astound you and mesmerize the space wherein potential buyers can visualise themselves living.
          •  These options are available at an affordable price tag.

          Style Like a Professional

           Option 1 – Virtual Property Styling


          • Perhaps the first of its kind currently available.
          • The property stylist is virtually available to come to you in real time discuss, advise and recommend actions to be taken in getting your property ready and styled for sale.
          • This is especially of great value to you if you live in a country area or where no property stylist is available.
          • You will have access to professional and expert Property Styling service, only virtually.
          • The beauty of this concept is that you only require a wi-fi, internet, mobile device and/or PC/laptop.

          Sally and our Let’s Revamp Property Stylist will give you a rundown on how Virtual Property Styling is done.

          Option 2 – On-Site Consulting Services

          • This service would include a pre-consultation phone call, followed up with in-house consultation.
          • The assessment will be discussed and further advice and options in getting your property ready and styled for the open day will be presented to you.

          Option 3 – Online or Per Phone 


          • Your initial contact with one of our property stylist will be either by completing the online questionnaire on our website or making a phone call to our office.
          • Your stylist would require photos of the areas to be styled.
          • Once your stylist has assessed the best possible plan of action to style your house you will be contacted for further discussions and recommendations to maximize your property’s sale value.

          Our client Mr English simply awestruck at the outcome of styling his property.


          We would love to help you style your property successfully and professionally.

          Please do contact us for more information by clicking here.