How Much Does Property Staging Cost?

How Much Does Property Staging Cost?

How Much Does Property Staging Cost?

Patio Staged

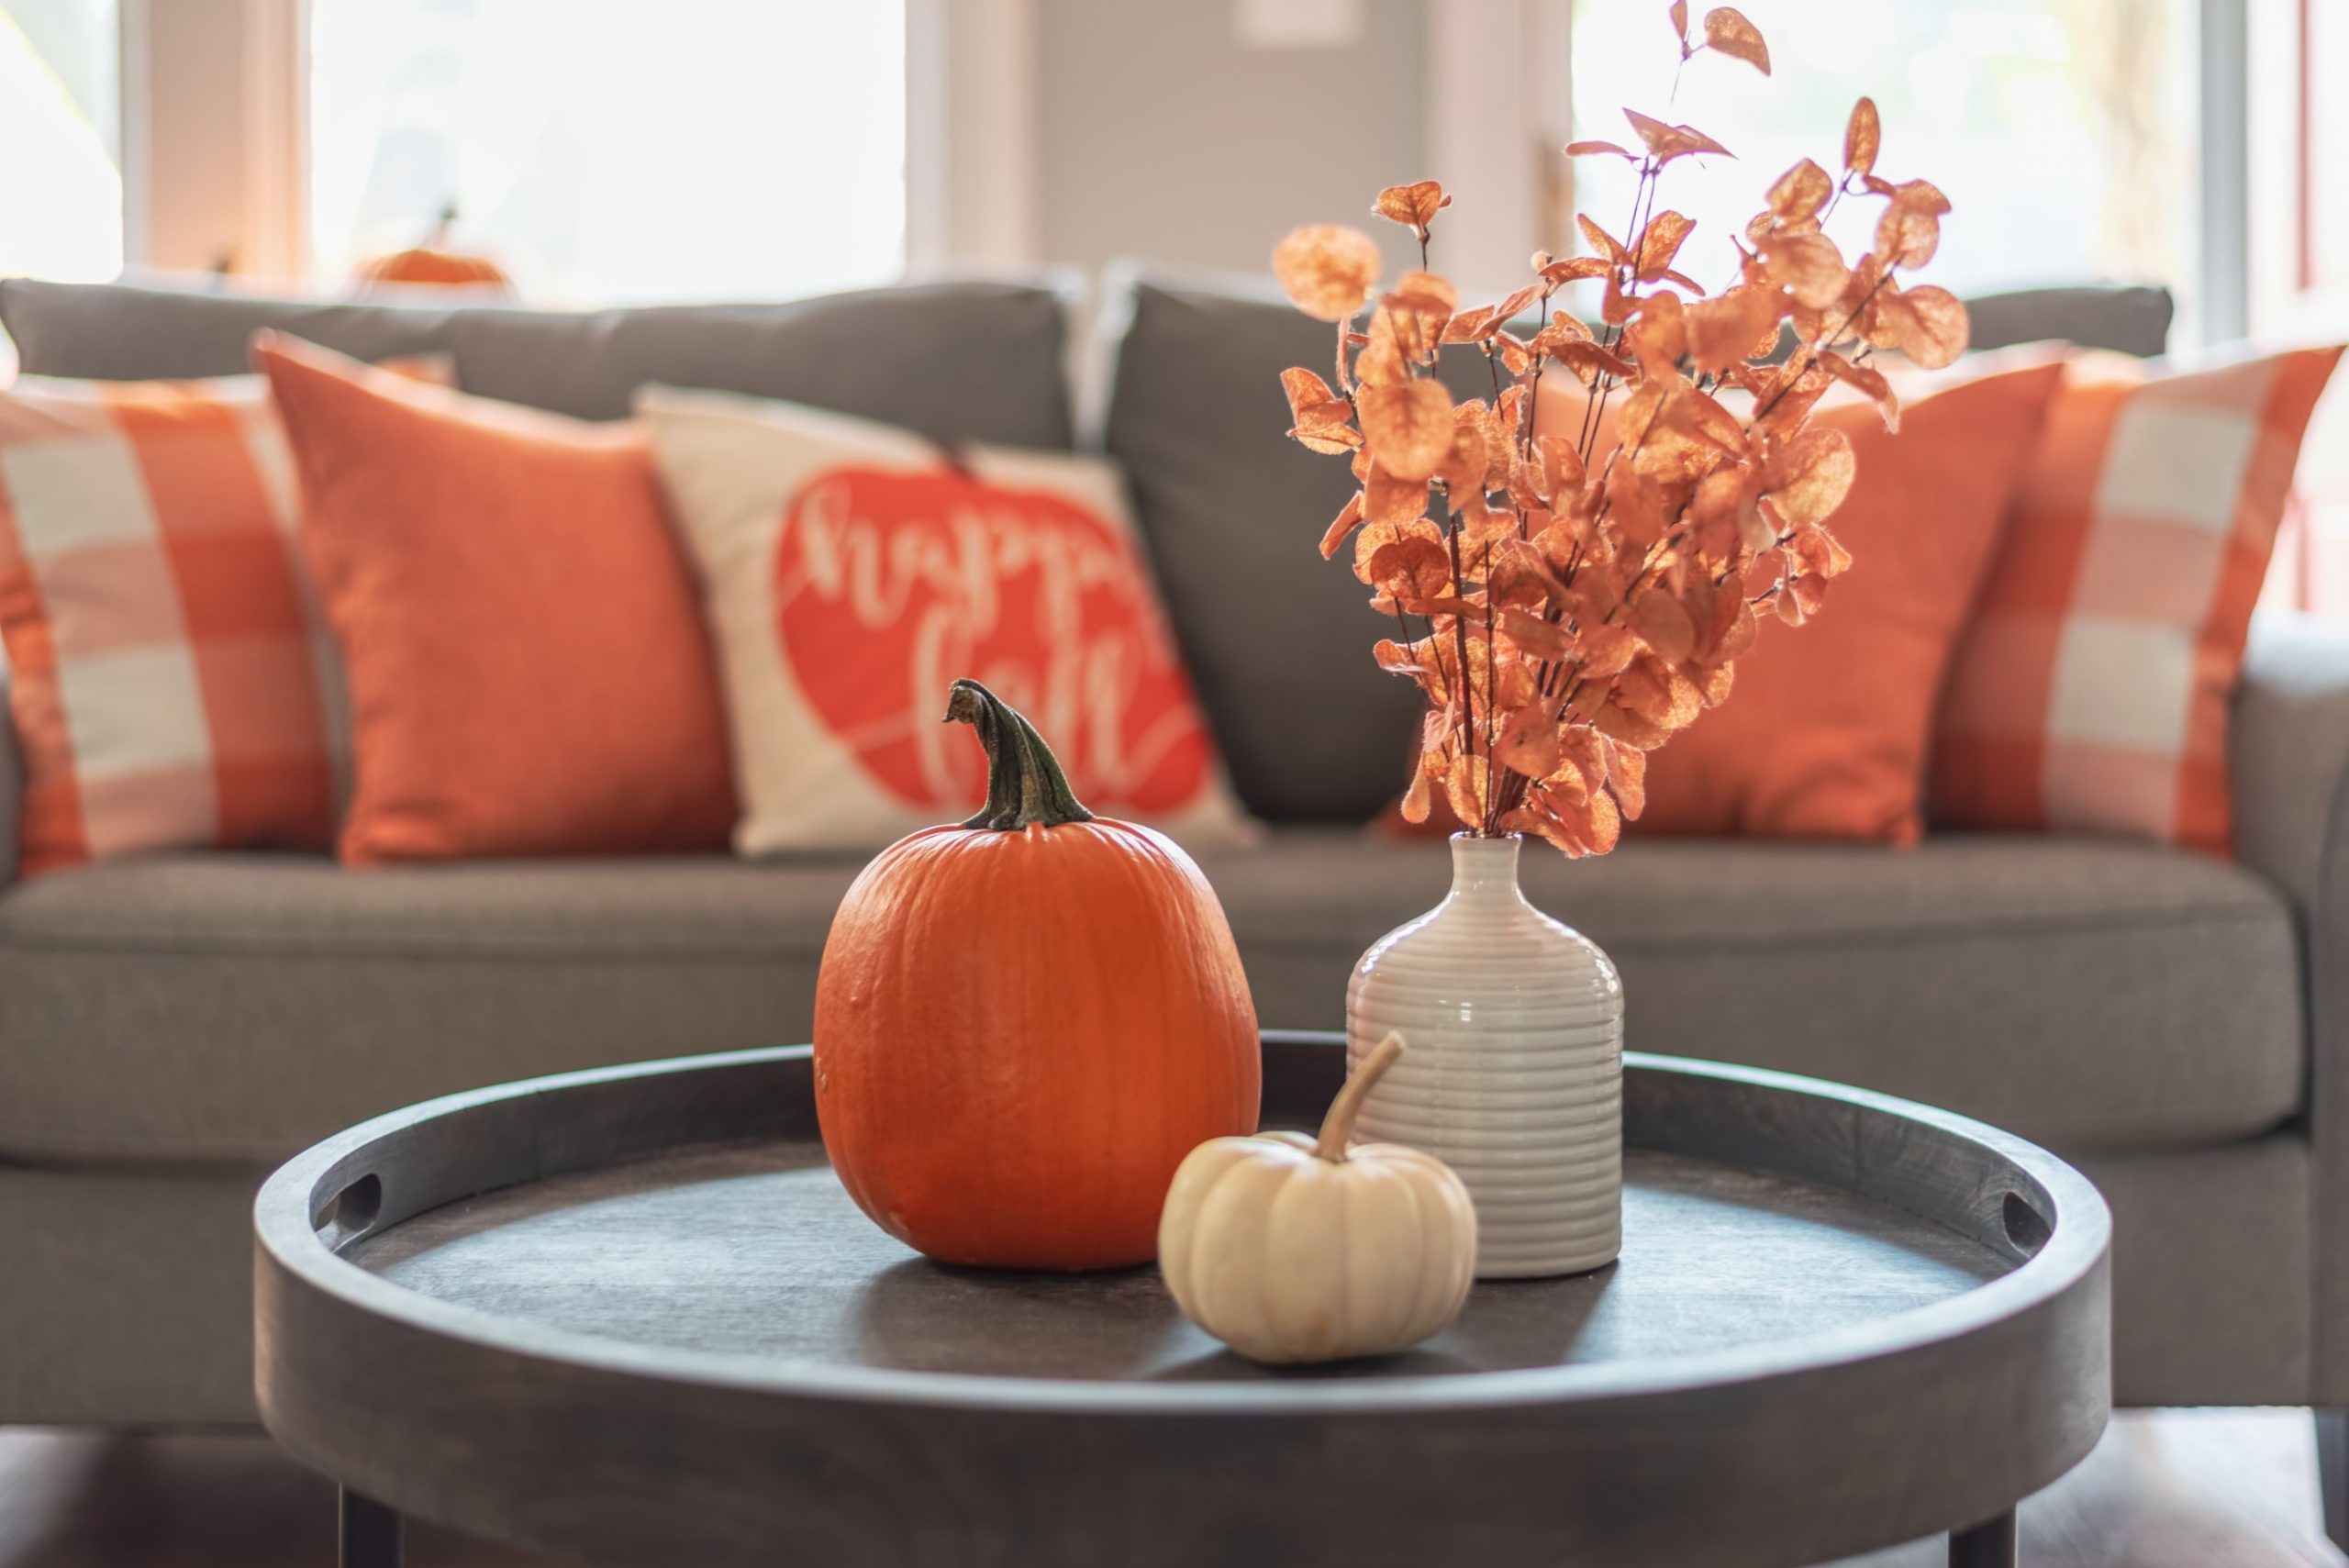
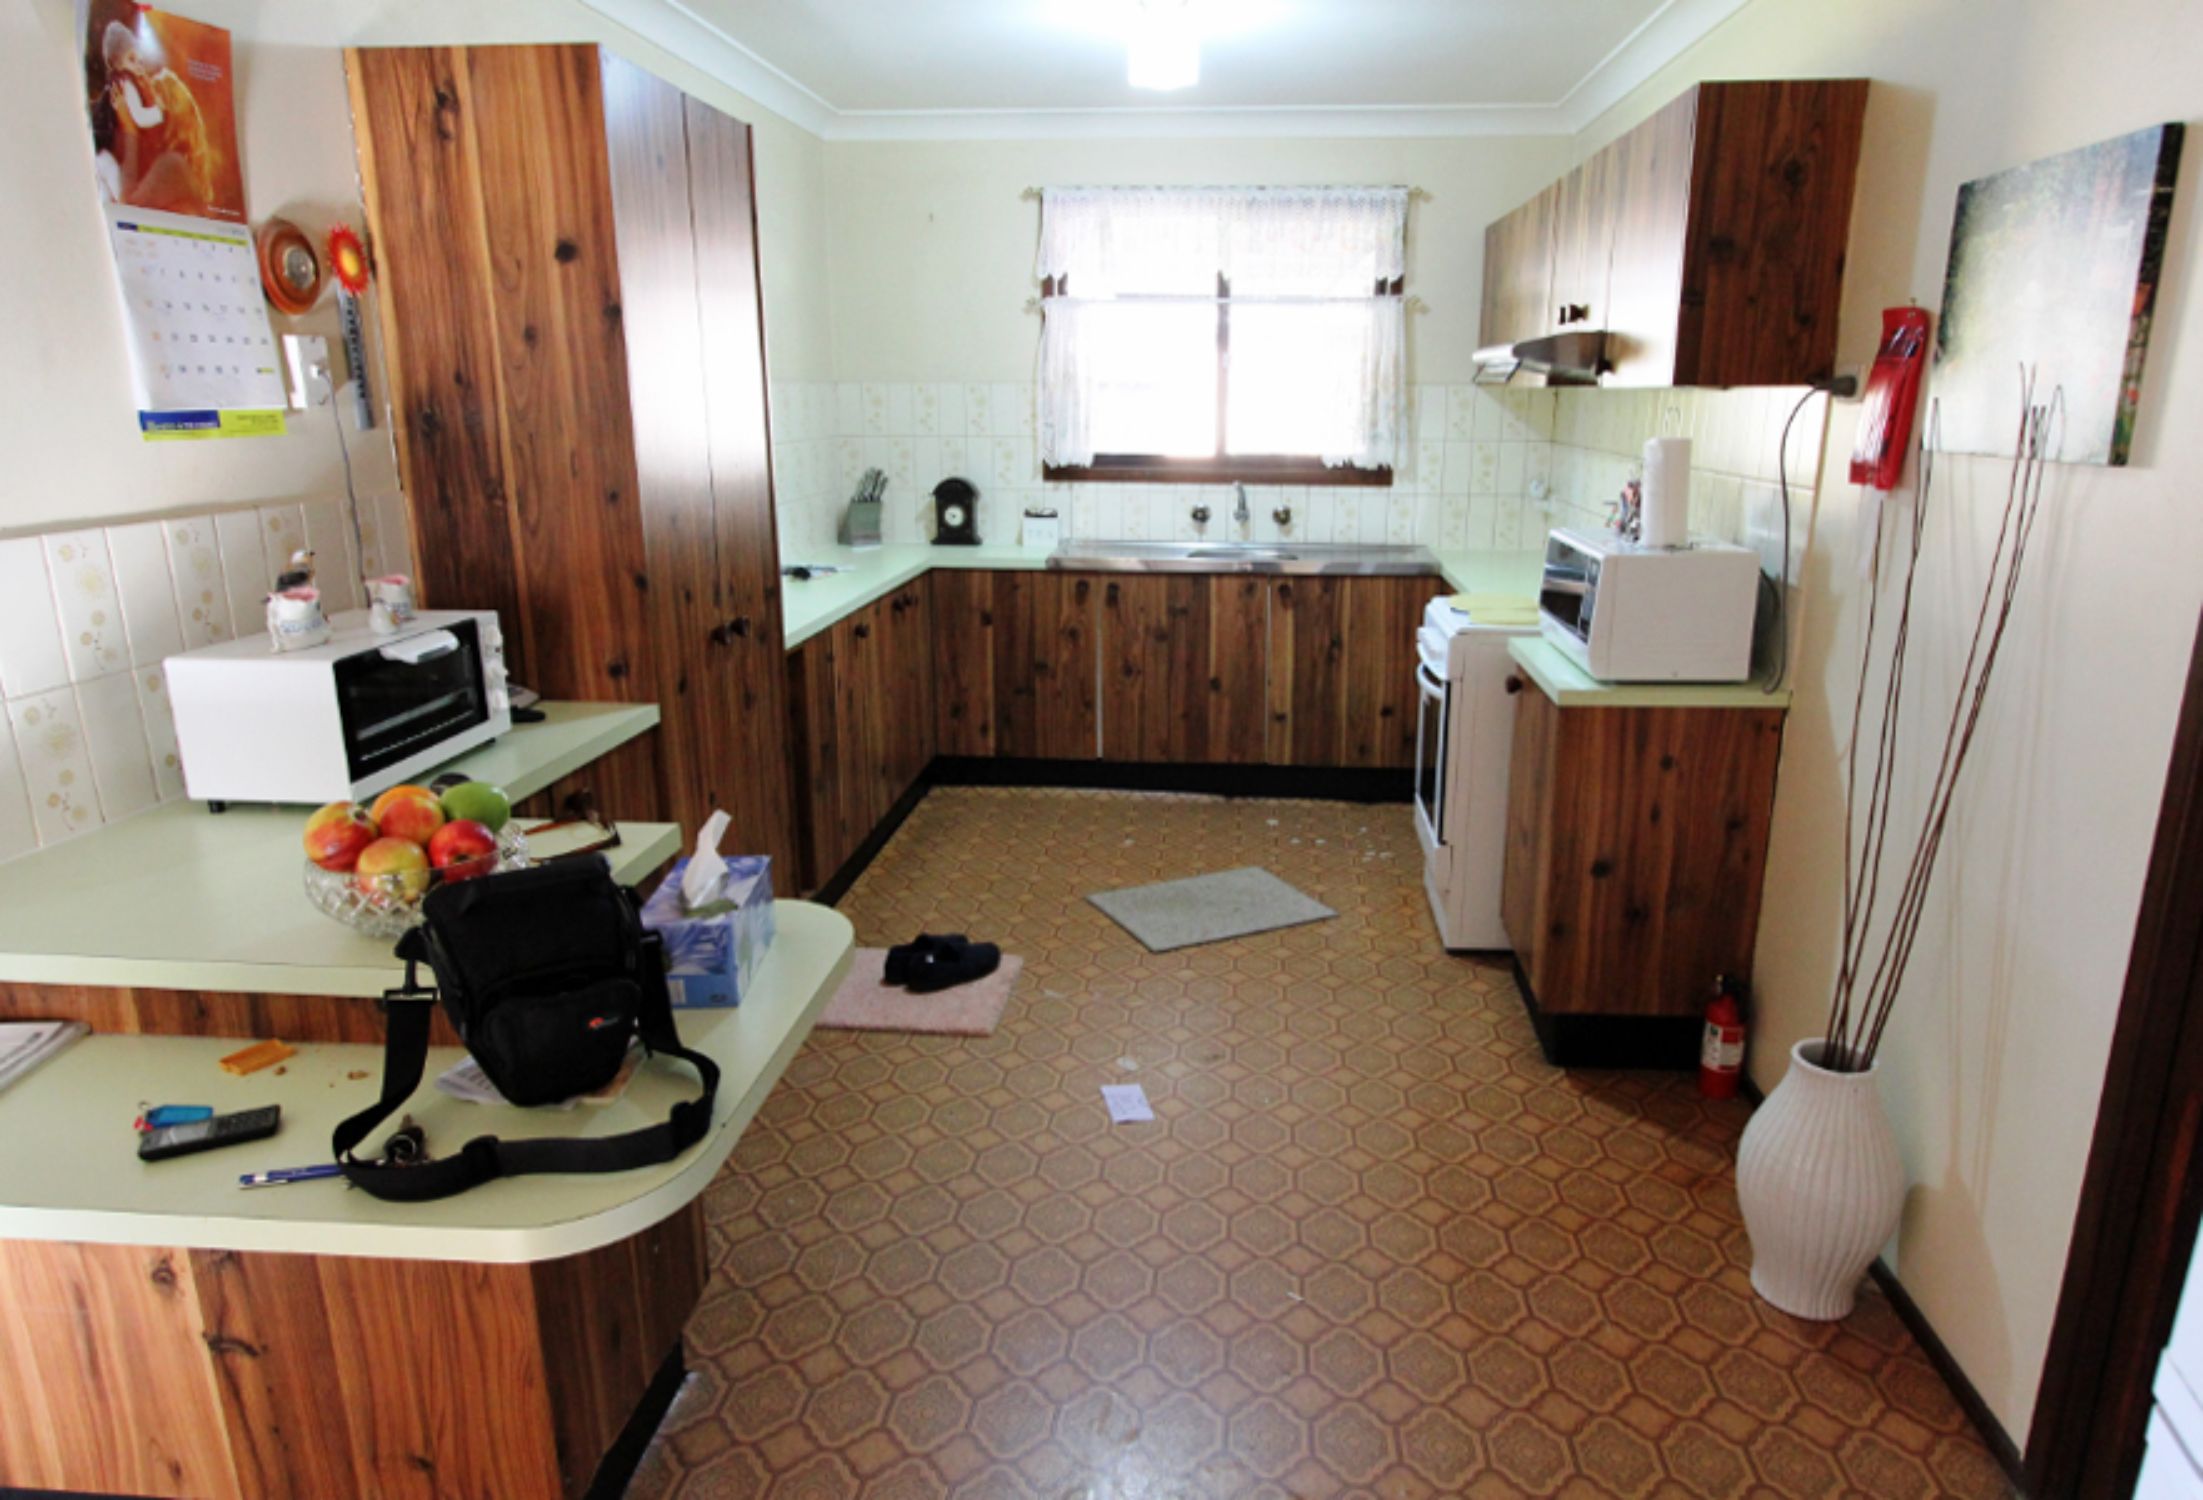
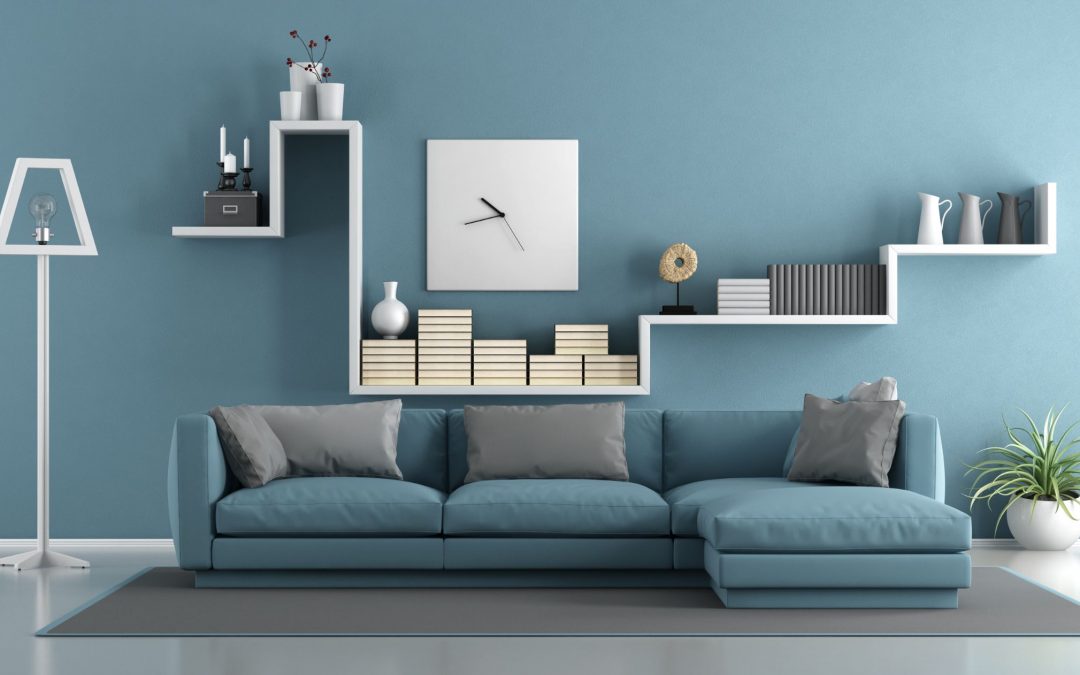
When selling property, it is important to exhibit the property at it’s best advantage for a sale. This is referred to staging the home for sale. Homeowners are advised by Real Estate Agents to have their property staged for sale. The question then asked by the homeowner is How much does property staging cost?

Property Staging is also known as Property Styling.

Property Stylists

Whether selling the house yourself or through an estate agent you would need to secure the advice and support of a property stylist in preparing your home for sale. The property stylist is a professional who will present (stage) your home in a way that is best, so as to attract the highest price possible.

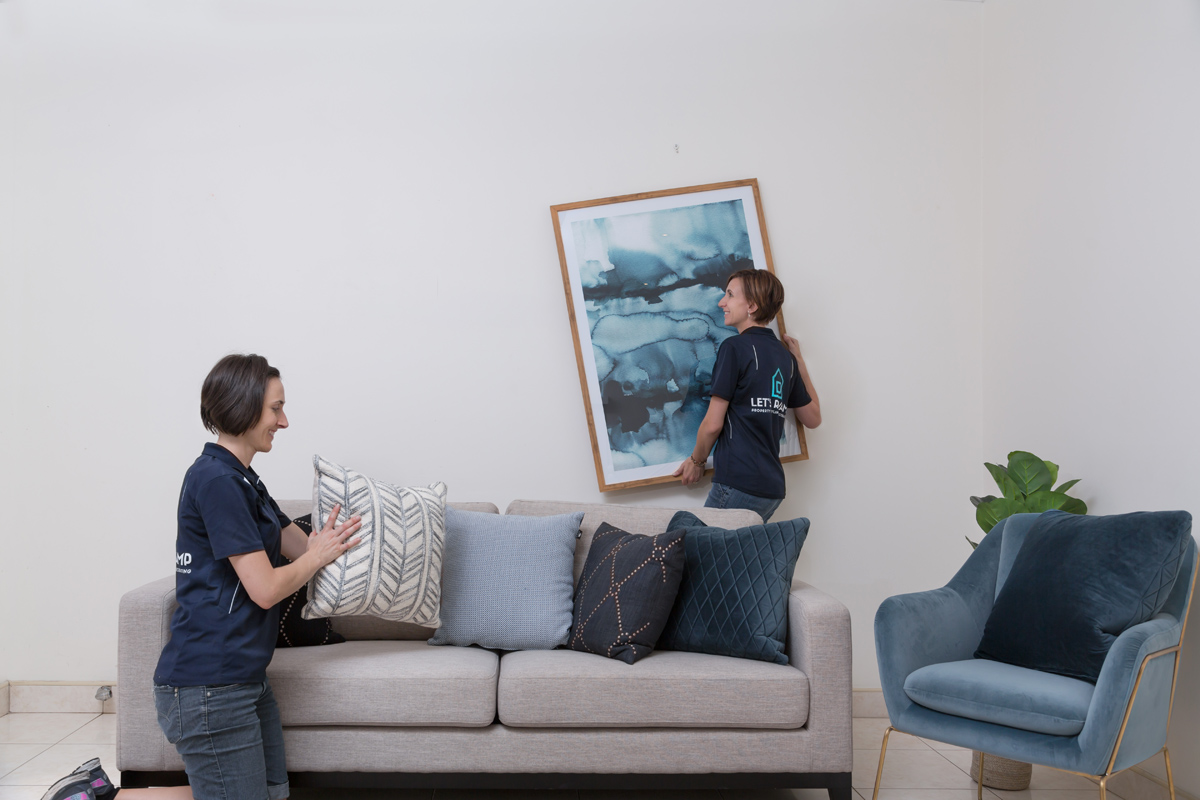
Let’s Revamp, Property Styling and Decorating, Sydney:

Let’s Revamp the property styling and decorating company in Sydney, winners of 2018, 2019, and 2020 Best of Houzz Service Award, have come up with a brilliant idea. Probably a first in Australia.

  • The Calculator can be used from the comfort of your home, during your “five-minute” coffee break at the office, or even whilst commuting on public transport, it is that easy to use.
  • Enter your postal code (Sydney Metropolitan)
  • Enter the rooms/area sizes to be styled –
  • Press calculate.

The advantage of using the calculator enables you to know how much it would cost to stage your house for sale. Secondly, you can always go back to the calculator to make adjustments to the number of areas to be staged to suit your budget.  Once completed, further collaboration will take place between you, and the property stylist who will transform your property’s interior into an amazing space, presenting your house for sale in a most appealing way.

Beautifully staged bedroom

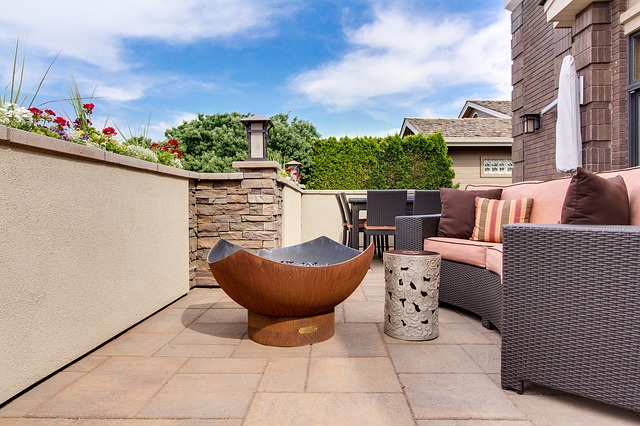
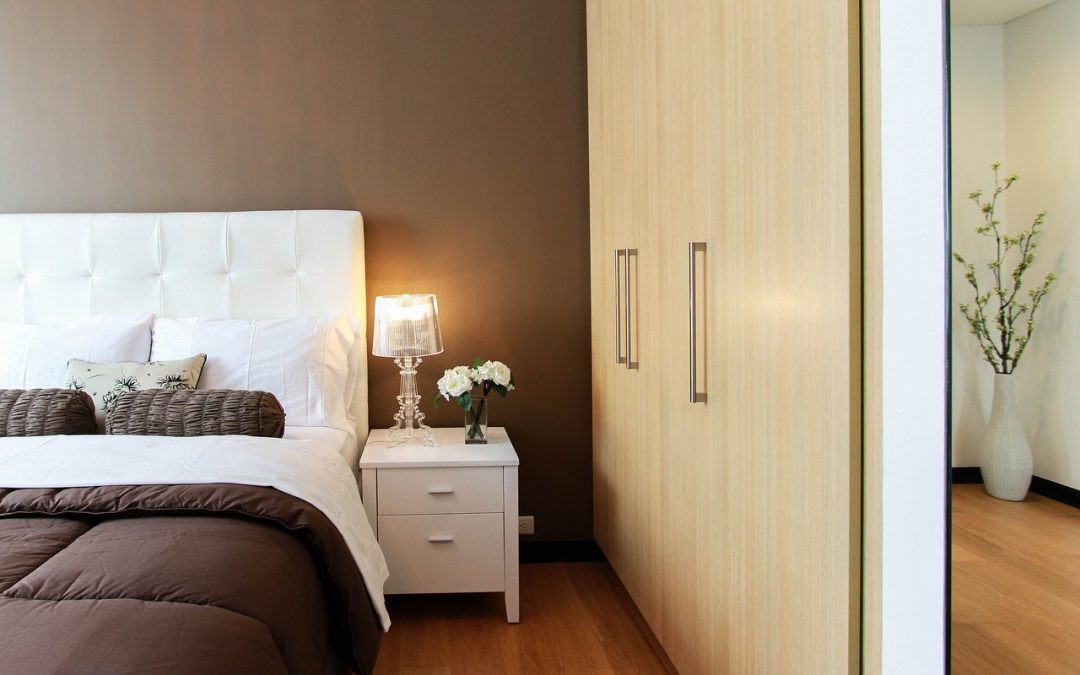
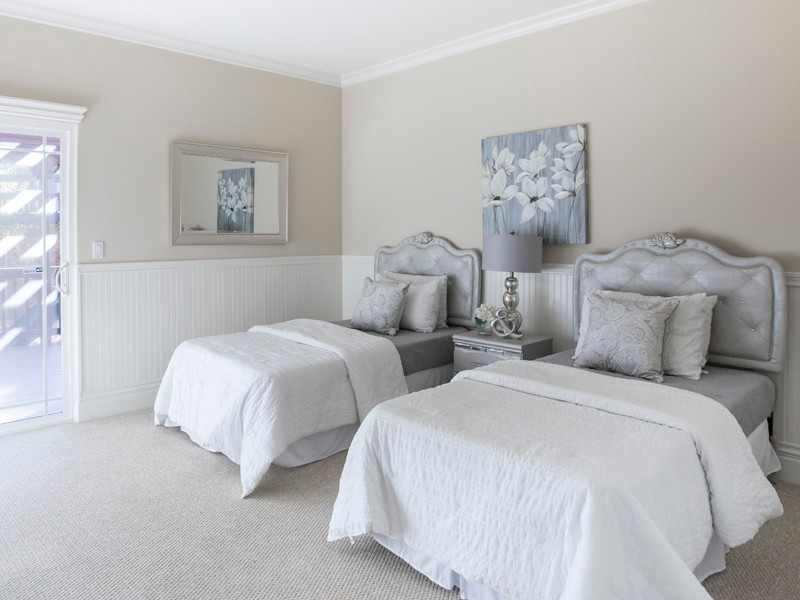
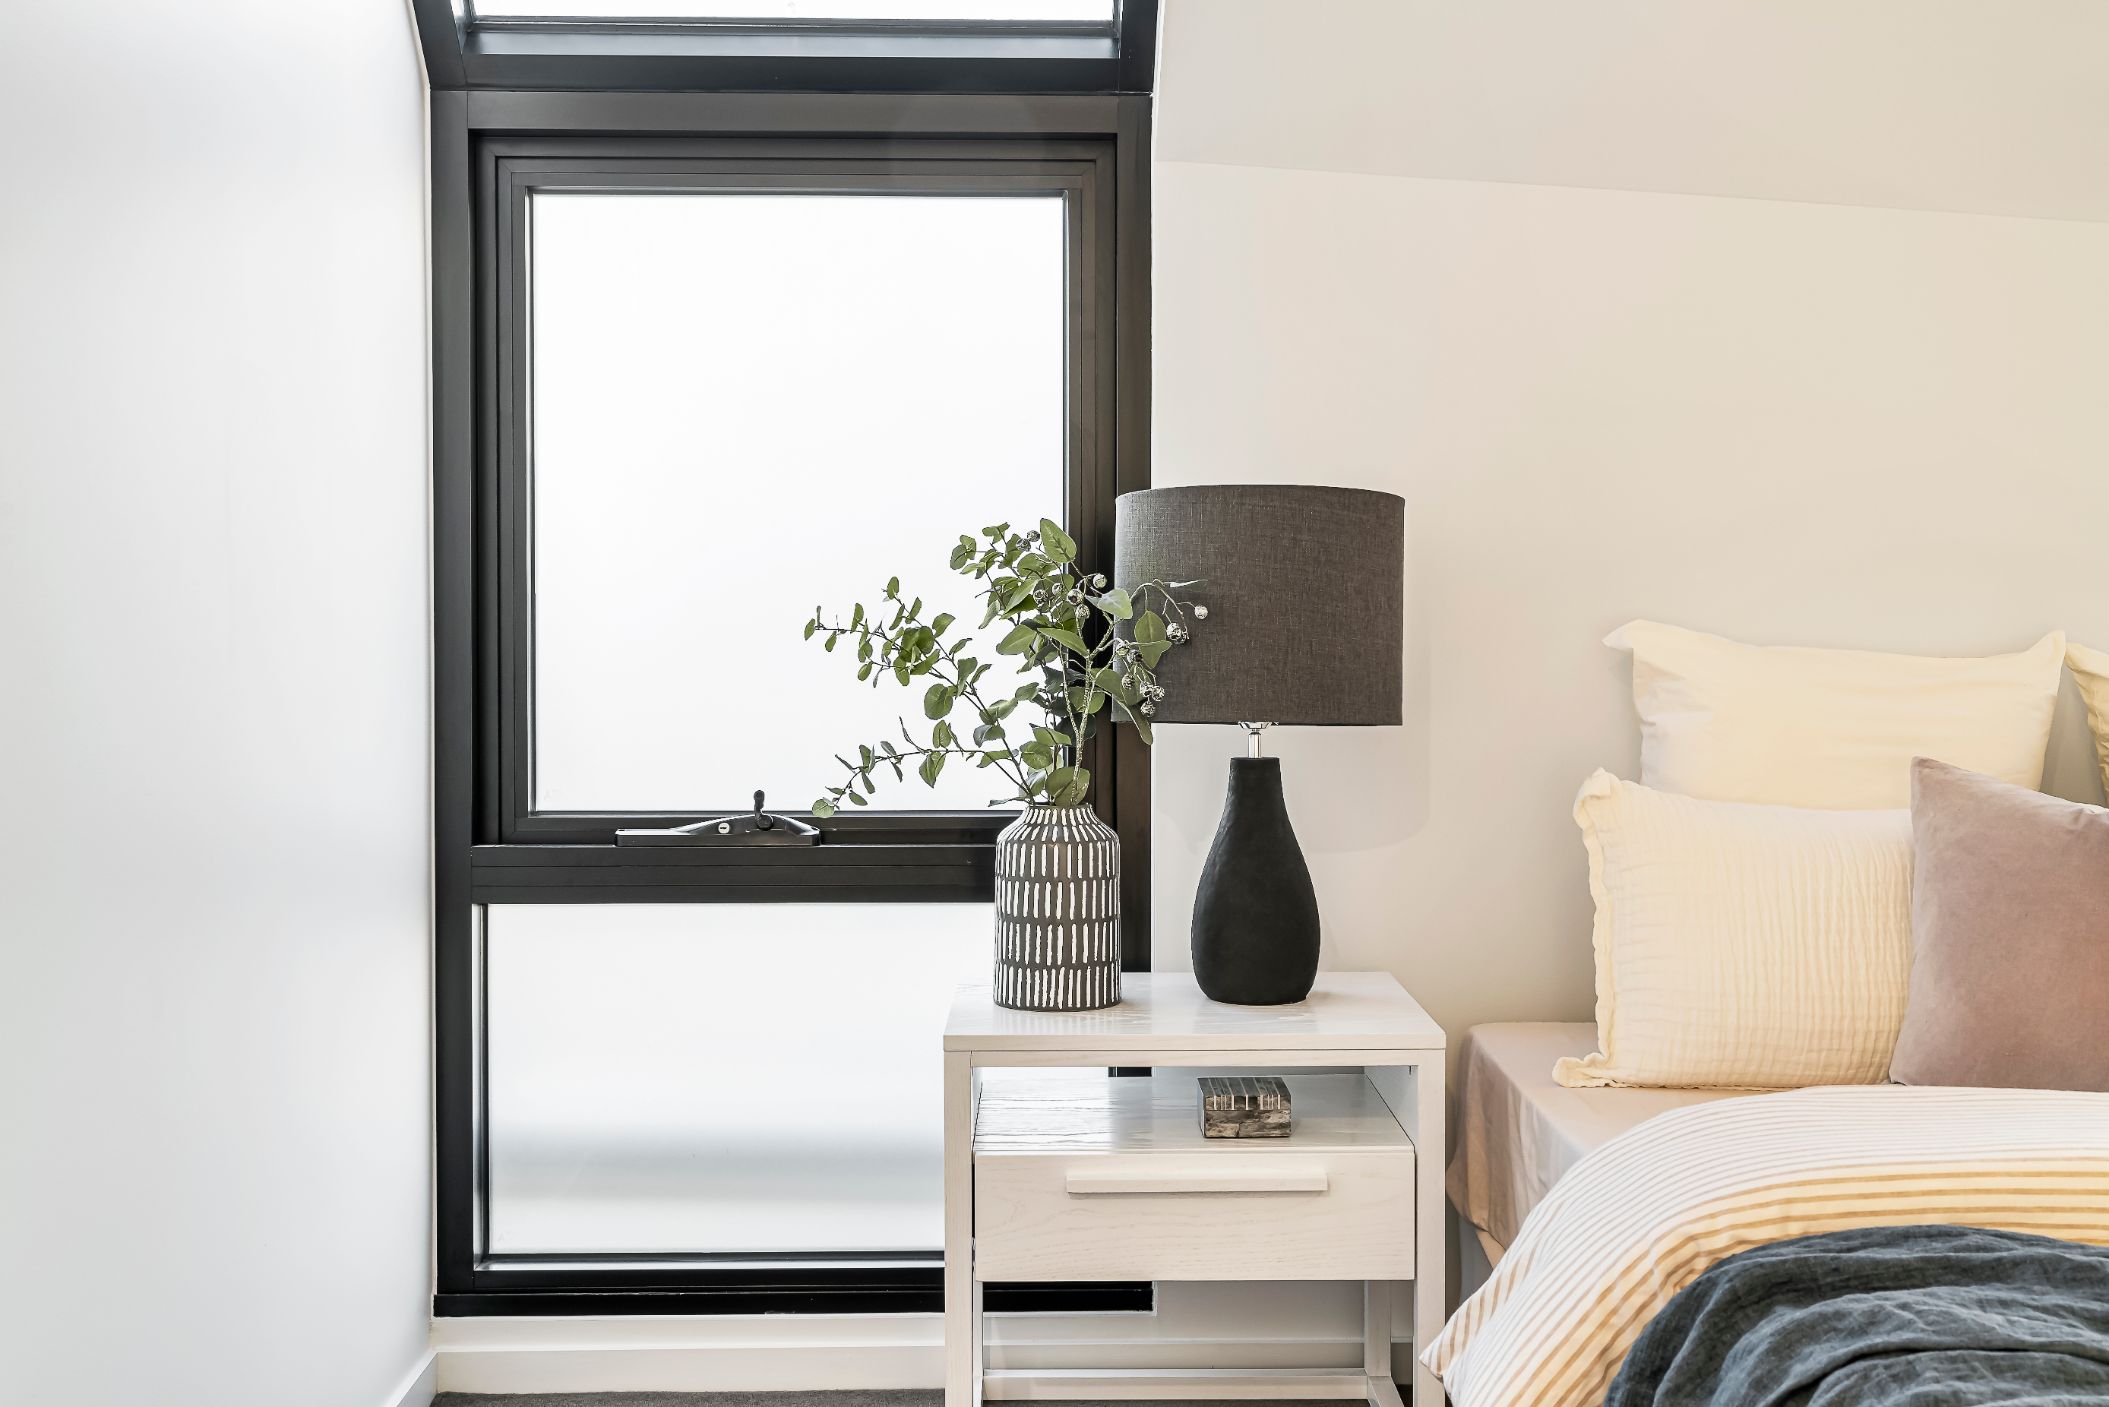
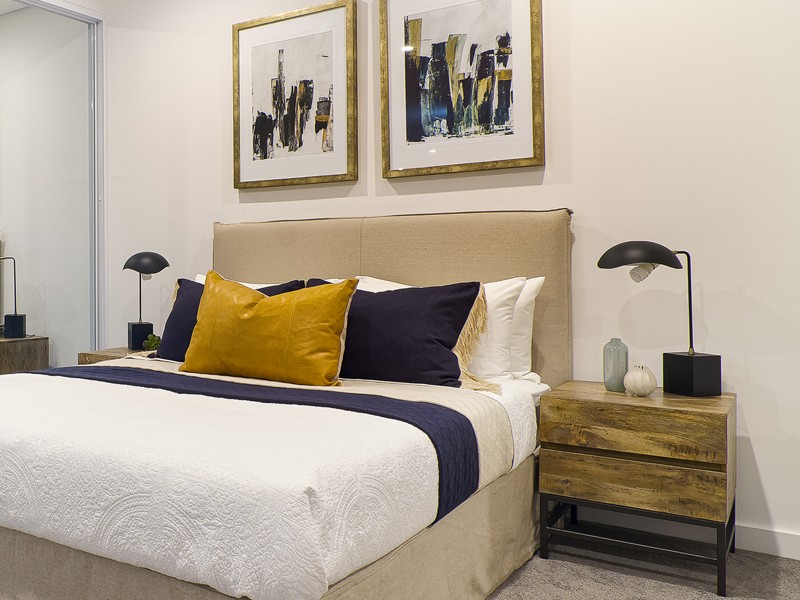
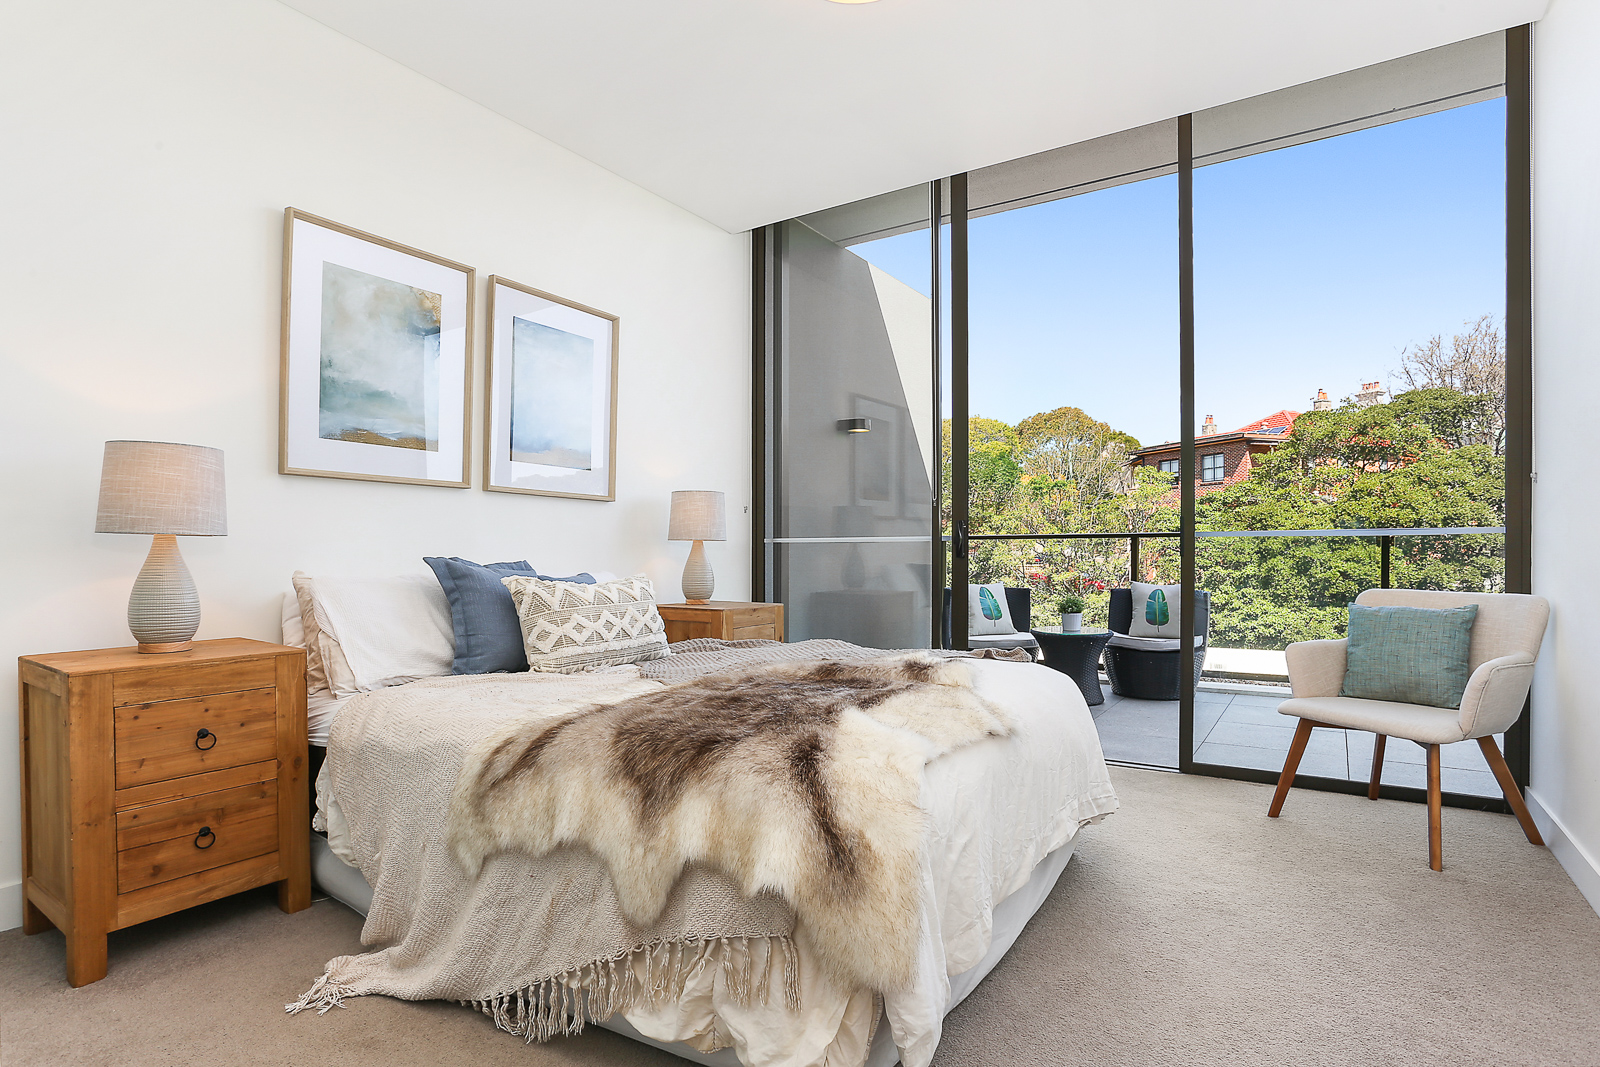
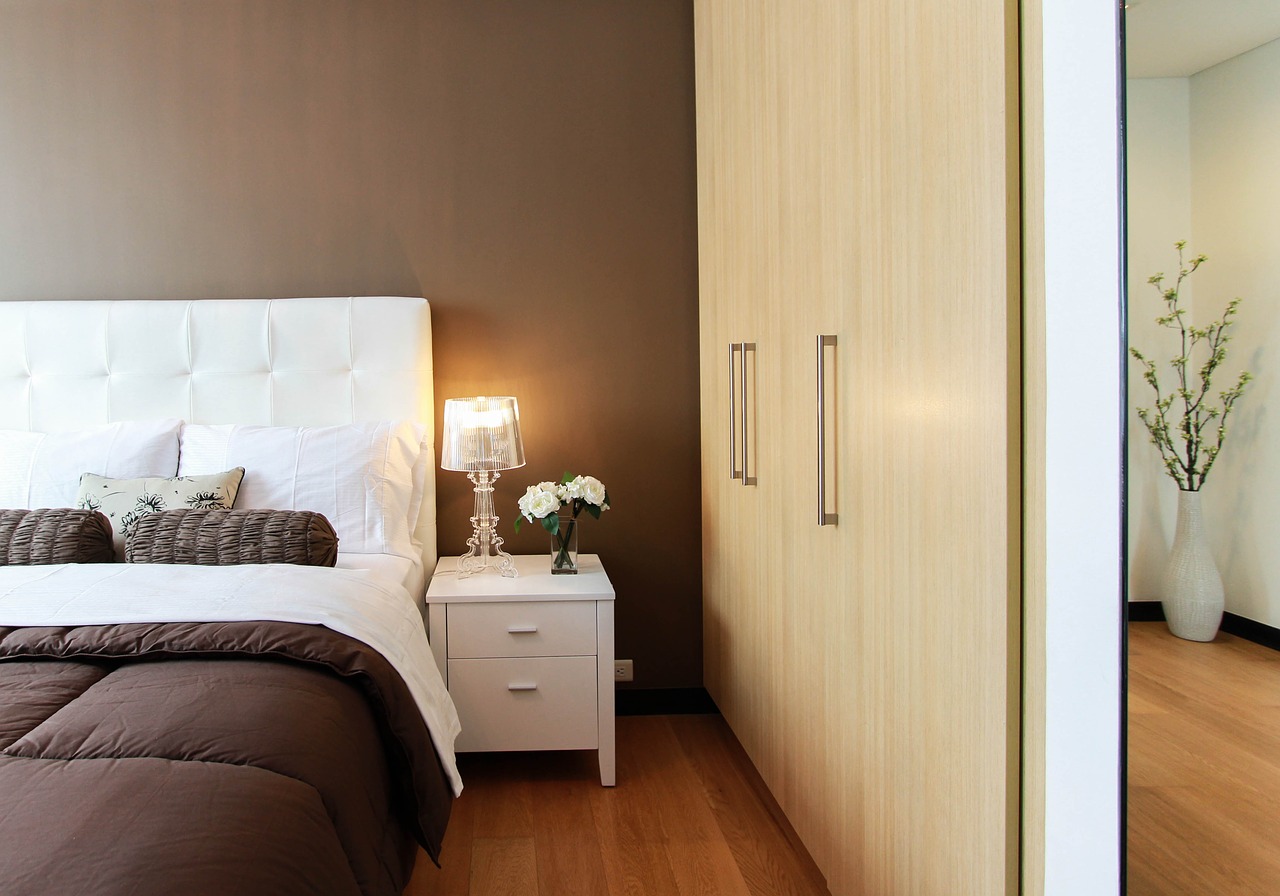
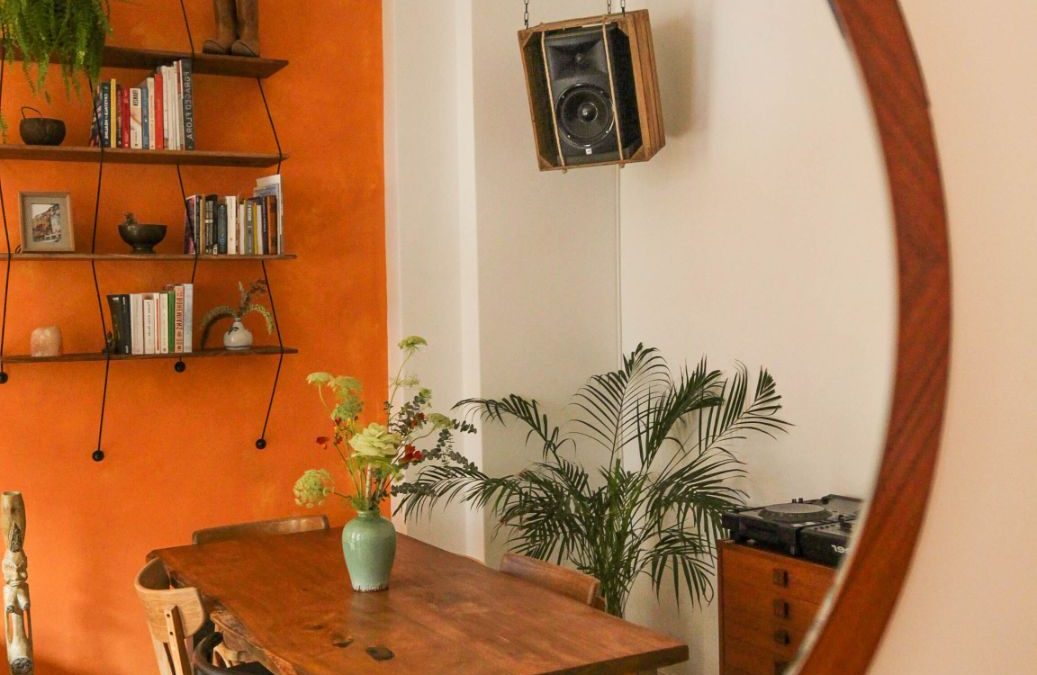
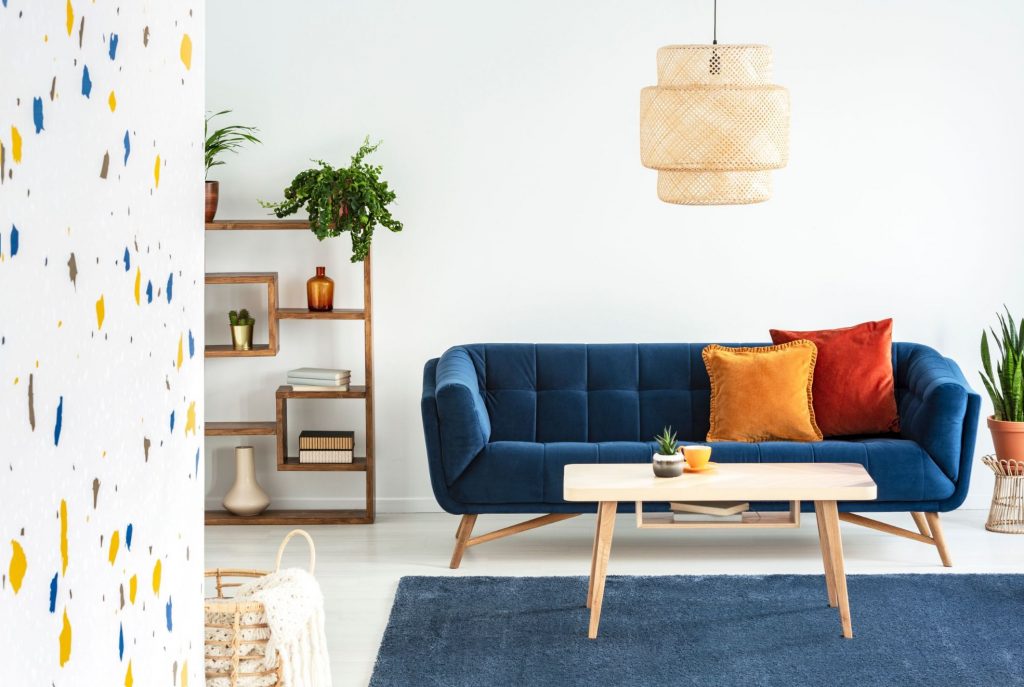
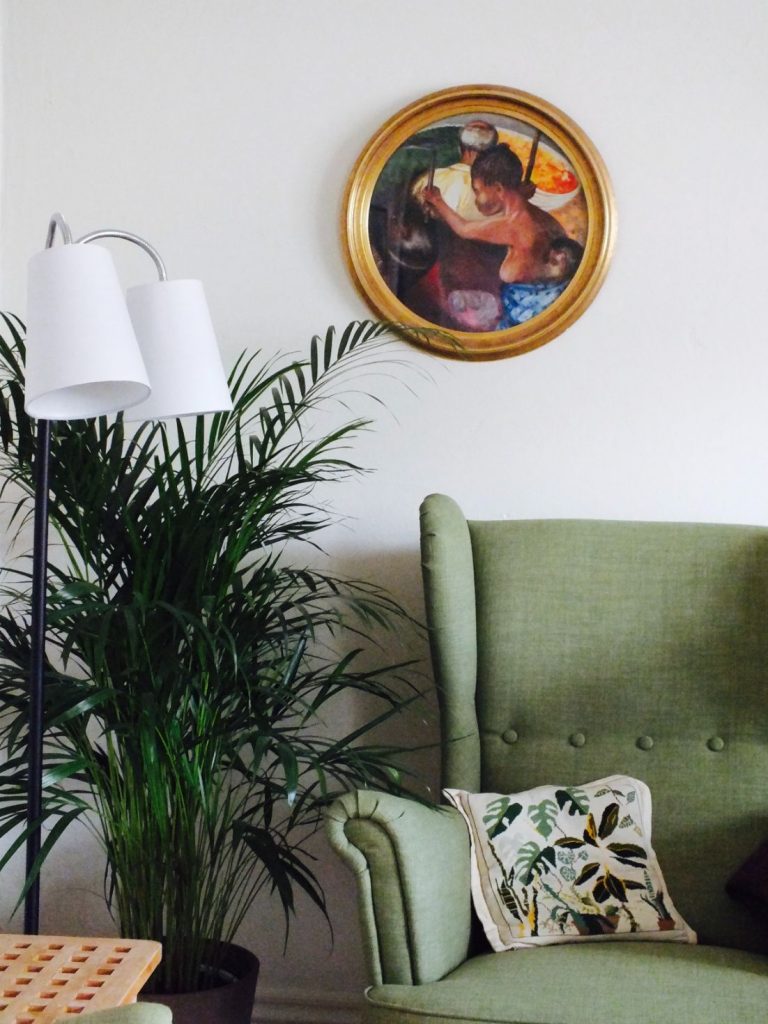
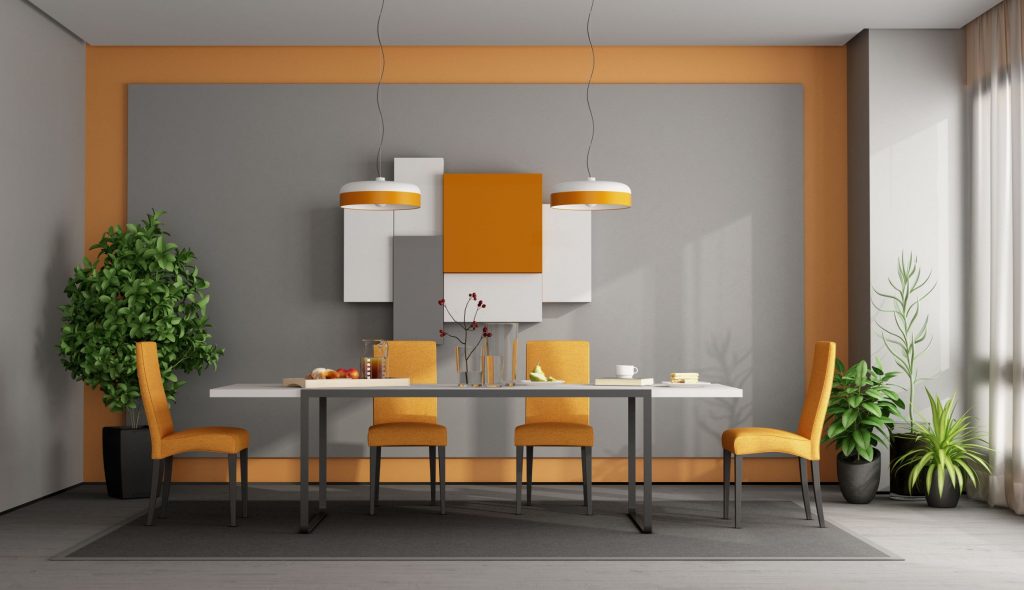
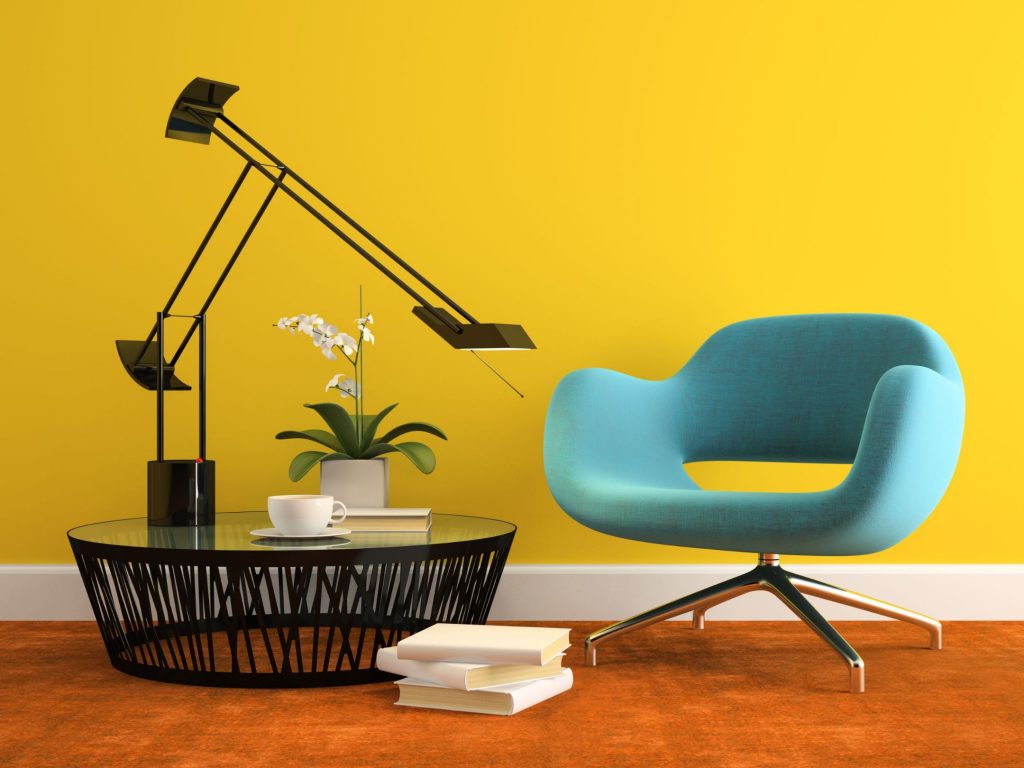
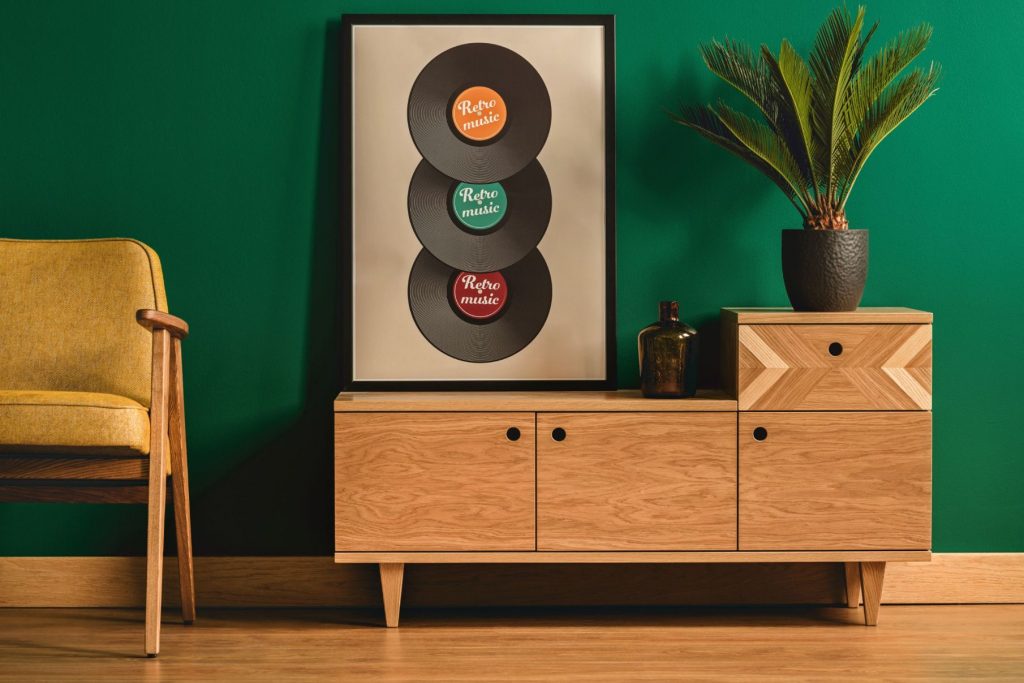
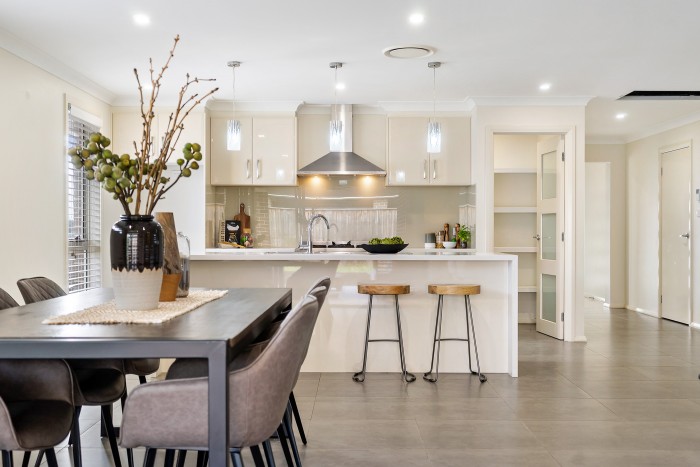
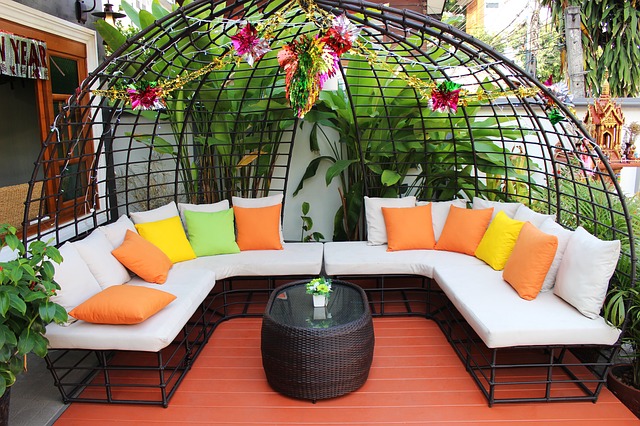
Welcome to OUR GALLERY

(https://letsrevamp.com.au/portfolio/)

Please do stay awhile. Browse at your heart’s content. See our amazing styling projects, marvel the beauty of homes we have staged for sale.

Our home styling professionals look forward to assisting you.

Preparing Your Home for Sale in 2021

Preparing Your Home for Sale in 2021

How to Prepare Your Home For Sale in 2021

How to Prepare Your Home for Sale in 2021

Despite the pandemic of 2020, positive trends are emerging for house prices in 2021.

Deciding on selling your property is not an easy decision to make. However, when preparing for your property for sale gives you an advantage.

Selling your house in 2021

Preparing Your Home for Sale in 2021

1. Compare and Price Realistically

Do thorough house price comparisons

How to do your own “comparing”.

  • Search online (Google) for properties in the market in your area.
  • Doing your own comparing will give you an idea of the possible sale price you can expect for your home and how long it may remain on the market before being sold.
  • Compare your property with at least three other properties up for sale or sold in your area. These properties are to have the same attributes as your home i.e. having the same number of bedrooms, bathrooms and square meters. Ideally compared property sizes should not vary more or less than +- 10%.

.

2. Be Proactive and Have Your Home Inspected.

  • Sometimes real estate agents may advise against this. The reason being the buyers will get this done anyway.
  • However, investing in the costs of a basic inspection before even contacting a real estate agent means you are able to get things fixed beforehand. The advantage of this is:

– By the time your house is ready to go onto the market, all repairs and preparation are done.
– Your house is sale-ready.

3. Avoid Unnecessary Upgrades

  • Before going down this avenue consult a good real estate agent or property stylist. They know what potential buyers expect from the property in your area.
  • Without massive expenses a few upgrades that can be done.

– A good clean. This would include windows, the gardens, floor, carpets and chrome taps etc.
– Replace grouting where necessary.
– A new coat of paint will give that “new house” appeal.
– Should you decide to repaint, use neutral colours.

  • Updating the kitchen and bathrooms yield the highest return on investment.
  • Old cabinetry can be made to look appealing by simply replacing the doors and handles.

Let’s Revamp Property Styling

  • Property Stylists are recognised as a critical component of the sales team.
  • The Stylist adds the inspirational appealing WOW factor to your home, using a mix of furniture, artwork and accessories to maximise appeal and space.
  • The Property Stylist can be consulted right from the start even before you start preparing your home for sale, for advice and input.
  • A component of property styling would include depersonalizing your property i.e. removing all your personal paraphernalia. This will make it easy for potential buyers to visualize themselves and their personality in your house.

5. Contact a Real Estate Agent

• Find an estate agent that knows the market.
– They can help you price your home competitively for the area you are in.
• Find a reputable agent – word of mouth is often the best recommendation.
• A busy agent may not necessarily mean a good agent.
– Find out how much time they can devote to your property.
• Ask the estate agent about their listings.
– Has the agent sold properties – how many?
– How long were the properties on the market?
– Has the agent got listings but few sales?
• Google search, Compare Agents
• Good real estate agents will recommend professionally styling your property to make it presentable for sale.
• A real estate agent will also ensure that professional photos of your property be taken and posted online.

What to Look for When Buying Bedside Lamps

What to Look for When Buying Bedside Lamps

What to Look for When Buying Bedside Lamps

Bedside table lamps

What to look for when buying bedside lamps is not so much about the lamp per se but the difference it will make holistically to the bedroom presentation. You should therefore be looking for a bedside lamp that resonates with your personal preference, the bedroom theme and whether it will be used primarily for decorative or display purposes, for reading (in bed) or ambiance.

1. How tall should a bedside lamp base be?

bedside tables and bedside table lamps

The ideal height for a lamp base should be approximately the same height as the bedside table it will stand on. Ideally, your bedside table should be similar in height as the bed with the mattress.

Should the bedside table be higher than the mattress, opt for a shorter lamp base.  If the bedside table is lower than the mattress, choose a taller lamp base.

NOTE:  

While deciding upon the height of the lamp base it would be a good idea to note where the lamp switch is located. 

You do not want to get out of the bed to every time to switch off the light or to overstretch when reaching for it. Ensure that the switch is at comfortable arm’s length from your position.

2. What is the ideal height for a bedside lamp

    when reading?

bedside table lamps

When using your lamp for reading or writing when in bed, you will require the lamp to be tall enough to spread light evenly across your book. 

Sitting on your bed, the base of the lampshade should be at the about the same level as your shoulder or your chin height.  This way you will have enough reading light without the light glaring in your eyes or your head casting shadows.

3. Choosing a bedside lamp for decorative

     purposes.

bedside lamps can be the focal point in a room

The exact height of the bedside table lamp does not matter when the lamp is used as a decorative accessory item. You can experiment with different textures, colours, patterns, or sizes. Choose a lamp which complements the overall feel and mood of the room.

4. Choosing the perfect shade for your lamp.

Lamp shades

Lampshades are not merely a decorative accessory for the lamp base. Their function is to diffuse the light your lamp emits.   

The minimum width of your lampshade should be about twice the width of the widest part of your lamp base but not wider than the bedside tabletop, i.e. the width should be a third to a maximum of two-thirds of the bedside table width.

5. Bedroom focal point.

Bedside table lamp

In a bedroom the headboard is usually the focal point, however, the focal point can be shared with the bedside lamps.

The lamp should be in balanced unity with the size of the bedside table and the size of the headboard.

How To Incorporate Bold Colours Into Your Home

How To Incorporate Bold Colours Into Your Home

How To Incorporate Bold Colours Into Your Home.

Incorporate bold colours into your home

The question often asked (by clients) is how to incorporate bold colours to your home. The best way to answer this is to define bold colours and to know which colours are considered as bold colours and then how to apply these colours to your home.

Defining Bold Colours

Defining BOLD Colours

• Bold colours are verbal – they convey messages. A good example is the colour red. Red is associated with warnings and danger and is used in many traffic signages. 

• Bold colours exhibit personality – they are not “wallflowers” but attention grabbers. They are bright, bold, and energetic. They are influencers.

• Bold colours are mood setters – they have a powerful effect on emotions. Certain colours can make you feel positive, energetic, or irritable.

• Bold colours juxtapose – they are contrasting enhancers and supportive to other colours around them – they make other colours stand out and look more dramatic –

Defining Bold Colours

The Following Six Colours are Considered BOLD Colours

We highlight the following colours, though other colours fall within this category too.

a) Lime Green – is young, vibrant, and energising.
b) Red – inspires feelings of enthusiasm and energy.
c) Yellow – especially canary yellow. A positive sunny colour.
d) Black – can make a dramatic and effective statement.
e) Teal – adds calm and soulfulness.
f) Orange – energising though not commanding.

How to Incorporate BOLD Colours into Your Home

Incorporate Bold Colours into your living area

a) To accent a wall in your living room paint it in a bold contrasting colour. Be sure to test the colour first to ensure that the outcome will be what you are expecting it to be.

b) Decorative cushions are masters at juxtaposing. Add bursts of colour with strategically well-placed decorative cushions. For contrast add cushions with patterns and different texture.

c) Update the lampshades in bold colours to delight living areas.

Add bold colours with decorative cushions
Add plants for green colour

d) If green be your choice bold colour why not add plants too?

e) Abstract artwork in a mixture of bold colours would liven up any neutrals area.

f) Paint a bookshelf or cabinet in a room with bold colours.

g) As with decorative cushions, throws of bold colours and texture can be accent pieces in a room.

h) Introduce a brightly coloured ottoman to the living area or even in the bedroom.

i) Accessorise in bold colours. Add a bold orange runner along the length of your dining table or a tablecloth. Swap your conventional dining chairs for ones in bold colours. The possibilities are endless.

add bold colour dining chairs
bold colours totally smashing it

Interior Decorating

A good source of inspirational ideas and know-how comes from your interior decorator. At Let’s Revamp Property Styling our interior decorators combine their expertise with your ideas to create a home that will “tell the story of who you are and be a collection of what you love.” (Nate Berkus)

Inspired by green
How to Renovate Your Kitchen on A Tight Budget

How to Renovate Your Kitchen on A Tight Budget

How to Renovate Your Kitchen on A Tight Budget

How to renovating your kitchen on a tight budget at the onset appears to be a huge and expensive task.

However, with careful planning and assessing what can be recycled or reused, made the task simpler and more manageable.

The Scenario

Renovating outdated kitchen
  1. An outdated kitchen.
  2. A tight budget.
  3. Time constraints.

Devising and Implementing Strategy

Renovation Project Planning

Planning and scheduling are fundamental to any renovation project. Working from a well-prepared plan will keep the project on track, within budget and avoid costly mistakes.

Scheduling will itemise the sequence of project phases and allow for timely delivery of items ordered from suppliers.


Step 2. Focus on Features That Will Have the Biggest Impact and Need to be Changed/Renovated or Kept

Decide what stays and what goes...

  • Light green countertop (had signs of wear and tear).
  • Dark wooden cabinets doors (made the kitchen seem smaller, darker, and outdated).
  • Tapware (were outworn and dull).
  • Old vinyl two-toned brown flooring (made the space feel superannuated).
  • The yellow backsplash tiles were to be replaced.
  • The wall tiles need to be refurbished.
  • Doorknobs (showed signs of wear and tear).
  • Off white flower laced curtains need replacing.

Step 3. Assess what can be Reused and Features We can Work With

Cabinets
  • On inspection, the cabinet frame and structure had a few minor chips but overall was in an excellent condition and could be reused.
  • The stove could be retained. A good clean and new stove plates would suffice.
  • The sink did not need replacing.
  • The tiles do not have to be replaced.

Step 4. What we accomplished for under $2000

Renovation shopping
  • The Benchtop

The kitchen benchtop was refurbished with Countertop Transformation Products.

  • The Cabinets and Grocery Cupboard

The cabinet doors and grocery cupboard were prepped, and spray painted in a light neutral colour.

The doors handles were removed and replaced by modern stainless-steel handles.

New kitchen taps
  • The Taps

The old ones were removed.
Before replacing the new taps, the tap areas were thoroughly cleaned with sugar soap then grouted with Dunlop Flexible Grout.

  • The Backsplash and Tiles

Replacing the backsplash and tiles would have had a detrimental effect on the budget. We therefore decided to refurbish the tiles instead.

The tiles were thoroughly cleaned with sugar soap, re-grouted and then painted with a neutral colour tile paint.

  • The Kitchen Walls

The walls were painted with matching neutral colour paint.

Horizontal kitchen blinds
  • The Curtains

The lace curtaining was removed and replaced with white horizontal blinds.

  • The Floor

The old vinyl was removed and replaced with a light brown timber look alike floorboard vinyl.tching neutral colour paint.

THE OUTCOME – a stunning new look kitchen.

We were able to complete the project on time. Our client was very impressed with the transformation.

BEFORE

Renovating outdated kitchen

AFTER

Renovated Kitchen