Why Is Declutter Important When Selling Your Home?

Why Is Declutter Important When Selling Your Home?

Why Is Declutter Important When Selling Your Home?

When selling your home, decluttering is one of the first steps.

– What is Declutter?

When selling your home, your real estate agent may suggest you declutter.

This means removing excess furniture, personal items and memorabilia. Items you wish to keep can go into storage.

Clients can see themselves living in your house when your personal items are removed.

– Preparing your house for sale.

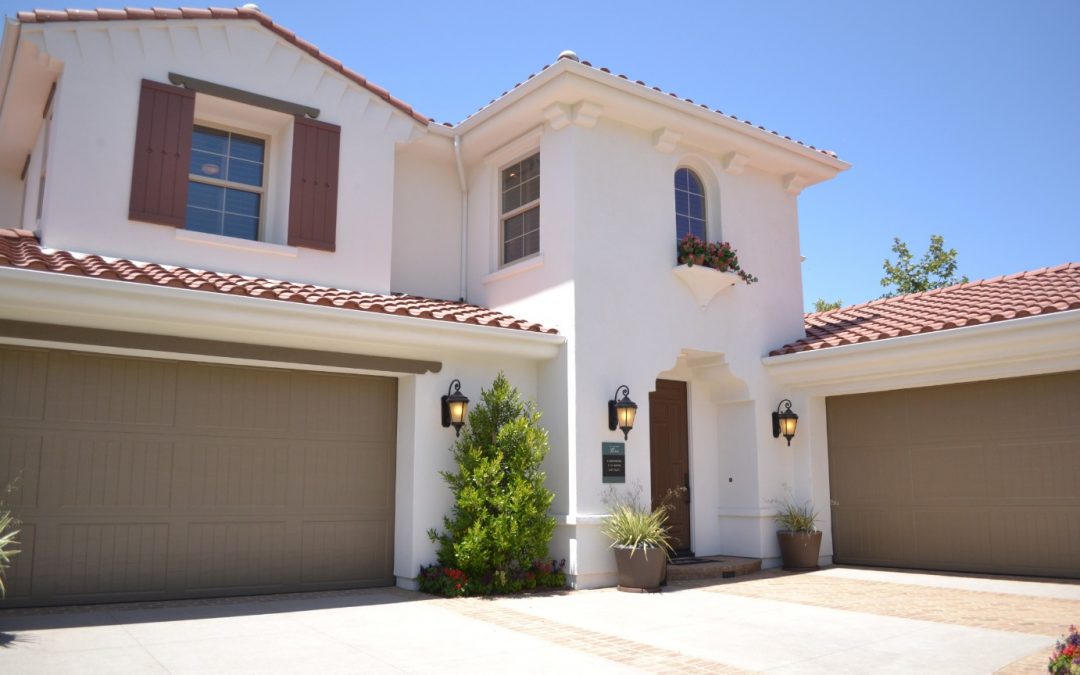
Decluttering or Depersonalising your home before selling is an important step in preparing your house for sale.

Instead of overwhelming clutter, potential buyers will now be able to visualize themselves and their personal effects living in your house and so be encouraged to make an offer.

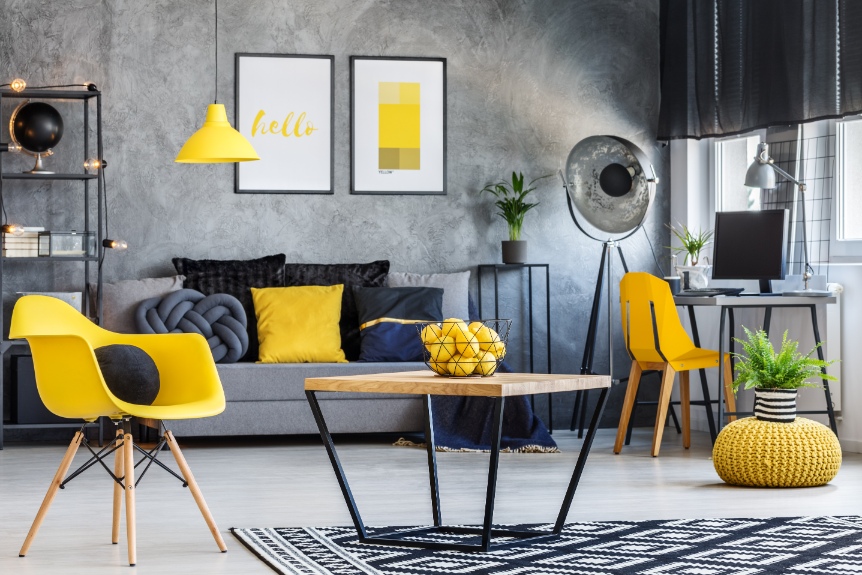
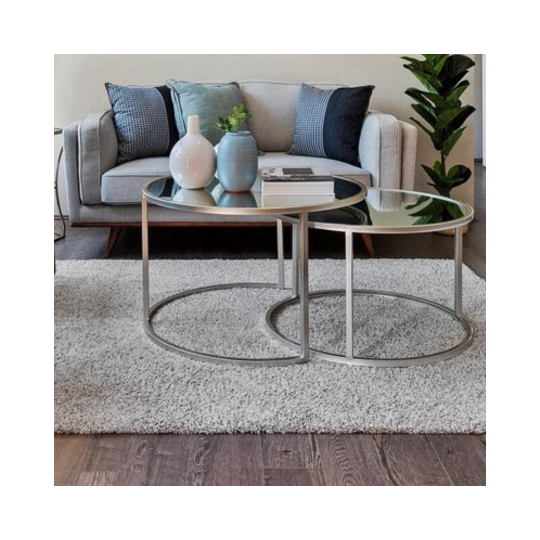
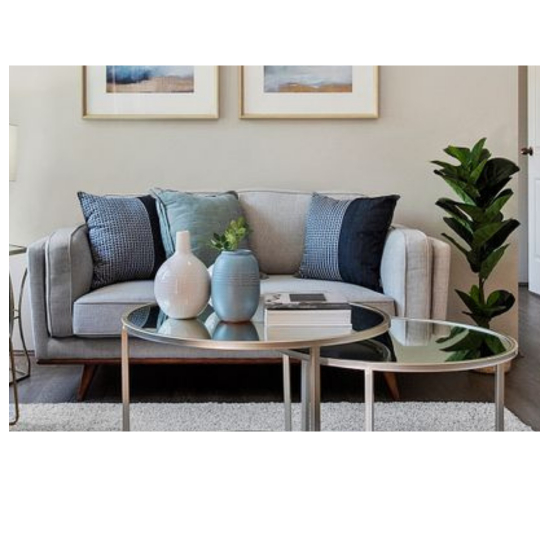
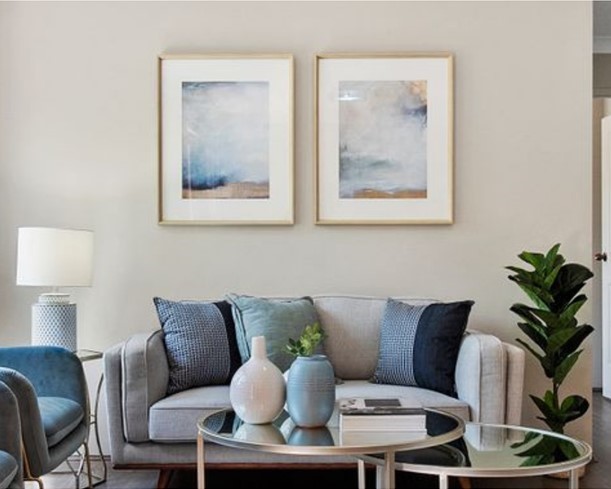
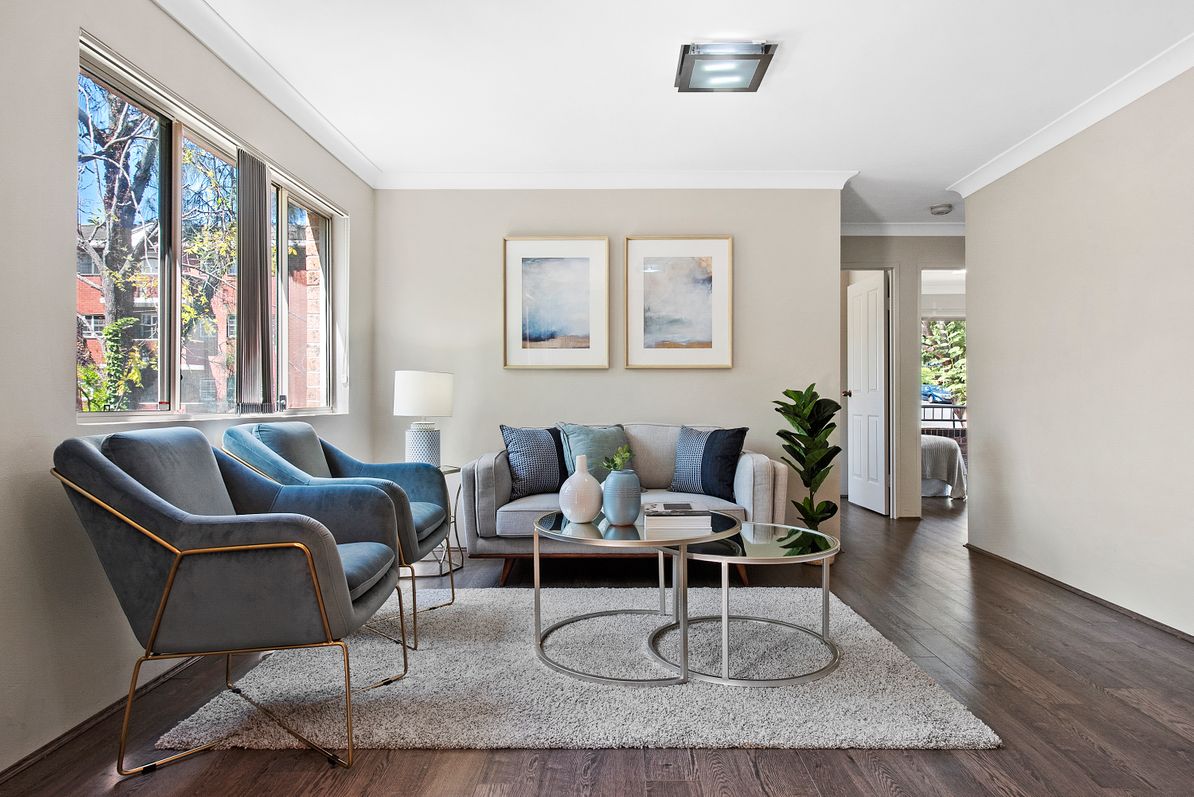
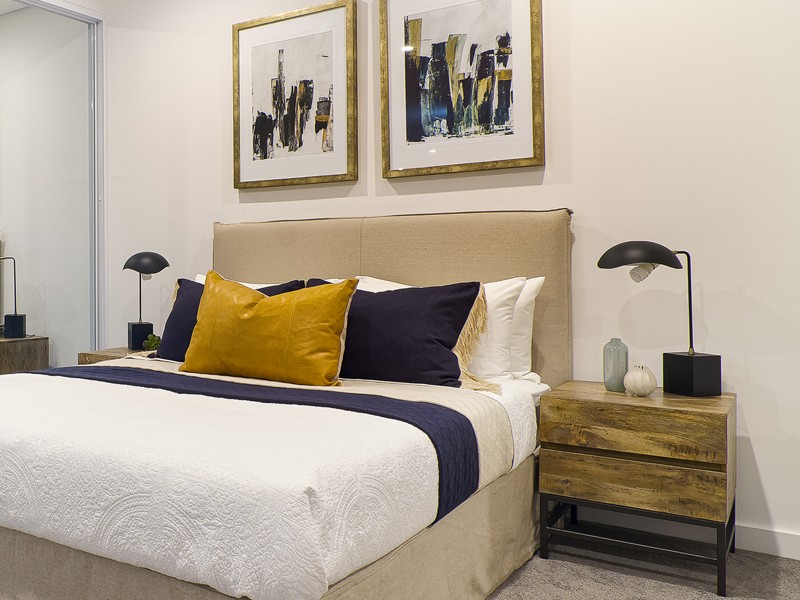
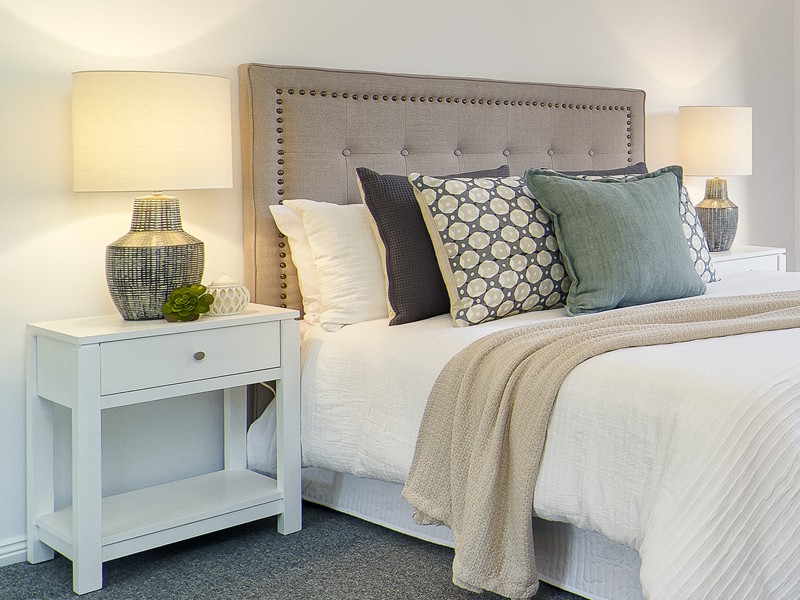
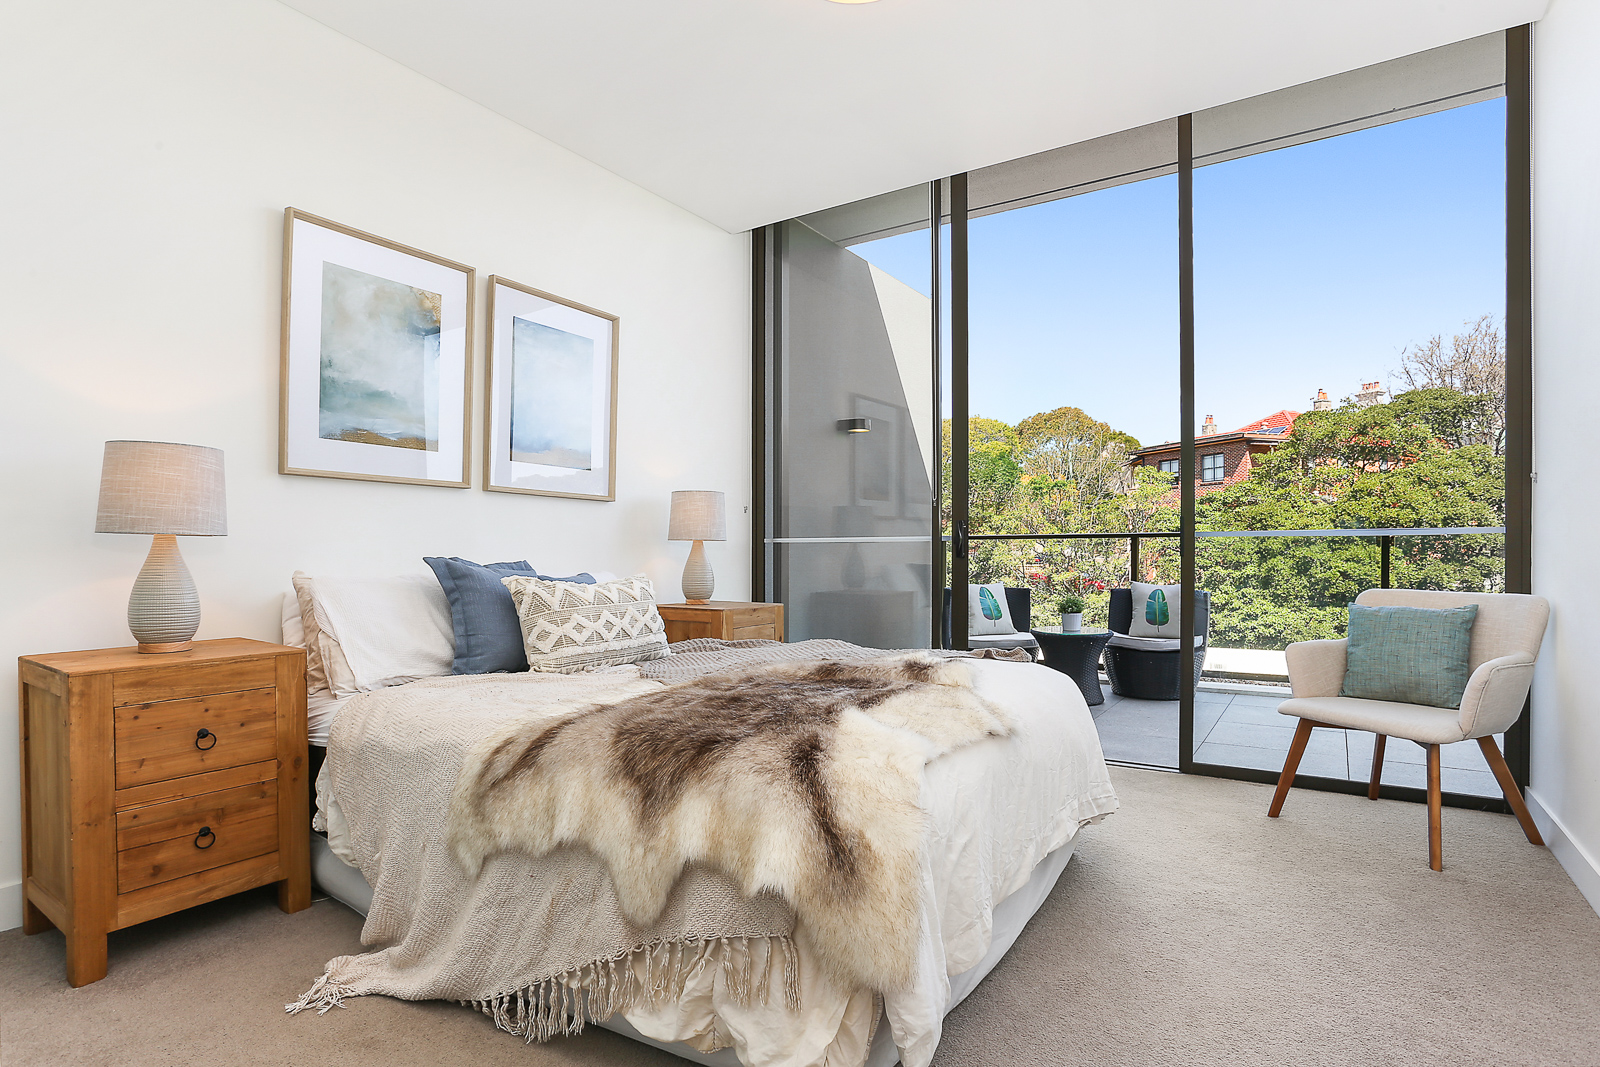
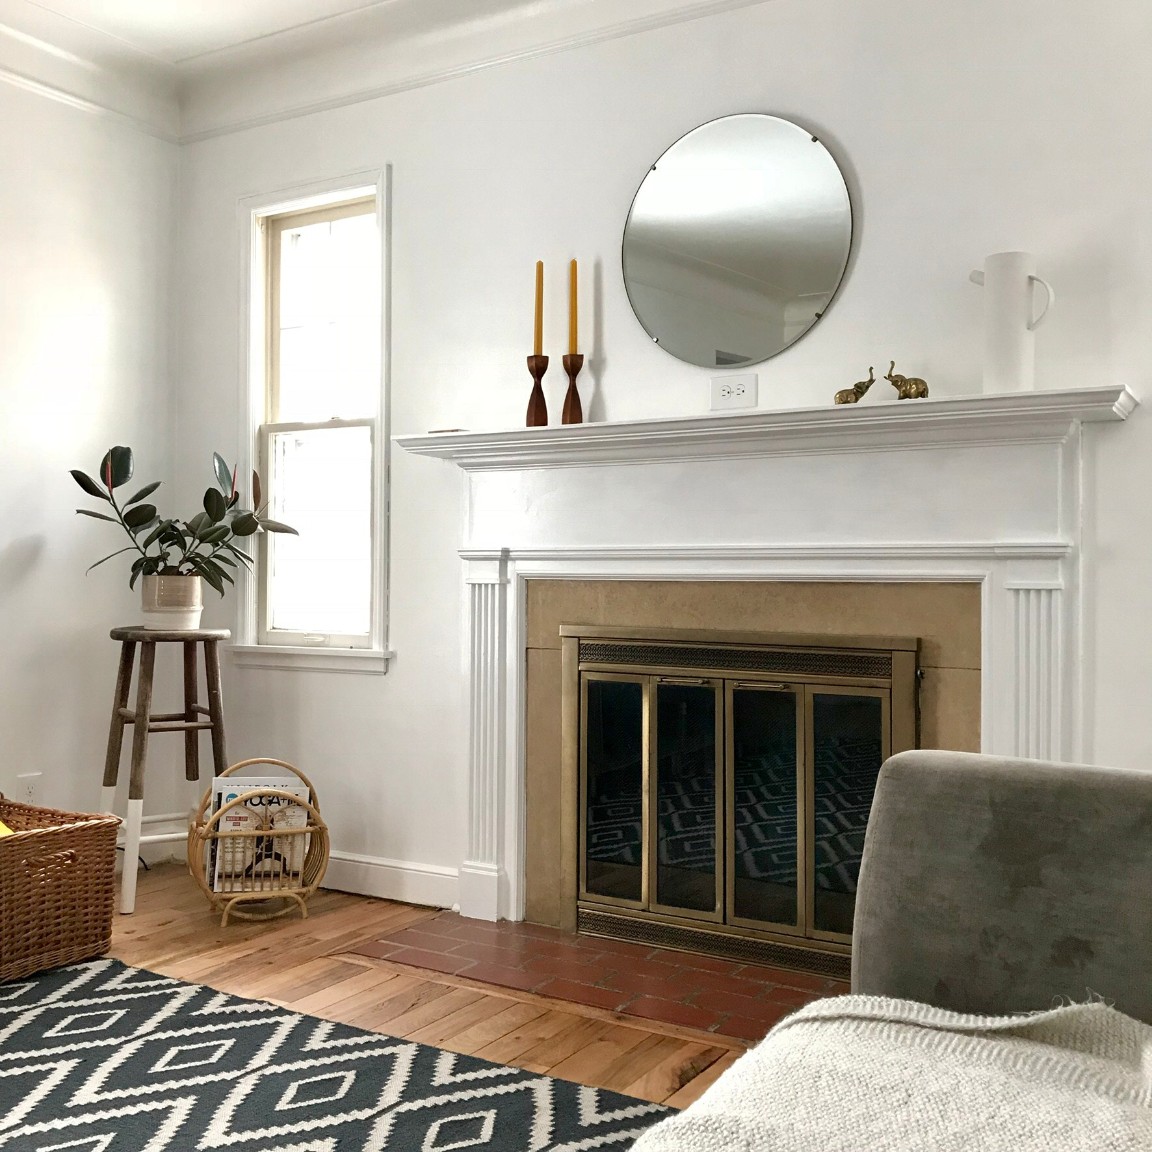
A decluttered home will also give the property stylist a “canvas” to work from when styling your home for those important online listing photos, open home, and a sale.

DIY?

After decluttering your home you may want to style it yourself but feel you may need a few pointers on how to. At Home Improvement Training we have just the course for you.  For the DIY homeowner enthusiast we will show you step by step how to style each area of your home as the professionals do.

You are not selling a home....

you are not selling a home

You are selling a house

Selling your house not your home

– Decluttering Tips 

Tip #1 – Prepare yourself emotionally

Letting go of your home is not easy and putting away your photos and memorabilia can be an emotional experience. To help you with this remember the goal – you are selling a house and not your home and you want to showcase your house to appeal to the home buyers’ market, to sell quickly and at a good price.

Remove personal memorabilia items

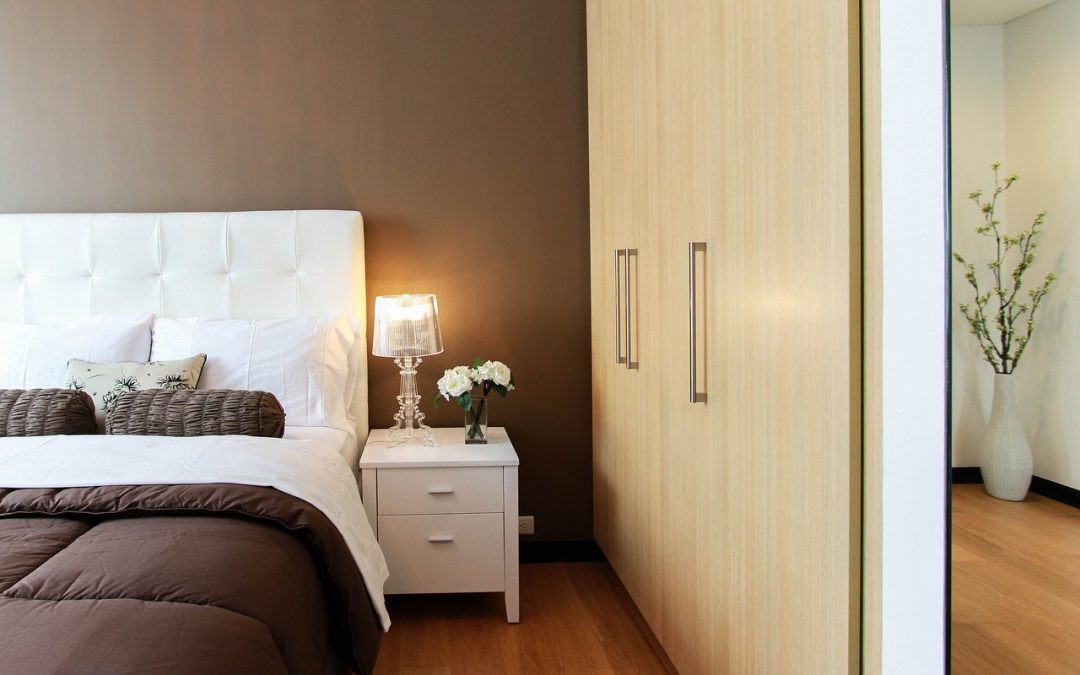
Tip # 2 Remove personal photos and family portraits – i.e. depersonalise

Take down all family photos, portraits and pictures hanging on the walls including those on countertops, shelves, cupboards and fridge doors. Remember to remove all reminder notes, children artwork no matter how cute they are, and whiteboards.

Declutter shelves

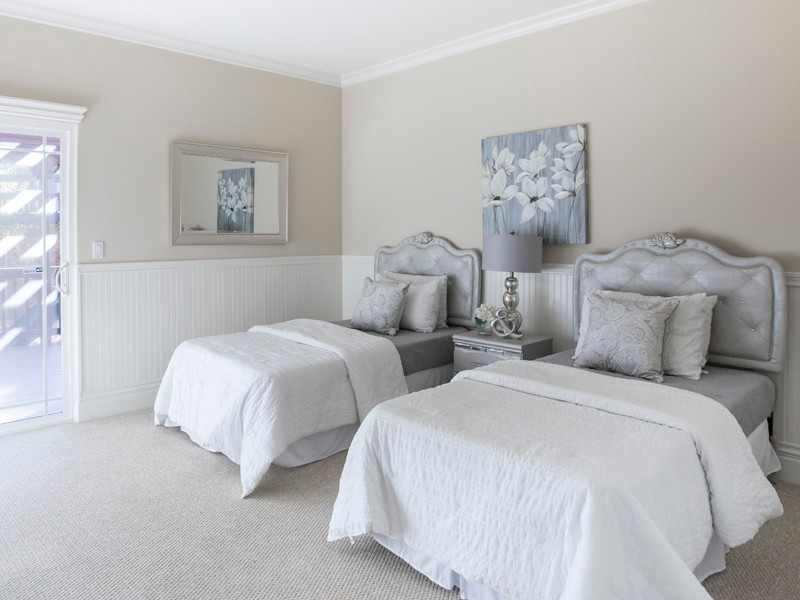
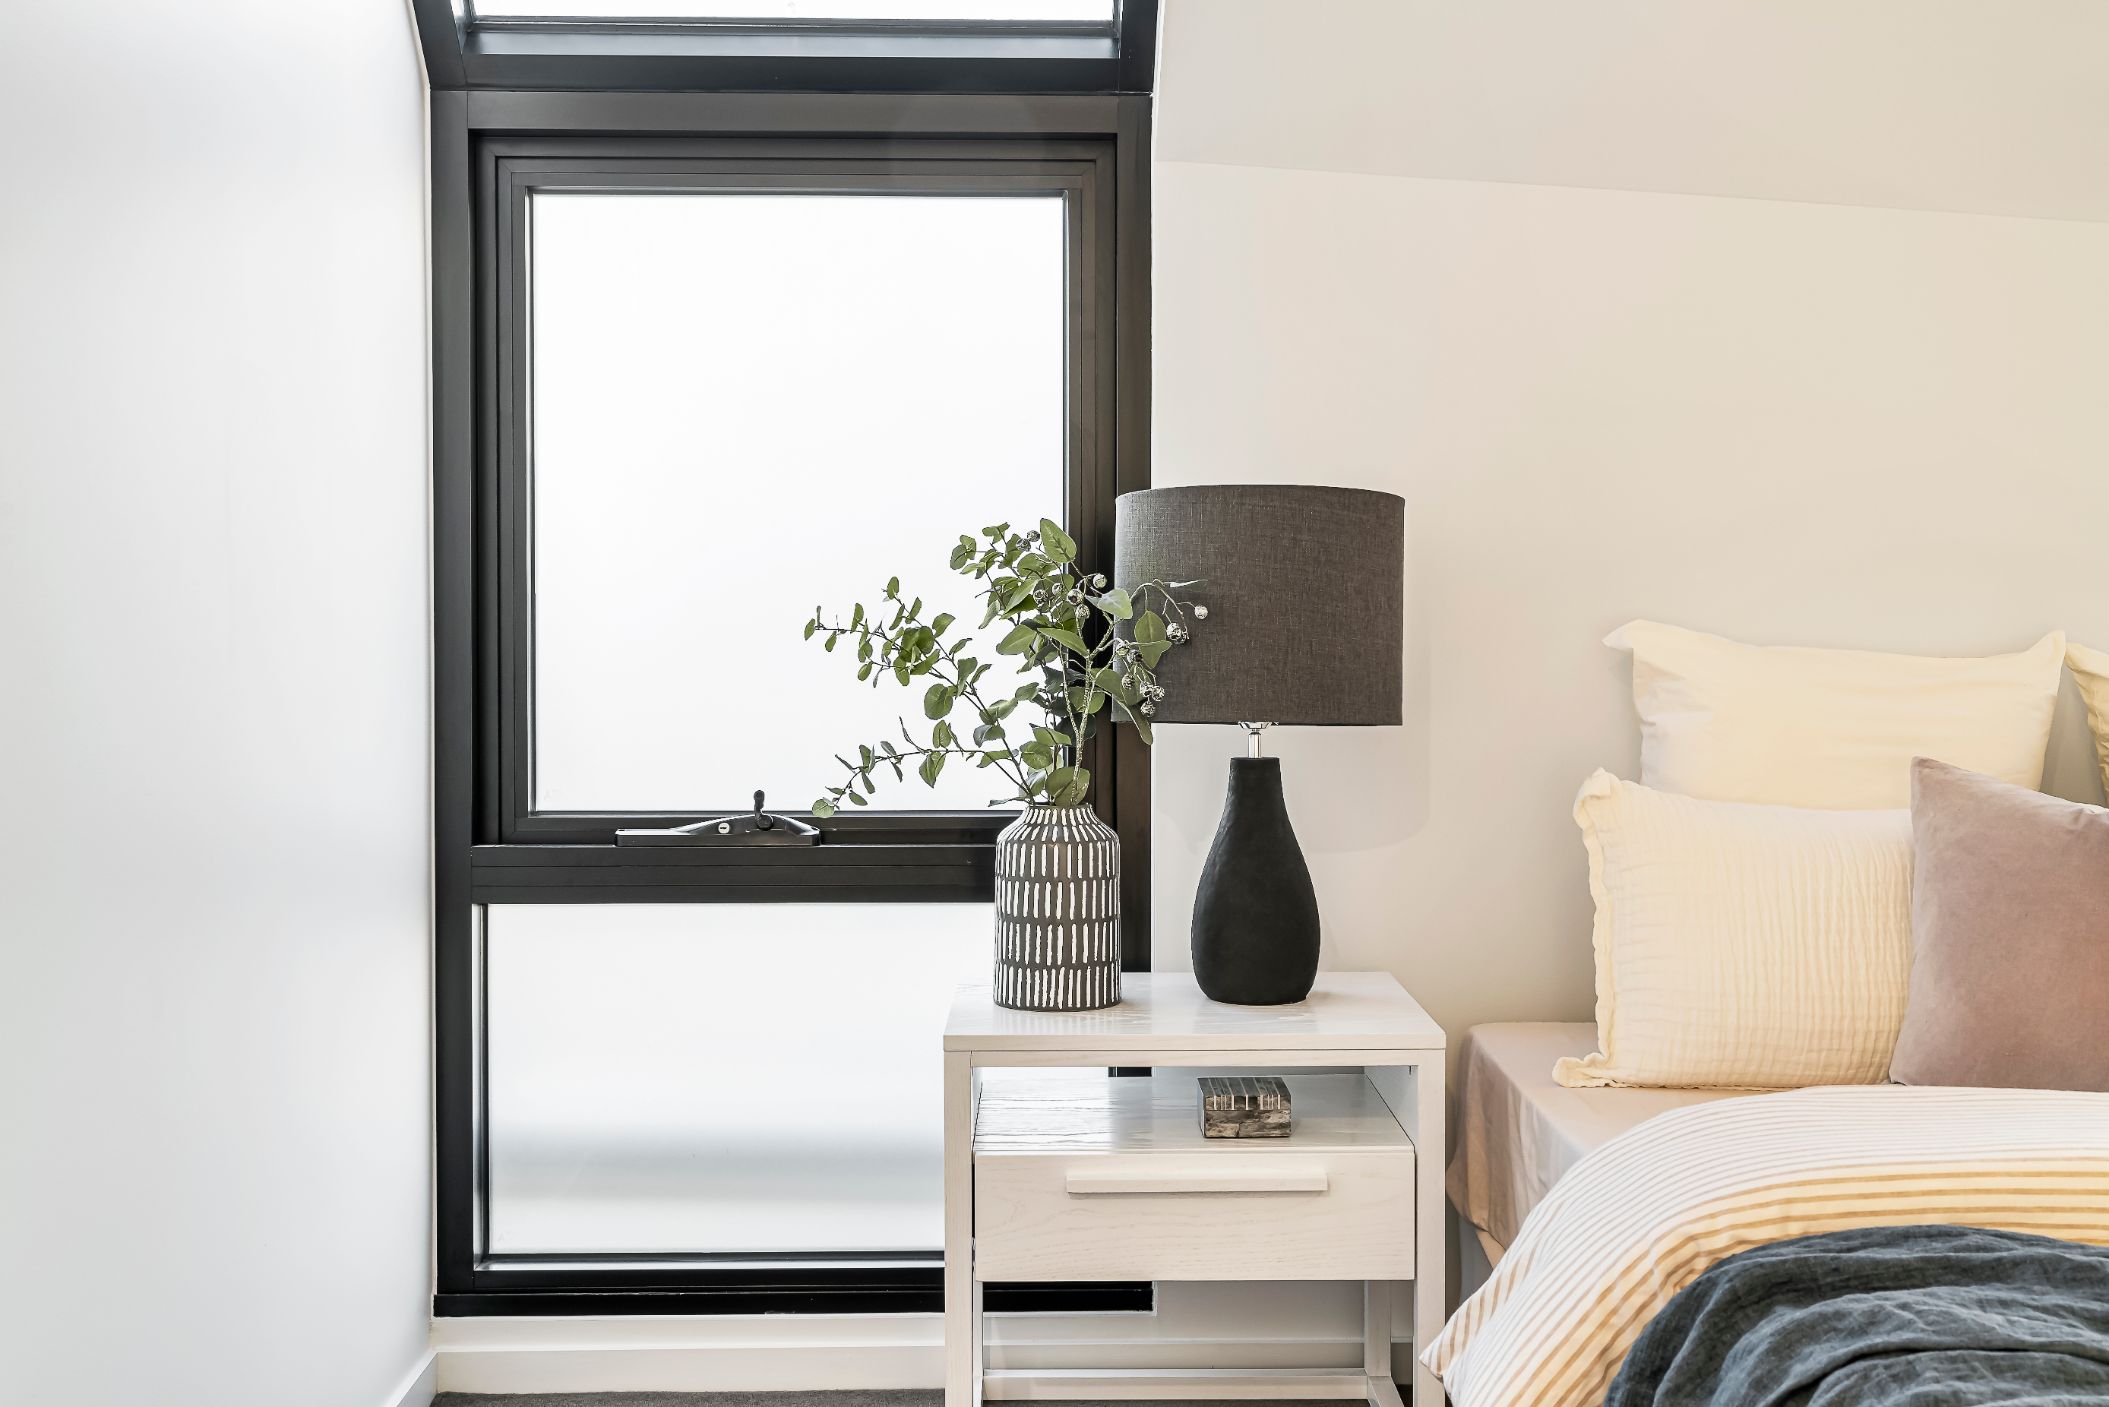
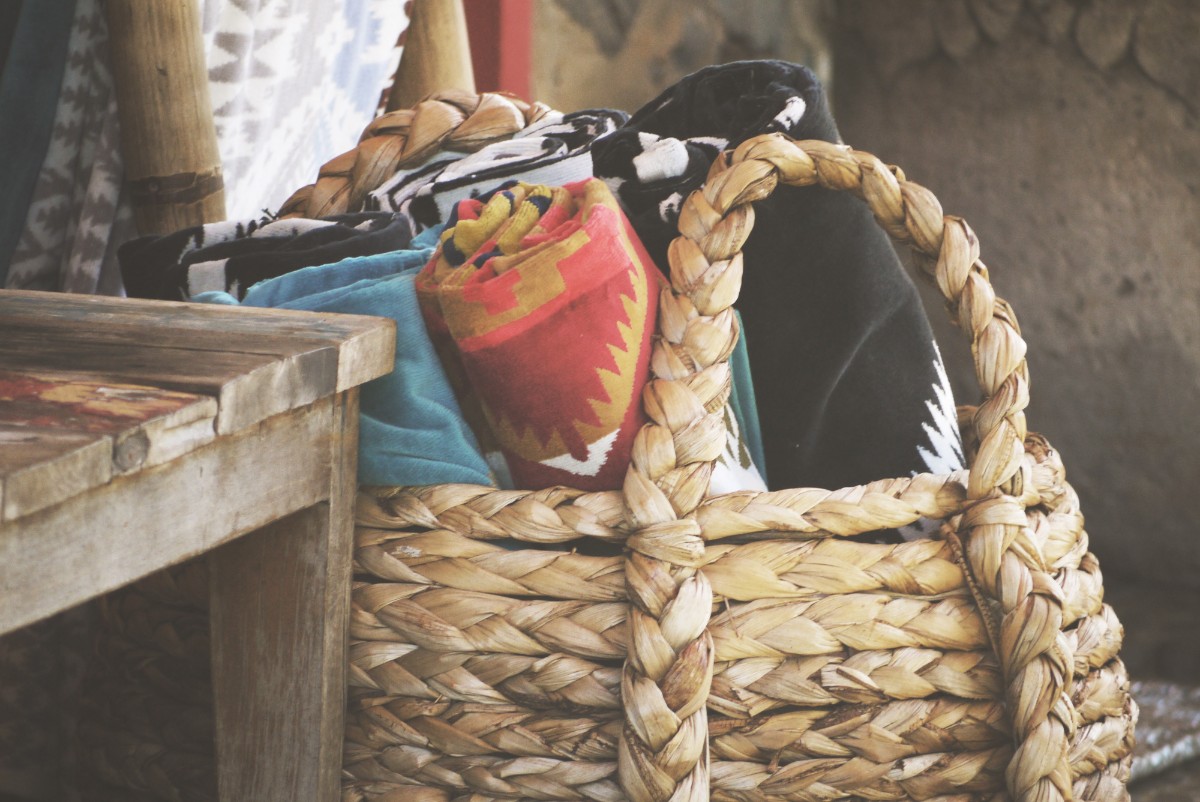
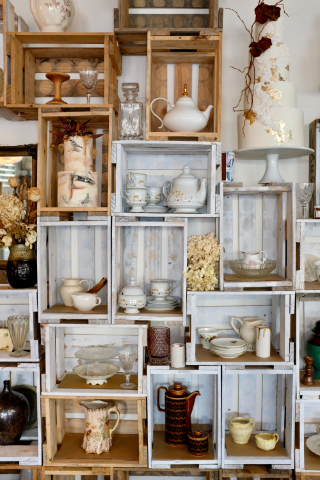
Tip # 3 Declutter Shelves

All shelves are to be cleared, dusted and wiped clean. Keep a few decorative items and books as accessories to use when staging your home to create an appealing organised display and focal point.

Remove damaged book dust jackets and cover them with white or neutral colour paper. Place a book on travels (not your photo album) on the coffee table, a recipe book in the kitchen and a book on a bedside table.

Bathroom items can be stored in the bathroom cupboard and this includes shower caps, sponges and cleaning items.

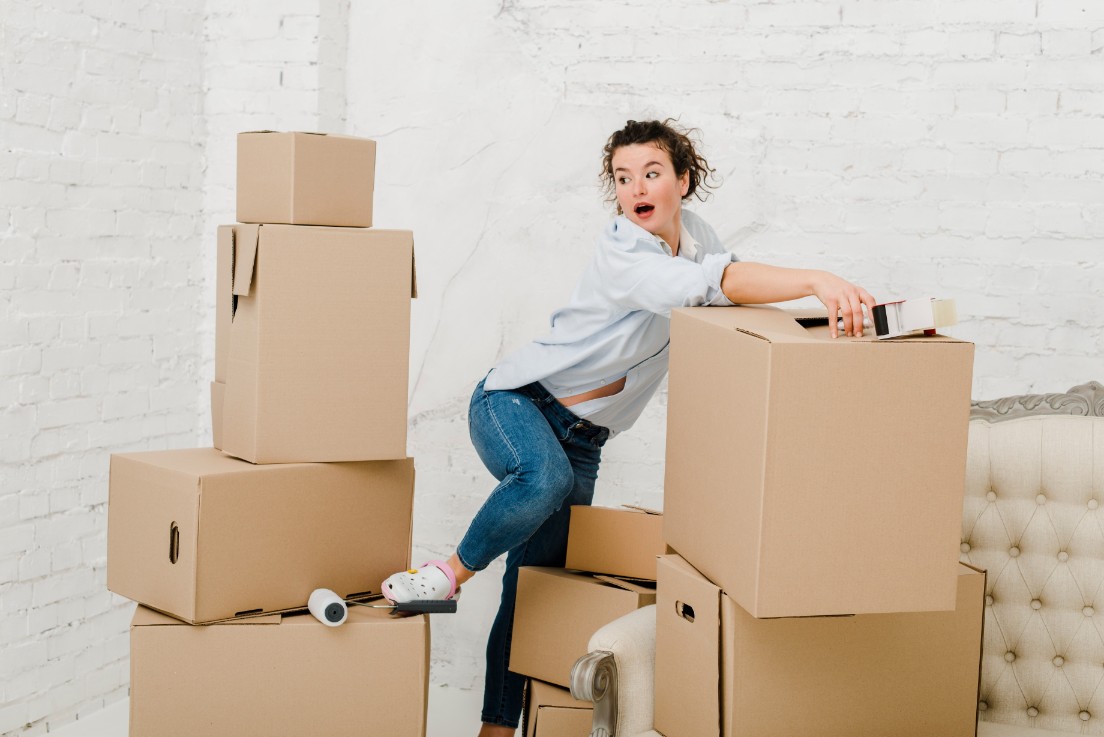
Tip # 4 Start Sorting and Packing

Go through each room and make a list of items to remain for staging the house and those that may have to go into storage or to your new home. Unwanted items can be donated or discarded.

Pack away ornaments, showcase items, trophies and framed certificates. Label the boxes according to rooms and contents. You will glad you did. It will help you when unpacking at your new home.

Remove items that may cause offence

Tip # 5 Remove items that may offend

Potential buyers attending open home come from different backgrounds, cultures, races and religions. It is best to remove items that may offend and if you are unsure, rather remove the item than lose a sale.

If you have any questions or need advice about decluttering your home, and how to prepare (stage) it for sale please do contact us at Home Improvement Training:

info@homeimprovementtraining.com

Phone: (+61) 2 9659 2556

+61 448 662 904

How I Styled My Small Living Area to Look Bigger

How I Styled My Small Living Area to Look Bigger

How I Styled My Small Living Area to Look Bigger

How I Styled My Small Living Area to Look Bigger

The key to successfully styling small areas is easier than you think. It comes down to tricking the eye into perceiving more space.

Armed with a handful of property styling and decorating tips and tricks  this is how I styled my small living area to look bigger.  I  optimised the available space and did not skimp on style.

Home Improvement Training Courses

The Challenge

  • This is a relatively small apartment with a thoroughfare taking up quite a bit of the available floor space to accommodate traffic flow to other areas in the apartment.  

  • The open plan area comprises the living, dining and kitchen area which meant these areas where to be taken into consideration when decorating.


The Walls and Flooring

The colour of the walls and flooring need to be taken in consideration when styling

Fortunately, I had the perfect canvas to work from. The walls were freshly painted in a warm, very light grey (akin to RGB: 208, 205, 201 HEX #D0CDC9) colour and the flooring was of dark brown timber. A striking combination.

How I Made My Small Living Area Look Bigger in 6 Easy Steps

Use a rug to define the living area

Because of the thoroughfare, the living area was styled to the left of the room.

1. The Rug Defines the Area

Rug of contrasting colour defines the living area
  • Thick pile dampens sound and presents a luxurious softness and warmth.
  • Rugs pull furniture together and create a focal point.
  • The colour of the rug blended well with walls and added contrast and texture to the floor.

2. Nesting Coffee Table

Nesting Coffee Tables are the ultimate space savers
  • Nesting tables are the ultimate and most versatile space savers. They can be left “nested” together or “pulled” apart for a different look or purpose.
  • The smaller tables can be used for side tables.
  • I opt for a round mirror top iron round coffee table set. Mirrors reflect light, make spaces seem larger and more open. They also create an ambience of airiness.
  • To create an illusion of more space the table was placed further from the chairs more to the right, off-centre.

3. The Sofa

A low profile grey sofa blends in perfectly
  • The light grey, low profile two-seater sofa was the perfect fit for this small area.
  • The wooden walnut-coloured legs of the sofa blended perfectly with the timber floor colouring.

4. The Milan Armchairs

Milan armchairs in Steel Blue velvet fabric and gold metal highlights
  •  No matter how small your space it can still look stylish.


  • These two impressive Milan armchairs in Steel Blue velvet fabric and gold metal highlights certain did justice.


  • When styling a small area opt for “leggy” furniture that does not have visual weight. This makes the room appear larger and less full and allowing the eye to see a continuation of the floor under the furniture.


The chairs and sofa were placed about a fist-width and a half from the wall. If placed against the wall it will make the area look “quashed up” – if placed far from the wall, will make the area look smaller.

5. The Finishing Touches

the finishing touches
  • Even the smallest of areas can and must be accessorised.
  • Adding a few accessories creates a warm, inviting, and welcoming atmosphere.
  • Accessories bring interest, texture, and diversity into the area.
  • Add a plant real or faux. Plants add visual impact to the area and create a calming effect.

6. Side Table and Lamp

Use a side table and table lamp instead of a floor lamp
  • Instead of a floor lamp, I chose to use a side table and lamp. In doing so I created a “cosy” reading corner and an additional surface to place items; e.g a book or magazine.

THE END RESULT

How I Styled My Small Living Area to Look Bigger


Chiripa said “To be informed is to be empowered,”

For more information on how you too can style your living room and our online courses please go to

https://homeimprovementtraining.com/ or email us at

info@homeimprovementtraining.com or call us on (+61) 2 9659 2556.

Without compromising on available space and skimping on style, this is how I made my small living area look bigger.

What to Look for When Buying Bedside Lamps

What to Look for When Buying Bedside Lamps

What to Look for When Buying Bedside Lamps

Bedside table lamps

What to look for when buying bedside lamps is not so much about the lamp per se but the difference it will make holistically to the bedroom presentation. You should therefore be looking for a bedside lamp that resonates with your personal preference, the bedroom theme and whether it will be used primarily for decorative or display purposes, for reading (in bed) or ambiance.

1. How tall should a bedside lamp base be?

bedside tables and bedside table lamps

The ideal height for a lamp base should be approximately the same height as the bedside table it will stand on. Ideally, your bedside table should be similar in height as the bed with the mattress.

Should the bedside table be higher than the mattress, opt for a shorter lamp base.  If the bedside table is lower than the mattress, choose a taller lamp base.

NOTE:  

While deciding upon the height of the lamp base it would be a good idea to note where the lamp switch is located. 

You do not want to get out of the bed to every time to switch off the light or to overstretch when reaching for it. Ensure that the switch is at comfortable arm’s length from your position.

2. What is the ideal height for a bedside lamp

    when reading?

bedside table lamps

When using your lamp for reading or writing when in bed, you will require the lamp to be tall enough to spread light evenly across your book. 

Sitting on your bed, the base of the lampshade should be at the about the same level as your shoulder or your chin height.  This way you will have enough reading light without the light glaring in your eyes or your head casting shadows.

3. Choosing a bedside lamp for decorative

     purposes.

bedside lamps can be the focal point in a room

The exact height of the bedside table lamp does not matter when the lamp is used as a decorative accessory item. You can experiment with different textures, colours, patterns, or sizes. Choose a lamp which complements the overall feel and mood of the room.

4. Choosing the perfect shade for your lamp.

Lamp shades

Lampshades are not merely a decorative accessory for the lamp base. Their function is to diffuse the light your lamp emits.   

The minimum width of your lampshade should be about twice the width of the widest part of your lamp base but not wider than the bedside tabletop, i.e. the width should be a third to a maximum of two-thirds of the bedside table width.

5. Bedroom focal point.

Bedside table lamp

In a bedroom the headboard is usually the focal point, however, the focal point can be shared with the bedside lamps.

The lamp should be in balanced unity with the size of the bedside table and the size of the headboard.

7 Easy Ways To Make Your Home Ready For Autumn

7 Easy Ways To Make Your Home Ready For Autumn

No huge over the budget redecorating is required. Just small changes that will make all the difference to get your home feeling cosy, warm and inviting during the autumn months.

Image by Stefan Schweihofer from Pixabay

1. Cushions and Throws

Pack summer vibrancy away –

Use soft chunky textured knits and faux fur cushions and throws.

COST SAVING HINT: You can save costs by removing the current cushion covers and replacing them with new ones.

Style them on your beds and couches.

Roll up a couple of soft warm throws and style them in a sisal basket next to an accent chair.

Photo by Sarah Shaffer on Unsplash

2. Dreamy Colours of Autumn

Invite the warm soothing palette of autumn colours into your home. Choose accessories that vibrate natural whites, coral tones (which by the way is Pantone’s colour of the year for 2019), soft terracotta, sage, neutral colours, hues of grey, scarlet, browns, green, orange, blue, gold and yellows.

Become one with nature. Nature dictates the best colours. Pick up an autumn leaf. Study the colours that are so vibrantly displayed in the autumn sun and you will see some if not all of the colours mentioned here.


3. Go Natural or Naturally Synthetic

For your rugs, decorative cushions, throws etc. choose natural materials such as cotton, wool, cashmere, jute (for rugs) and leather or if you prefer synthetic materials with natural look and feel.

Mix and match textures.

For example:

Store away the current throw on your couch or bed and replace it with a bulky knitted throw in a winter colour.

Replace the current vibrant decorative cushion covers, with covers made from faux fur and leather in softer tones against a backdrop of rustic winter red or terracotta and green knitted covers.

Photo by Jon Tyson on Unsplash

4. Don’t Forget the Candles and the Wonderful Fragrances of Autumn

Candles simply add atmosphere and give off a warm inviting glow.

When candles are placed on a shiny surface, for instance, a glass top coffee table their light is reflected and create an ambiance of relaxation and cosiness.

Autumn not only brings about a change of season and colour and temperature, but it also brings about fragrances of pine, cedarwood, cinnamon, wild orange and fir.

For a couple of dollars, you can invest in an essential oil diffuser, scented candles, essential oil burner or potpourri. If you are a DIY enthusiast you can even, make your own scented candles and potpourri.

Photo by Alisa Anton on Unsplash

5. Showcase Autumn with Simple In-Season Arrangements

Get your creative juices flowing by arranging autumn loved green foliage such as eucalyptus branches and in season flowers such as Dahlias, Chrysanthemums and Echinacea (just to name a few) in copper vases. Copper vases add a rich warmth to autumn décor/accessories and reflect light.

Even placing a small arrangement of eucalyptus in the bathroom will permeate a fresh smell.

Succulents, whether real or artificial in rustic earthy or wooden containers will add to the autumn appeal.

HINT:

Bundle a few boughs of eucalyptus together, and hang them from the shower arm, away from the water stream, for a soothing aromatherapy shower.

6. Plaids and Stripes

As with colours, patterns are seasonal too. Floral pattern and bright colours ring in summer. Plaids and stripes in warm colours are associated with your autumn and winter seasons.

Roll up and store your summer rug. Introduce a rug made of wool with bold stripes and warm autumn colours.

Maybe change the side table lamp shade to one in hues of dark yellow and change the light bulb to a softer tone.

Perhaps choose a patterned or burnt orange coloured throw to complement the autumn theme.


Photo by James Coleman on Unsplash

7. Artwork and Mirrors

The rich golden colours of autumn can be portrayed in artwork in your living areas. When framed in dark wood or gold colour, this will magnify the beautiful autumn season indoors.

You may even choose to swap artwork in your lounge or dining area with a mirror. This too will reflect warmth and soft light.

Photo by kelsey roenau on Unsplash


So, You’ve Bought Front Door Lights … Now What?

So, You’ve Bought Front Door Lights … Now What?

Image by MaryDesign from Pixabay

So, you’ve bought front door lights … Now what?

Whatever the valid reasoning behind it all for buying front door lights in the first place – it all comes down to this moment – they will now have to be mounted against the wall.


No problem! So many before you have gone down the same pathway and so many will still do.

Maybe you are a first-time home buyer and have shopped for new front door light fixtures for your new home. Or maybe you have decided it is time to throw out the old fixtures and replace them with new ones. It could be you are preparing your property for sale and the tiresome old lights do not credit the curb appeal you want to put out there.

So, let’s get down to business and determine the placement height for your new light fixtures.


  1. Safety First 

Image by succo from Pixabay

  • When determining the size and placements of your front door lights, safety and effectiveness are first and foremost.
  • You obviously do not want friends or prospective home buyers bumping their heads on a too low hanging front door pendant light.
  • Nor would you want a warning sign “mind your head” at the front door.
  • As for effectiveness, you want to show off the newly acquired light fixture at the best possible vantage point to enhance your curb appeal.

2. Best Rule Of Thumb Guidelines for Placement Height

Guidelines to determine the size of front door lights are discussed in our blog “What is The Correct Size for Front Door Lights?”

  • Front Door Single Light Fitting Placement Height

    When wall space is limited on either side of the door, the preference would be one light fitting placed on the opening side of the door. i.e. the side of the door handle. The illustration will stipulate the recommended placement height.
  • Front Door Two Light Fittings
  • Above the Door – Flush Mount
  • The Pendant Light Fixture

To centre, the hanging point for the pendant light,  establish the mid-cross-section of the front door overhead space.

COMPREHENSIVE GUIDE TO GARAGE EXTERIOR LIGHTING – ADDING CURB APPEAL!

COMPREHENSIVE GUIDE TO GARAGE EXTERIOR LIGHTING – ADDING CURB APPEAL!

Photo by Luis Yanez from Pexels
Lights do beautify the garage exterior and add to your curb appeal! Not only does it add appeal and style, but it also provides security and task light. That being said, keep in mind they should not be overly bright and illuminate onto your neighbour’s property. Not sure what size fitting to choose or where to place it? Our Comprehensive Guide to Garage Exterior Lighting – Adding Curb Appeal, is sure to answer your question about the correct size and placement of the garage exterior light fittings.  
1. Determine the Correct Amount of Light
 
Image by PublicDomainPictures on Pixabay
  • At dusk view your property from across the street or from the end of the driveway. This will give you an idea of how much illumination and lights are needed.
  • If unsure take a photo to your lighting store for advice and guidance.

2. Choosing the Correct Exterior Light Fitting Size

 a) General Rule of Thumb
  • Measure the height of the garage door opening.
  • The size of the fixture should be 1/4 to 1/3 the height of the door opening or simply multiply the height of the door opening by .25 or .33.
b) Beam Spread   
  • Beam Spread Definition: The area light covers from a distance. As light beams away from its source, it spreads out and becomes less intense.
  • Before shopping for a light, measure the height of the garage door opening (to calculate the size of the light fixture) and the width of your driveway. This will give you an idea of how wide beam spread there will be at a given distance.
  • Here is a simple calculation, to determine the width of the beam spread at a given distance – the angle of the beam multiplied by 0.18 multiply by distance. 
  • Generally, when looking for light fixtures most will have information regarding the light source, the angle of the beam and the estimated beam spread.
3. Choosing the Right Placement
Single Garage Door
    One light – between the house and garage.  
  One light – centred approximately 15 – 16 cm above the garage door, ensuring that the fixture does not interfere with the door when opening. If need be, adjust accordingly.  
Two lights – one at each side of the garage door.
Two Door Garage
Two lights – equally spaced above each garage door.
Three lights – one light at either side of the garage, and the third light centred between the doors.  
Three or more Garage Doors
Three lights – one light centred above each door.  
Three lights – one light on either outer edge of the first and third door, and one light centred above the centre door    
Four lights – one light on the outer edge of the first and third doors, and one light on the left, and one light on the right of the centre door.
Image by stevepb on Pixabay