Why Neutral Colours Are Best for Your Home

Why Neutral Colours Are Best for Your Home

Why Neutral Colours Are Best for Your Home

neutral colours never become outdated

Without musical instruments, there is no orchestra. Without neutral colours, there is no backdrop or emboss to bring out the bold elements of your interior design. Neutral colours are the secret ingredient when styling your home. They never become outdated and feature well with any tone or colour for a dramatic look.

 Neutral colours are best for your home as they never become outdated and feature well with any tone or colour in your interior design. The possibilities of using and incorporating neutral colours into your interior decorating are limitless.

what are neutral colours not

1. Neutral colours


  • are colours not found on the colour wheel.
  • do not dominate or compete but complement and amplify other colours and each other.
  • never grow old.
  • are timeless classics.
  • work with and for any style.
examples of neutral colours

2. Examples of neutral colours

• beige,
• ivory,
• taupe,
• black,
• grey and
• shades of white
• tan
• copper
• bronze
• gold

are neutrals just neutral

3.  Are Neutral Colours, Well Just Neutral in Colour?

  •  No, neutral colours can have undertones e.g., beige may have an undertone of pink or white and can be slightly ivory or even bluish-white. You must know this, especially when choosing paint colour for walls.
  • Natural light influences colour tones – Please click here to read more about how light influences colour tones.
  • Browns, tans, gold, beige and black are the warm neutral tones, whereas white, cream, ivory, grey and silver are considered as cool neutral tones.
decorating and styling your home

4. Are Neutral Colours the Best for Your Home?

Emphatically, yes! Neutral colours influence your colour palette when decorating and styling your home.


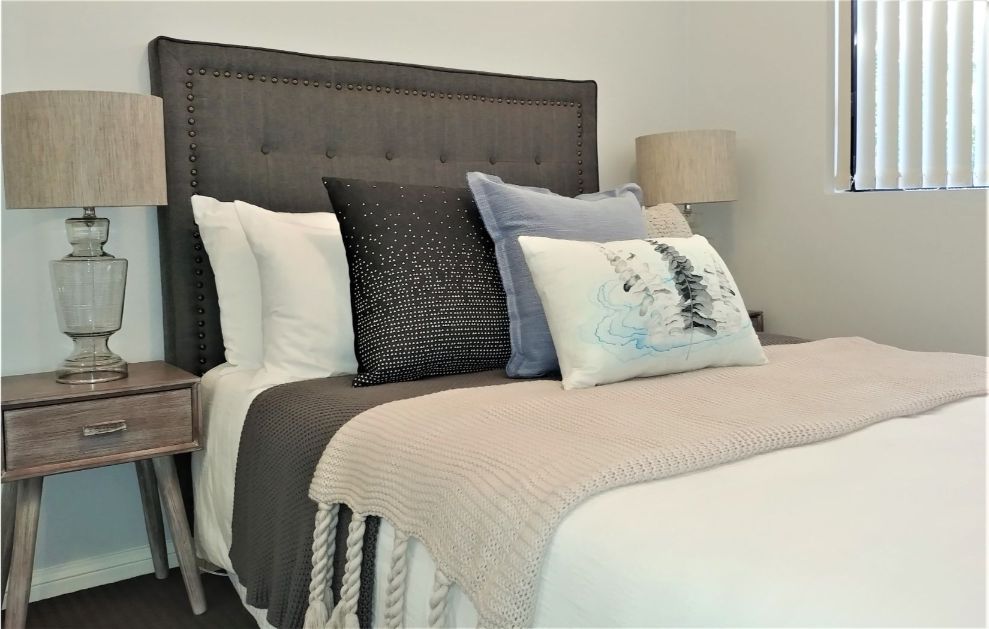
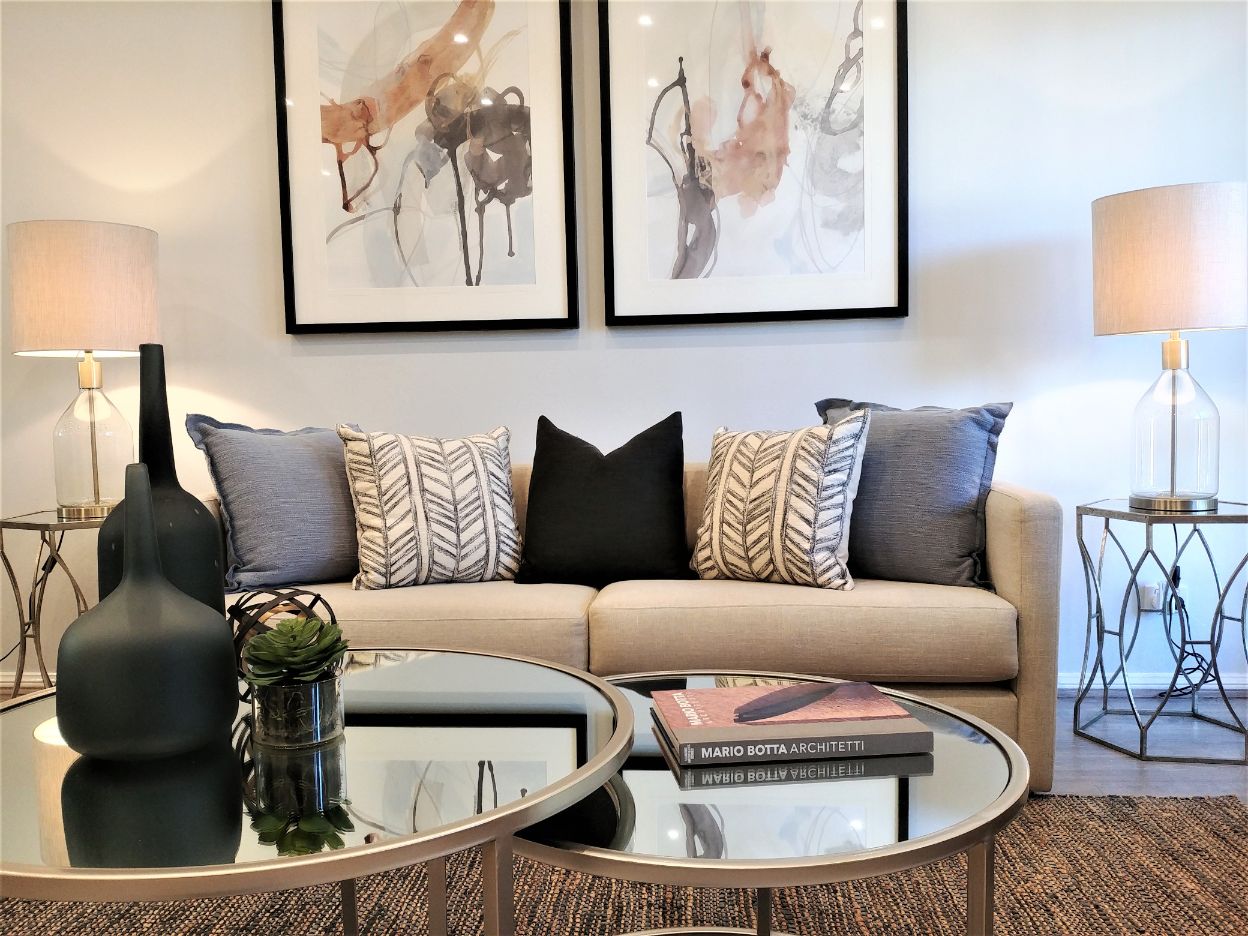
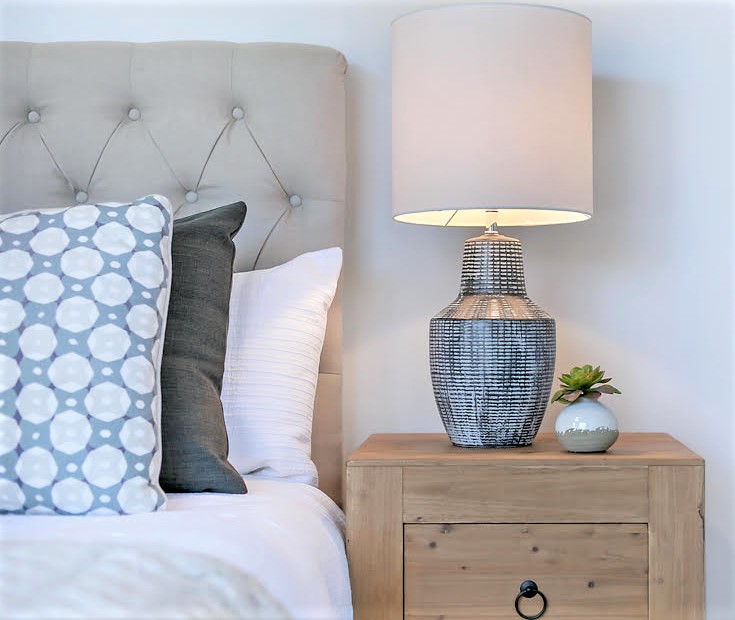
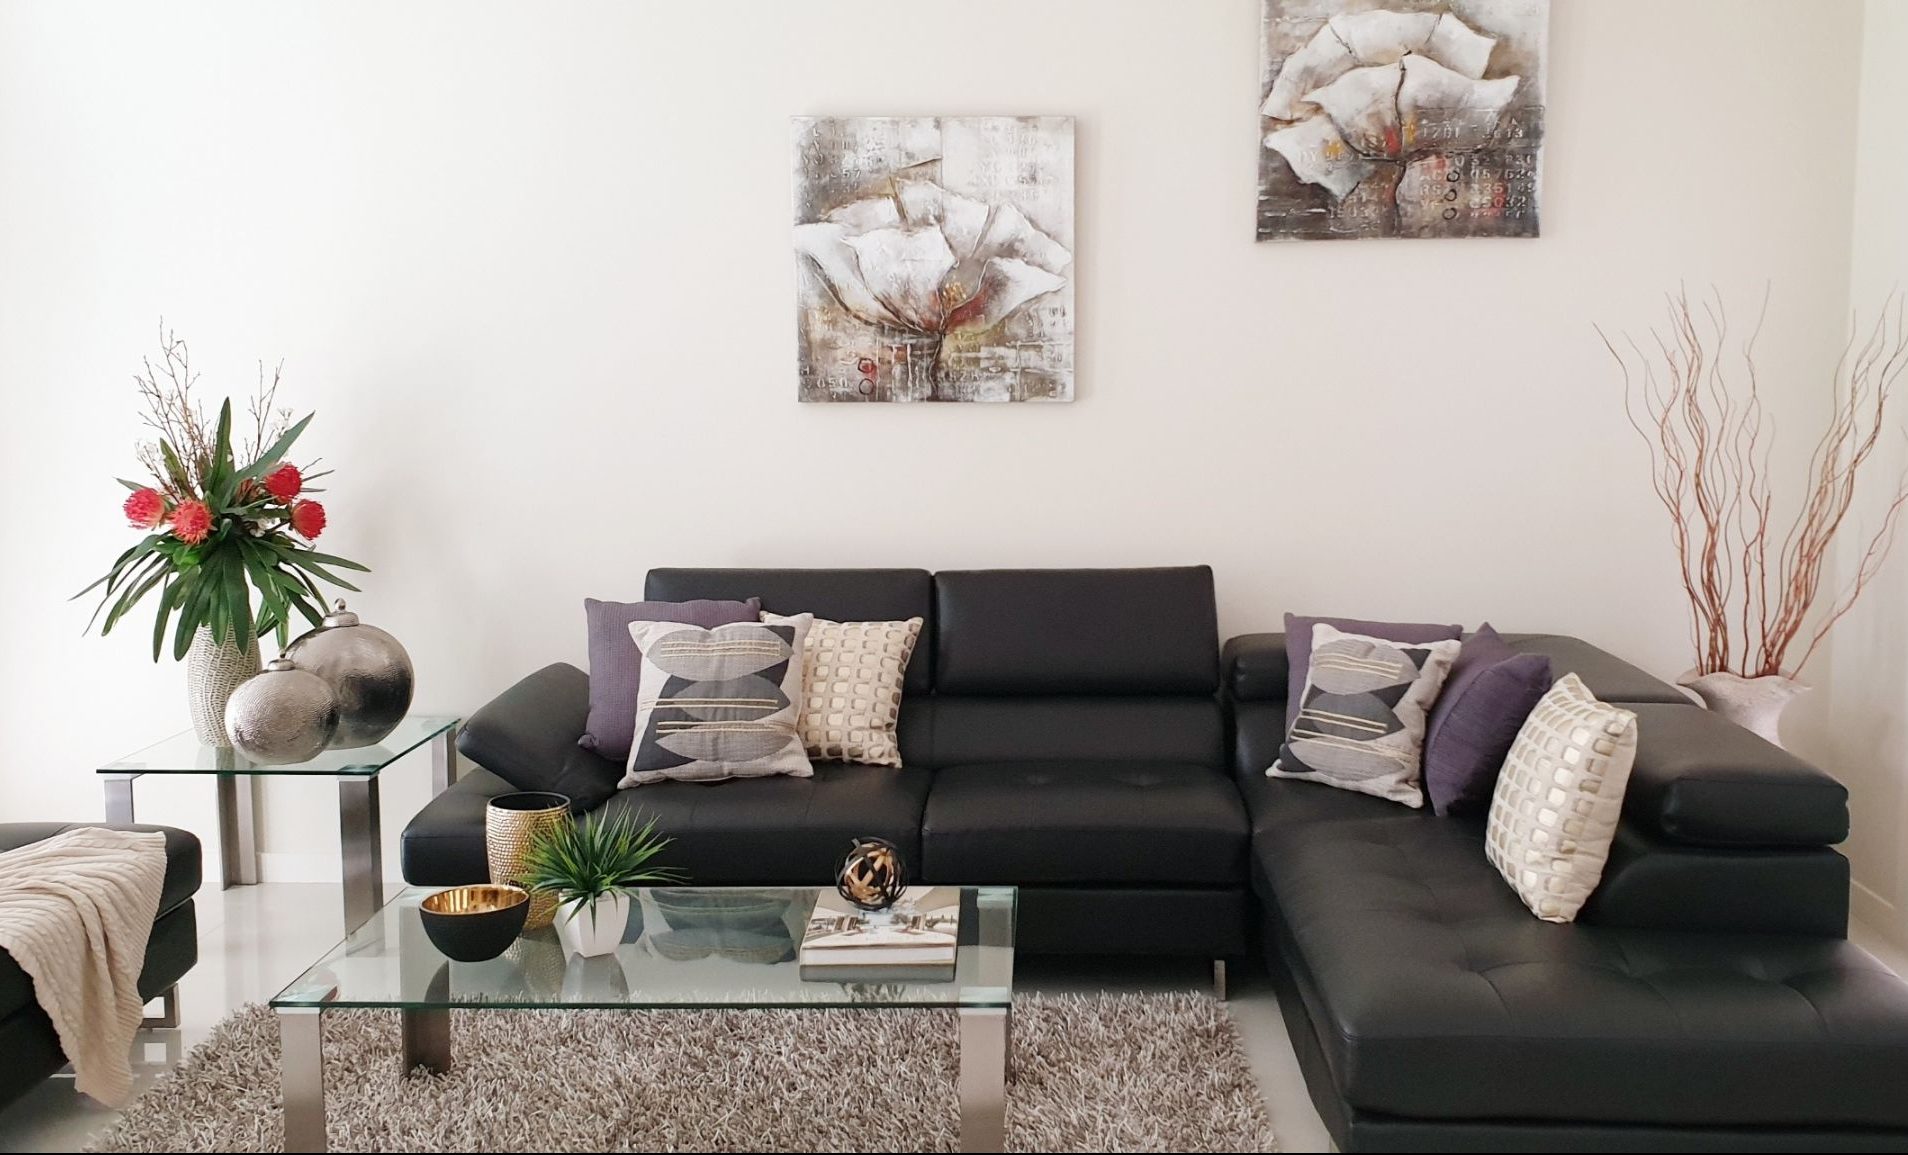
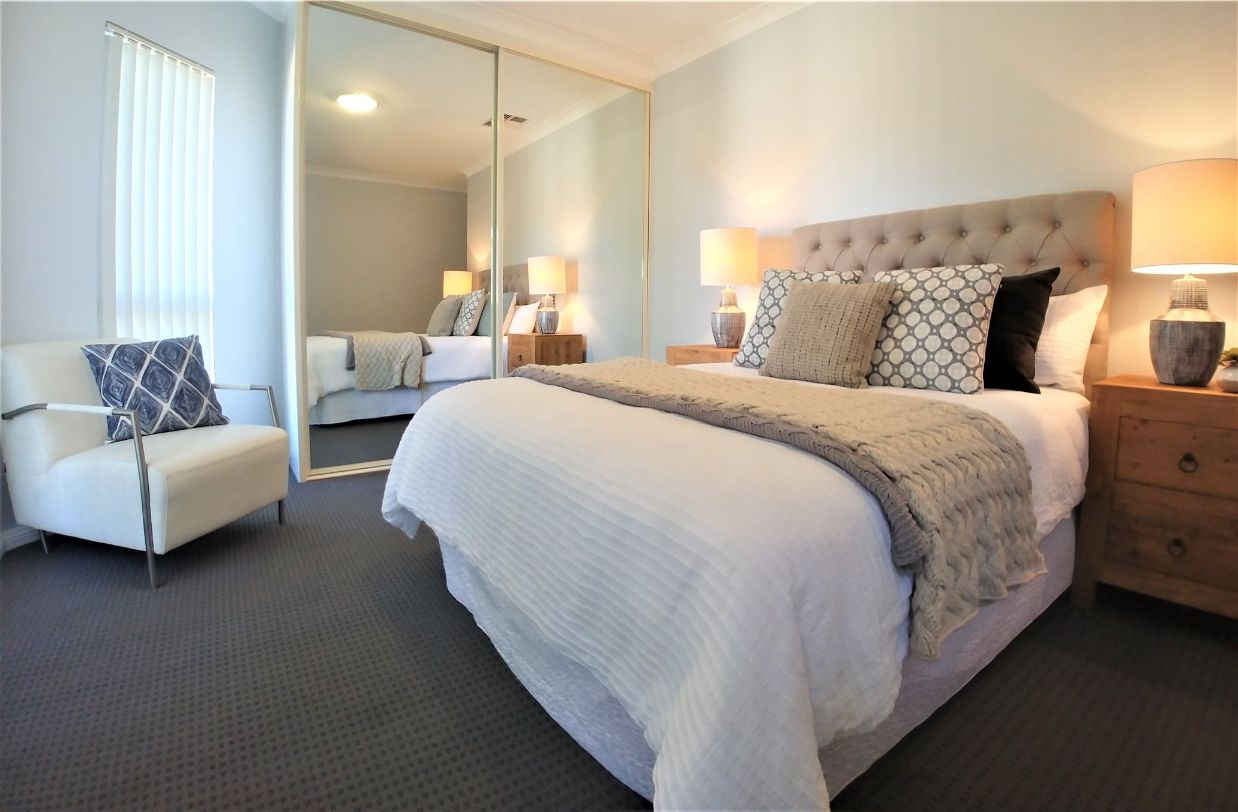
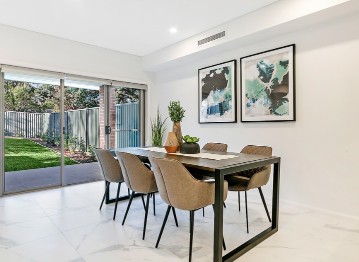
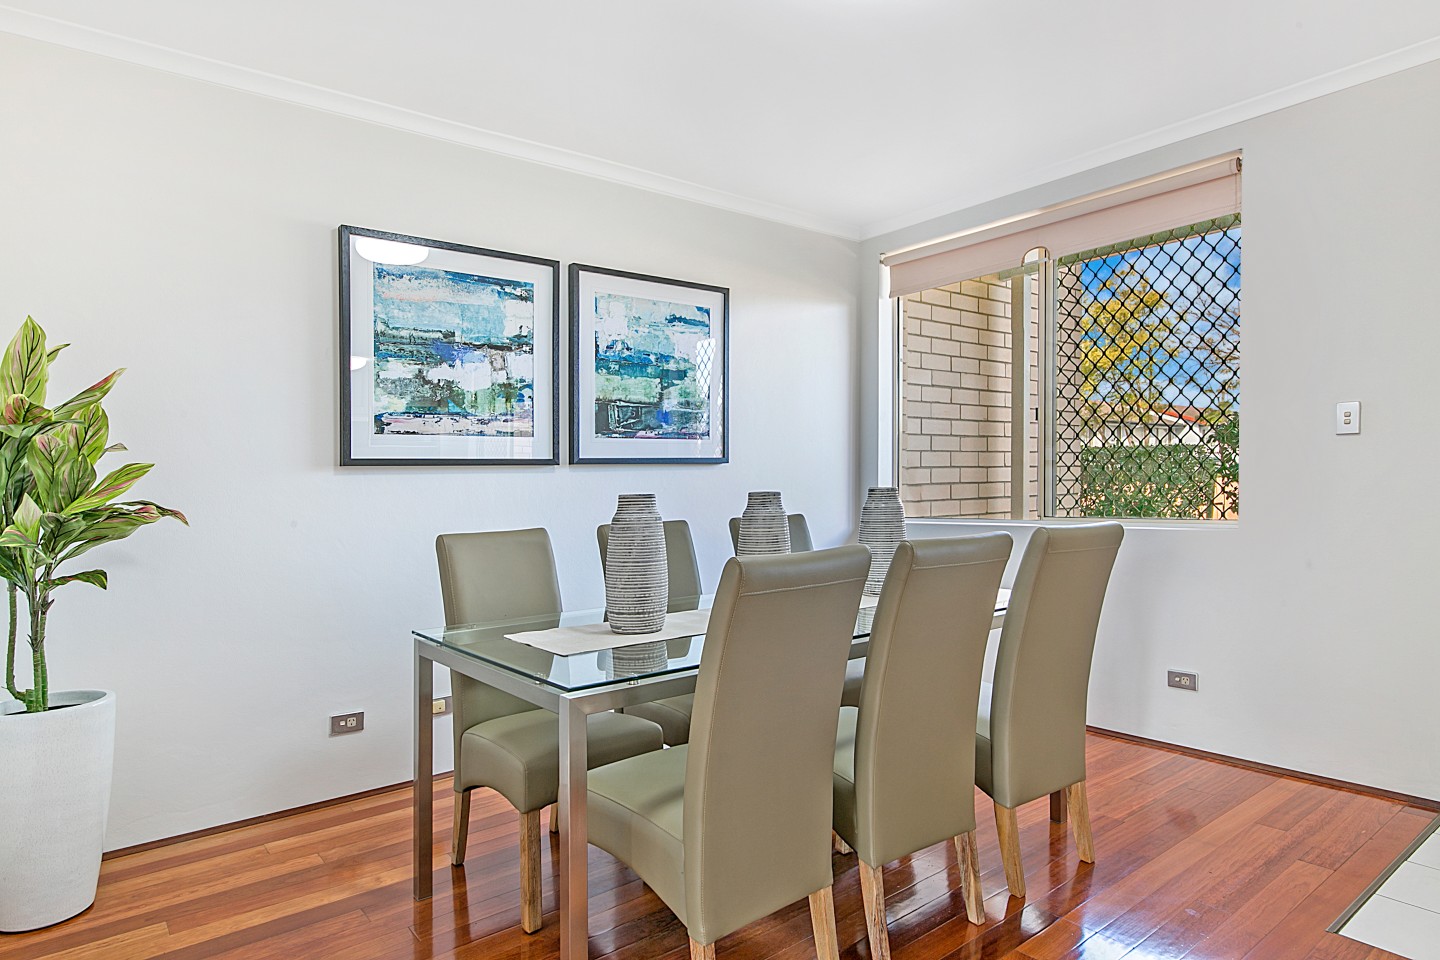
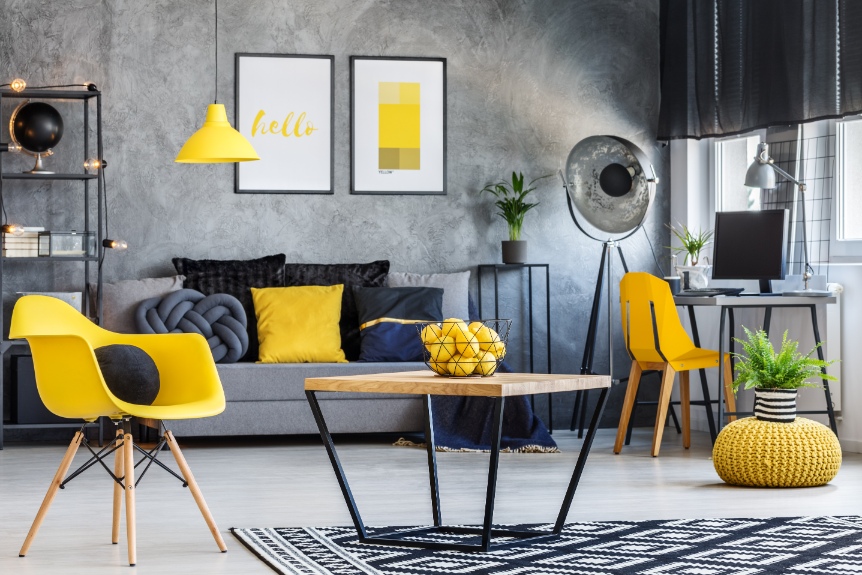
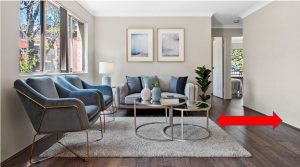
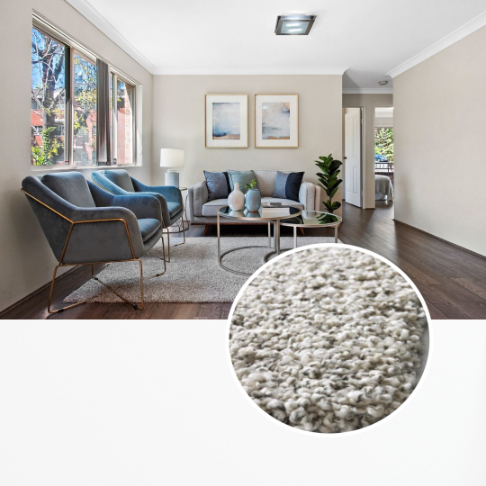
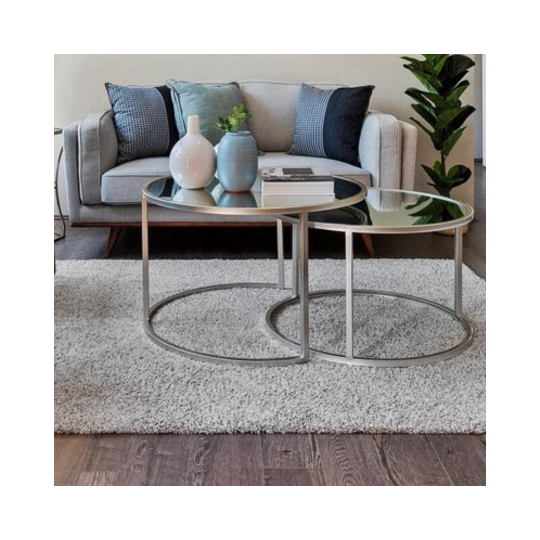
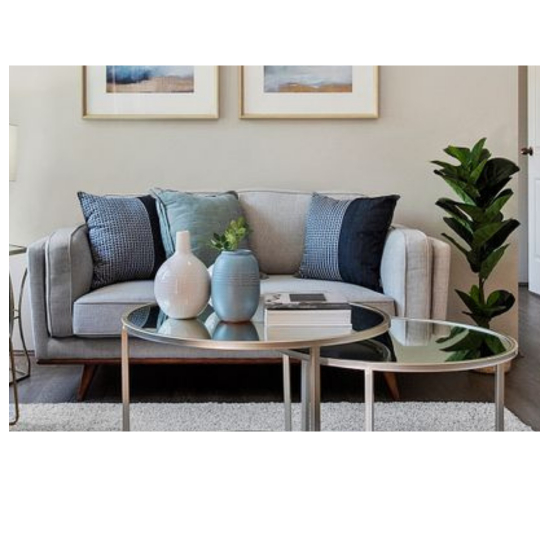
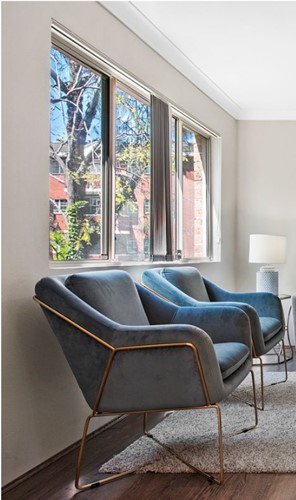
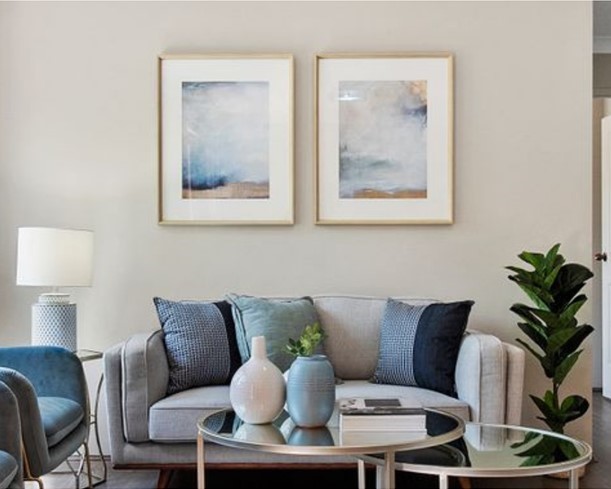
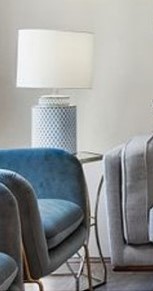
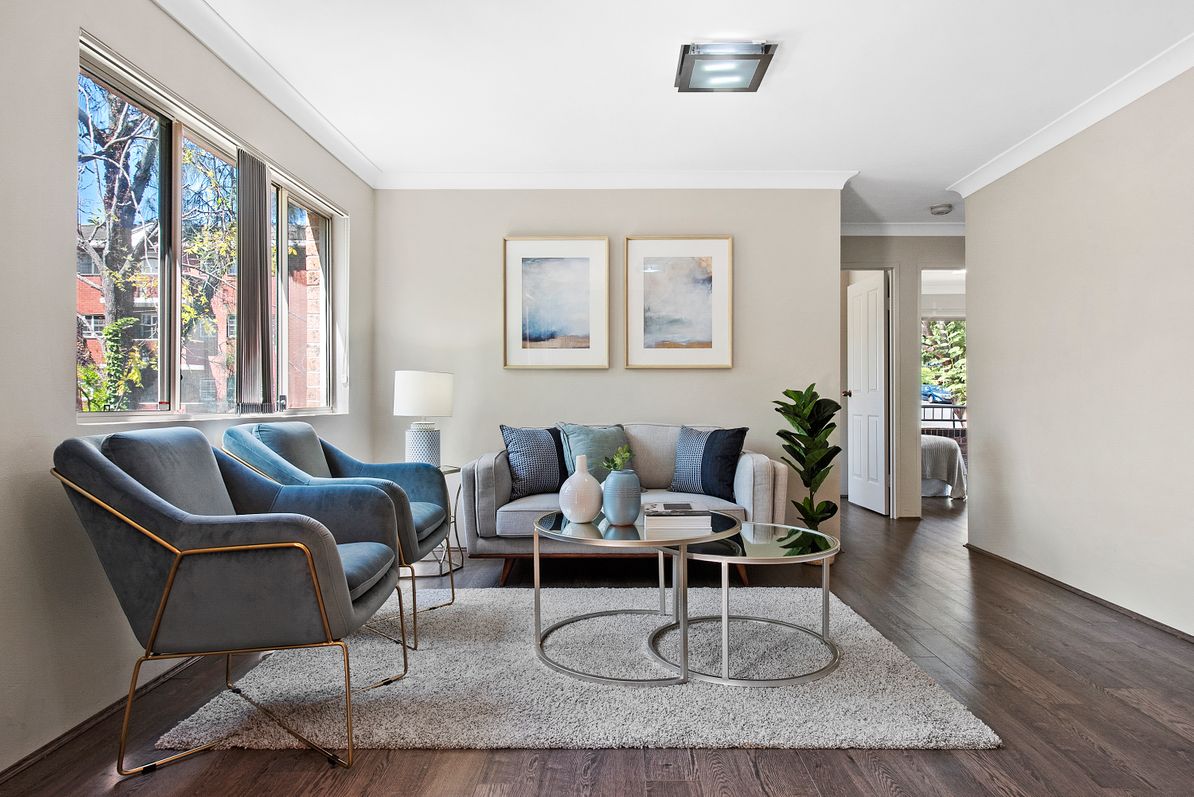
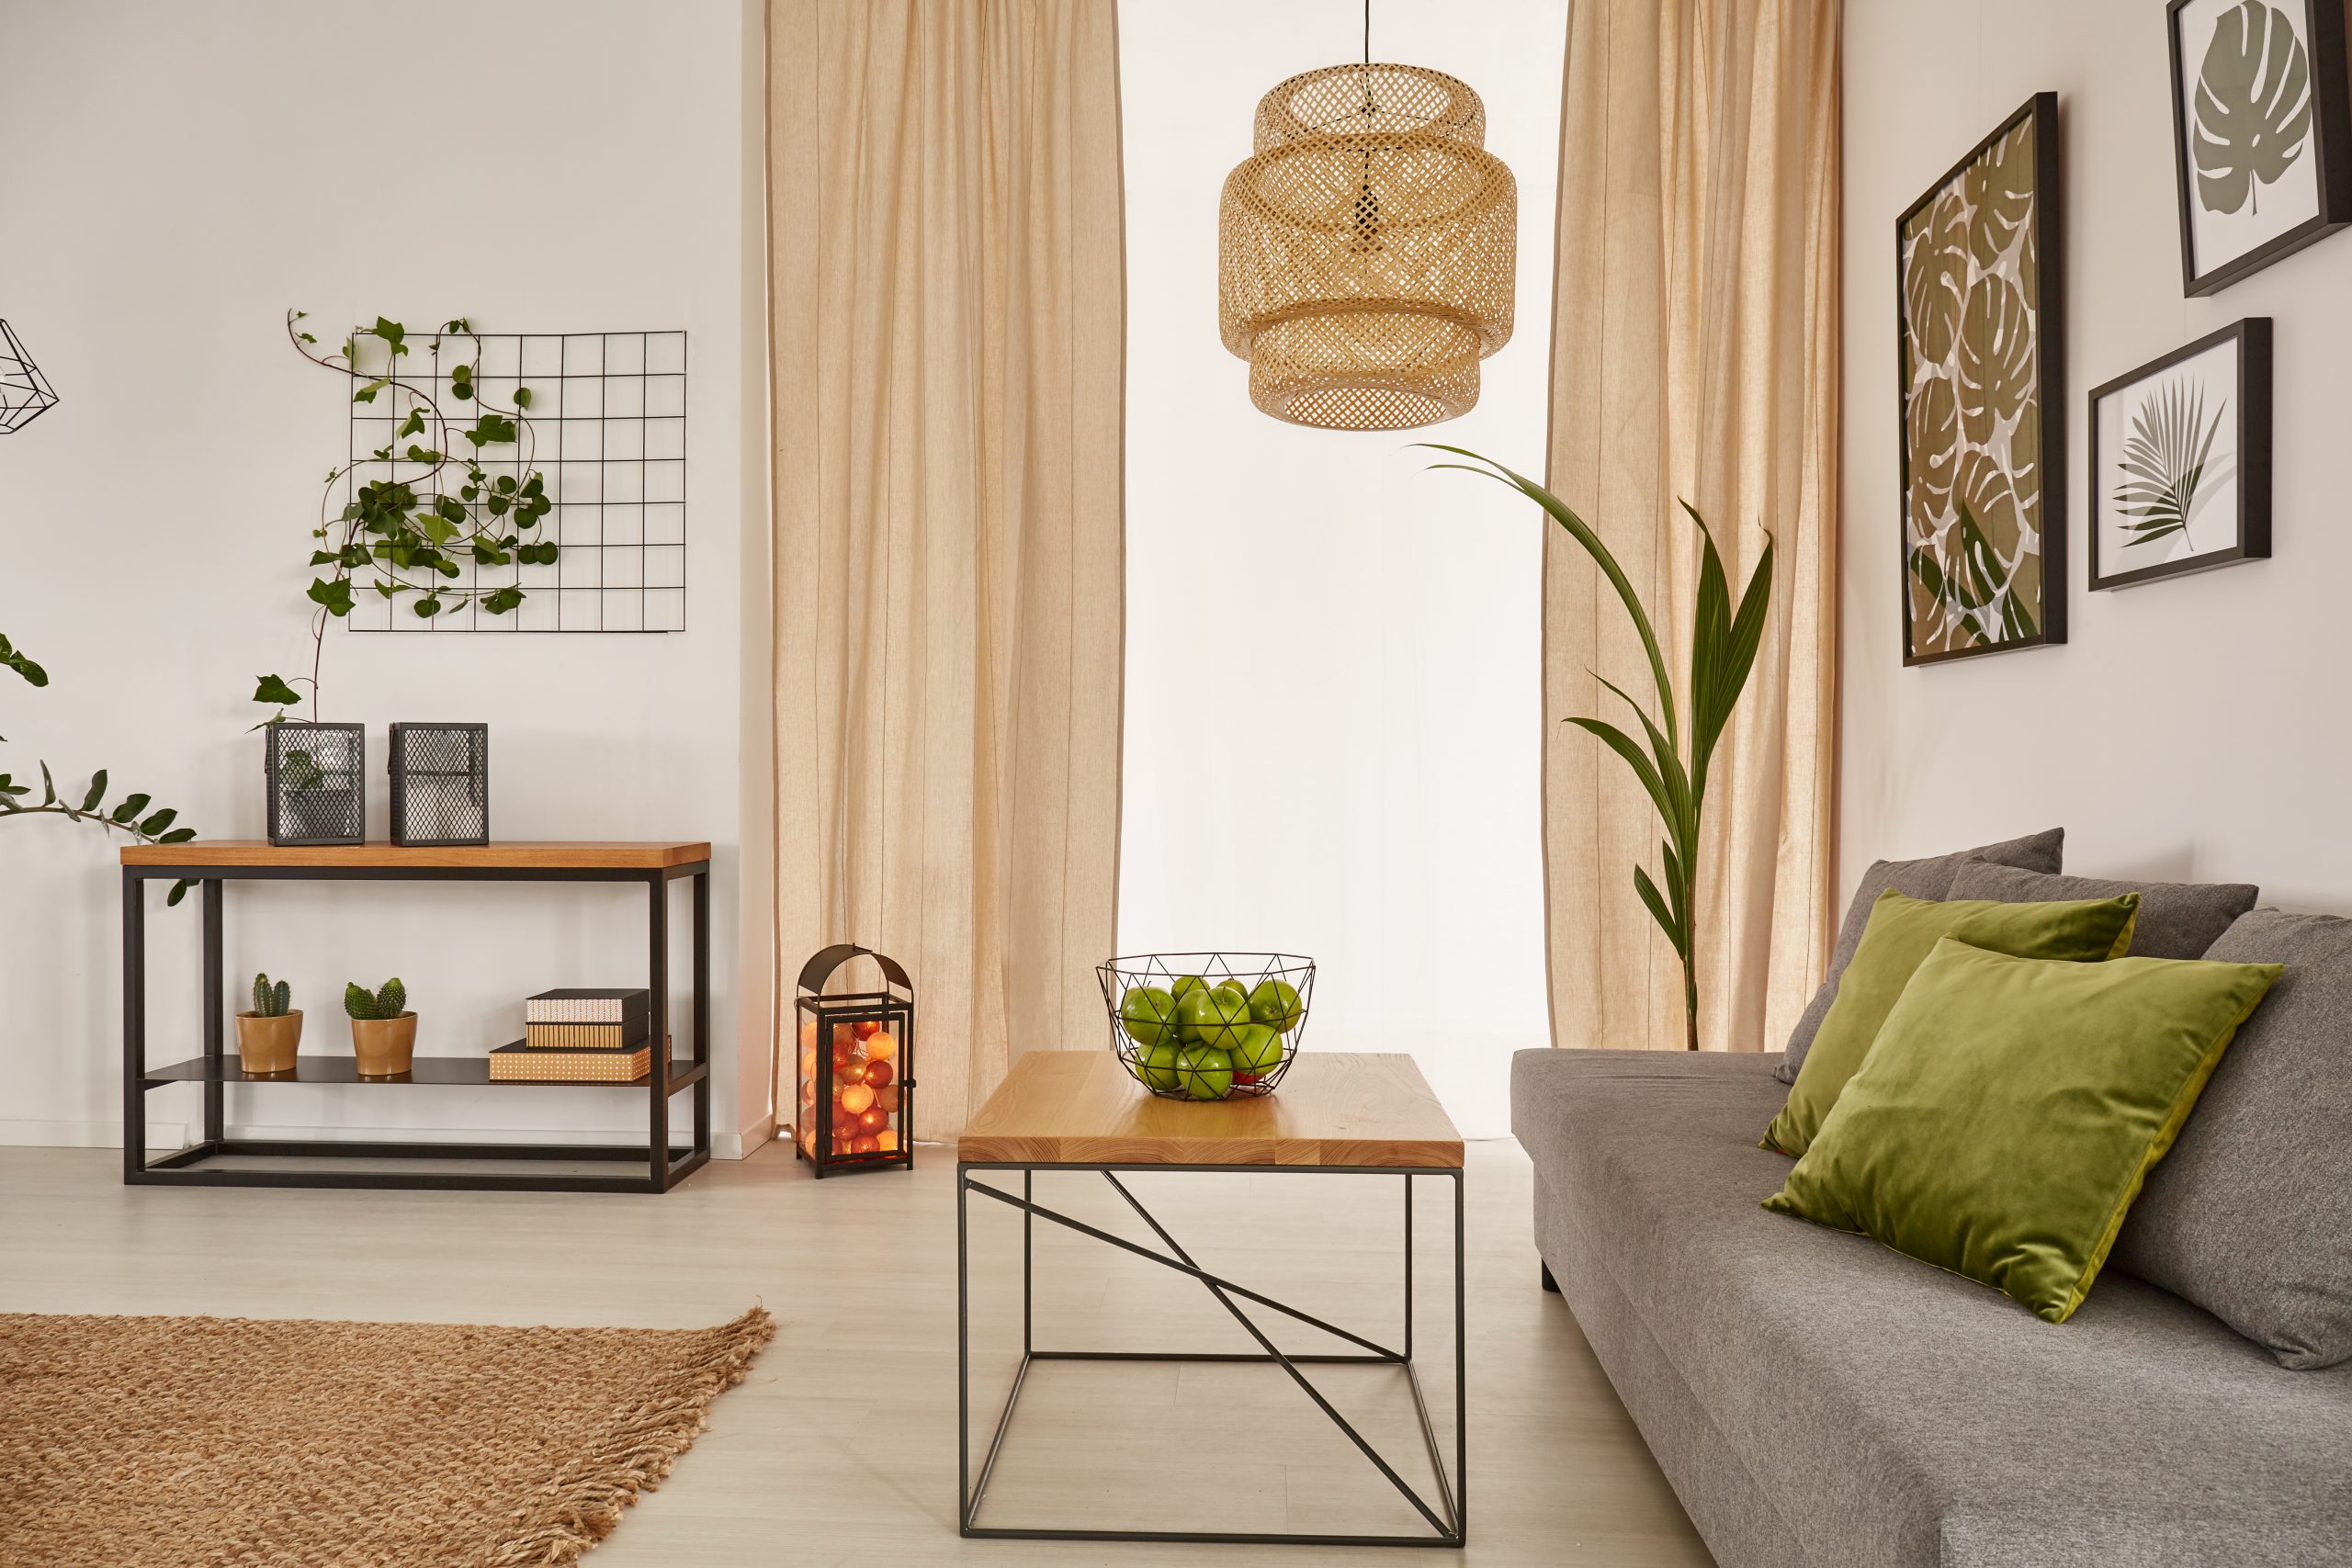
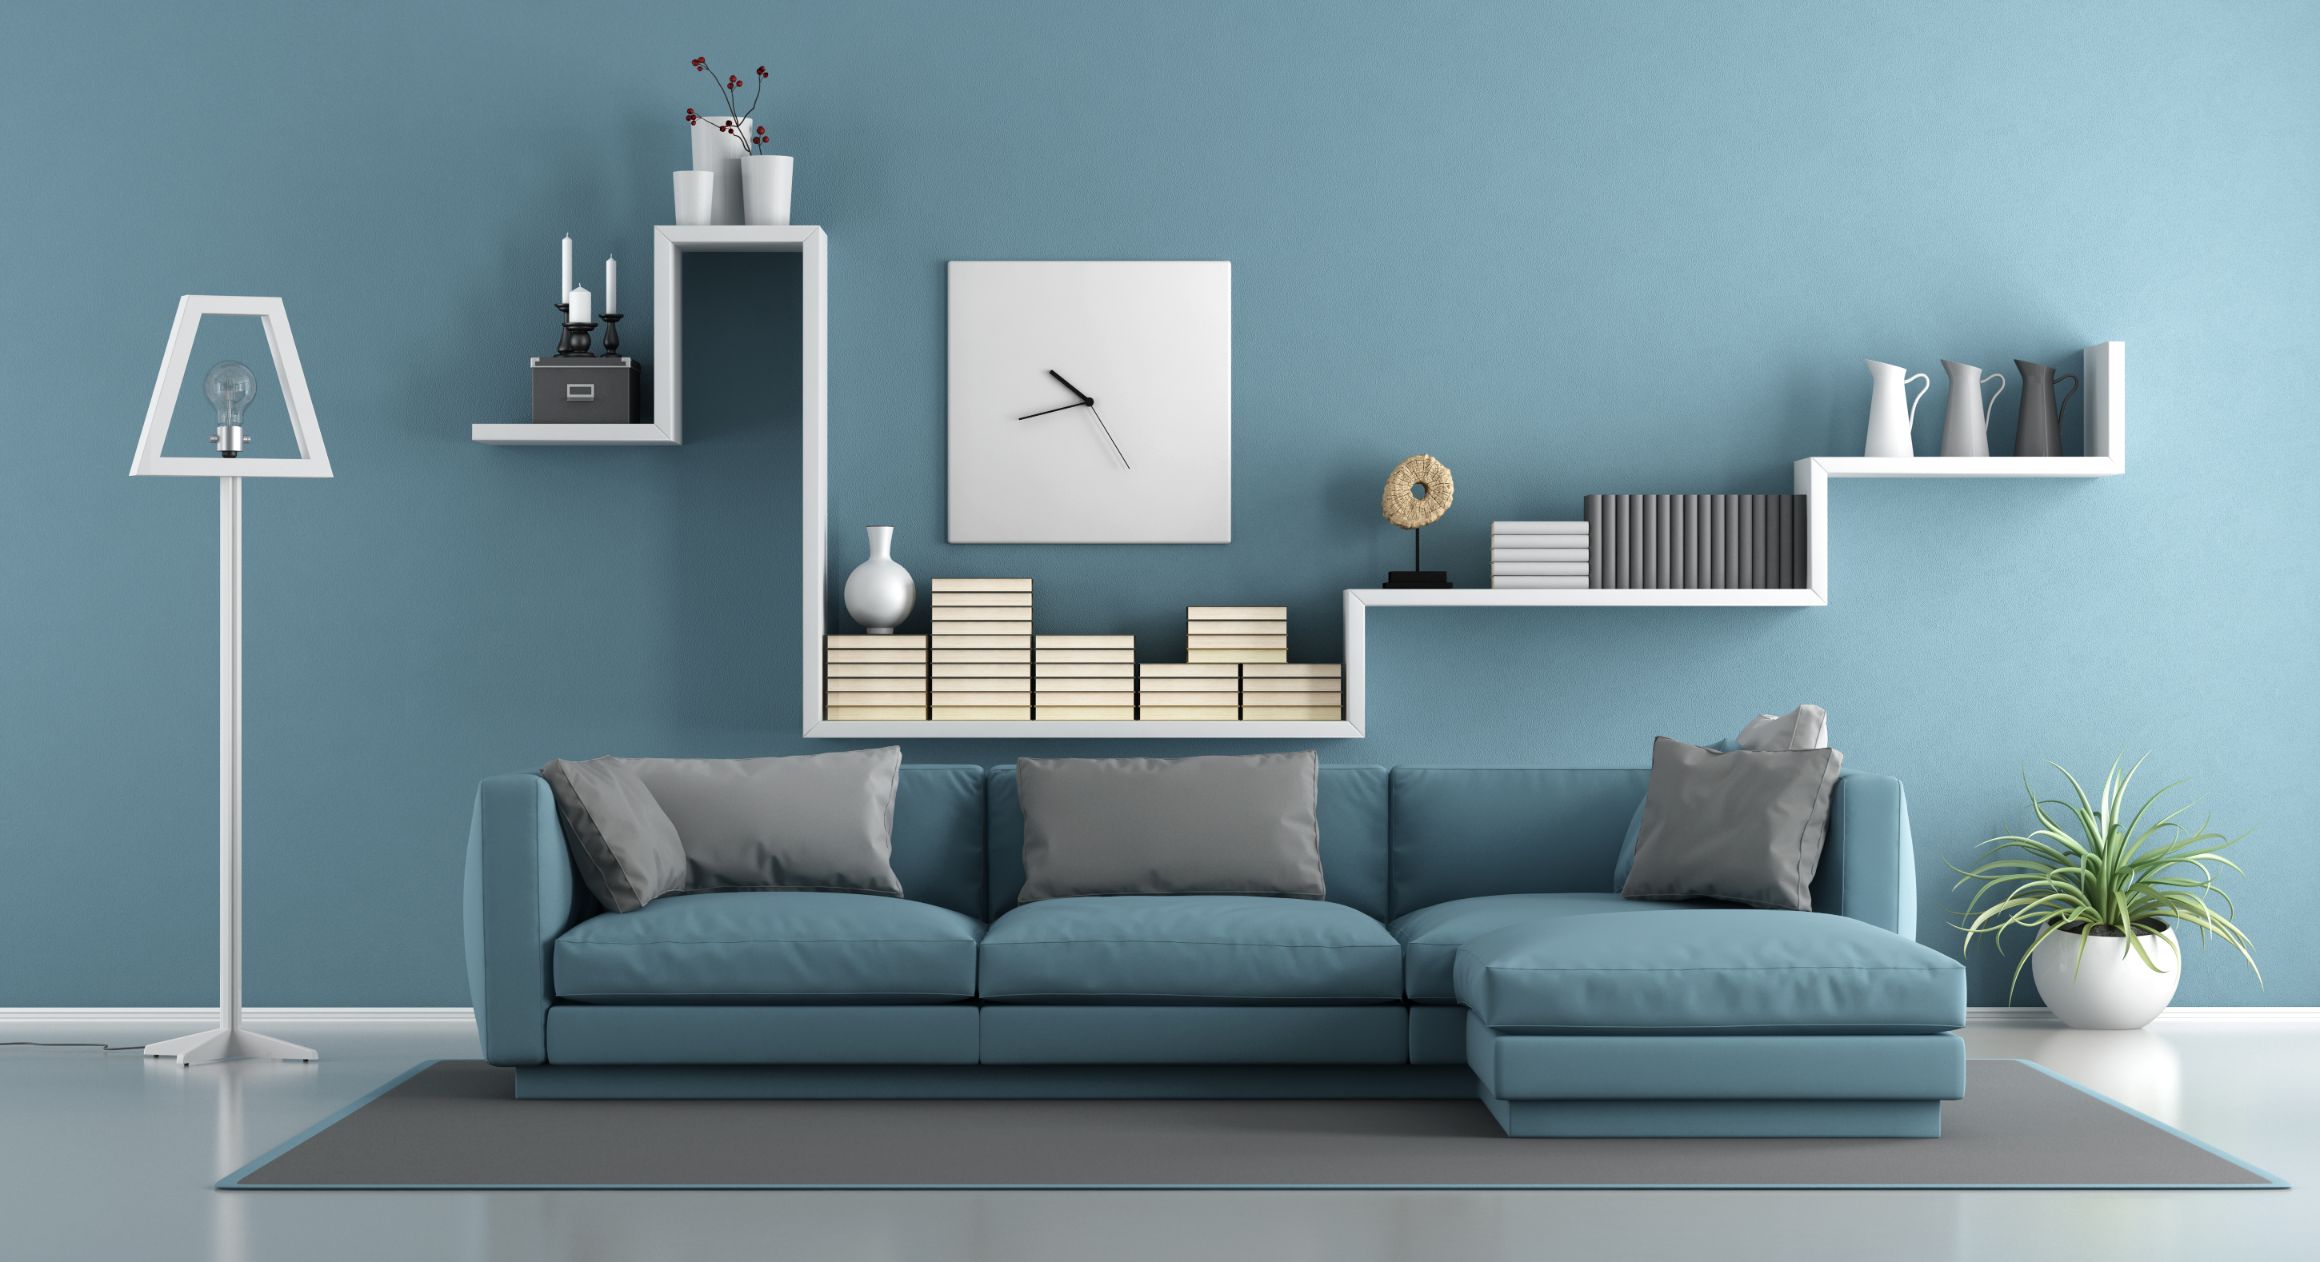
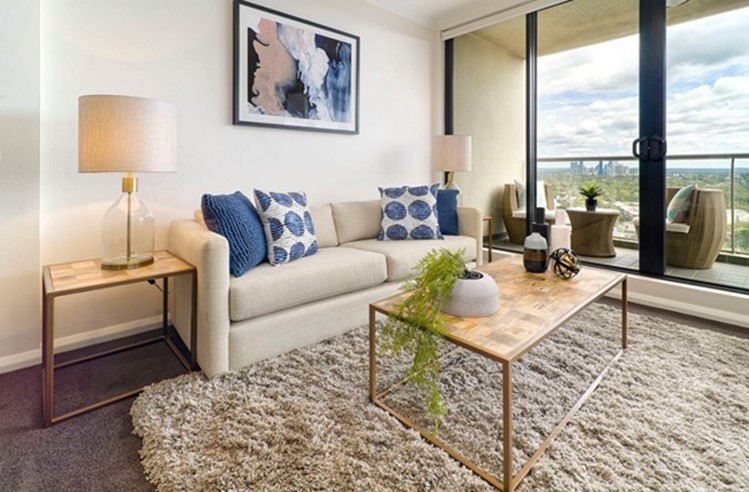
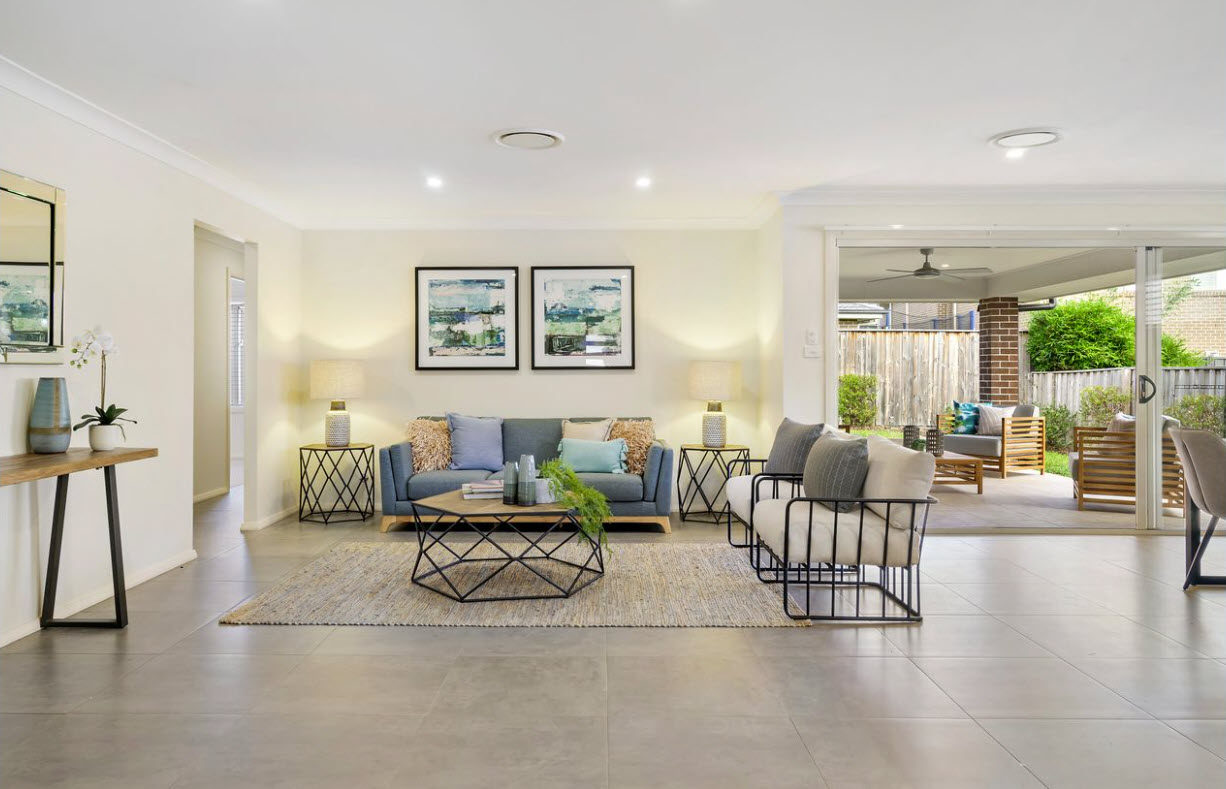
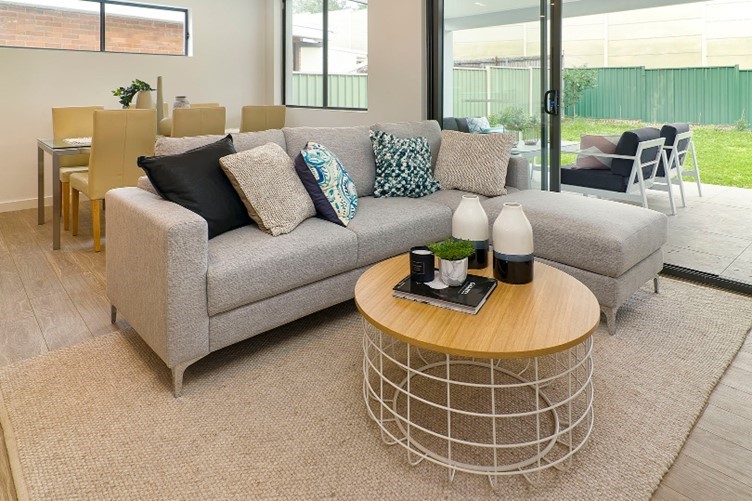
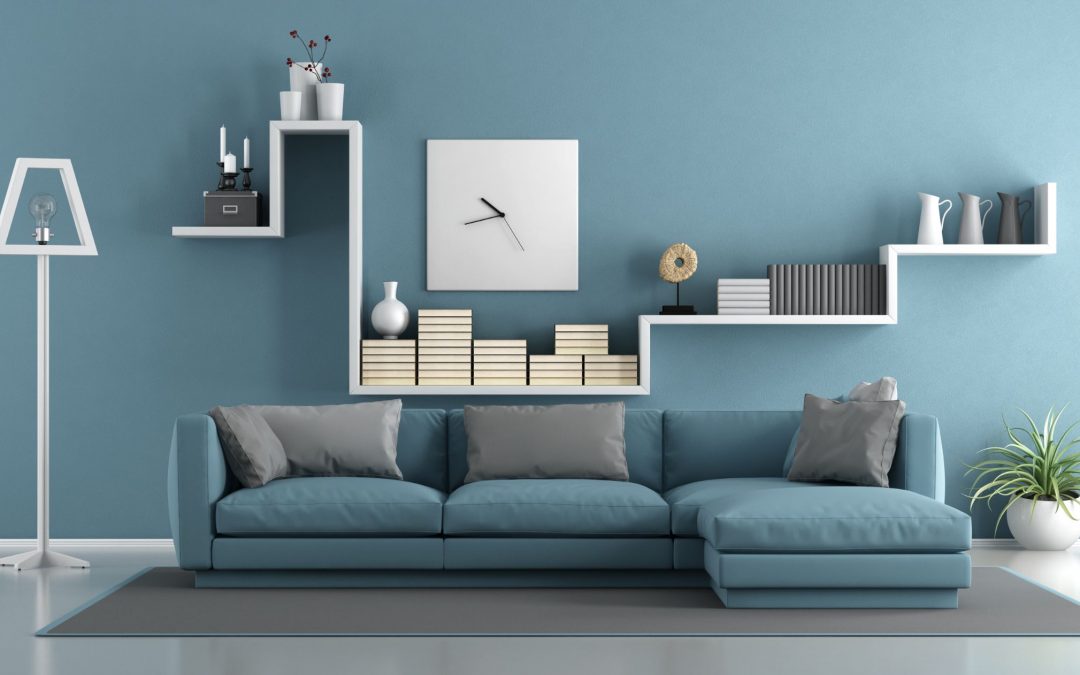
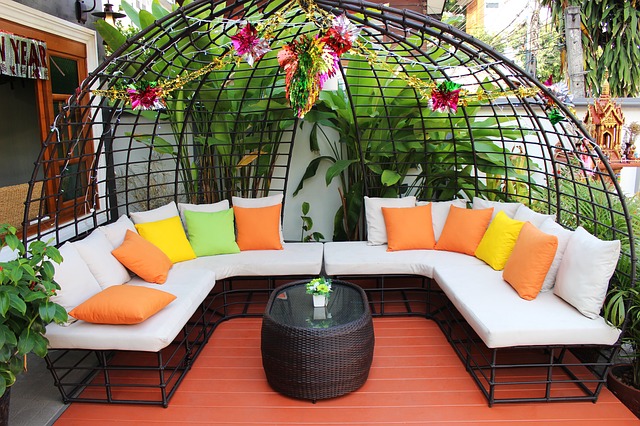
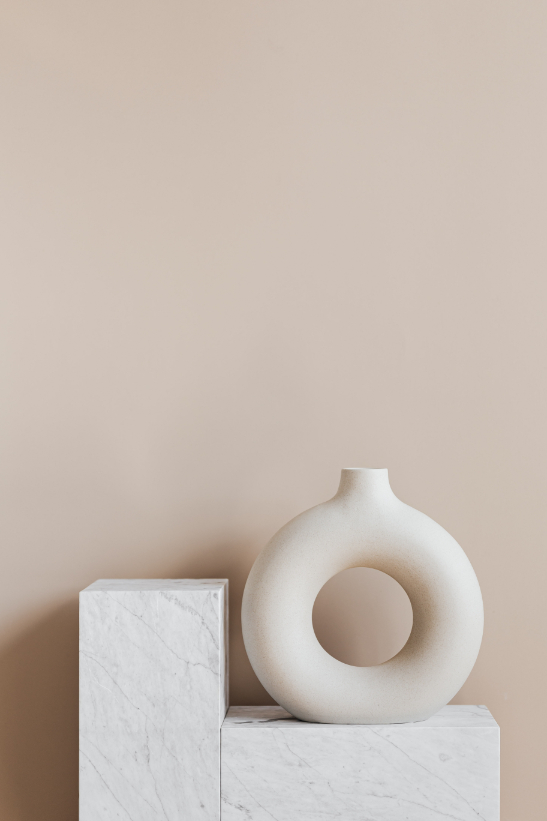
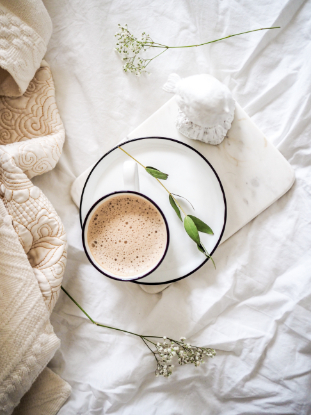
  •  Neutral colours are visually undramatic and permeate a restful ambience yet exhibit elegance and formality.
  • Neutrals serve well as background colours and blend well with other colours.
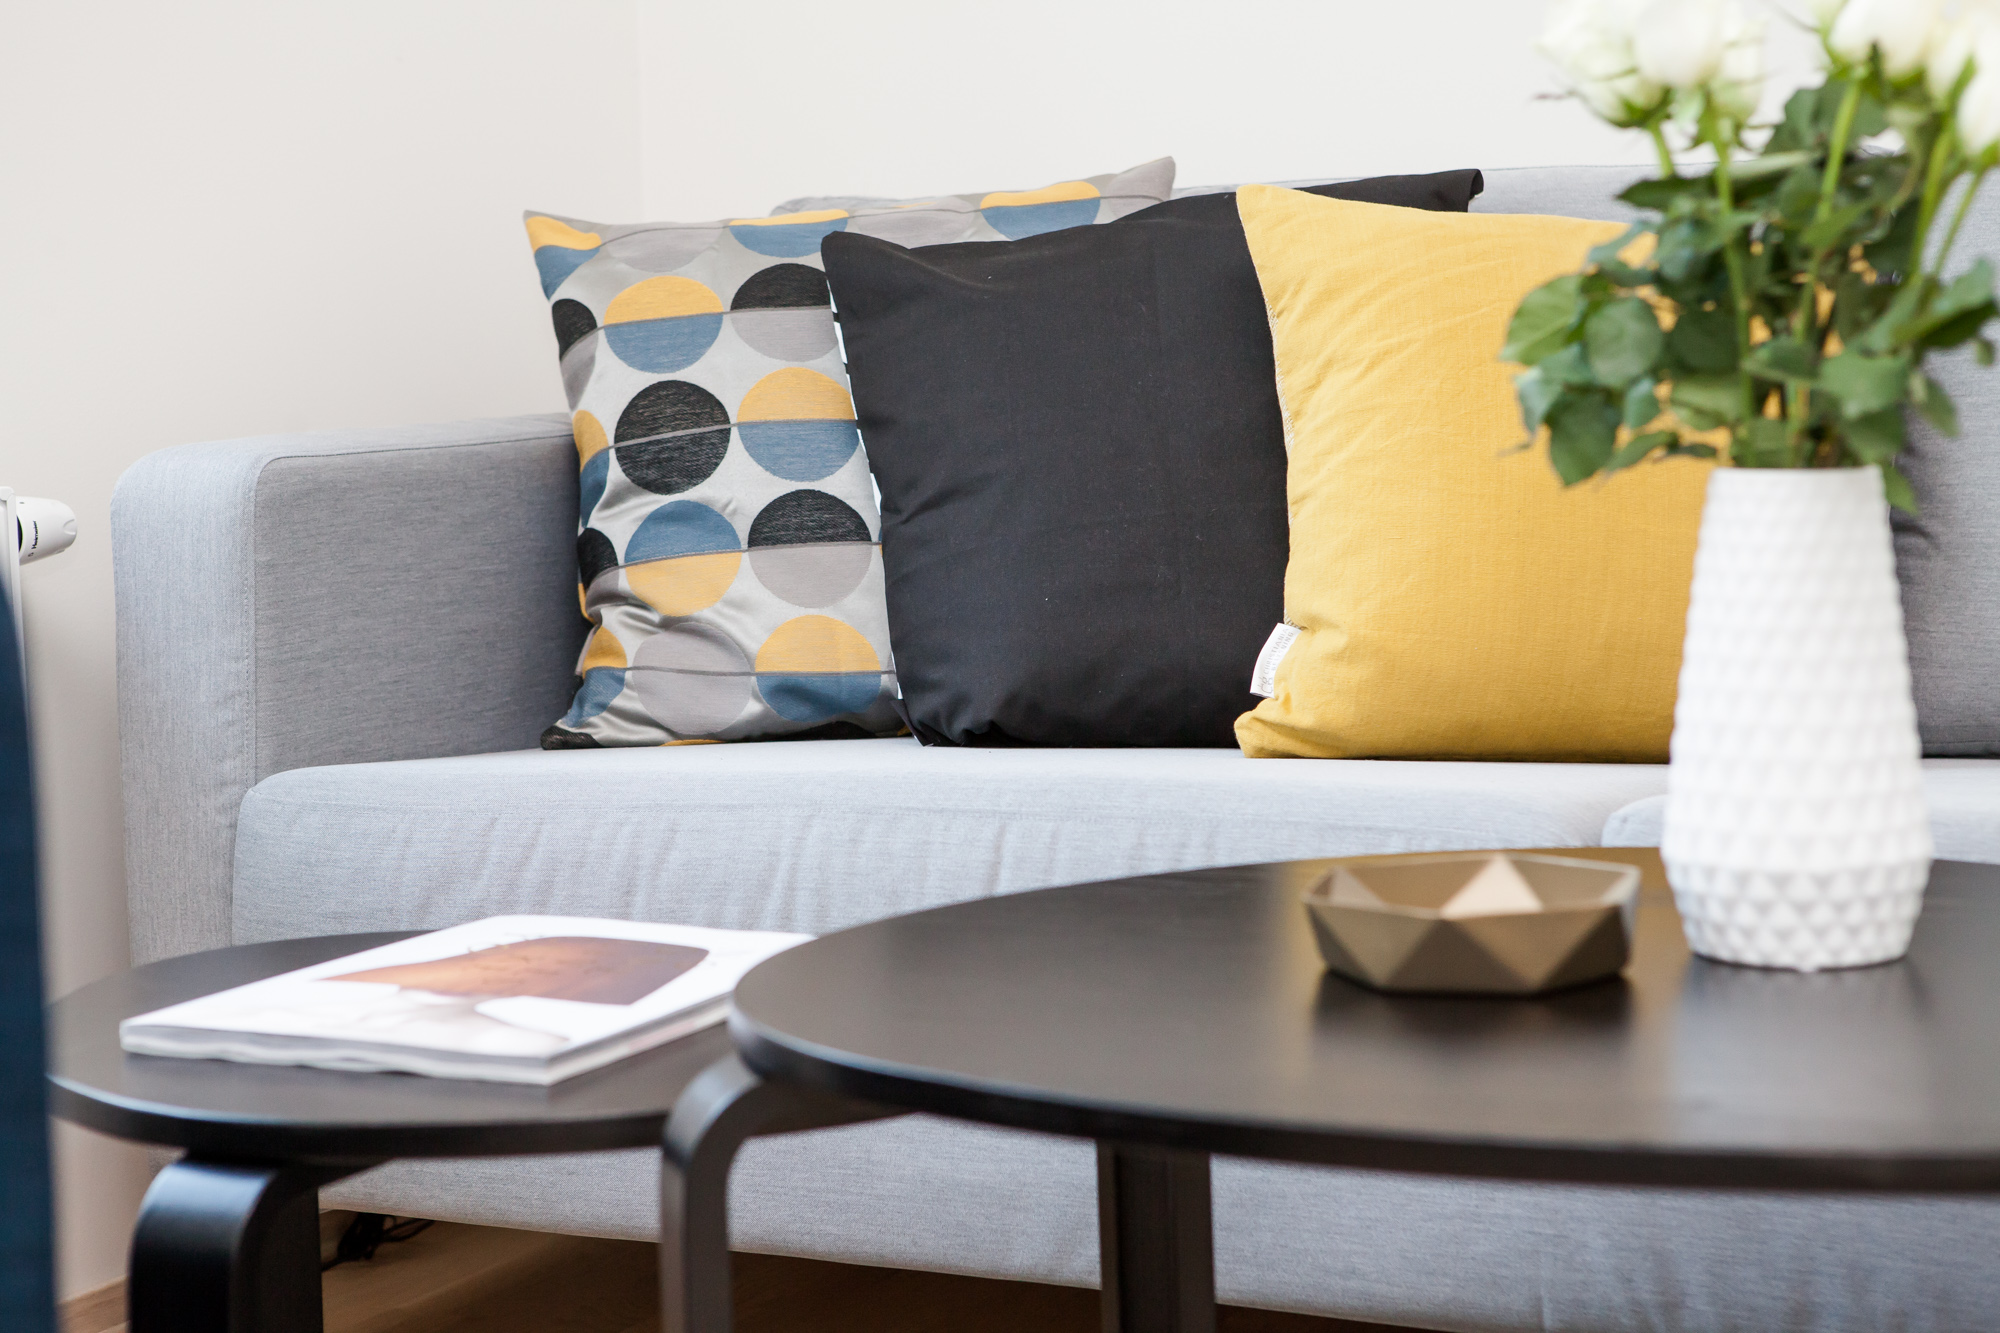
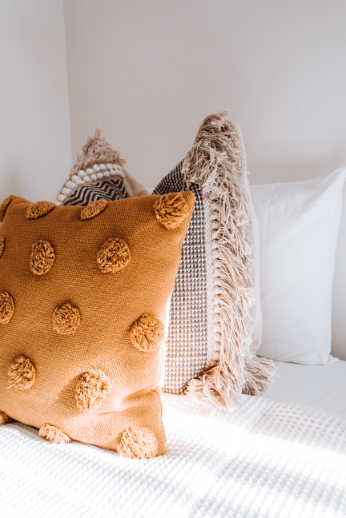
  • They accentuate bright and vibrant colours.
  • Pastel shades are accentuated by neutral colours.
  • Neutral colours complement each other e.g., the neutral Greige consisting of grey and beige neutrals.
  • Since neutral colour blend and accentuate, it is the perfect canvas to work from and with.
  • Neutrals are timeless, flexible, and always in style and fashion.
  • Incorporate neutral colours in your home in textures and patterns.

5.  Neutral Colours and Home Styling

    • With neutral colours, you can create any style genre within your home.
    • You do not need to pay attention to intricate colour matching detail when using neutrals as they always go together.
    • Neutrals make it easier to switch out colours when you want to bring in a new colour scheme.  
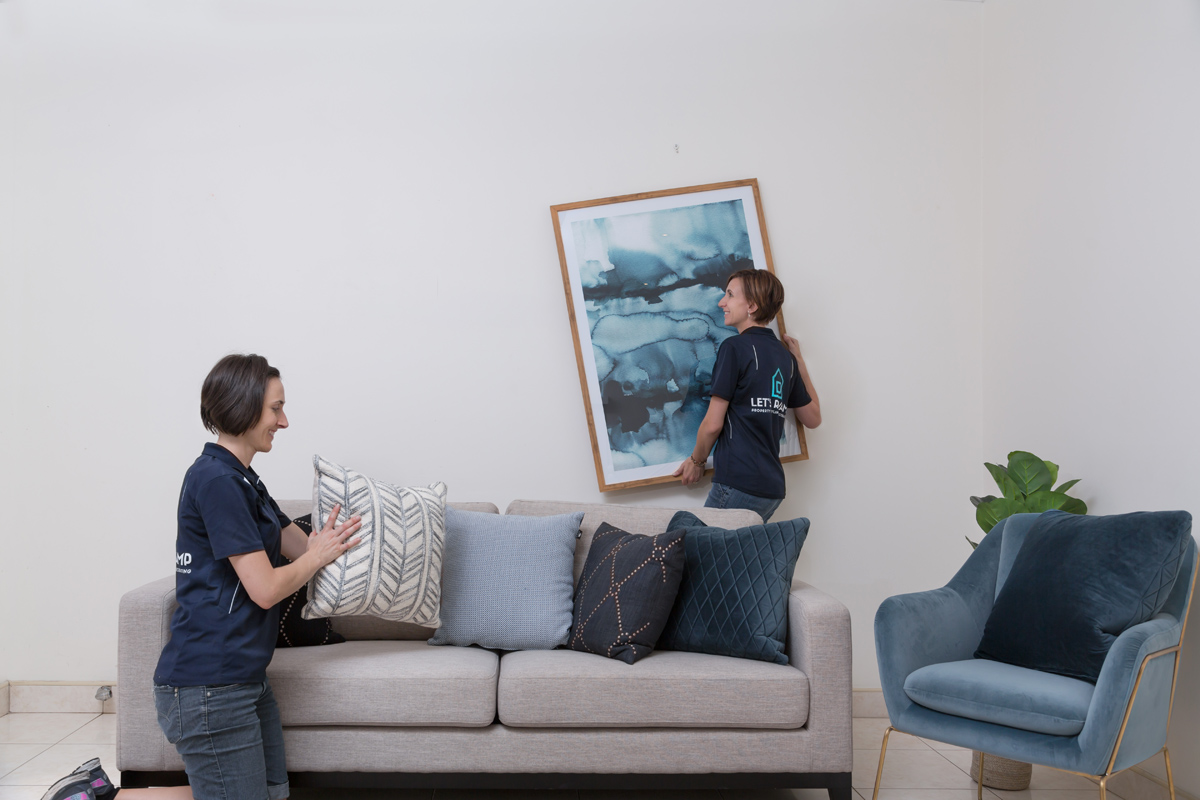
    • Neutrals highlight artwork, furniture pieces and textures.
    • Neutrals are cost and time saving, as furniture pieces and decor can easily be changed without an overall makeover.
    • Neutrals are considered natural.
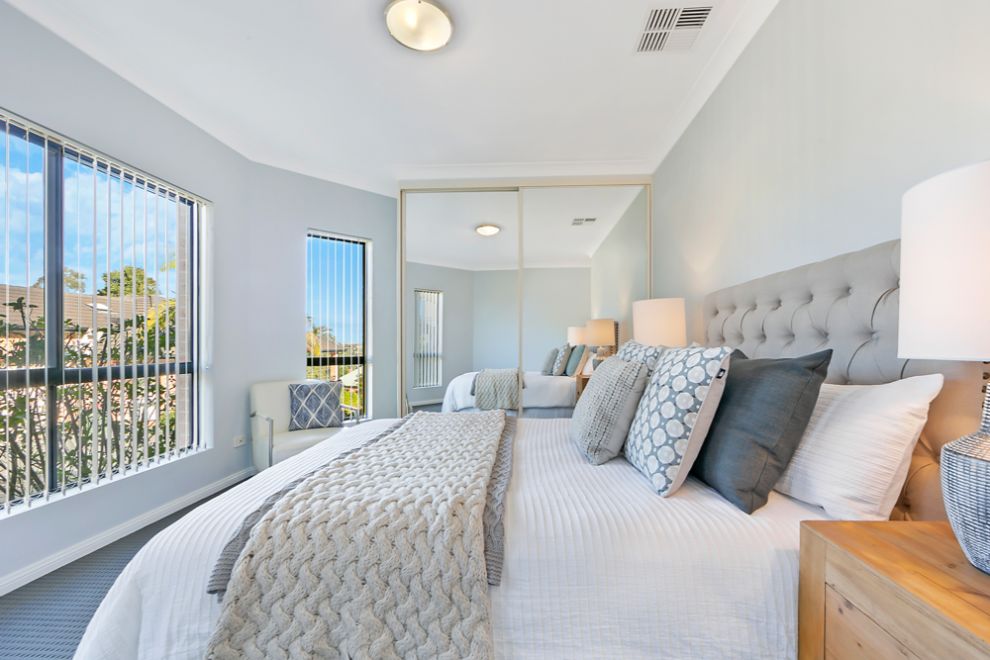
    • Neutral colour walls make a room seem larger and lighter.
    • Mirrors are neutral and add depth to neutrals in an area.
    • Mirrors enlarge and brighten space.

Home Styling with Neutral Colours

How I Styled My Small Living Area to Look Bigger

How I Styled My Small Living Area to Look Bigger

How I Styled My Small Living Area to Look Bigger

How I Styled My Small Living Area to Look Bigger

The key to successfully styling small areas is easier than you think. It comes down to tricking the eye into perceiving more space.

Armed with a handful of property styling and decorating tips and tricks  this is how I styled my small living area to look bigger.  I  optimised the available space and did not skimp on style.

Home Improvement Training Courses

The Challenge

  • This is a relatively small apartment with a thoroughfare taking up quite a bit of the available floor space to accommodate traffic flow to other areas in the apartment.  

  • The open plan area comprises the living, dining and kitchen area which meant these areas where to be taken into consideration when decorating.


The Walls and Flooring

The colour of the walls and flooring need to be taken in consideration when styling

Fortunately, I had the perfect canvas to work from. The walls were freshly painted in a warm, very light grey (akin to RGB: 208, 205, 201 HEX #D0CDC9) colour and the flooring was of dark brown timber. A striking combination.

How I Made My Small Living Area Look Bigger in 6 Easy Steps

Use a rug to define the living area

Because of the thoroughfare, the living area was styled to the left of the room.

1. The Rug Defines the Area

Rug of contrasting colour defines the living area
  • Thick pile dampens sound and presents a luxurious softness and warmth.
  • Rugs pull furniture together and create a focal point.
  • The colour of the rug blended well with walls and added contrast and texture to the floor.

2. Nesting Coffee Table

Nesting Coffee Tables are the ultimate space savers
  • Nesting tables are the ultimate and most versatile space savers. They can be left “nested” together or “pulled” apart for a different look or purpose.
  • The smaller tables can be used for side tables.
  • I opt for a round mirror top iron round coffee table set. Mirrors reflect light, make spaces seem larger and more open. They also create an ambience of airiness.
  • To create an illusion of more space the table was placed further from the chairs more to the right, off-centre.

3. The Sofa

A low profile grey sofa blends in perfectly
  • The light grey, low profile two-seater sofa was the perfect fit for this small area.
  • The wooden walnut-coloured legs of the sofa blended perfectly with the timber floor colouring.

4. The Milan Armchairs

Milan armchairs in Steel Blue velvet fabric and gold metal highlights
  •  No matter how small your space it can still look stylish.


  • These two impressive Milan armchairs in Steel Blue velvet fabric and gold metal highlights certain did justice.


  • When styling a small area opt for “leggy” furniture that does not have visual weight. This makes the room appear larger and less full and allowing the eye to see a continuation of the floor under the furniture.


The chairs and sofa were placed about a fist-width and a half from the wall. If placed against the wall it will make the area look “quashed up” – if placed far from the wall, will make the area look smaller.

5. The Finishing Touches

the finishing touches
  • Even the smallest of areas can and must be accessorised.
  • Adding a few accessories creates a warm, inviting, and welcoming atmosphere.
  • Accessories bring interest, texture, and diversity into the area.
  • Add a plant real or faux. Plants add visual impact to the area and create a calming effect.

6. Side Table and Lamp

Use a side table and table lamp instead of a floor lamp
  • Instead of a floor lamp, I chose to use a side table and lamp. In doing so I created a “cosy” reading corner and an additional surface to place items; e.g a book or magazine.

THE END RESULT

How I Styled My Small Living Area to Look Bigger


Chiripa said “To be informed is to be empowered,”

For more information on how you too can style your living room and our online courses please go to

https://homeimprovementtraining.com/ or email us at

info@homeimprovementtraining.com or call us on (+61) 2 9659 2556.

Without compromising on available space and skimping on style, this is how I made my small living area look bigger.

Tips When Re-arranging Your Furniture

Tips When Re-arranging Your Furniture

There is not necessarily the right or wrong way when re-arranging your furniture. Here are some tips when re-arranging your furniture.

Tips When Re-Arranging Your Furniture

Arranging Funiture

“The art of decorating is to create a space that is not just functional, but a space that calms the soul.  This process is designed to artfully rearrange and creatively utilise the interior of your home to transform it into a stylish, revitalising and inviting space which reflects your personal style and taste. This includes refreshing and enhancing areas with the understanding of its purpose and function.” 

Interior Decorating and Re-arranging your home

Maybe you have just moved into a new place and have no idea what should go where? Or you’ve been in a property for a while but have realised that the overall flow can be improved.

Although re-arranging the furniture of your home is akin to interior decorating, there is not necessarily the right or wrong way when re-arranging your furniture.

However, here are some tips when re-arranging your furniture that can hopefully steer you in the right direction.

Identify the focal point

1. Highlight the natural focal point with a feature piece

The initial focal point should be the area that you place any feature pieces you may have. Whether it’s a piece of artwork, a sofa, bedframe or feature wall, you’ll want to make sure that it is eye-catching when you enter the room.

Embrace natural light
  1. Embrace natural light and add lamps to darker areas

Identify the source of natural light and utilise it to the best advantage for a living area.

Identify the darker areas of a room and add table or floor lamps to these areas. If there are downlights in the area, use a light of a higher wattage rating.

NOTE

When using artificial lighting to brighten the darker area in a room, take into account the possibility of shadows being cast over focal areas. For example artwork. Should this happen, move the lamp to another position and use a downlight of lower wattage instead.

Allow for movement of traffic in the area
  1. Consider and allow for movement:

As much as we want the space to look good, it also needs to be functional and practical. Think about where people spend their time in the space and make sure the layout compliments that. You want to ensure that your guests are not just comfortable on the sofa but can also move around easily within the space.

rug identify areas in open plan living areas
  1. Zone areas with the furniture and rugs

It is all about personal choice when it comes to re-arranging your furniture and interior decorating. Some people prefer spaces to feel cosy and others prefer it to be spacious and open.

Whatever your preference,  adjust your furniture and rugs accordingly.

If you prefer spacious and open, arrange furniture further apart. Place the sofa against the wall. Style minimalistic – a style that is simple and plain. Use a rug to merely identify the zoning area of the living space. Use neutral colours with a few bold pop colours dotted here and there.

If you prefer cosy, warm and inviting arrange furniture closer together. Place the sofa away from the wall.  Use bold and autumn colours. Add throws and decorative cushions as fillers.

Open plan living

5. Keep it balanced

Most of the time when arranging furniture, we have our heads down and analyse the floor space only.

However, it is important to step back and bring your eyes up and make sure the space looks balanced height-wise. 

If you have tall objects on one side and short objects on the other side of the room it can feel quite disproportioned.

Keeping things symmetrical is a good starting point.

Open plan living

Re-arranging furniture allows you to easily transform a living area into a new look without having to purchase new items. 

Something as simple as placing a side table in another spot, and changing the decorative cushions according to the season,  works wonders.

“Decorating is like music. Harmony is what we constantly strive for. At home, we want a peaceful atmosphere where the objects are the notes and nothing is off-key.”     Charlotte Moss:”

Our Interior Decorators are masters at re-arranging and styling.

They combine your ideas with their expertise – give them a call…


How to Instantly Boost Your Curb Appeal!

How to Instantly Boost Your Curb Appeal!

Boost your curb appeal

How to Instantly Boost Your Curb Appeal!

How to Instantly Boost Your Curb Appeal!

Getting the outside of your property ready when selling is as important as getting the inside ready. If not more.


The outside area of your house is the first thing potential buyers see when coming to view your property. You, therefore, have to get the outside right. Buyers reach a decision about your property before reaching the front door.

Make sure your house stands out among the others

Make Sure Your Property Stands Out

For your property to be competitive in the ever-changing market, make sure it is one of the best-looking properties in your street. This does not mean go overboard or spend a lot of money renovating the front façade. Something as simple as giving your trims, gutters, and front door a fresh coat of paint or putting up a picket fence can do the trick.

Your front door must be easy accessible when staging for sale

Access to your front door should be visible!

There is nothing quite as frustrating as having to painfully navigate your way through the overgrowth to find someone’s front door. Most open homes are only scheduled for 30min. It is therefore important to ensure your buyers get into your house as quickly as possible so they can spend most of their time looking at the interior. Ensure that your path and driveway is cleared and that your property looks inviting and welcoming. There should be no confusion as to where the front door is!

Stow away all gardening tools

Remove any obstacles on the way to your front door!

This is such an easy fix and yet, people still think that having their own cars parked in the driveway, the garden hose sprawled out over the foot pathway or even garden tools lying around like landmines, are acceptable when having an open home. However, not only is it a safety hazard for your buyers, but it is also not visually appealing. It is definitely worth spending extra time decluttering your front garden and making it safe to move up the pathway!

Trim back overgrown plants

Trim back the unruly Ivy and ferns

There is nothing wrong with a bit of greenery, and in most cases, a beautiful front garden will add value to your property. However, if your walls are overgrown with ivy, it can have the opposite effect on buyers. They might wonder, what is lurking underneath those plants? Or the greenery looks awfully hard to maintain, I’m not sure if it is worth it? These are not the type of questions you want your potential buyers to entertain. If budget permits, get professionals in to give the front of your house a good clean and trim away any negative questions buyers may have.

rake up leaves

Pick up loose leaves and branches scattered underneath trees.

No one has time anymore to get the rake out every weekend and gather up all the loose leaves and branches that have fallen down during the week. Therefore, if you have trees in the front yard, ensure they are trimmed back and loose leaves and branches have been picked up before open home. You don’t want potential buyers to be put off by a front yard that looks like it is high maintenance!

How Much Does Property Staging Cost?

How Much Does Property Staging Cost?

How Much Does Property Staging Cost?

Patio Staged

When selling property, it is important to exhibit the property at it’s best advantage for a sale. This is referred to staging the home for sale. Homeowners are advised by Real Estate Agents to have their property staged for sale. The question then asked by the homeowner is How much does property staging cost?

Property Staging is also known as Property Styling.

Property Stylists

Whether selling the house yourself or through an estate agent you would need to secure the advice and support of a property stylist in preparing your home for sale. The property stylist is a professional who will present (stage) your home in a way that is best, so as to attract the highest price possible.

Let’s Revamp, Property Styling and Decorating, Sydney:

Let’s Revamp the property styling and decorating company in Sydney, winners of 2018, 2019, and 2020 Best of Houzz Service Award, have come up with a brilliant idea. Probably a first in Australia.

  • The Calculator can be used from the comfort of your home, during your “five-minute” coffee break at the office, or even whilst commuting on public transport, it is that easy to use.
  • Enter your postal code (Sydney Metropolitan)
  • Enter the rooms/area sizes to be styled –
  • Press calculate.

The advantage of using the calculator enables you to know how much it would cost to stage your house for sale. Secondly, you can always go back to the calculator to make adjustments to the number of areas to be staged to suit your budget.  Once completed, further collaboration will take place between you, and the property stylist who will transform your property’s interior into an amazing space, presenting your house for sale in a most appealing way.

Beautifully staged bedroom

Welcome to OUR GALLERY

(https://letsrevamp.com.au/portfolio/)

Please do stay awhile. Browse at your heart’s content. See our amazing styling projects, marvel the beauty of homes we have staged for sale.

Our home styling professionals look forward to assisting you.